warning light NISSAN VERSA NOTE 2017 2.G Quick Reference Guide
[x] Cancel search | Manufacturer: NISSAN, Model Year: 2017, Model line: VERSA NOTE, Model: NISSAN VERSA NOTE 2017 2.GPages: 28, PDF Size: 1.29 MB
Page 2 of 28

*See your Owner’s Manual for information.
1
3
2
4
5
9
15
17
16
13
6
14
7
8
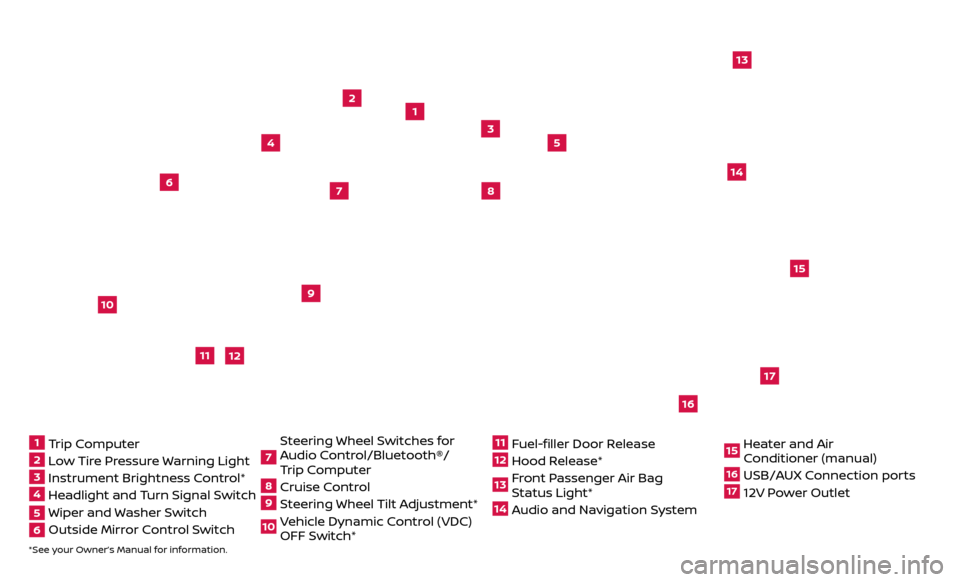
1 Trip Computer2 Low Tire Pressure Warning Light3 Instrument Brightness Control*4 Headlight and Turn Signal Switch5 Wiper and Washer Switch6 Outside Mirr or Control Switch
7 Steering Wheel Switches for
Audio Control/Bluetooth®/
Trip Computer8 Cruise Control9 Steering Wheel Tilt Adjustment*10 Vehicle Dynamic Control (VDC) OFF Switch*
11 Fuel-filler Door Release12 Hood Release* 13 Front Passenger Air Bag Status Light*14 Audio and Navigation System
15 Heater and Air Conditioner (manual)16 USB/AUX Connection ports17 12V Power Outlet
10
Beneath
instrument panel
12
11
Page 7 of 28

5
TIRE PRESSURE MONITORING SYSTEM (TPMS)
WITH EASY-FILL TIRE ALERT (if so equipped)
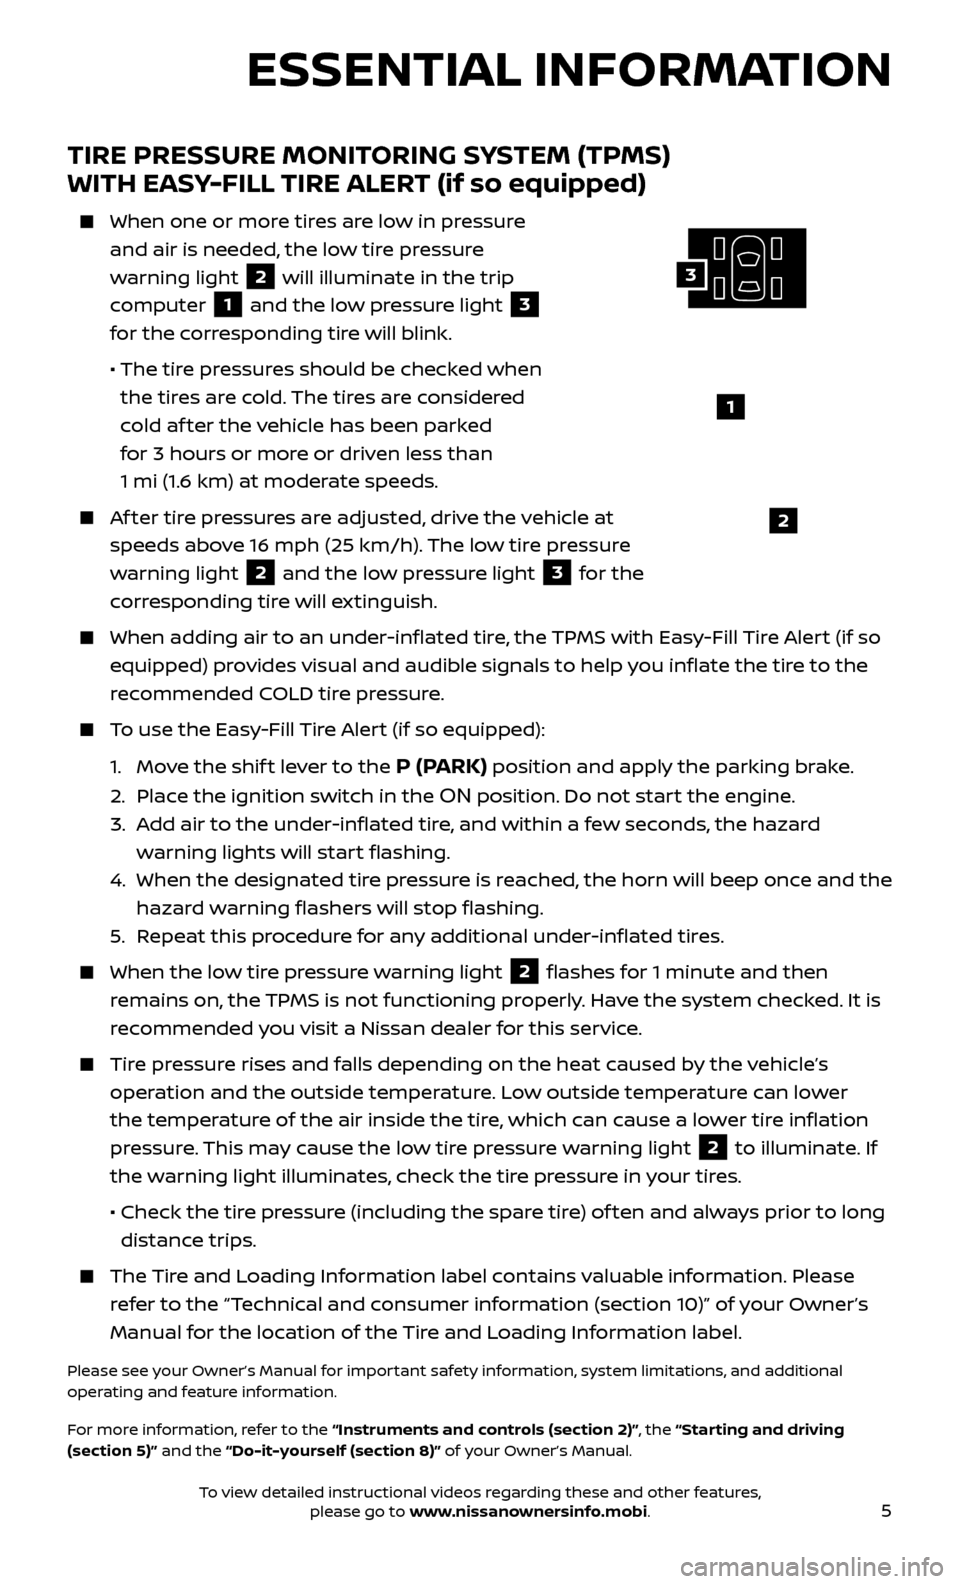
When one or more tires are low in pressure
and air is needed, the low tire pressure
warning light
2 will illuminate in the trip
computer
1 and the low pressure light 3
for the corresponding tire will blink.
• The tir
e pressures should be checked when
the tires are cold. The tires are considered
cold af ter the vehicle has been parked
for 3 hours or more or driven less than
1 mi (1.6 km) at moderate speeds.
Af ter tire pressures are adjusted, drive the vehicle at speeds above 16 mph (25 km/h). The low tire pressure
warning light
2 and the low pressure light 3 for the
corresponding tire will extinguish.
When adding air to an under -inflated tire, the TPMS with Easy-Fill Tire Alert (if so
equipped) provides visual and audible signals to help you inflate the tire to the
recommended COLD tire pressure.
To use the Easy-Fill Tire Alert (if so equipped):
1.
Mo
ve the shif t lever to the
P (PARK) position and apply the parking brake.
2. Plac
e the ignition switch in the
ON position. Do not start the engine.
3.
A
dd air to the under-inflated tire, and within a few seconds, the hazard
warning lights will start flashing.
4.
When the designated tir
e pressure is reached, the horn will beep once and the
hazard warning flashers will stop flashing.
5
.
R
epeat this procedure for any additional under-inflated tires.
When the lo w tire pressure warning light 2 flashes for 1 minute and then
remains on, the TPMS is not functioning properly. Have the system checked. It is
recommended you visit a Nissan dealer for this service.
Tire pressure rises and falls depending on the heat caused by the vehicle’s operation and the outside temperature. Low outside temperature can lower
the temperature of the air inside the tire, which can cause a lower tire inflation
pressure. This may cause the low tire pressure warning light
2 to illuminate. If
the warning light illuminates, check the tire pressure in your tires.
•
Check the tir
e pressure (including the spare tire) of ten and always prior to long
distance trips.
The Tire and Loading Information label contains valuable information. Please refer to the “Technical and consumer information (section 10)” of your Owner’s
Manual for the location of the Tire and Loading Information label.
Please see your Owner’s Manual for important safety information, system limitations, and additional
operating and feature information.
For more information, refer to the “Instruments and controls (section 2)”, the “Starting and driving
(section 5)” and the “Do-it-yourself (section 8)” of your Owner’s Manual.
ESSENTIAL INFORMATION
1
2
3
To view detailed instructional videos regarding these and other features, please go to www.nissanownersinfo.mobi.
Page 8 of 28

6
ESSENTIAL INFORMATION
LOOSE FUEL CAP
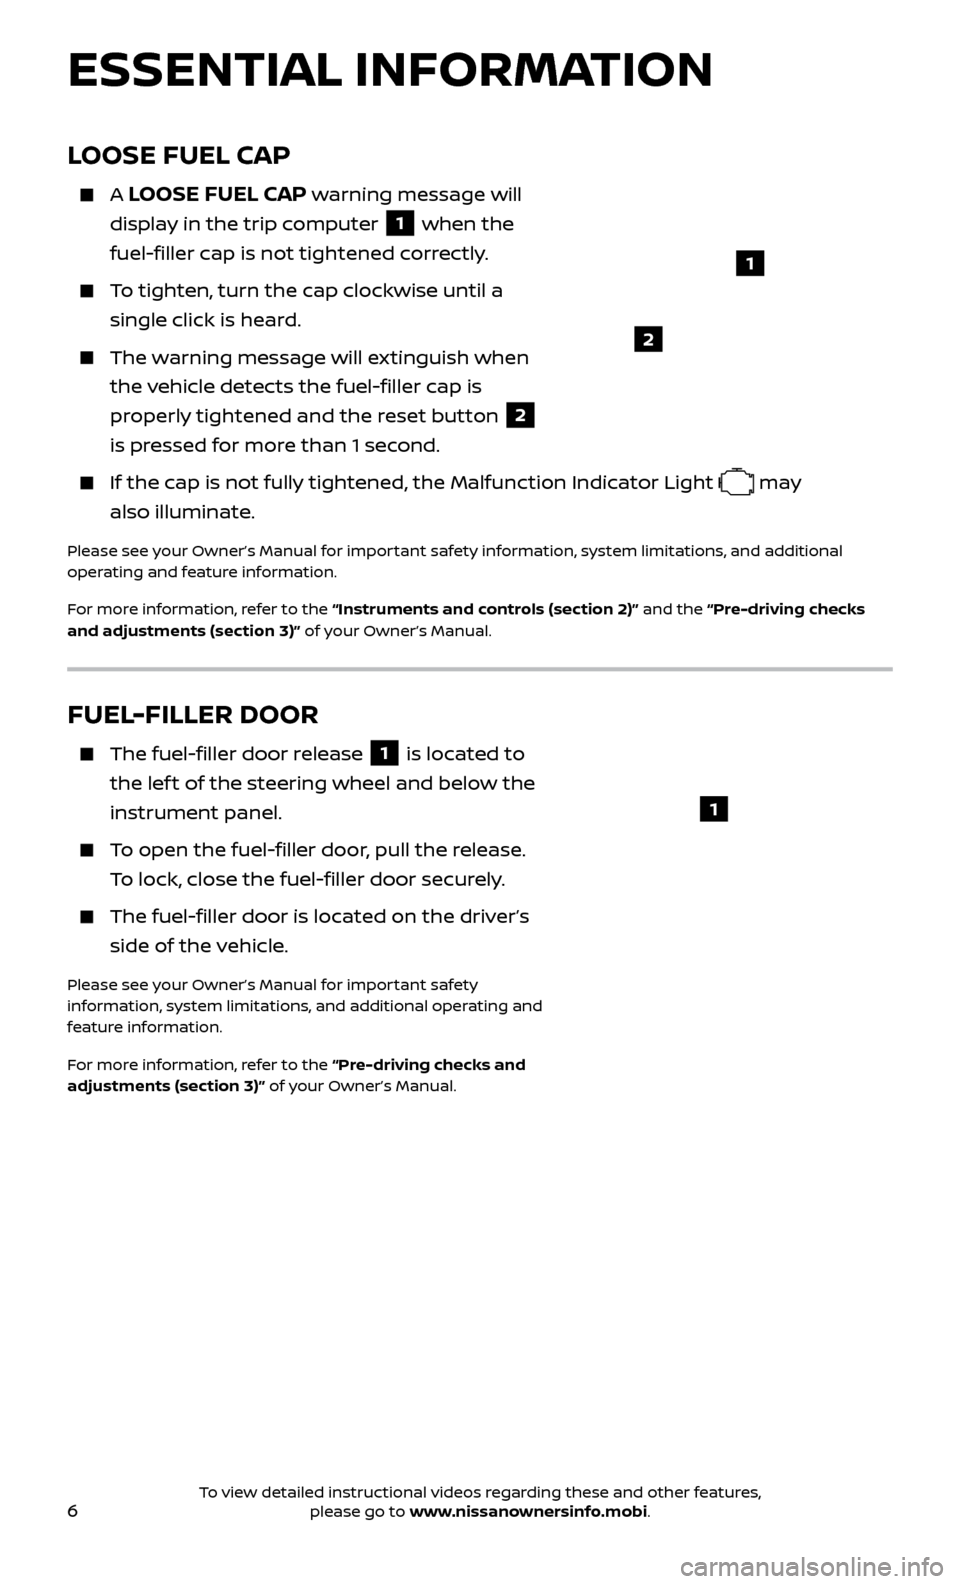
A LOOSE FUEL CAP warning message will
display in the trip computer
1 when the
fuel-filler cap is not tightened correctly.
To tighten, turn the cap clockwise until a single click is heard.
The warning message will extinguish when the vehicle detects the fuel-filler cap is
properly tightened and the reset button
2
is pressed for more than 1 second.
If the cap is not fully tightened, the Malfunction Indicator Light may
also illuminate.
Please see your Owner’s Manual for important safety information, system limitations, and additional
operating and feature information.
For more information, refer to the “Instruments and controls (section 2)” and the “Pre-driving checks
and adjustments (section 3)” of your Owner’s Manual.
FUEL-FILLER DOOR
The fuel-filler door release 1 is located to
the lef t of the steering wheel and below the
instrument panel.
To open the fuel-filler door, pull the release. To lock, close the fuel-filler door securely.
The fuel-filler door is located on the driver’s side of the vehicle.
Please see your Owner’s Manual for important safety
information, system limitations, and additional operating and
feature information.
For more information, refer to the “Pre-driving checks and
adjustments (section 3)” of your Owner’s Manual.
1
2
1
To view detailed instructional videos regarding these and other features, please go to www.nissanownersinfo.mobi.