low beam NISSAN XTERRA 2001 WD22 / 1.G Owners Manual
[x] Cancel search | Manufacturer: NISSAN, Model Year: 2001, Model line: XTERRA, Model: NISSAN XTERRA 2001 WD22 / 1.GPages: 263, PDF Size: 2.25 MB
Page 50 of 263
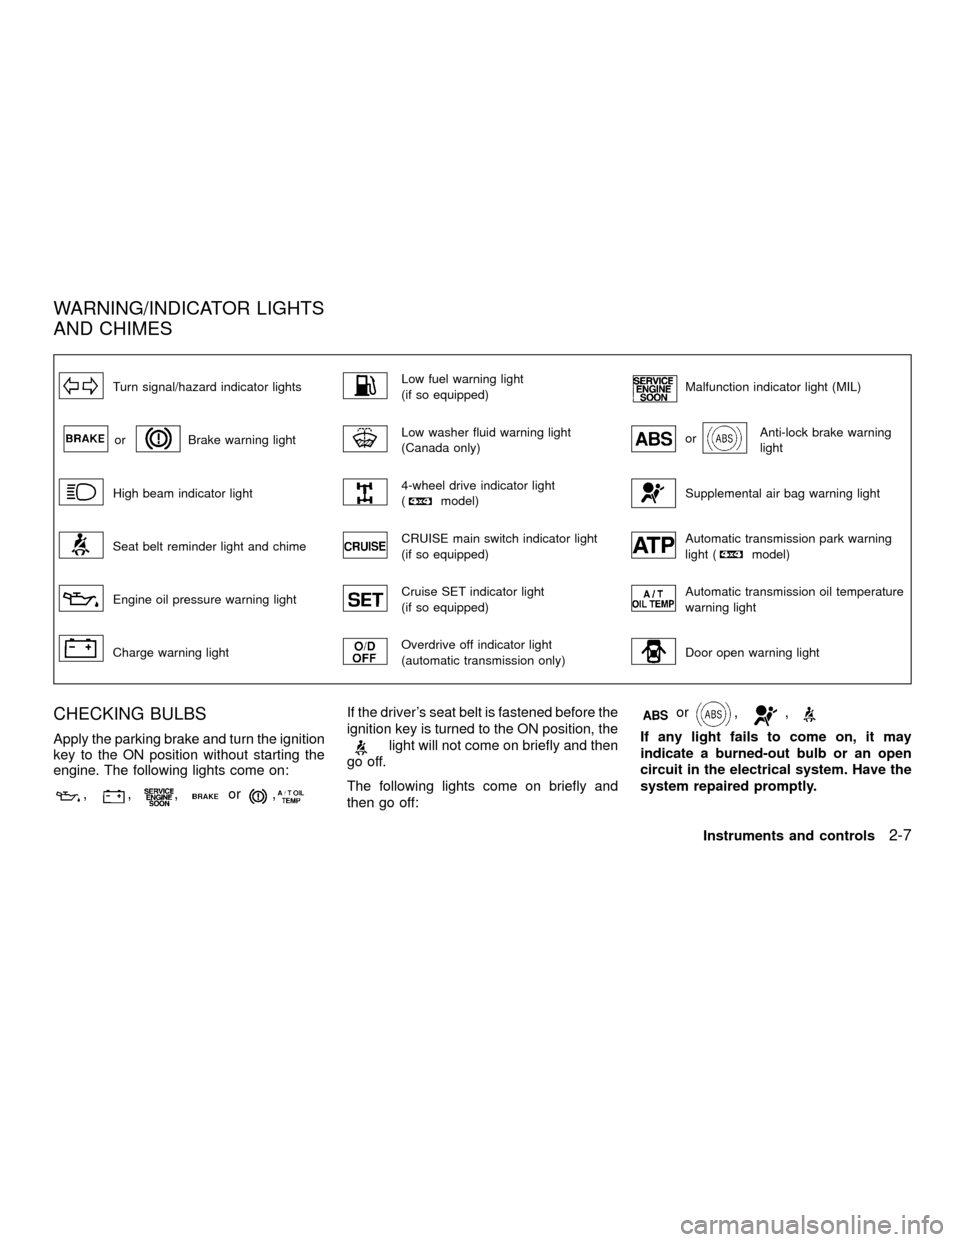
Turn signal/hazard indicator lightsLow fuel warning light
(if so equipped)Malfunction indicator light (MIL)
orBrake warning lightLow washer fluid warning light
(Canada only)orAnti-lock brake warning
light
High beam indicator light4-wheel drive indicator light
(model)Supplemental air bag warning light
Seat belt reminder light and chimeCRUISE main switch indicator light
(if so equipped)Automatic transmission park warning
light (model)
Engine oil pressure warning lightCruise SET indicator light
(if so equipped)Automatic transmission oil temperature
warning light
Charge warning lightOverdrive off indicator light
(automatic transmission only)Door open warning light
CHECKING BULBS
Apply the parking brake and turn the ignition
key to the ON position without starting the
engine. The following lights come on:
,,,or,
If the driver's seat belt is fastened before the
ignition key is turned to the ON position, the
light will not come on briefly and then
go off.
The following lights come on briefly and
then go off:
or,,
If any light fails to come on, it may
indicate a burned-out bulb or an open
circuit in the electrical system. Have the
system repaired promptly.
WARNING/INDICATOR LIGHTS
AND CHIMES
Instruments and controls2-7
ZX
Page 54 of 263
High beam indicator light
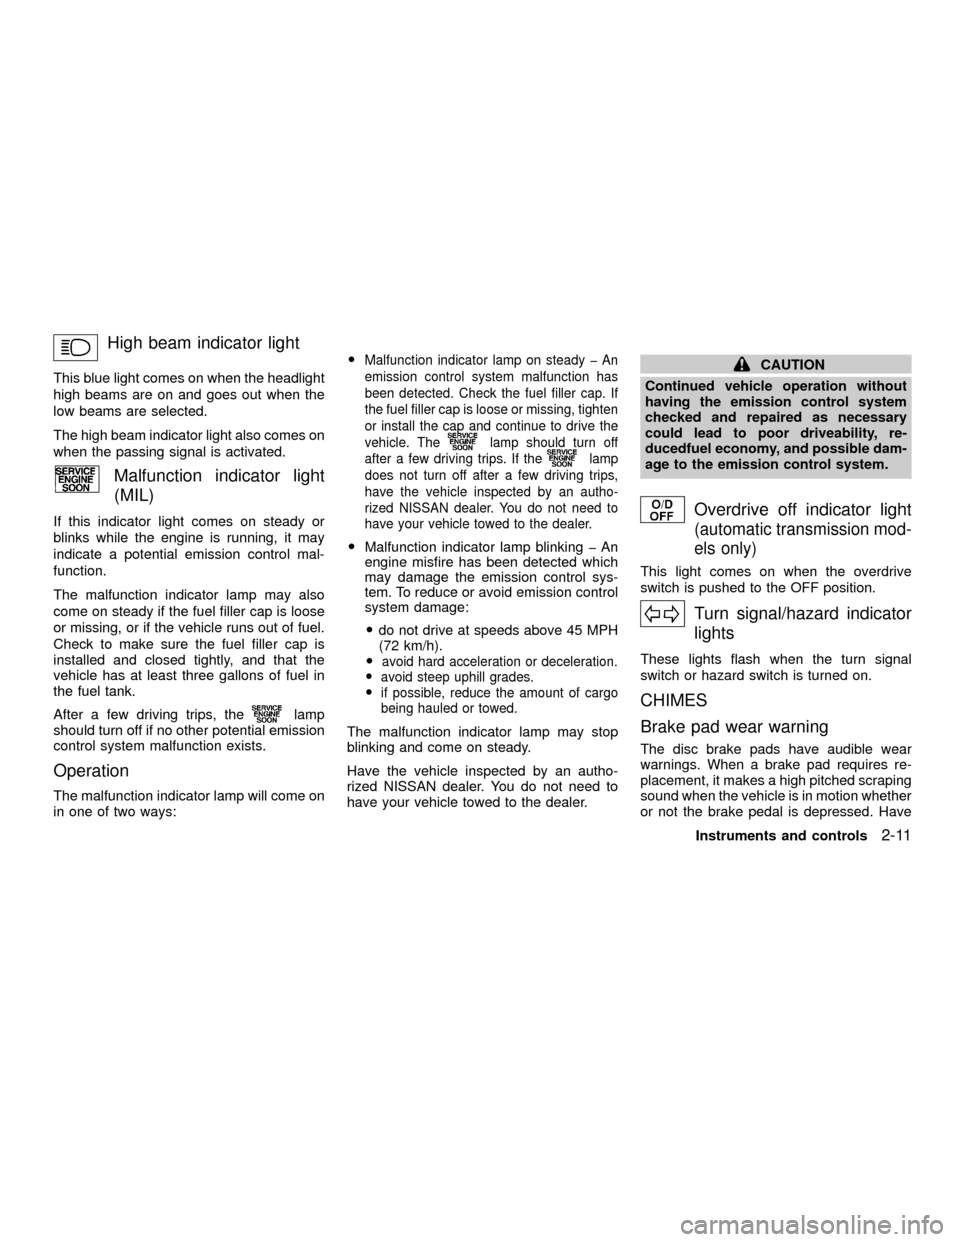
This blue light comes on when the headlight
high beams are on and goes out when the
low beams are selected.
The high beam indicator light also comes on
when the passing signal is activated.
Malfunction indicator light
(MIL)
If this indicator light comes on steady or
blinks while the engine is running, it may
indicate a potential emission control mal-
function.
The malfunction indicator lamp may also
come on steady if the fuel filler cap is loose
or missing, or if the vehicle runs out of fuel.
Check to make sure the fuel filler cap is
installed and closed tightly, and that the
vehicle has at least three gallons of fuel in
the fuel tank.
After a few driving trips, the
lamp
should turn off if no other potential emission
control system malfunction exists.
Operation
The malfunction indicator lamp will come on
in one of two ways:O
Malfunction indicator lamp on steady þ An
emission control system malfunction has
been detected. Check the fuel filler cap. If
the fuel filler cap is loose or missing, tighten
or install the cap and continue to drive the
vehicle. The
lamp should turn off
after a few driving trips. If the
lamp
does not turn off after a few driving trips,
have the vehicle inspected by an autho-
rized NISSAN dealer. You do not need to
have your vehicle towed to the dealer.
OMalfunction indicator lamp blinking þ An
engine misfire has been detected which
may damage the emission control sys-
tem. To reduce or avoid emission control
system damage:
Odo not drive at speeds above 45 MPH
(72 km/h).
O
avoid hard acceleration or deceleration.
Oavoid steep uphill grades.
Oif possible, reduce the amount of cargo
being hauled or towed.
The malfunction indicator lamp may stop
blinking and come on steady.
Have the vehicle inspected by an autho-
rized NISSAN dealer. You do not need to
have your vehicle towed to the dealer.
CAUTION
Continued vehicle operation without
having the emission control system
checked and repaired as necessary
could lead to poor driveability, re-
ducedfuel economy, and possible dam-
age to the emission control system.
Overdrive off indicator light
(automatic transmission mod-
els only)
This light comes on when the overdrive
switch is pushed to the OFF position.
Turn signal/hazard indicator
lights
These lights flash when the turn signal
switch or hazard switch is turned on.
CHIMES
Brake pad wear warning
The disc brake pads have audible wear
warnings. When a brake pad requires re-
placement, it makes a high pitched scraping
sound when the vehicle is in motion whether
or not the brake pedal is depressed. Have
Instruments and controls
2-11
ZX
Page 60 of 263
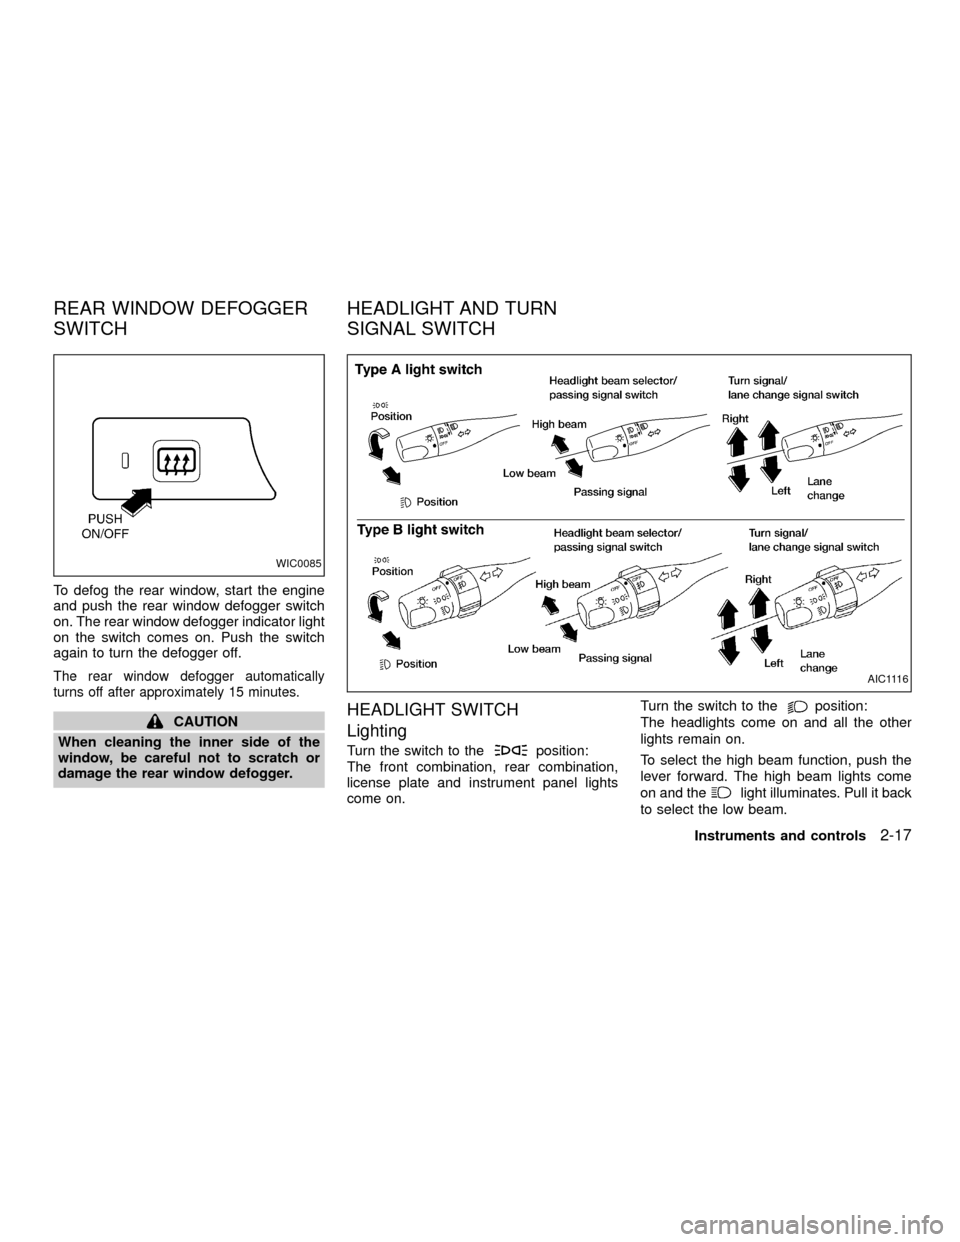
To defog the rear window, start the engine
and push the rear window defogger switch
on. The rear window defogger indicator light
on the switch comes on. Push the switch
again to turn the defogger off.
The rear window defogger automatically
turns off after approximately 15 minutes.
CAUTION
When cleaning the inner side of the
window, be careful not to scratch or
damage the rear window defogger.HEADLIGHT SWITCH
Lighting
Turn the switch to theposition:
The front combination, rear combination,
license plate and instrument panel lights
come on.Turn the switch to the
position:
The headlights come on and all the other
lights remain on.
To select the high beam function, push the
lever forward. The high beam lights come
on and the
light illuminates. Pull it back
to select the low beam.
WIC0085
AIC1116
REAR WINDOW DEFOGGER
SWITCHHEADLIGHT AND TURN
SIGNAL SWITCH
Instruments and controls2-17
ZX
Page 62 of 263
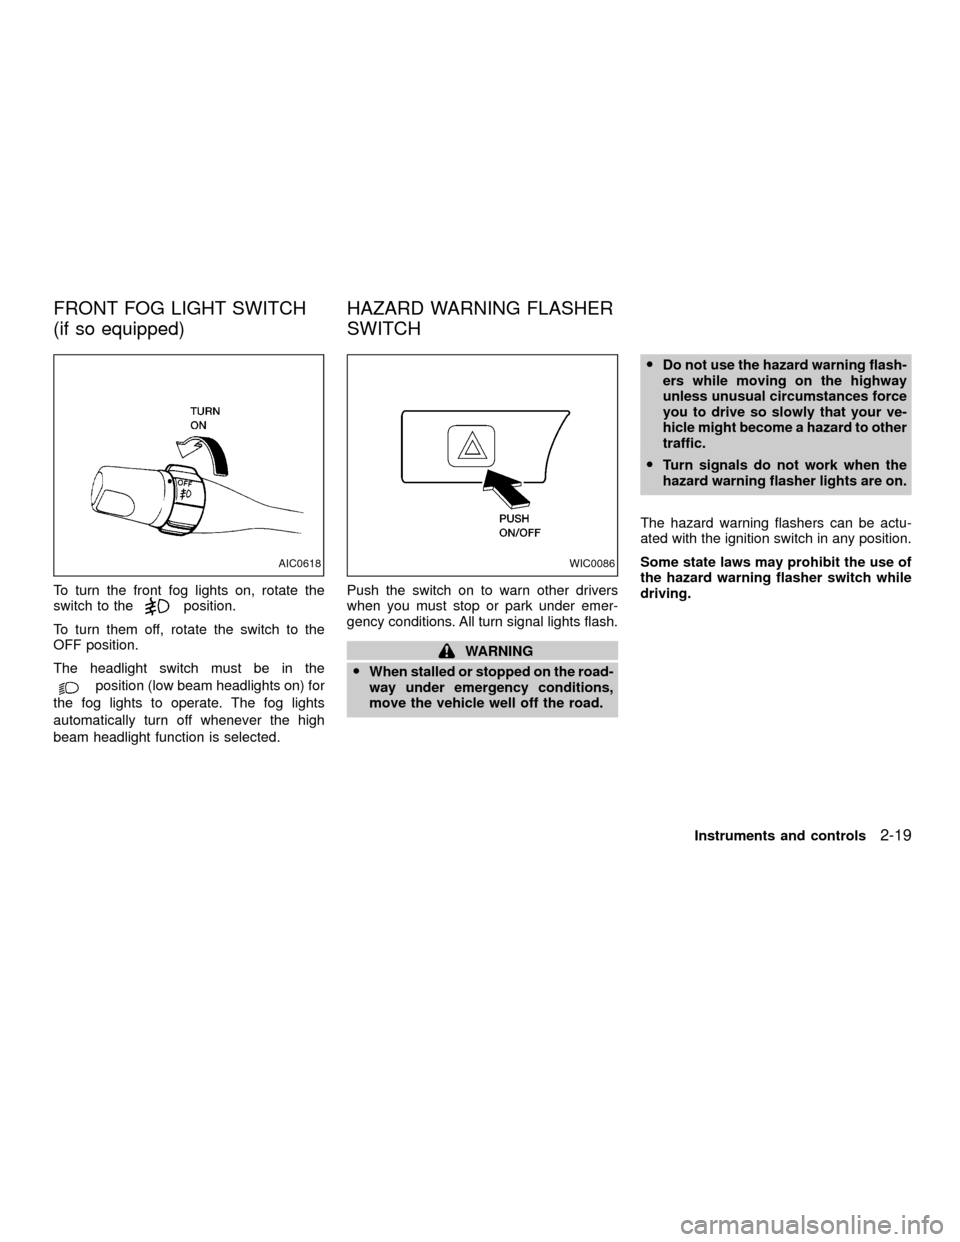
To turn the front fog lights on, rotate the
switch to theposition.
To turn them off, rotate the switch to the
OFF position.
The headlight switch must be in the
position (low beam headlights on) for
the fog lights to operate. The fog lights
automatically turn off whenever the high
beam headlight function is selected.Push the switch on to warn other drivers
when you must stop or park under emer-
gency conditions. All turn signal lights flash.
WARNING
OWhen stalled or stopped on the road-
way under emergency conditions,
move the vehicle well off the road.ODo not use the hazard warning flash-
ers while moving on the highway
unless unusual circumstances force
you to drive so slowly that your ve-
hicle might become a hazard to other
traffic.
OTurn signals do not work when the
hazard warning flasher lights are on.
The hazard warning flashers can be actu-
ated with the ignition switch in any position.
Some state laws may prohibit the use of
the hazard warning flasher switch while
driving.
AIC0618WIC0086
FRONT FOG LIGHT SWITCH
(if so equipped)HAZARD WARNING FLASHER
SWITCH
Instruments and controls2-19
ZX
Page 204 of 263
FCC Notice:
Changes or modifications not expressly
approved by the manufacturer for com-
pliance could void the user's authority to
operate the equipment.
This device complies with part 15 of the
FCC Rules and RSS-210 of Industry
Canada.
Operation is subject to the following two
conditions: (1) This device may not
cause harmful interference, and (2) this
device must accept any interference re-
ceived including interference that may
cause undesired operation of the device.
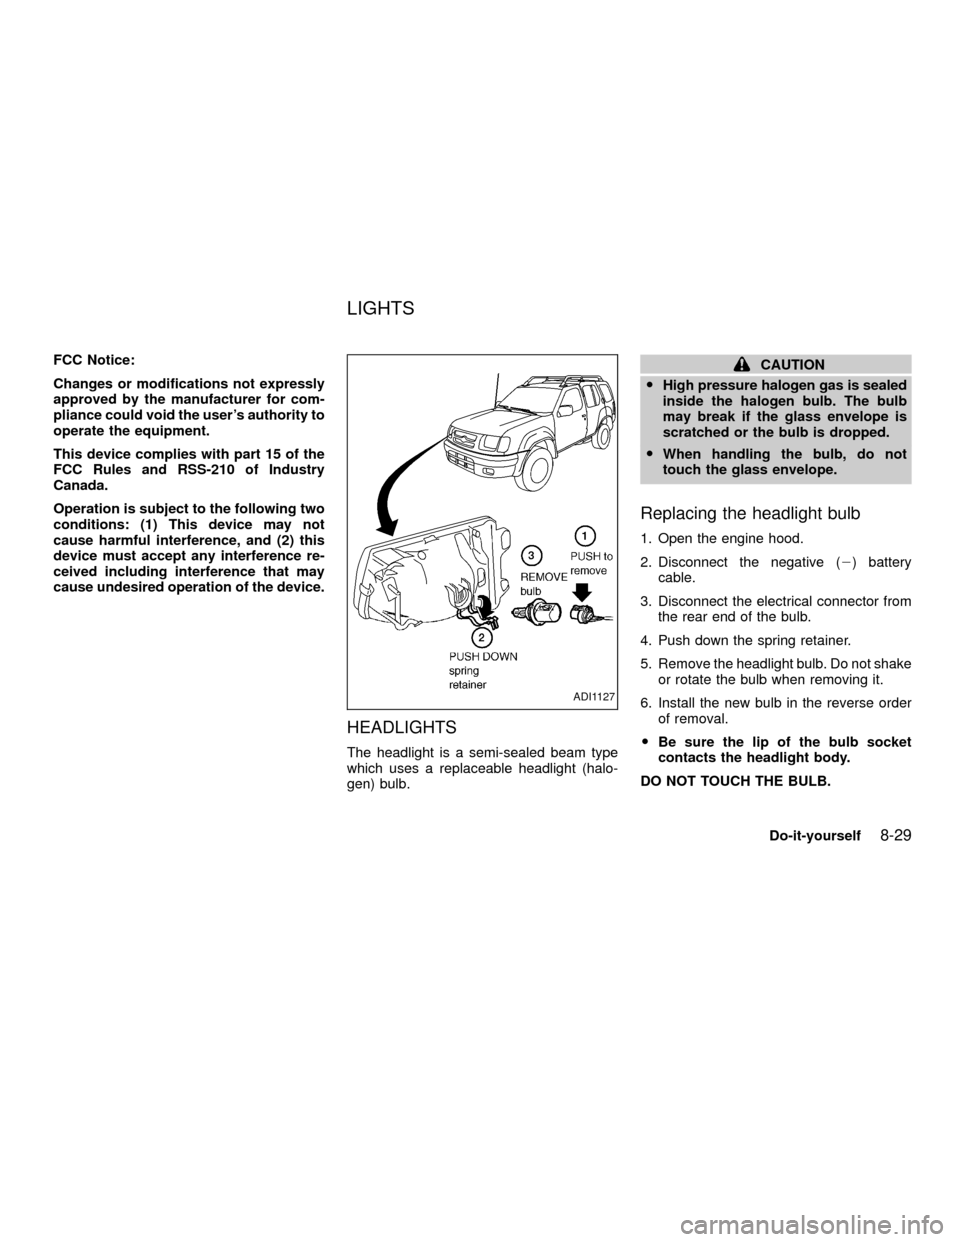
HEADLIGHTS
The headlight is a semi-sealed beam type
which uses a replaceable headlight (halo-
gen) bulb.
CAUTION
OHigh pressure halogen gas is sealed
inside the halogen bulb. The bulb
may break if the glass envelope is
scratched or the bulb is dropped.
OWhen handling the bulb, do not
touch the glass envelope.
Replacing the headlight bulb
1. Open the engine hood.
2. Disconnect the negative (2) battery
cable.
3. Disconnect the electrical connector from
the rear end of the bulb.
4. Push down the spring retainer.
5. Remove the headlight bulb. Do not shake
or rotate the bulb when removing it.
6. Install the new bulb in the reverse order
of removal.
OBe sure the lip of the bulb socket
contacts the headlight body.
DO NOT TOUCH THE BULB.
ADI1127
LIGHTS
Do-it-yourself8-29
ZX