ECO mode NISSAN XTERRA 2012 N50 / 2.G Quick Reference Guide
[x] Cancel search | Manufacturer: NISSAN, Model Year: 2012, Model line: XTERRA, Model: NISSAN XTERRA 2012 N50 / 2.GPages: 16, PDF Size: 1.35 MB
Page 4 of 16

2
essential information
0201
03
01
loosE fuEl C aP
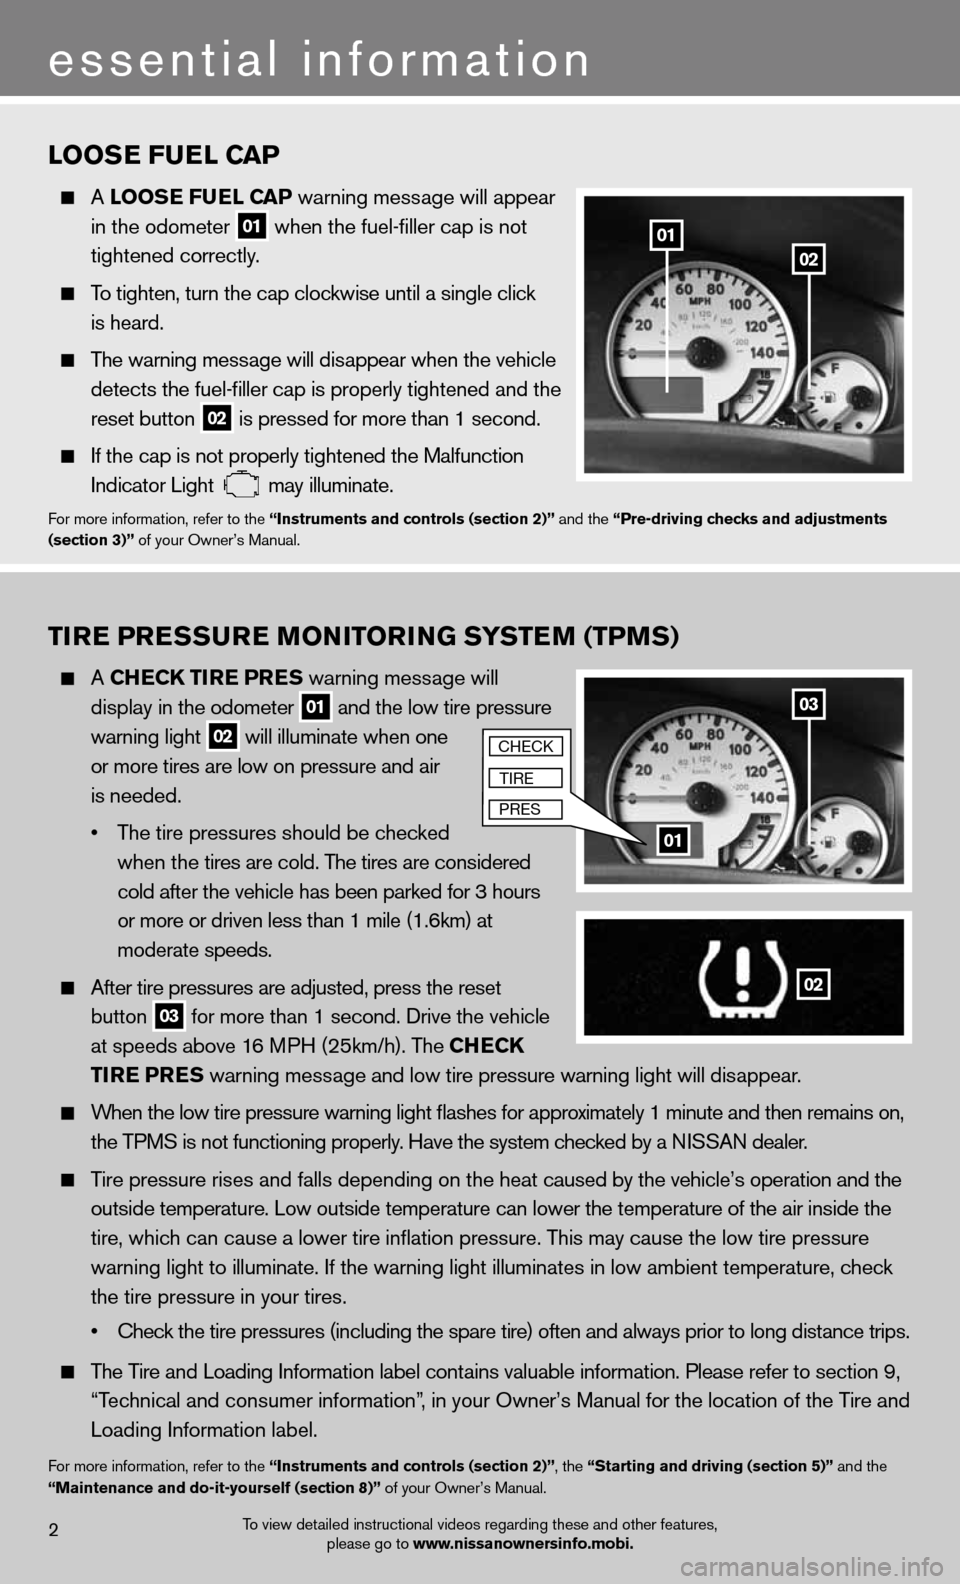
A loos E fuEl CaP warning message will appear
in the odometer
01 when the fuel-filler cap is not
tightened correctly.
To tighten, turn the cap clockwise until a single click
is heard.
The warning message will disappear when the vehicle
detects the fuel-filler cap is properly tightened and the
reset button
02 is pressed for more than 1 second.
if the cap is not properly tightened the Malfunction
indicator Light
may illuminate.f
or more information, refer to the “instruments and controls (section 2)” and the “Pre-driving checks and adjustments
(section 3)” of your Owner’s Manual.
To view detailed instructional videos regarding these and other features, please go to www.nissanownersinfo.mobi.
tirE Pr Essur E monitorin G systEm (tPms)
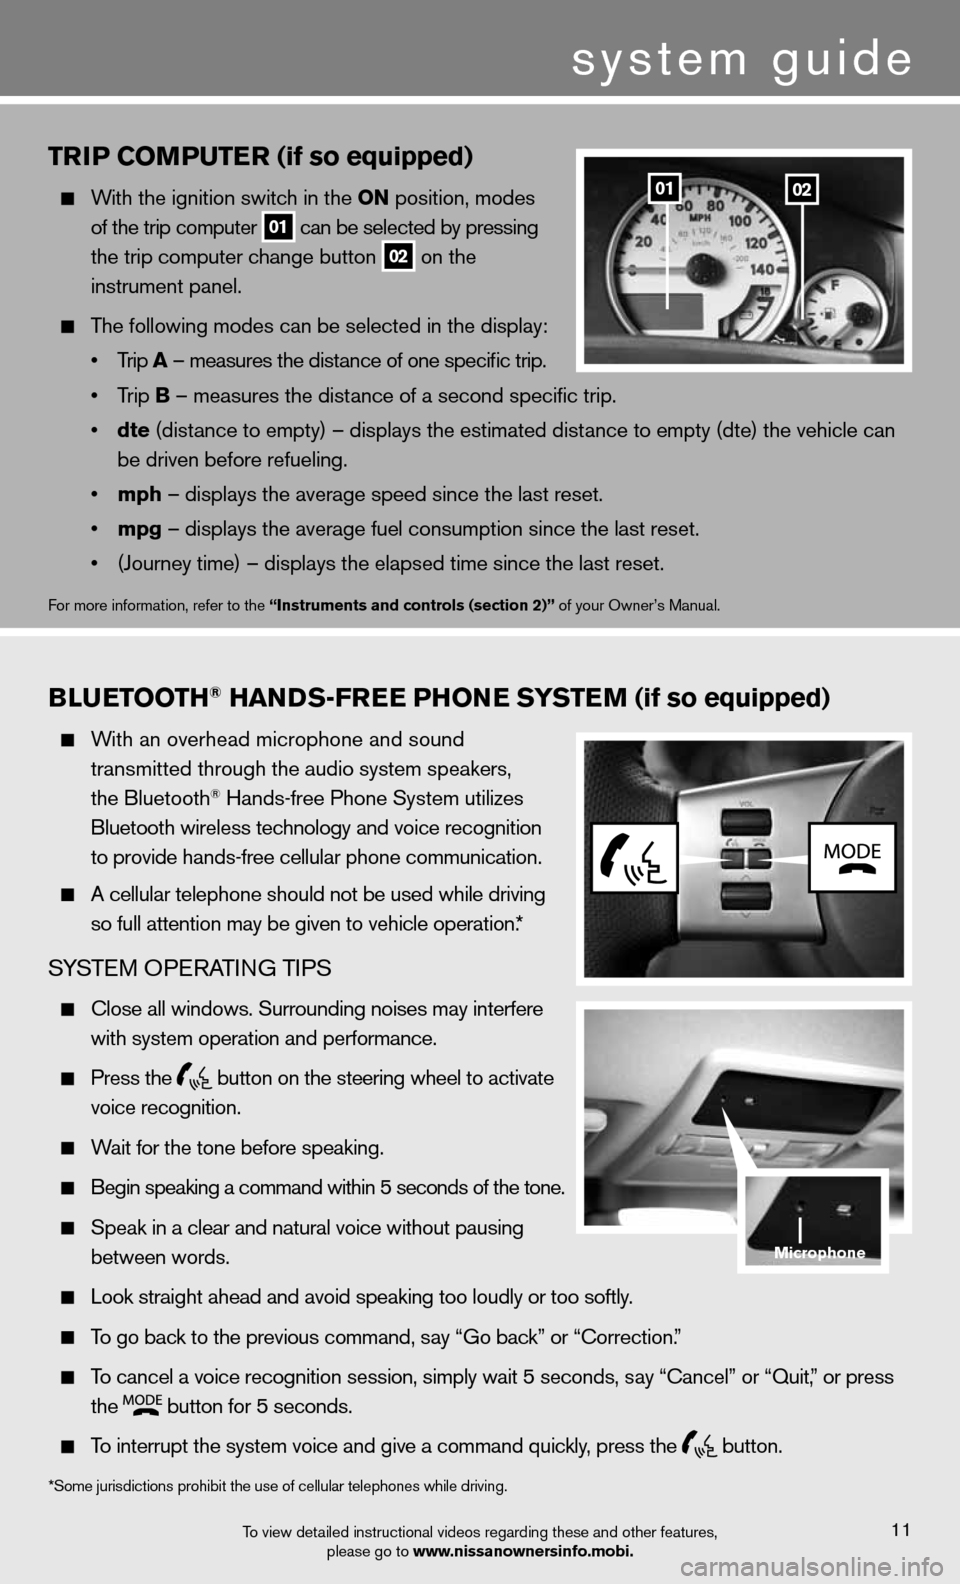
A CHECK tir E PrEs warning message will
display in the odometer
01 and the low tire pressure
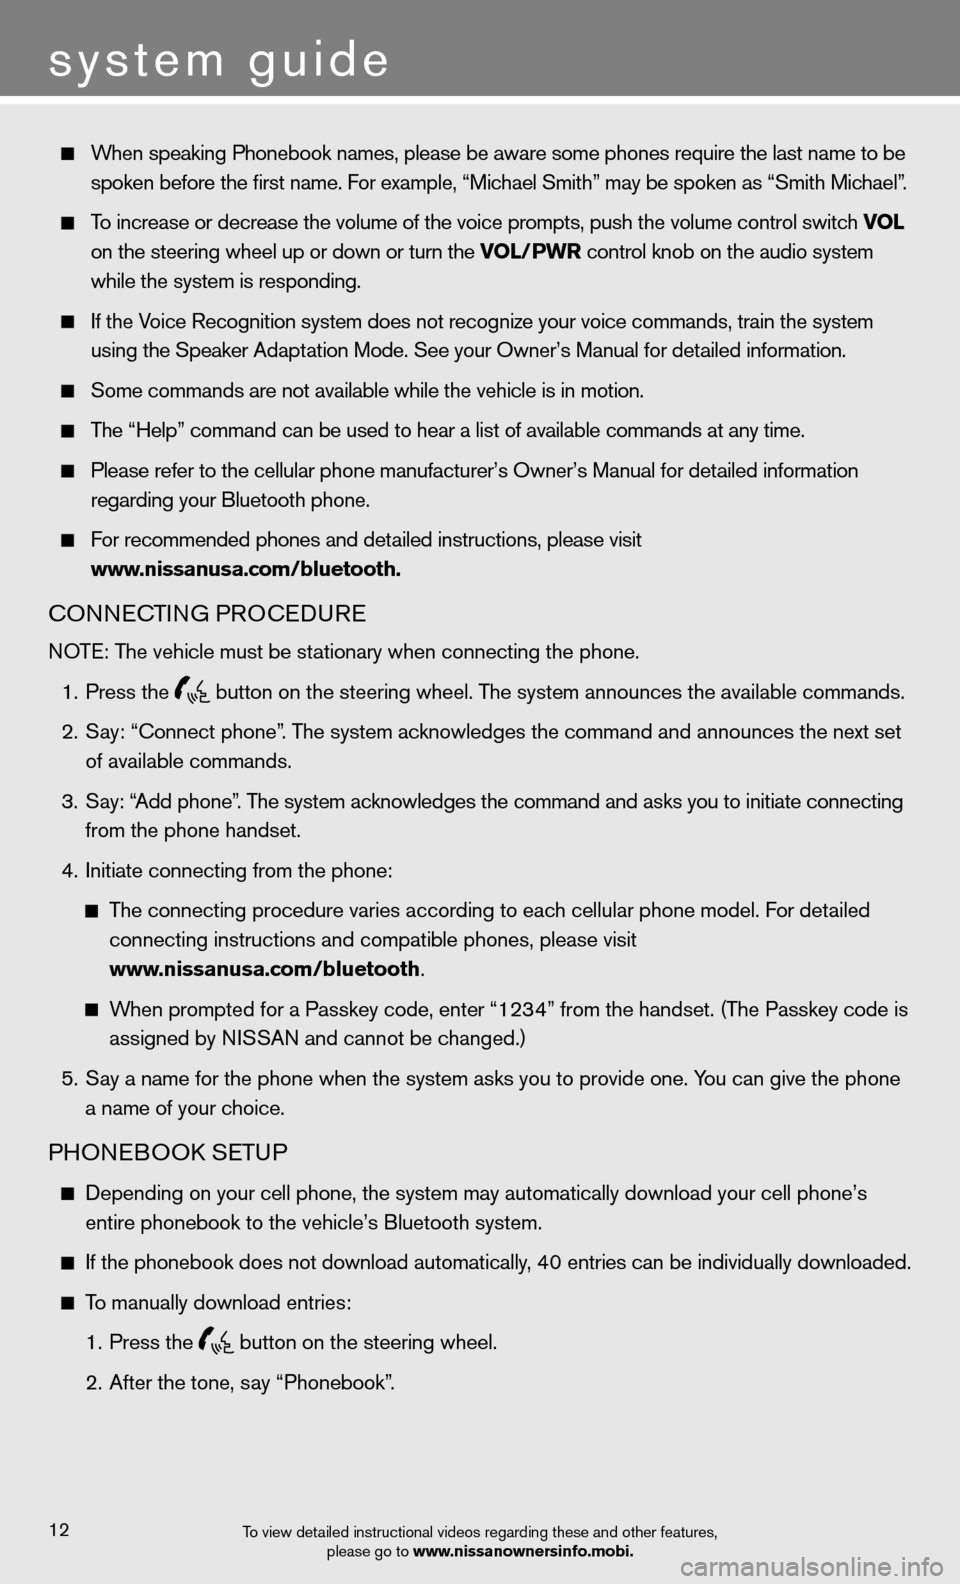
warning light 02 will illuminate when one
or more tires are low on pressure and air
is needed.
• The tire pressures should be checked
when the tires are cold. The tires are considered
cold after the vehicle has been parked for 3 hours
or more or driven less than 1 mile (1.6km) at
moderate speeds.
After tire pressures are adjusted, press the reset
button
03 for more than 1 second. drive the vehicle
at speeds above 16 MPH (25km/h). The CHECK
tirE P rEs warning message and low tire pressure warning light will disappear.
When the low tire pressure warning light flashes for approximately 1 minute and then remains on,
the TPMS is not functioning properly. Have the system checked by a NISSAN dealer.
Tire pressure rises and falls depending on the heat caused by the vehicle’s operation and the
outside temperature. Low outside temperature can lower the temperature o\
f the air inside the
tire, which can cause a lower tire inflation pressure. This may cause the low tire pressure
warning light to illuminate. If the warning light illuminates in low ambient temperature, check
the tire pressure in your tires.
• Check the tire pressures (including the spare tire) often and always prior to long distance trips.
The Tire and Loading Information label contains valuable information. Please refer to section 9,
“Technical and consumer information”, in your Owner’s Manual for the location of the Tire and
Loading Information label.
for more information, refer to the “instruments and controls (section 2)”, the “starting and driving (section 5)” and the
“maintenance and do-it-yourself (section 8)” of your Owner’s Manual.
CHECK
TIRE
PRE S
02
Page 13 of 16

triP Com PutEr (if so equipped)
With the ignition switch in the on position, modes
of the trip computer
01 can be selected by pressing
the trip computer change button
02 on the
instrument panel.
The following modes can be selected in the display:
• Trip a – measures the distance of one specific trip.
• Trip B – measures the distance of a second specific trip.
• dte (distance to empty) – displays the estimated distance to empty (dte) the vehicle can
be driven before refueling.
• mph – displays the average speed since the last reset.
• mpg – displays the average fuel consumption since the last reset.
• (Journey time) – displays the elapsed time since the last reset.
for more information, refer to the “instruments and controls (section 2)” of your Owner’s Manual.
0201
Blu EtootH® Han Ds-fr EE PH onE systE m (if so equipped)
With an overhead microphone and sound
transmitted through the audio system speakers,
the Bluetooth
® Hands-free Phone System utilizes
Bluetooth wireless technology and voice recognition
to provide hands-free cellular phone communication.
A cellular telephone should not be used while driving
so full attention may be given to vehicle operation.*
SYSTe M OPeRATin G TiPS
close all windows. Surrounding noises may interfere
with system operation and performance.
Press the
button on the steering wheel to activate
voice recognition.
Wait for the tone before speaking.
Begin speaking a command within 5 seconds of the tone.
Speak in a clear and natural voice without pausing
between words.
Look straight ahead and avoid speaking too loudly or too softly.
To go back to the previous command, say “Go back” or “Correction.”
To cancel a voice recognition session, simply wait 5 seconds, say “cancel” or “Quit,” or press
the
button for 5 seconds.
To interrupt the system voice and give a command quickly, press the
button.
To view detailed instructional videos regarding these and other features,
please go to www.nissanownersinfo.mobi.11
*Some jurisdictions prohibit the use of cellular telephones while driving.
system guide
microphone
Page 14 of 16

When speaking Phonebook names, please be aware some phones require the last name to be
spoken before the first name. For example, “Michael Smith” may be spoken as “Smith Michael”.
To increase or decrease the volume of the voice prompts, push the volume \
control switch vol
on the steering wheel up or down or turn the vol/PWr control knob on the audio system
while the system is responding.
If the Voice Recognition system does not recognize your voice commands, train the system
using the Speaker Adaptation Mode. See your Owner’s Manual for detailed information.
Some commands are not available while the vehicle is in motion.
The “Help” command can be used to hear a list of available commands at any time.
Please refer to the cellular phone manufacturer’s Owner’s Manual f\
or detailed information
regarding your Bluetooth phone.
for recommended phones and detailed instructions, please visit
www.nissanusa.com/bluetooth.
cOnnec TinG PROcedu Re
NOTE: The vehicle must be stationary when connecting the phone.
1. Press the
button on the steering wheel. The system announces the available commands.
2. Say: “connect phone”. The system acknowledges the command and announces the next set
of available commands.
3. Say: “Add phone”. The system acknowledges the command and asks you to initiate connecting
from the phone handset.
4. initiate connecting from the phone:
The connecting procedure varies according to each cellular phone model. f or detailed
connecting instructions and compatible phones, please visit
www.nissanusa.com/bluetooth.
When prompted for a Passkey code, enter “1234” from the handset. (The Passkey code is
assigned by NISSAN and cannot be changed.)
5. Say a name for the phone when the system asks you to provide one. You can give the phone
a name of your choice.
PHOne BOOk SeTu P
depending on your cell phone, the system may automatically download your \
cell phone’s
entire phonebook to the vehicle’s Bluetooth system.
If the phonebook does not download automatically, 40 entries can be individually downloaded.
To manually download entries:
1. Press the
button on the steering wheel.
2. After the tone, say “Phonebook”.
To view detailed instructional videos regarding these and other features,
please go to www.nissanownersinfo.mobi.
system guide
12