glove box Oldsmobile Achieva 1995 Owner's Manuals
[x] Cancel search | Manufacturer: OLDSMOBILE, Model Year: 1995, Model line: Achieva, Model: Oldsmobile Achieva 1995Pages: 340, PDF Size: 16.99 MB
Page 67 of 340
Theft
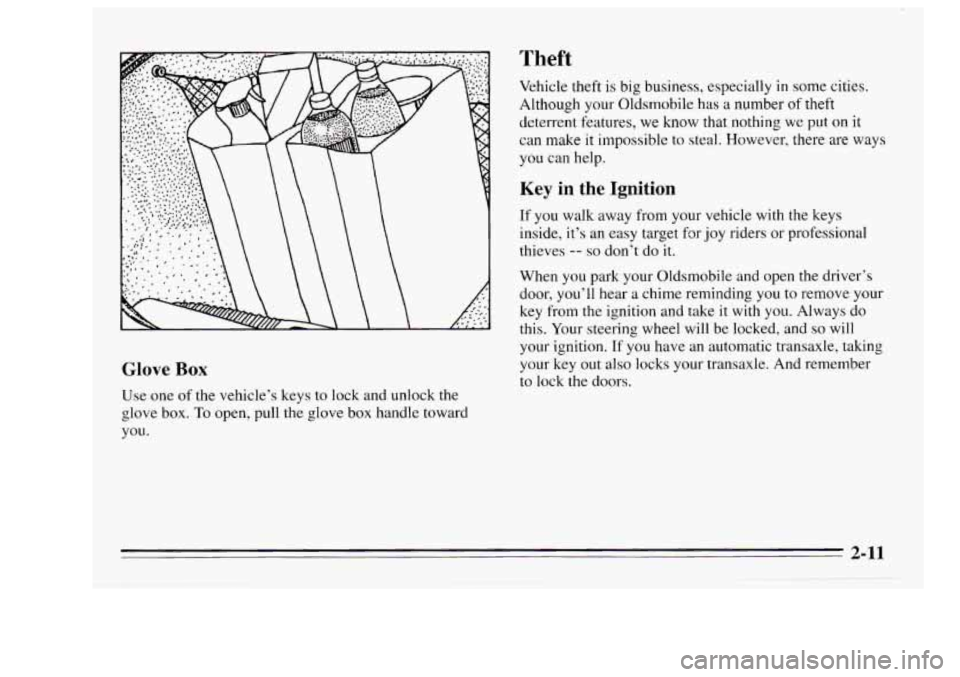
Glove Box
Use one of the vehicle’s keys to lock and unlock the
glove box. To open, pull the glove box handle toward
you.
Vehicle theft is big business, especially in some cities.
Although your Oldsmobile has a number
of theft
deterrent features, we know that nothing we put
on it
can make it impossible to steal. However, there are ways
you can help.
Key in the Ignition
If you walk away from your vehicle with the keys
inside,
it’s an easy target fm joy riders or professional
thieves
-- so don’t do it.
When you park your Oldsmobile and open the driver’s
door,
you’ll hear a chime reminding you to remove your
key from
the ignition and take it with you. Always do
this.
Your steering wheel will be locked, and so will
your ignition.
If you have an automatic transaxle, taking
your key out also locks your transaxle. And remember
to lock the doors.
2-11
Page 68 of 340
New Vehicle 4LBreak-In” Parking at Night
Park in a lighted spot, close all windows and lock your
vehicle. Remember to keep your valuables out
of sight.
Put them
in a storage area, or take them with you.
, Parking Lots
If you park in a lot where someone will be watching
your vehicle, it’s best to lock it up and take your keys.
But what
if you have to leave your ignition key? What if
you have to leave something valuable in your vehicle?
0 Put your valuables in a storage area, like your trunk
or glove box.
0 Lock the glove box.
0 Lock all the doors except the driver’s.
0 Then take the door key with you.
NOTICE:
Your modern Oldsmobile doesn’t need an
elaborate “break-in.” But
it will perform better
in the long run
if you follow these guidelines:
0 Don’t drive at any one speed -- fast or
slow
-- for the first 500 miles (804 km).
Don’t make full-throttle starts.
200 miles (322 km) or so. During this time
your new brake linings aren’t yet broken
in. Hard stops with new linings
can mean
premature wear and earlier replacement.
Follow this “breaking-in” guideline every
time you get new brake linings.
0 Don’t tow a trailer during “break-in.” See
(‘Towing
a Trailer’’ in the Index for more
information.
0 Avoid making hard stops for the first
2-12
-5 T
Page 102 of 340
Front Readinmap Lamps (Option) Trunk Lamp
If your vehicle has a sunroof, it will have a rearview The trunk lamp comes on when you open your trunk.
mirror and lamps. The lamps go on when you open the
doors. When the doors are closed, turn the lamps on and
Battery Rundown Protection
off with the switch. Your Oldsmobile is equipped with a Battery Rundown
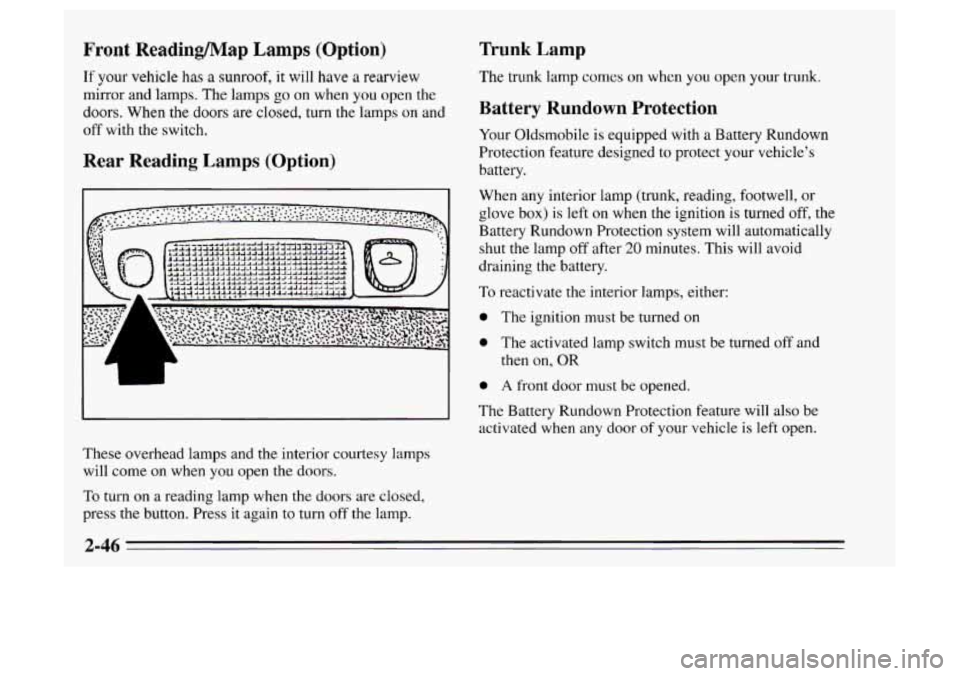
Rear Reading Lamps (Option) Protection feature designed to protect your vehicle's
battery.
'1
These overhead lamps and the interior courtesy lamps
will come
on when you open the doors.
To turn on a reading lamp when the doors are closed,
press the button. Press it again to turn
off the lamp. When
any interior lamp (trunk, reading, footwell, or
glove box) is left on when the ignition is turned off, the
Battery Rundown Protection system will automatically
shut the lamp off after
20 minutes. This will avoid
draining the battery.
To reactivate the interior lamps, either:
0 The ignition must be turned on
0 The activated lamp switch must be turned off and
then on,
OR
0 A front door must be opened.
The Battery Rundown Protection feature will also be
activated when any door
of your vehicle is left open.
Page 105 of 340
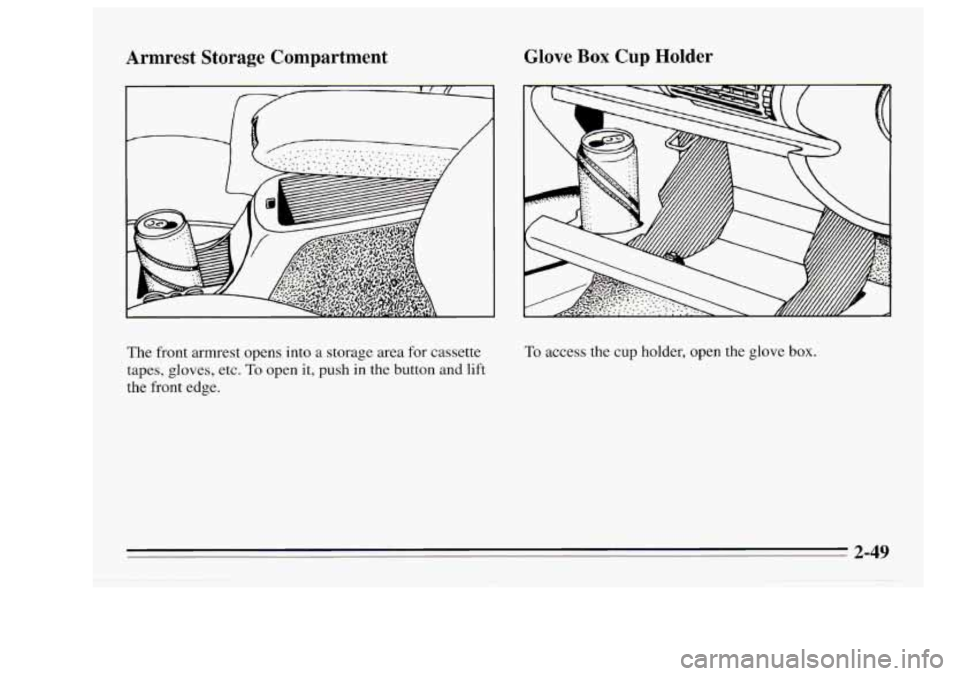
Armrest Storage Compartment
., -r/ ,, _.- -. .. ...._.
Glove Box Cup Holder
The front armrest opens into a storage area for cassette
tapes, gloves, etc.
To open it, push in the button and lift
the front edge.
To access the cup holder, open the glove box.
2-49
Page 111 of 340
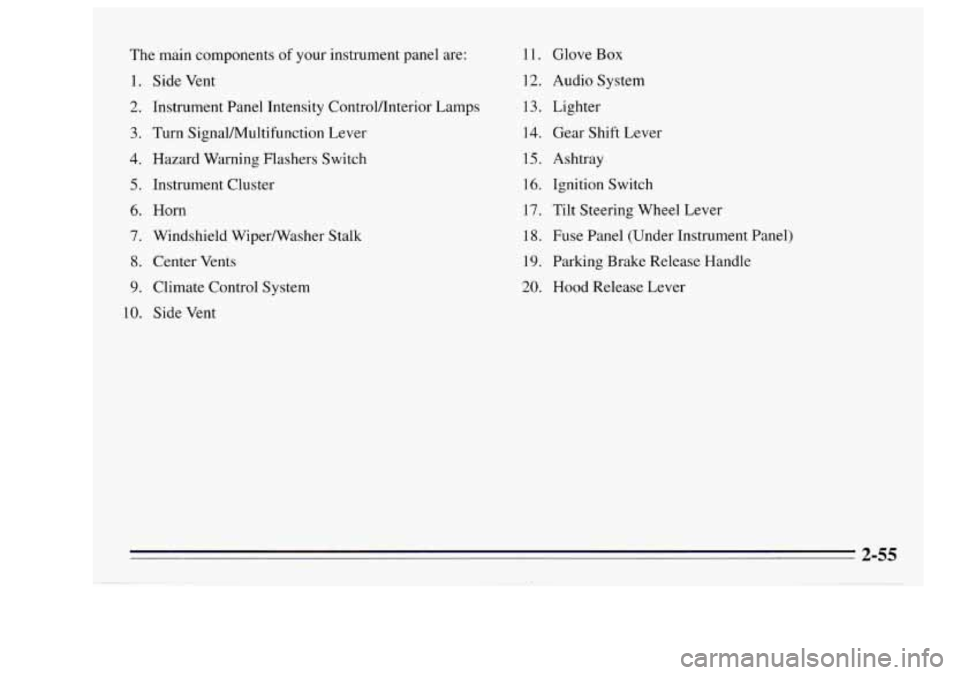
The main components of your instrument panel are:
1.
2.
3.
4.
5.
6.
7.
8.
9.
10.
Side Vent
Instrument Panel Intensity Controlflnterior Lamps
Turn SignaVMultifunction Lever
Hazard Warning Flashers Switch
Instrument Cluster
Horn
Windshield WiperNasher Stalk
Center Vents
Climate Control System
Side Vent 11.
Glove
Box
12. Audio System
13. Lighter
14. Gear Shift Lever
15. Ashtray
16. Ignition Switch
17. Tilt Steering Wheel Lever
18. Fuse Panel (Under Instrument Panel)
19. Parking Brake Release Handle
20. Hood Release Lever
2-55
Page 266 of 340
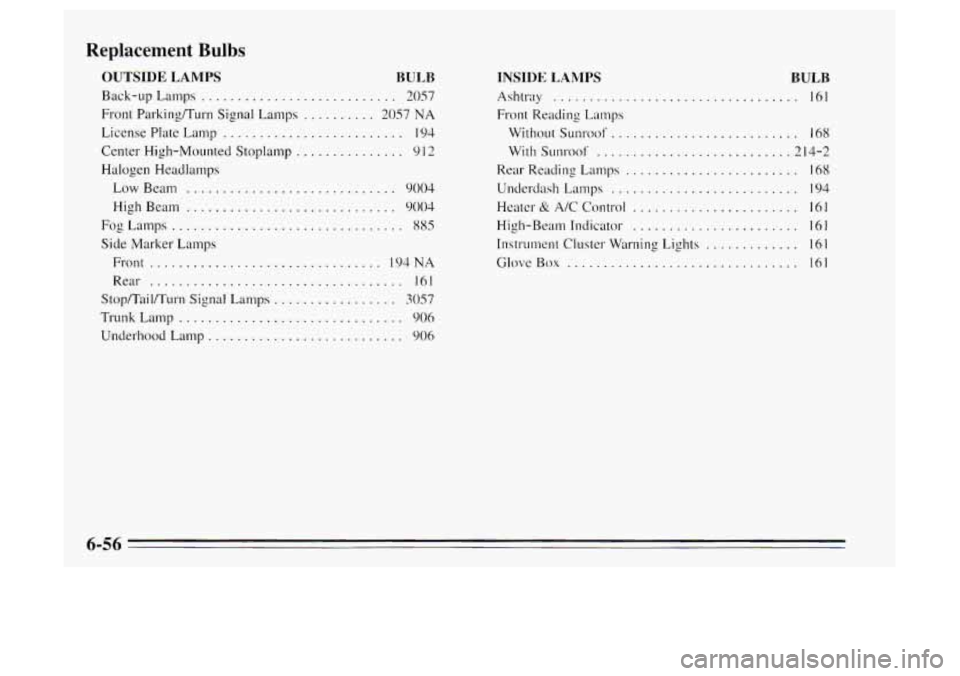
Replacement Bulbs
OUTSIDE LAMPS BULB
Back-up Lamps ........................... 2057
Front Parking/Turn Signal Lamps .......... 2057 NA
License Plate Lamp ......................... 194
Center High-Mounted Stoplamp ............... 9 12
Halogen Headlamps
Low Beam
............................. 9004
High Beam ............................. 9004
Fog Lamps ................................ 885
Side Marker Lamps
Front ................................ 194NA
Rear
................................... 161
Stop/TaiI/Turn Signal Lamps ................. 3057
Trunk Lamp ............................... 906
Underhood Lamp ........................... 906
INSIDE LAMPS BULB
Ashtray .................................. 161
Without Su11roof .......................... i68
With Sunroof ........................... 2 14-2
Front
Reading Lamps
Rear Reading Lamps
........................ 168
Underdash Lamps .......................... 194
Heater
& A/C Control ....................... 161
High-Beam Indicator ....................... 161
Instr~~ment Cluster Warning Lights ............. 161
Glove Box ................................ 161
6-56
Page 305 of 340
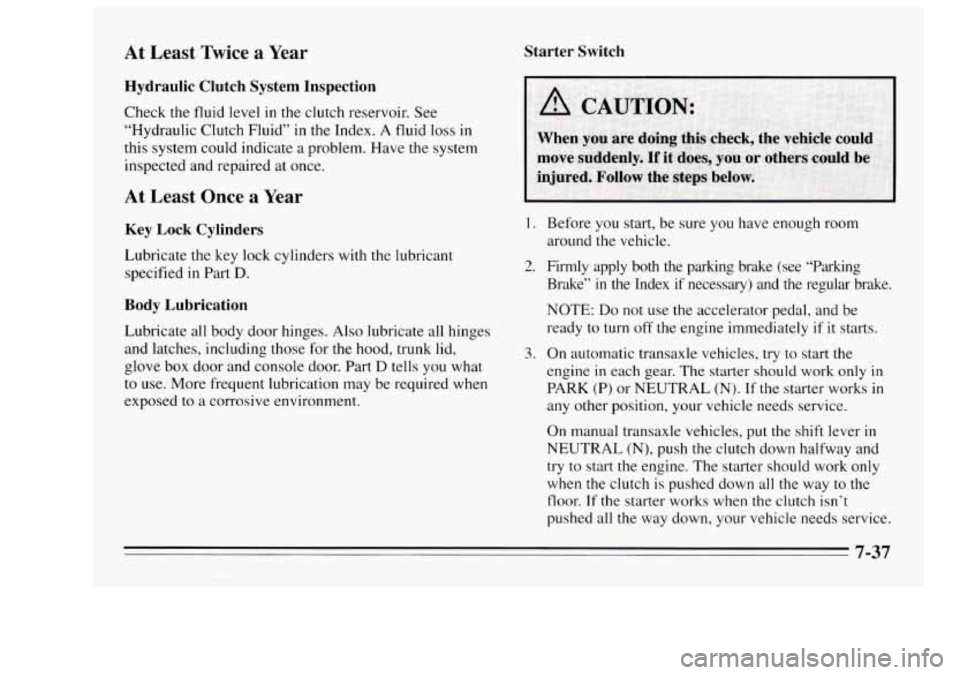
At Least Twice a Year Starter Switch
Hydraulic Clutch System Inspection
Check the fluid level in the clutch reservoir. See
“Hydraulic Clutch Fluid”
in the Index. A fluid loss in
this system could indicate a problem. Have the system
inspected and repaired at once.
At Least Once a Year
Key Lock Cylinders
Lubricate the key lock cylinders with the lubricant
specified
in Part D.
Body Lubrication
Lubricate all body door hinges. Also lubricate all hinges
and latches, including those for the hood, trunk lid,
glove box door and console door. Part
D tells you what
to use. More frequent lubrication may be required when
exposed to a corrosive environment.
I move suddenly. If it does, you or others could be I
1.
2.
3.
Before you start, be sure you have enough room
around the vehicle.
Firmly apply both the parlung brake (see “Parking
Brake”
in the Index if necessary) and the regular brake.
NOTE:
Do not use the accelerator pedal, and be
ready to turn off the engine immediately
if it starts.
On automatic transaxle vehicles, try to start the
engine
in each gear. The starter should work only in
PARK (P) or NEUTRAL (N). If the starter works in
any other position, your vehicle needs service.
On manual transaxle vehicles, put
the shift lever in
NEUTRAL (N), push the clutch down halfway and
try to start the engine. The starter should work only
when the clutch is pushed down all the way to the
floor.
If the starter works when the clutch isn’t
pushed all the way down, your vehicle needs service.
7-37
Page 329 of 340
Power Steering Fluid ......................... 6-24
Restraint Systems
............................ 1-47
Starter Switch
............................... 7-37
Steering Column Lock
........................ 7-38
Things Under the Hood
........................ 6-7
Chemical Paint Spotting
.......................... 6-48
Child Restraints
Securing in a Rear Outside Seat Position
.......... 1-35
Securing in the Center Rear Seat Position
......... 1-37
Securing in the Right Front Seat Position
.......... 1-39
TopStrap
................................... 1-35
Cigarette Lighter
............................... 2-52
Circuit Breaker. Power Windows
and Other Power Options
....................... 6-53
WheretoPut
................................ 1-34
Cleaner. Air
................................... 6-16
Fabric
..................................... 6-42
Glass
...................................... 6-45
Leather
.................................... 6-44
Cleaning
Aluminum Wheels
........................... 6-47
Outside
of the Windshield and Wiper Blades ....... 6-45
Special Problems
............................ 6-43
Stains
...................................... 6-43
The Inside of Your Oldsmobile
.................. 6-42
The Outside
of Your Oldsmobile ................ 6-46
Tires
...................................... 6-47
Top
of the Instrument Panel .................... 6-44
Climate Control
................................. 3-1
Clock, Setting the
................................ 3-5
Clutch Adjustment .............................. 6-21
Vinyl
...................................... 6-44 Clutch.
Hydraulic
............................... 6-21
Comfort Controls
................................ 3-1
Compact Disc Player
............................ 3-10
Compact Disc Player Care
........................ 3-16
Compact Spare Tire
............................. 5-27
Console Cup/ Coin Holder
........................ 2-50
Control of a Vehicle
.............................. 4-5
Control. Loss of ................................ 4-12
Convenience Net
............................... 2-10
Convex Outside Mirror
.......................... 2-47
Coolant Heater. Engine
..................... 2- 17, 6- 15
Coolant Level Warning Light ...................... 2-65
Coolant Surge Tank
........................ 5- 15, 6-21
Coolant Temperature Gage
....................... 2-64
Coolant Temperature Warning Light
................ 2-64
Coolant. How to Add to the Coolant Surge Tank
...... 5-15
Cooling System ................................ 5-14
Cruise Control
Erasing Speed Memory
........................ 2-43
Getting Out
of ............................... 2-43
Passing Another Vehicle While Using
............ 2-42
To Increase Speed
............................ 2-42
To Resume a Set Speed
........................ 2-41
Coolant
....................................... 6-21
ToReduceSpeed
............................ 2-42
ToSet
..................................... 2-40
UseonHills
................................ 2-42
Cupholder. RearSeat
............................ 2-50
Cupholder, Glove
Box
........................... 2-49
Customer Assistance for the Hearing or Speech Impaired
8-2
Customer Assistance Information ................... 8-1
Customer Satisfaction Procedure
.................... 8-1
9-3