reset Oldsmobile Achieva 1997 Owner's Manuals
[x] Cancel search | Manufacturer: OLDSMOBILE, Model Year: 1997, Model line: Achieva, Model: Oldsmobile Achieva 1997Pages: 372, PDF Size: 18.52 MB
Page 97 of 372
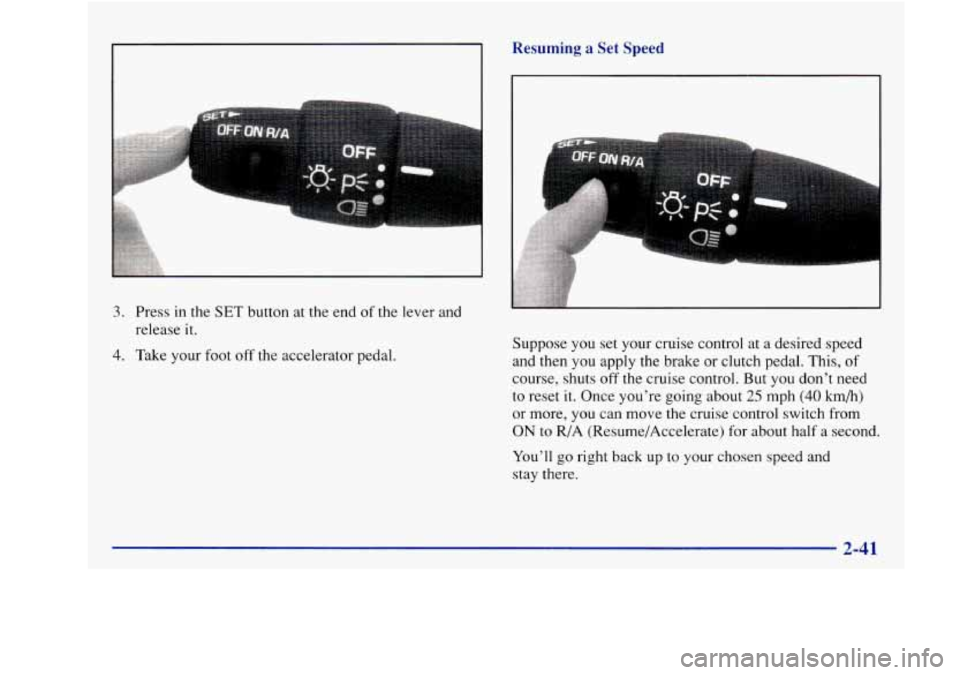
3. Press in the SET button at the end of the lever and
release it.
4. Take your foot off the accelerator pedal. Suppose
you set your cruise control at a desired speed
and then you apply the brake or clutch pedal. This, of
course, shuts off the cruise control. But you don’t need
to reset it. Once you’re going about
25 mph (40 km/h)
or more, you can move the cruise control switch from
ON to R/A (Resume/Accelerate) for about half a second.
You’ll
go right back up to your chosen speed and
stay there.
Page 104 of 372
Rear Reading Lamps (If Equipped)
I
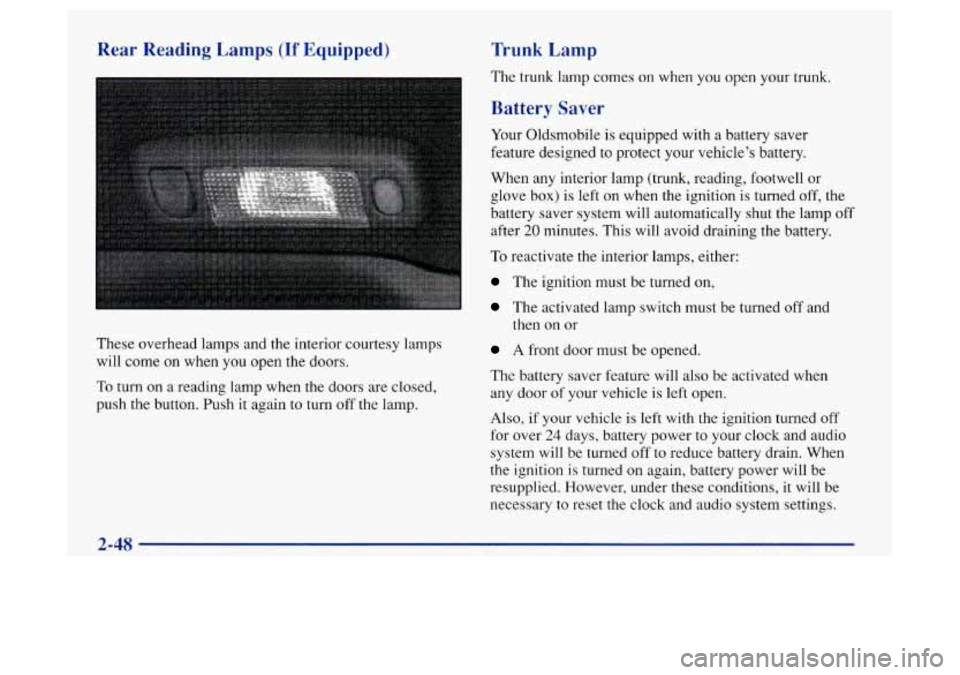
These overhead lamps and the interior courtesy lamps
will come on when you open the doors.
To turn on a reading lamp when the doors are closed,
push the button. Push it again to turn off the lamp.
nunk Lamp
The trunk lamp comes on when you open your trunk.
Battery Saver
Your Oldsmobile is equipped with a battery saver
feature designed to protect your vehicle’s battery.
When any interior lamp (trunk, reading, footwell or
glove box) is left
on when the ignition is turned off, the
battery saver system will automatically shut the lamp
off
after 20 minutes. This will avoid draining the battery.
To reactivate the interior lamps, either:
The ignition must be turned on,
The activated lamp switch must be turned off and
then
on or
A front door must be opened.
The battery saver feature will also be activated when
any door
of your vehicle is left open.
Also,
if your vehicle is left with the ignition turned off
for over
24 days, battery power to your clock and audio
system will be turned off to reduce battery drain. When
the ignition is turned on again, battery power will be
resupplied. However, under these conditions,
it will be
necessary to reset the clock and audio system settings.
2-48
Page 115 of 372
Speedometer and Odometer
Your speedometer lets you see your speed in both miles
per hour (mph) and kilometers per hour (km/h).
Your odometer shows how far your vehicle has been
driven, in either miles (used in
the United States) or
kilometers (used in Canada).
Your Oldsmobile has a tamper resistant odometer. If you
see silver lines between the numbers, you’ll
know that
someone has probably tried to turn it back,
so the
numbers may not be true.
You may wonder what happens if your vehicle needs a
new odometer installed.
If the new one can be set to the
mileage total
of the old odometer, then it must be. But if
it can’t, then it’s set at zero and
a label must be put on
the driver’s door to show the old mileage reading when
the new odometer was installed.
Trip Odometer
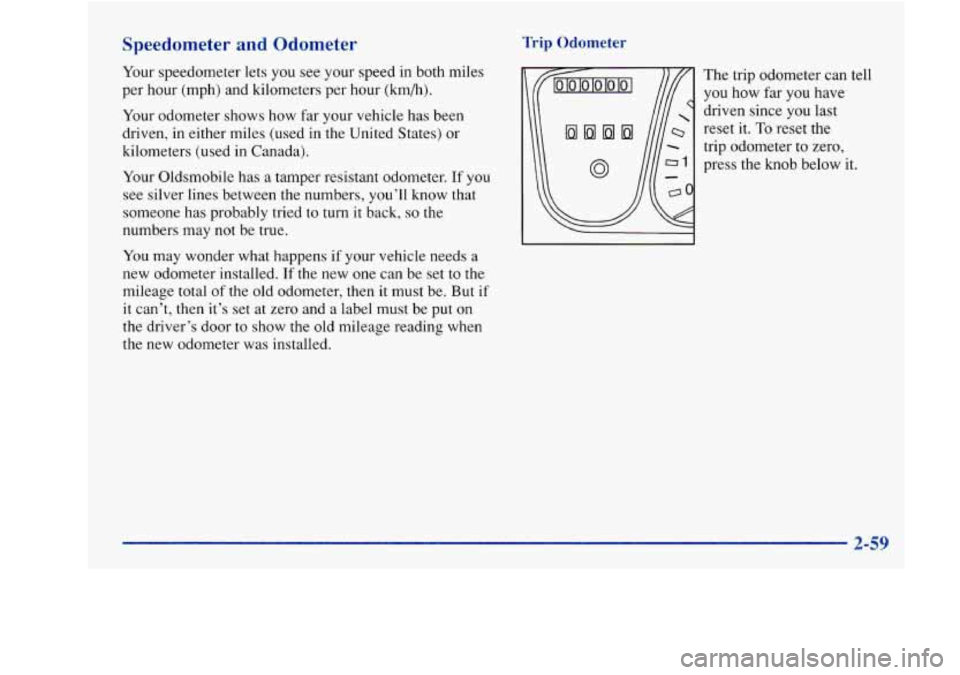
The trip odometer can tell
you how far you have
driven since you last
reset it.
To reset the
trip odometer to zero,
press the knob below it.
2-59
. --
Page 119 of 372
If the light comes on while you are driving, pull off the
road and stop carefully. You
may notice that the pedal is
harder to push. Or, the pedal may go closer to the floor.
It may take longer to stop.
If the light is still on, have the
vehicle towed for service. (See “Towing Your Vehicle”
in the Index.)
-: CAUTION:
Your brake system may not be working properly
if the brake system warning light is
on. Driving
with the brake system warning light
on can lead
to an accident.
If the light is still on after you’ve
pulled off the road and stopped carefully, have
the vehicle towed for service.
When the ignition is on, the brake system warning light
will also come on when you set your parking brake. The
light will stay on if your parking brake doesn’t release
fully. If
it stays on after your parking brake is fully
released,
it means you have a brake problem.
Anti-Lock Brake System Warning Light
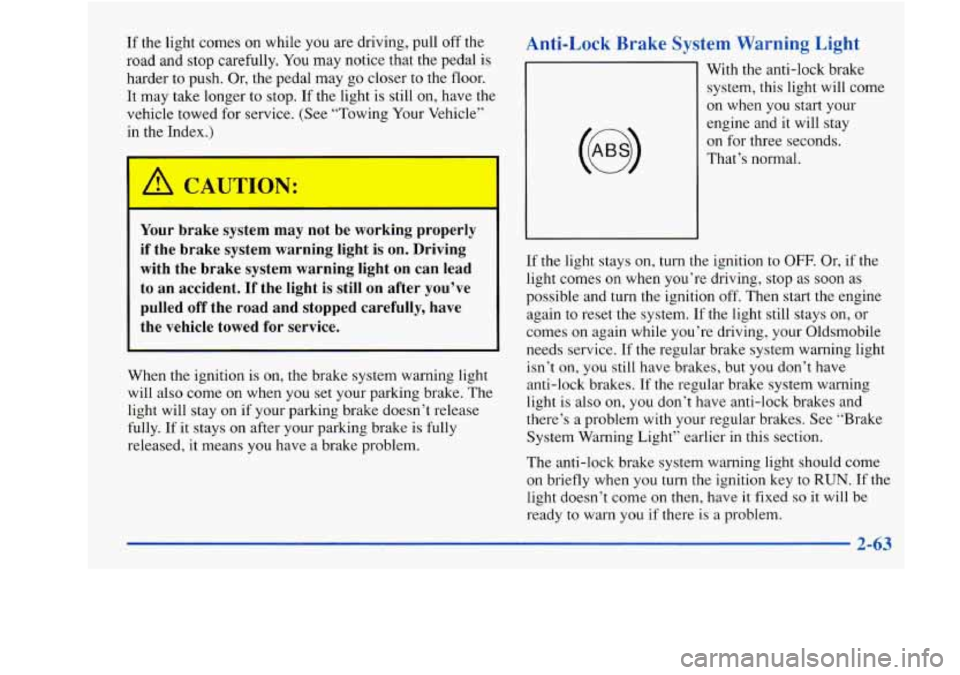
With the anti-lock brake
system, this light will come
on when
you start your
engine and it will stay
on for three seconds.
That’s normal.
If the light stays on, turn the ignition to
OFF. Or, if the
light comes
on when you’re driving, stop as soon as
possible and turn the ignition off. Then start the engine
again to reset the system. If the light still stays on, or
comes on again while you’re driving, your Oldsmobile
needs service. If the regular brake system warning light
isn’t
on, you still have brakes, but you don’t have
anti-lock brakes.
If the regular brake system warning
light is also on, you don’t have anti-lock brakes and
there’s a problem with your regular brakes. See “Brake
System Warning Light” earlier in this section.
The anti-lock brake system warning light should come
on briefly when you turn the ignition key to
RUN. If the
light doesn’t come
on then, have it fixed so it will be
ready to warn you if there is
a problem.
2-63
Page 138 of 372
PUSHBUTTONS: The five numbered pushbuttons let
you return to your favorite stations. You can set up to
15 stations (five AM, five FM1 and five FM2). Just:
1. Turn the radio on.
2. Press AM-FM to select the band.
3. Tune in the desired station.
4. Press and hold one of the five numbered buttons.
The sound will mute. When it returns, release the
button. Whenever you press that numbered button,
the station you set will return.
5. Repeat the steps for each pushbutton.
P SCAN: Press SCAN for more than two seconds, and
P
SCAN will appear on the display. The radio will go to
the first preset station stored on your pushbuttons, stop
for a few seconds, then go on to the next preset station.
Press
SCAN again to stop scanning.
Setting the Tone
BASS:
Press this knob lightly so it extends. Turn the
knob to increase or decrease bass.
TREB: Press this knob lightly so it extends. Then pull
the knob all the way out. Turn it
to increase or decrease
treble.
If a station is weak or noisy, you may want to
decrease the treble.
Push these knobs back into their stored positions when
you’re not using them.
Adjusting the Speakers
BAL:
Press this knob lightly so it extends. Turn the knob
to move the sound to
the left or right speakers. The middle
position balances the sound between the speakers.
FADE: Press the knob lightly so it extends. Then pull
the knob all the way out. Turn it to move the sound to
the front or rear speakers. The middle position balances
the sound between the speakers.
Push these knobs back into their stored positions when
you’re not using them.
Page 140 of 372
PUSHBUTTONS: The five numbered pushbuttons let
you return to your favorite stations. You can set up to
15 stations (five AM, five FMl and five FM2). Just:
1. Turn the radio on.
2. Press AM-FM to select the band.
3. Tune in the desired station.
4. Press TONE to select the equalization that best suits
the type of station selected.
5. Press and hold one of the five numbered buttons.
The sound will mute. When it returns, release the
button. Whenever you press that numbered button,
the station you set will return and the tone that
you selected will also be automatically selected for
that button.
6. Repeat the steps for each pushbutton.
P SCAN: Press SCAN for more than two seconds, and
P SCAN will appear on the display. The radio will go to
the first preset station stored on your pushbuttons, stop
for
a few seconds, then go on to the next preset station.
Press SCAN again
to stop scanning.
Setting the Tone
BASS: Press this knob lightly so it extends. Turn the
knob
to increase or decrease bass. When you use this
control, the radio’s tone setting will switch to manual.
TREB: Press this knob lightly so it extends. Then pull
the knob all the way out. Turn the knob to increase or
decrease treble. When you use this control, the radio’s
tone setting will switch to manual. If a station is weak or
noisy, you may want to decrease the treble.
Push these knobs back into their stored positions when
you’re not using them.
TONE: This feature allows you to choose preset bass
and treble equalization settings designed for jazz, vocal,
pop, rock and classical stations. JAZZ will appear on the
display when you first press TONE. Each time you press
it, another setting will appear on the display. Press it
again after CLASSIC appears and MANUAL will
appear. Manual tone control will return to the BASS and
TREB knobs. Also, if you use the BASS and TREB
knobs, control will return to them and MANUAL
will appear.
Page 142 of 372
FWD (2): Press this button to advance quickly to
another part of
the tape. Press the button again to return
to playing speed. The radio will play the last-selected
station while the tape advances. You may select stations
during
FWD operation by using TUNE.
PROG (3): Press this button to play the other side of
the tape.
10 (4): Press this button to reduce background noise.
Note that the double-D symbol will appear on the display.
Dolby@ Noise Reduction is manufactured under a
license from Dolby Laboratories Licensing Corporation.
Dolby and the double-D symbol are trademarks of
Dolby Laboratories Licensing Corporation.
TONE: Press this button to select a tone while playing a
cassette. The tone will be automatically set whenever
you play a cassette tape.
SEEK: Press the up or down arrow to search for the
next or previous selection on the tape. Your tape must
hme at least three seconds of silence between each
selection for
SEEK to work. After the selection has been
playing for at least eight seconds, press the SEEK down
arrow to return
to the beginning of the selection.
SCAN: Press this button to listen to each selection for a
few seconds. The tape will go
to the next selection, stop
for a few seconds, then go on to the next selection. Press this button again
to stop scanning. The sound will mute,
SCAN will appear on the display and the tape direction
arrow will blink while scanning.
AM-FM: Press this button to play the radio when a tape
is
in the player. The tape will stop but remain in the player.
TAPE AUX: If you have a tape inserted and the radio is
playing, press TAPE AUX to play your tape.
To return
to the radio while a tape is playing, press
AM-FM. The
inactive tape will remain safely inside the radio for
future listening.
EJECT Press this button to remove the tape. The
radio will play. EJECT may be activated with either the
ignition or radio off. Cassettes may be loaded with the
radio and ignition
off if this button is pressed first. If
you leave a cassette tape in the player while listening to
the radio,
it may become warm.
CLN: If this message appears on the display, the
cassette tape player needs to be cleaned. It will still play
tapes, but you should clean
it as soon as possible to
prevent damage to
the tapes and player. See “Care of
Your Cassette Tape Player” in the Index. After you clean
the player, press and hold EJECT for five seconds to
reset the CLN indicator. The radio will display
--- to
show the indicator was reset,
3-12
Page 144 of 372
PUSHBUTTONS: The five numbered pushbuttons let
you return
to your favorite stations. You can set up to
15 stations (five AM, five FM1 and five FM2). Just:
1.
2.
3.
4.
5.
6.
Turn the radio on.
Press AM-FM to select the band.
Tune in the desired station.
Press TONE to select the equalization that best suits
the type of station selected.
Press and hold one of the five numbered buttons.
The sound will mute. When it returns, release the
button. Whenever you press that numbered button,
the station you set will return and the tone that
you selected will also be automatically selected for
that button.
Repeat the steps for each pushbutton.
P SCAN: Press SCAN for more than two seconds, and
P SCAN will appear
on the display. The radio will go to
the first preset station stored on your pushbuttons, stop
for a few seconds, then go on
to the next preset station.
Press SCAN again
to stop scanning.
Setting the Tone
BASS:
Press this knob lightly so it extends. Turn the
knob
to increase or decrease bass. When you use this
control, the radio’s tone setting will switch to manual.
TREB: Press this knob lightly so it extends. Then pull
the knob all the way out.
Turn the knob to increase or
decrease treble. When you use this control, the radio’s
tone setting will switch to manual. If a station is weak or
noisy, you may want to decrease the treble.
Push these knobs back into their stored positions when
you’re not using them.
TONE: This feature allows you to choose preset bass
and treble equalization settings designed for jazz, vocal,
pop, rock and classical stations. JAZZ will appear on the
display when you first press TONE. Each time you press
it, another setting will appear on the display. Press
it
again after CLASSIC appears and MANUAL will
appear. Tone control will return to the BASS and TREB
knobs. Also,
if you use the BASS and TREB knobs,
control will return to them and MANUAL will appear.
Adjusting the Speakers
BAL: Press this knob lightly so it extends. Turn the knob
to move the sound to
the left or right speakers. The middle
position balances the sound between the speakers.
3-14
Page 146 of 372
PROG (3): Press this button to play the other side of
the tape.
00 (4): Press this button to reduce background noise.
Note that the double-D symbol will appear on the display.
Dolby@ Noise Reduction
is manufactured under a
license from Dolby Laboratories Licensing Corporation.
Dolby and the double-D symbol are trademarks of
Dolby Laboratories Licensing Corporation.
TONE: Press this button to select a tone while playing a
cassette. The tone will be automatically set whenever
you play a cassette tape.
SEEK: Press the up or down arrow to search for the
next or previous selection on the tape. Your tape must
have at least three seconds of silence between each
selection for SEEK to work.
SCAN: Press this button to listen to each selection for a
few seconds. The tape will go to the next selection, stop
for a few seconds, then go
on to the next selection. Press
this button again to stop scanning. The sound will mute
while scanning, SCAN will appear on the display and
the tape direction arrow will blink while scanning.
AM-FM: Press this button to play the radio when a tape
is
in the player. The tape will stop but remain in the player.
TAPE-CD: Press this button if you have a disc
loaded
in the changer and the radio is playing, to play a
compact disc. Press AM-FM to return to the radio when
a compact disc is playing. Press TAPE-CD to switch
between the tape and compact disc
if both are loaded.
The inactive tape or CD will remain safely inside the
radio for future listening.
EJECT Press this button to remove the tape. The
radio will play. EJECT may be activated with either the
ignition or radio off. Cassettes may be loaded with the
radio and ignition off if this button is pressed first. If
you leave
a cassette tape in the player while listening to
the radio, it may become warm.
CLN: If this message appears on the display, the
cassette tape player needs to be cleaned. It will still play
tapes, but you should clean it as soon as possible to
prevent damage to the tapes and player. See “Care of
Your Cassette Tape Player” in the Index. After you clean
the player, press and hold EJECT for five seconds to
reset the CLN indicator.
The radio will display --- to
show the indicator was reset.
3-16
Page 152 of 372
Care of Your Cassette Tape Player
A tape player that is not cleaned regularly can cause
reduced sound quality, ruined cassettes or a damaged
mechanism. Cassette tapes should be stored in their
cases away from contaminants, direct sunlight and
extreme heat.
If they aren’t, they may not operate
properly or may cause failure of the tape player.
Your tape player should be cleaned regularly after every
50 hours of use. Your radio may display CLN to indicate
that you have used your tape player for
50 hours without
resetting the tape clean timer.
If this message appears
on the display, your cassette tape player needs to be
cleaned. It will still play tapes, but
you should clean it as
soon as possible to prevent damage to your tapes and
player. If you notice a reduction in sound quality, try a
known good cassette
to see if it is the tape or the tape
player at fault. If this other cassette has no improvement
in sound quality, clean the tape player.
Cleaning may be done with a scrubbing action,
non-abrasive cleaning cassette with pads which scrub
the tape head as the hubs of the cleaner cassette turn.
A scrubbing action cleaning cassette
is available through
your Oldsmobile retail facility. When using a cleaning
cassette, it
is normal for the cassette to eject while
cleaning because your unit is equipped with a cut tape
detection feature and some cleaning cassettes may appear
as a broken tape.
If the cleaning cassette is
ejected immediately from the tape player, you will need
to override the cut tape feature.
To temporarily override this feature for vehicles with
Automatic Tone Control (for one insertion), follow
these steps:
Turn the ignition on.
0 Turn the radio off.
0 Press and hold TAPEPLAY until the tape symbol
flashes on the display.
Insert the cleaning cassette. (Insert the cassette at
least three times to ensure thorough cleaning.)
0 Eject the cleaning cassette.
When the cleaning cassette has been ejected, the broken
tape detection feature is active again.
After you clean the player, press and hold EJECT for
five seconds
to reset the CLN indicator. The radio will
display
--- to show the indicator was reset.
Cassettes are subject
to wear and the sound quality may
degrade over time. Always make sure that the cassette
tape is
in good condition before you have your tape
player serviced.
3-22