engine Oldsmobile Achieva 1998 s Manual PDF
[x] Cancel search | Manufacturer: OLDSMOBILE, Model Year: 1998, Model line: Achieva, Model: Oldsmobile Achieva 1998Pages: 356, PDF Size: 18.04 MB
Page 245 of 356
If none of them is true, use the long triphighway
maintenance schedule. Change the oil and filter every
7,500 miles (12 500 km) or 12 months -- whichever
occurs first. Driving
a vehicle with a fully warmed
engine under highway conditions causes engine oil to
break down slower.
What to Do with Used Oil
Did you know that used engine oil contains certain
elements that may be unhealthy for your skin and could
even cause cancer? Don’t let used oil stay on your skin
for very long. Clean your skin and nails
with soap and
water, or a good hand cleaner. Wash or properly throw
away clothing or rags containing used engine oil. (See
the manufacturer’s warnings about the use and disposal
of oil products.)
Used oil can be a real threat to the environment.
If you
change your own oil, be sure to drain all free-flowing oil
from the filter before disposal. Don’t ever dispose of oil
by putting it in the trash, pouring it on the ground, into
sewers, or into streams or bodies of water. Instead,
recycle it by taking it to a place that collects used oil. If
you have a problem properly disposing of your used oil,
ask your retailer, a service station or a local recycling
center for help.
Air Cleaner
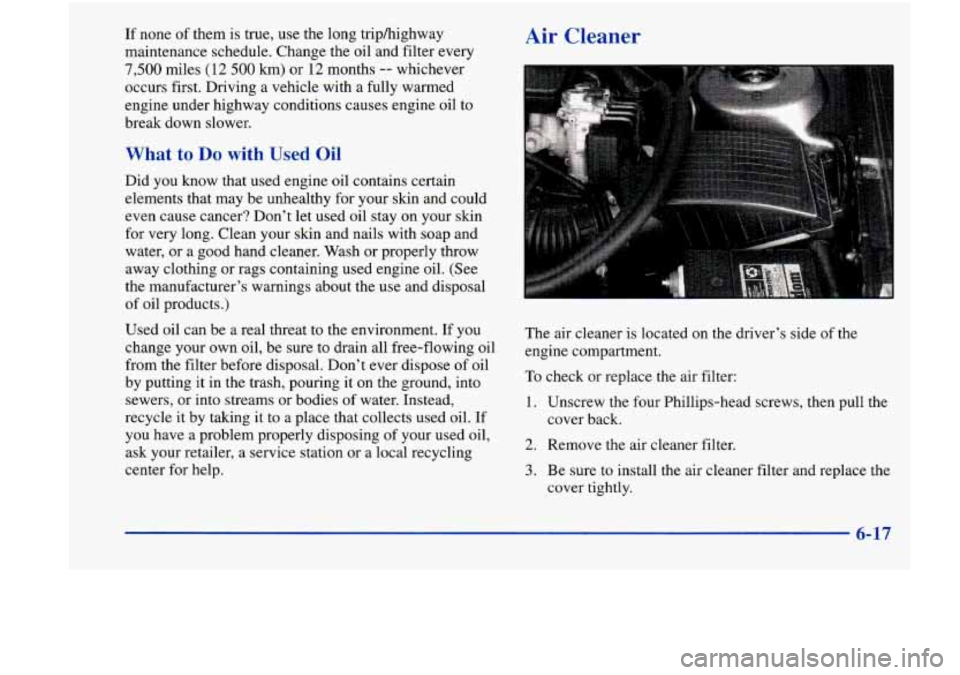
The air cleaner is located on the driver’s side of the
engine compartment.
To check or replace the air filter:
1. Unscrew the four Phillips-head screws, then pull the
cover back.
2. Remove the air cleaner filter.
3. Be sure to install the air cleaner filter and replace the
cover tightly.
6-17
Page 246 of 356
Refer to the Maintenance Schedule to determine when to
replace the air filter.
See “Scheduled Maintenance Services” in the Index.
Operating the engine with the air cleaner off can
cause you or others to be burned. The air cleaner
not only cleans the
air, it stops flame if the engine
backfires.
If it isn’t there, and the engine
backfires, you could be burned. Don’t drive with
it
off, and be careful working on the engine with
the air cleaner off.
I NOTICE:
If the air cleaner is off, a backfire can cause a
damaging engine fire. And, dirt can easily get
into your engine, which will damage it. Always
have the air cleaner in place when you’re driving.
Automatic Transaxle Fluid
When to Check and Change
A good time to check your automatic transaxle fluid
level is when the engine oil is changed.
Change both the fluid and filter every
50,000 miles
(83 000 km) if the vehicle is mainly driven under one
or more
of these conditions:
0 In heavy city traffic where the outside temperature
regularly reaches
90°F (32°C) or higher.
In hilly or mountainous terrain.
When doing frequent trailer towing.
Uses such as found in taxi, police or delivery service.
If you do not use your vehicle under any of these
conditions, the fluid and filter do not require changing.
See “Scheduled Maintenance Services”
in the Index.
6-18
Page 247 of 356
How to Check
Because this operation can be a little difficult, you
may choose to have this done at your Oldsmobile
retail facility Service Department.
If you do it yourself, be sure to follow all the
instructions here, or you could get a false reading
on the dipstick.
NOTICE:
Too much or too little fluid can damage your
transaxle.
Too much can mean that some of the
fluid could come out and fall on hot engine parts or exhaust system parts, starting a fire. Be sure
to
get an accurate reading if you check your
transaxle fluid.
Wait at least 30 minutes before checking the transaxle
fluid level if you have been driving:
0 When outside temperatures are above 90°F (32°C).
0 At high speed for quite a while.
In heavy traffic -- especially in hot weather.
While pulling a trailer.
To get the right reading, the fluid should be at normal
operating temperature, which
is 180°F to 200°F
(82°C to 93°C).
Get the vehicle warmed up by driving about
15 miles
(24
km) when outside temperatures are above 50°F
(10°C). If it's colder than
50°F (lO"C), you may have
to drive longer.
Checking the Fluid Level
Park your vehicle on a level place. Keep the engine
running.
0 With the parking brake applied, place the shift lever
in PARK (P).
0 With your foot on the brake pedal, move the shift
lever through each gear range, pausing for about
three seconds in each range. Then, position the shift
lever in PARK (P).
Let the engine run at idle for three to five minutes.
6-19
Page 248 of 356

Then, without shutting off the engine, follow these steps:
1. The automatic transaxle dipstick handle is red.
Pull out the dipstick and wipe it with a clean rag or
paper towel.
2. Push it back in all the way, wait three seconds and
then pull it back out again.
3. Check both sides of the dipstick, and read the
lower level. The fluid level must be in the
cross-hatched area.
4. If the fluid level is in the acceptable range, push the
dipstick back in all the way.
6-20
Page 249 of 356
How to Add Fluid
Refer to the Maintenance Schedule to determine what
kind of transaxle fluid to use. See “Recommended
Fluids and Lubricants” in the Index.
If the fluid level is low, add only enough of the proper
fluid to bring the level into the cross-hatched area on
the dipstick.
1. Pull out the dipstick.
2. Using a long-neck hnnel, add enough fluid at the
dipstick hole to bring
it to the proper level.
3. After adding fluid, recheck the fluid level as
described under “How to Check.”
4. When the correct fluid level is obtained, push
the dipstick back in all the way.
Engine Coolant
The cooling s stem in your vehicle is filled with
DEX-COOL engine coolant.
This coolant is designed
to remain in your vehicle for 5 years or
150,000 miles
(240 000 km) whichever occurs first, if you add only
DEX-COOL’ extended life coolant.
B
It doesn’t take much fluid, generally less than The following explains your cooling system and how
one pint
(0.5 L). Don’t oveflZZ. to add coolant when it is low. If you have a problem
with engine overheating, see “Engine Overheating” in
I 3 the Index.
NOTICE: A 50/50 mixture of water and DEX-COOL@
coolant will:
We recommend you use only fluid labeled
DEXRON@-III, because fluid with that label is
made especially for your automatic transaxle.
is not covered by your new vehicle warranty.
Protect against rust and corrosion. Damage caused by fluid other than DEXRON-III
a Give boiling protection up to 265 “F (129 “C).
a Give freezing protection down to -34°F (-37°C).
Help keep the proper engine temperature. z
Let the warning lights and gages work as
they should.
6-21
Page 250 of 356
NOTICE:
When adding coolant, it is important that you use
only
DEX-COOL’ (silicate-free) coolant.
If coolant other than DEX-COOL is added to the
system, premature engine, heater core or
radiator corrosion may result. In addition, the
engine coolant will require change sooner
-- at
30,000 miles (50 000 km) or 24 months,
whichever occurs
first. Damage caused by the
use of coolant other than DEX-COOL’
is not
covered by your new vehicle warranty.
What to Use
Use a mixture of one-half clean water (preferably
distilled) and one-half
DEX-COOL@ coolant which
won’t damage aluminum parts.
If you use this mixture,
you don’t need to add anything else.
Adding only plain water to your cooling system
can be dangerous. Plain water, or some other
liquid like alcohol, can boil before the proper
coolant mixture will. Your vehicle’s coolant
warning system is set for the proper coolant
mixture, With plain water or the wrong mixture,
your engine could get too hot but you wouldn’t
get the overheat warning. Your engine could
catch fire and you or others could be burned.
Use a
50/50 mixture of clean water and
DEX-COOL@ coolant,
6-22
Page 251 of 356
NOTICE:
If you use an improper coolant mixture, your
engine could overheat and be badly damaged.
The repair cost wouldn’t be covered by your
warranty. Too much water in the mixture can
freeze and crack the engine, radiator, heater core
and other parts.
If you have to add coolant more than four times a year,
have your retailer check your cooling system.
I NOTICE: I
If you use the proper coolant, you don’t have to
add extra inhibitors or additives which claim to
improve the system. These can be harmful.
Checking Coolant
The surge tank is located on the passenger’s side of the
engine compartment.
6-23
Page 252 of 356
L
I
Turning the surge tank pressure cap when the
engine and radiator are hot can allow steam and
scalding liquids to blow out and burn you badly.
Never turn the surge tank pressure cap
-- even a
little -- when the engine and radiator are hot.
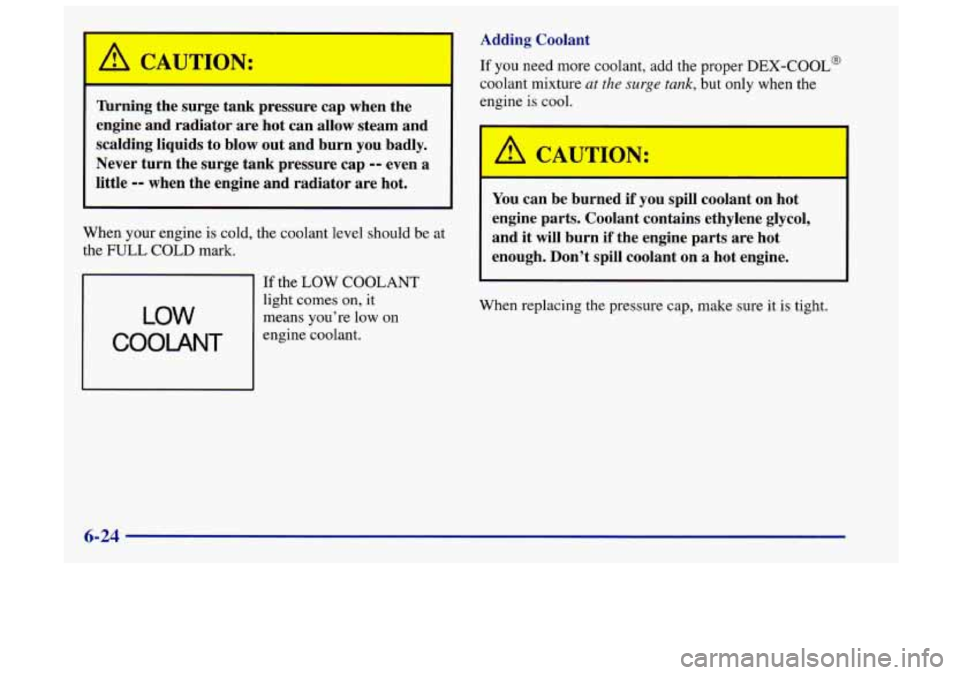
When your engine is cold, the coolant level should be at
the
FULL COLD mark.
LOW
COOLANT
If the LOW COOLANT
light comes on, it
means you’re low
on
engine coolant.
Adding Coolant
If you need more coolant, add the proper DEX-COOL@
coolant mixture at the surge tank, but only when the
engine
is cool.
A CAUTION:
You can be burned if you spill coolant on hot
engine parts. Coolant contains ethylene glycol,
and it will burn
if the engine parts are hot
enough. Don’t spill coolant on
a hot engine.
When replacing the pressure cap, make sure it is tight.
Page 253 of 356
Surge Tank Pressure Cap Power Steering Fluid
I NOTICE:
Your
pressure cap is an 15 psi (105 kPa)
pressure-type cap and must
be tightly installed
to prevent coolant loss and possible engine
damage from overheating.
When you replace your surge tank pressure cap, a
GM cap is recommended.
Thermostat
Engine coolant temperature is controlled by a thermostat
in the engine coolant system. The thermostat stops the
flow
of coolant through the radiator until the coolant
reaches a preset temperature.
When you replace your thermostat, an ACDelco@
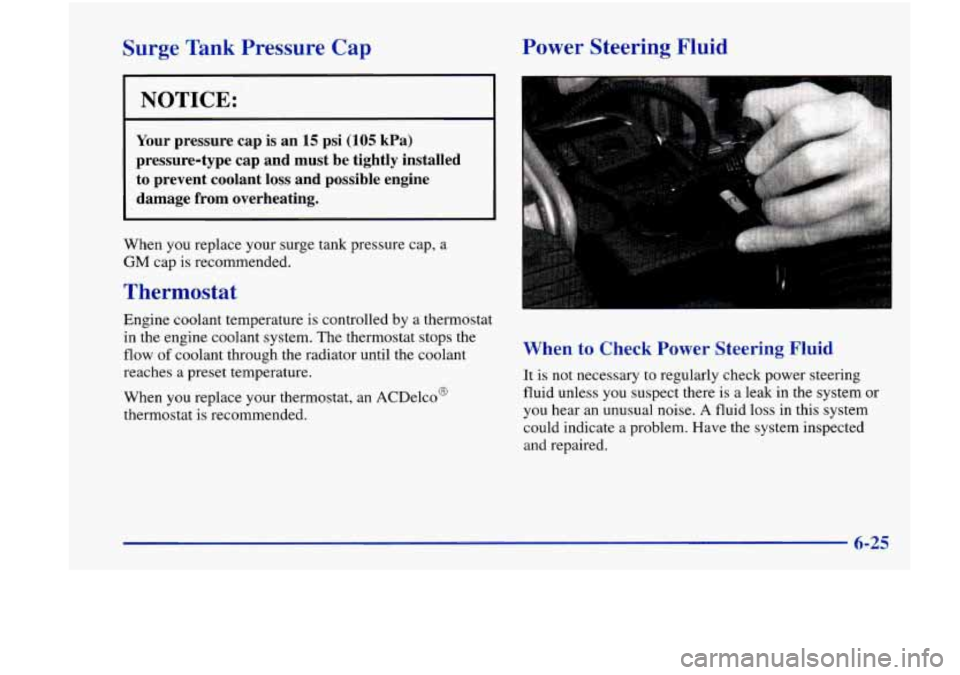
thermostat is recommended. When to Check Power Steering Fluid
It is not necessary to regularly check power steering
fluid unless you suspect there
is a leak in the system or
you hear an unusual noise. A fluid loss in this system
could indicate
a problem. Have the system inspected
and repaired.
Page 254 of 356
How To Check Power Steering Fluid
When the engine compartment is cool, wipe the cap and
the top
of the reservoir clean, then unscrew the cap and
wipe the dipstick with a clean rag. Replace the cap and
completely tighten it. Then remove the cap again and
look at the fluid level
on the dipstick.
The level should be at the
“C” mark. If necessary, add
only enough fluid to bring the level up to the mark.
What to Use
To determine what kind of fluid to use, see
“Recommended
Fluids and Lubricants” in the Index.
Always use the proper fluid. Failure to use the proper
fluid can cause leaks and damage hoses and seals.
Windshield Washer Fluid
What to Use
When you need windshield washer fluid, be sure to read
the manufacturer’s instructions before use.
If you will be
operating your vehicle in an area where the temperature
may fall below freezing, use a fluid that has sufficient
protection against freezing.
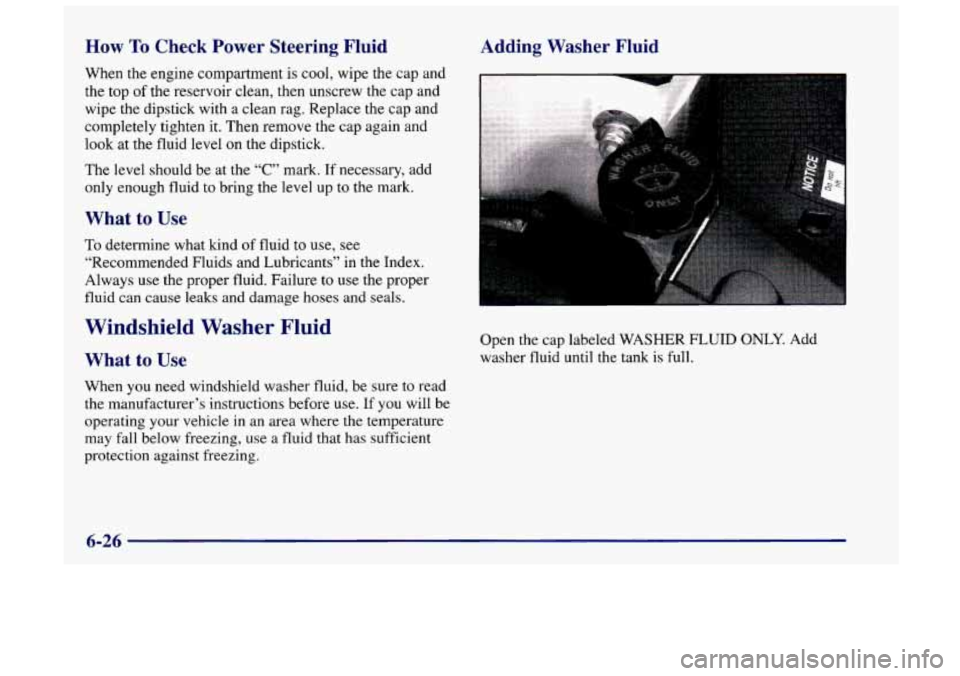
Adding Washer Fluid
Open the cap labeled WASHER FLUID ONLY. Add
washer fluid until the tank
is full.
6-26