LATCH Oldsmobile Alero 2001 Owner's Manuals
[x] Cancel search | Manufacturer: OLDSMOBILE, Model Year: 2001, Model line: Alero, Model: Oldsmobile Alero 2001Pages: 340, PDF Size: 2.53 MB
Page 18 of 340
1-6 Head Restraints
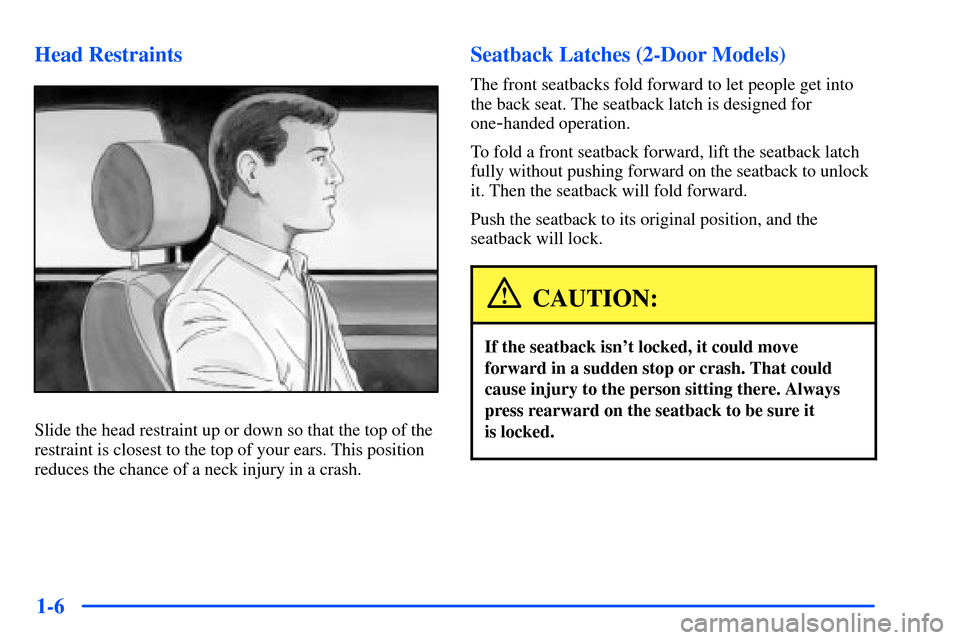
Slide the head restraint up or down so that the top of the
restraint is closest to the top of your ears. This position
reduces the chance of a neck injury in a crash.
Seatback Latches (2-Door Models)
The front seatbacks fold forward to let people get into
the back seat. The seatback latch is designed for
one
-handed operation.
To fold a front seatback forward, lift the seatback latch
fully without pushing forward on the seatback to unlock
it. Then the seatback will fold forward.
Push the seatback to its original position, and the
seatback will lock.
CAUTION:
If the seatback isn't locked, it could move
forward in a sudden stop or crash. That could
cause injury to the person sitting there. Always
press rearward on the seatback to be sure it
is locked.
Page 19 of 340
1-7 Easy Entry Seat (2-Door Models)
The right front seat of your vehicle makes it easy for
people to get in and out of the rear seat.
1. Fold the right front seatback forward by lifting the
seatback latch fully.
2. The seat will slide forward to allow someone to get
into the rear seat area.
3. Push the seatback upright to lock and slide the seat
fully rearward to lock.
4. Adjust the seat to the desired position.
5. The front passenger should try to move the seat to
make sure the seat is locked into place.
CAUTION:
If an easy entry right front seat isn't locked, it
can move. In a sudden stop or crash, the person
sitting there could be injured. After you've used
it, be sure to push rearward on an easy entry seat
to be sure it is locked.
Rear Seats
Folding the Rear Seat
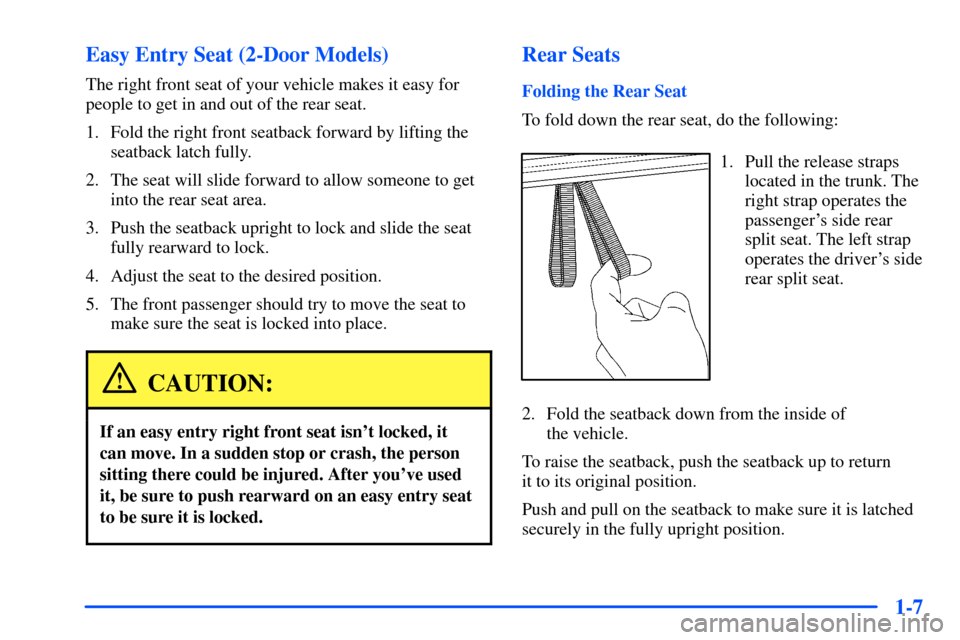
To fold down the rear seat, do the following:
1. Pull the release straps
located in the trunk. The
right strap operates the
passenger's side rear
split seat. The left strap
operates the driver's side
rear split seat.
2. Fold the seatback down from the inside of
the vehicle.
To raise the seatback, push the seatback up to return
it to its original position.
Push and pull on the seatback to make sure it is latched
securely in the fully upright position.
Page 26 of 340
1-14
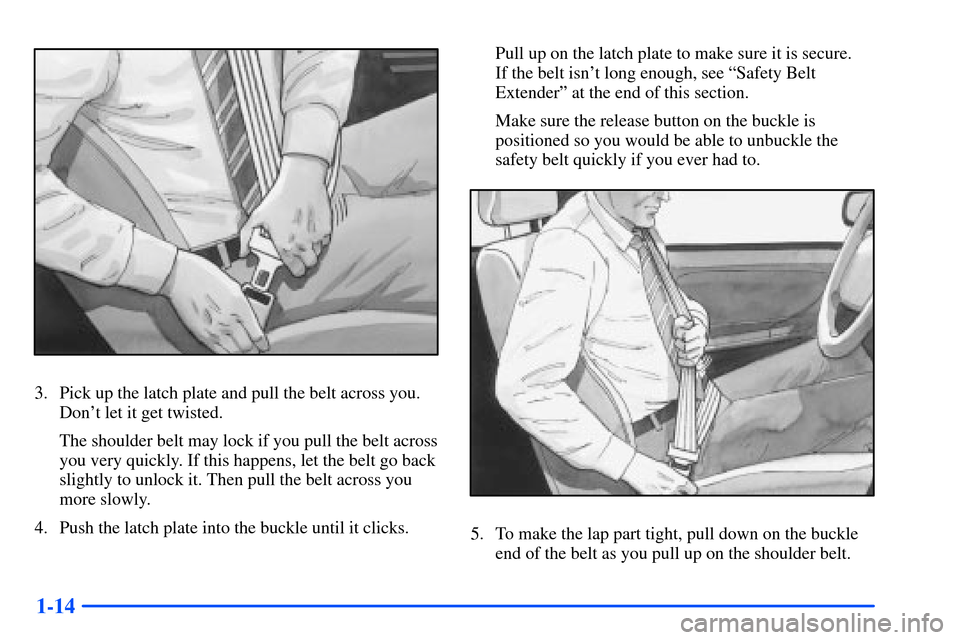
3. Pick up the latch plate and pull the belt across you.
Don't let it get twisted.
The shoulder belt may lock if you pull the belt across
you very quickly. If this happens, let the belt go back
slightly to unlock it. Then pull the belt across you
more slowly.
4. Push the latch plate into the buckle until it clicks.Pull up on the latch plate to make sure it is secure.
If the belt isn't long enough, see ªSafety Belt
Extenderº at the end of this section.
Make sure the release button on the buckle is
positioned so you would be able to unbuckle the
safety belt quickly if you ever had to.
5. To make the lap part tight, pull down on the buckle
end of the belt as you pull up on the shoulder belt.
Page 32 of 340
1-20
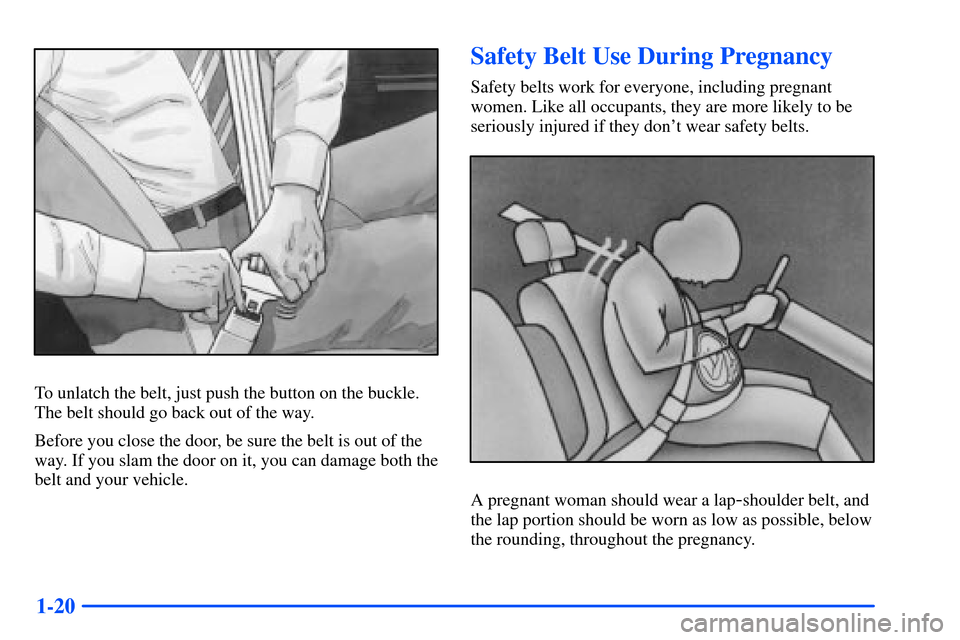
To unlatch the belt, just push the button on the buckle.
The belt should go back out of the way.
Before you close the door, be sure the belt is out of the
way. If you slam the door on it, you can damage both the
belt and your vehicle.
Safety Belt Use During Pregnancy
Safety belts work for everyone, including pregnant
women. Like all occupants, they are more likely to be
seriously injured if they don't wear safety belts.
A pregnant woman should wear a lap-shoulder belt, and
the lap portion should be worn as low as possible, below
the rounding, throughout the pregnancy.
Page 40 of 340
1-28
Rear Seat Passengers
It's very important for rear seat passengers to buckle up!
Accident statistics show that unbelted people in the rear
seat are hurt more often in crashes than those who are
wearing safety belts.
Rear passengers who aren't safety belted can be thrown
out of the vehicle in a crash. And they can strike others
in the vehicle who are wearing safety belts.
Rear Seat Outside Passenger Positions
Lap-Shoulder Belt
The positions next to the windows have lap
-shoulder
belts. Here's how to wear one properly.
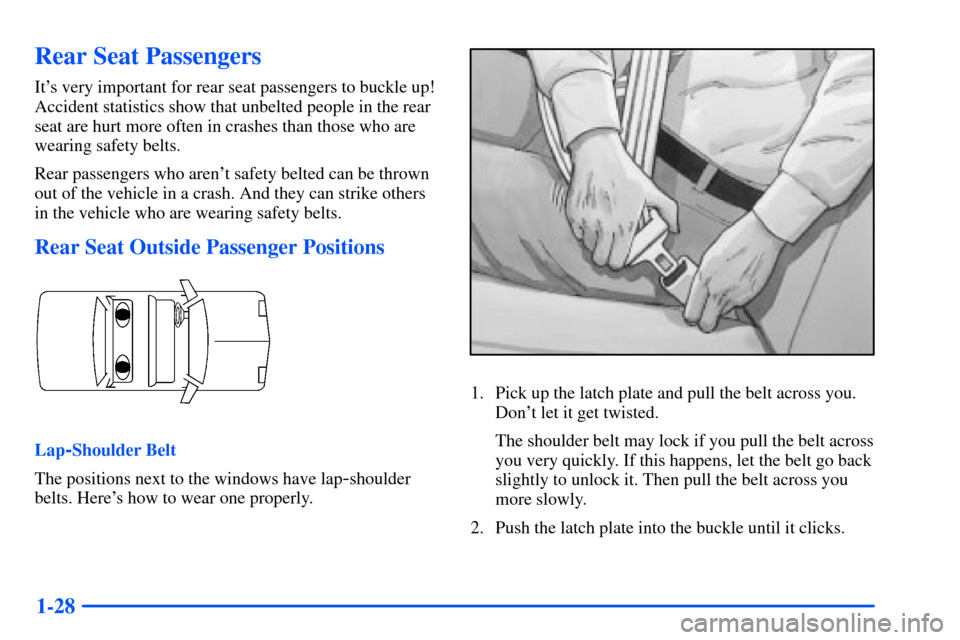
1. Pick up the latch plate and pull the belt across you.
Don't let it get twisted.
The shoulder belt may lock if you pull the belt across
you very quickly. If this happens, let the belt go back
slightly to unlock it. Then pull the belt across you
more slowly.
2. Push the latch plate into the buckle until it clicks.
Page 41 of 340
1-29
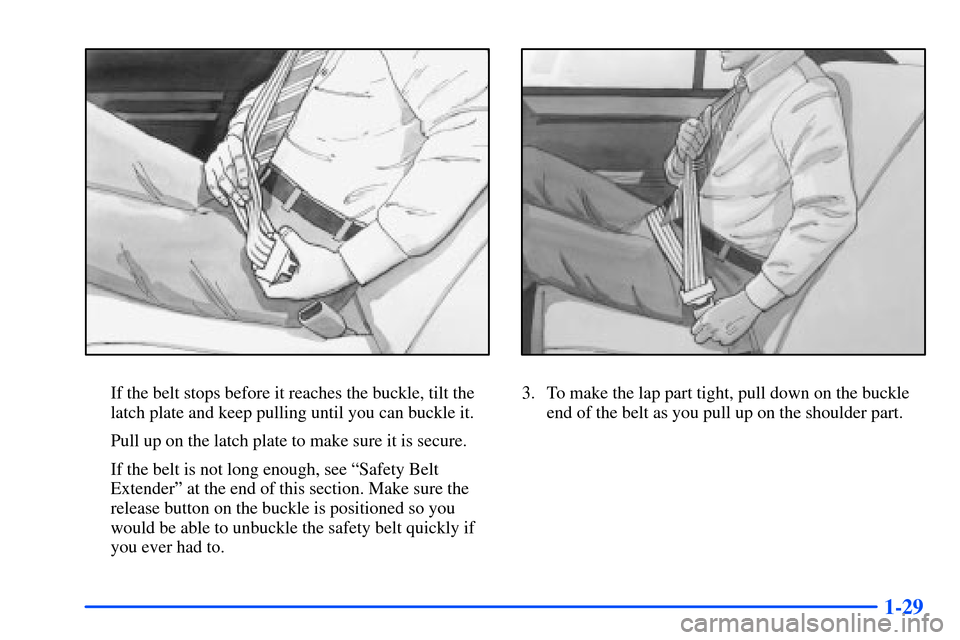
If the belt stops before it reaches the buckle, tilt the
latch plate and keep pulling until you can buckle it.
Pull up on the latch plate to make sure it is secure.
If the belt is not long enough, see ªSafety Belt
Extenderº at the end of this section. Make sure the
release button on the buckle is positioned so you
would be able to unbuckle the safety belt quickly if
you ever had to.3. To make the lap part tight, pull down on the buckle
end of the belt as you pull up on the shoulder part.
Page 42 of 340
1-30
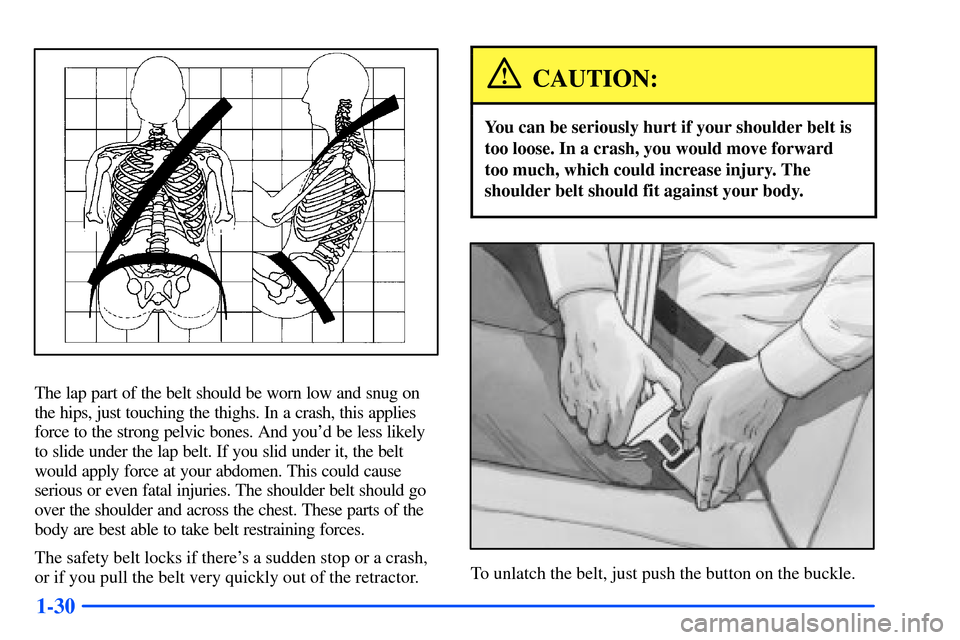
The lap part of the belt should be worn low and snug on
the hips, just touching the thighs. In a crash, this applies
force to the strong pelvic bones. And you'd be less likely
to slide under the lap belt. If you slid under it, the belt
would apply force at your abdomen. This could cause
serious or even fatal injuries. The shoulder belt should go
over the shoulder and across the chest. These parts of the
body are best able to take belt restraining forces.
The safety belt locks if there's a sudden stop or a crash,
or if you pull the belt very quickly out of the retractor.
CAUTION:
You can be seriously hurt if your shoulder belt is
too loose. In a crash, you would move forward
too much, which could increase injury. The
shoulder belt should fit against your body.
To unlatch the belt, just push the button on the buckle.
Page 46 of 340
1-34 Lap Belt
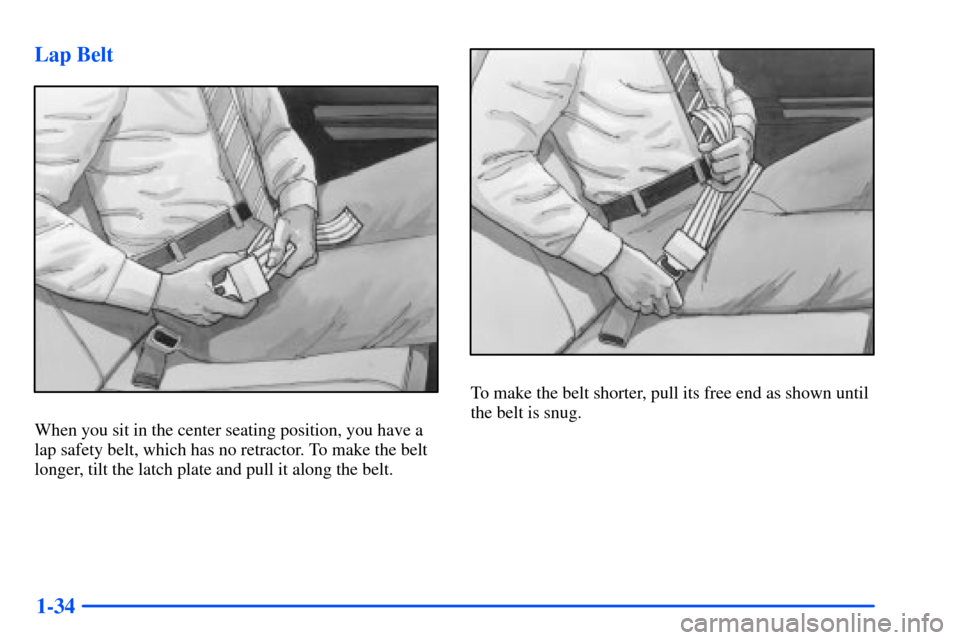
When you sit in the center seating position, you have a
lap safety belt, which has no retractor. To make the belt
longer, tilt the latch plate and pull it along the belt.
To make the belt shorter, pull its free end as shown until
the belt is snug.
Page 56 of 340
1-44
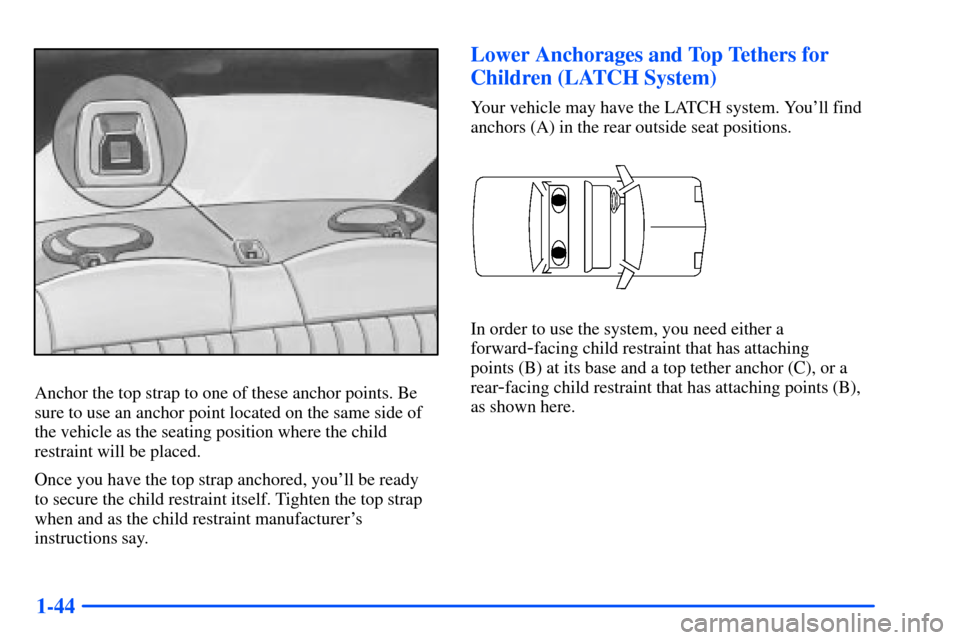
Anchor the top strap to one of these anchor points. Be
sure to use an anchor point located on the same side of
the vehicle as the seating position where the child
restraint will be placed.
Once you have the top strap anchored, you'll be ready
to secure the child restraint itself. Tighten the top strap
when and as the child restraint manufacturer's
instructions say.
Lower Anchorages and Top Tethers for
Children (LATCH System)
Your vehicle may have the LATCH system. You'll find
anchors (A) in the rear outside seat positions.
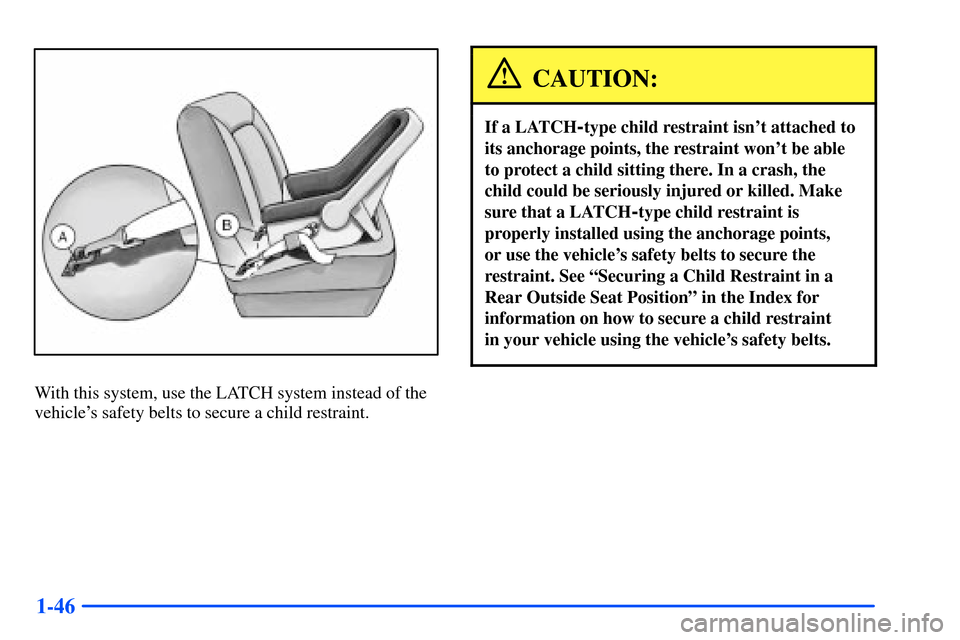
In order to use the system, you need either a
forward
-facing child restraint that has attaching
points (B) at its base and a top tether anchor (C), or a
rear
-facing child restraint that has attaching points (B),
as shown here.
Page 58 of 340
1-46
With this system, use the LATCH system instead of the
vehicle's safety belts to secure a child restraint.
CAUTION:
If a LATCH-type child restraint isn't attached to
its anchorage points, the restraint won't be able
to protect a child sitting there. In a crash, the
child could be seriously injured or killed. Make
sure that a LATCH
-type child restraint is
properly installed using the anchorage points,
or use the vehicle's safety belts to secure the
restraint. See ªSecuring a Child Restraint in a
Rear Outside Seat Positionº in the Index for
information on how to secure a child restraint
in your vehicle using the vehicle's safety belts.