light Oldsmobile Alero 2003 s User Guide
[x] Cancel search | Manufacturer: OLDSMOBILE, Model Year: 2003, Model line: Alero, Model: Oldsmobile Alero 2003Pages: 354, PDF Size: 16.74 MB
Page 87 of 354
A warning chime will sound if you open the driver’s door
when the ignition is
off and the key is in the ignition.
Notice: If your key seems stuck in OFF and
you can’t turn it, be sure you are using the correct
key;
if so, is it all the way in? Turn the key only
with your hand. Using
a tool to force it could break
the key or the ignition switch.
If none of this
works, then your vehicle needs service.
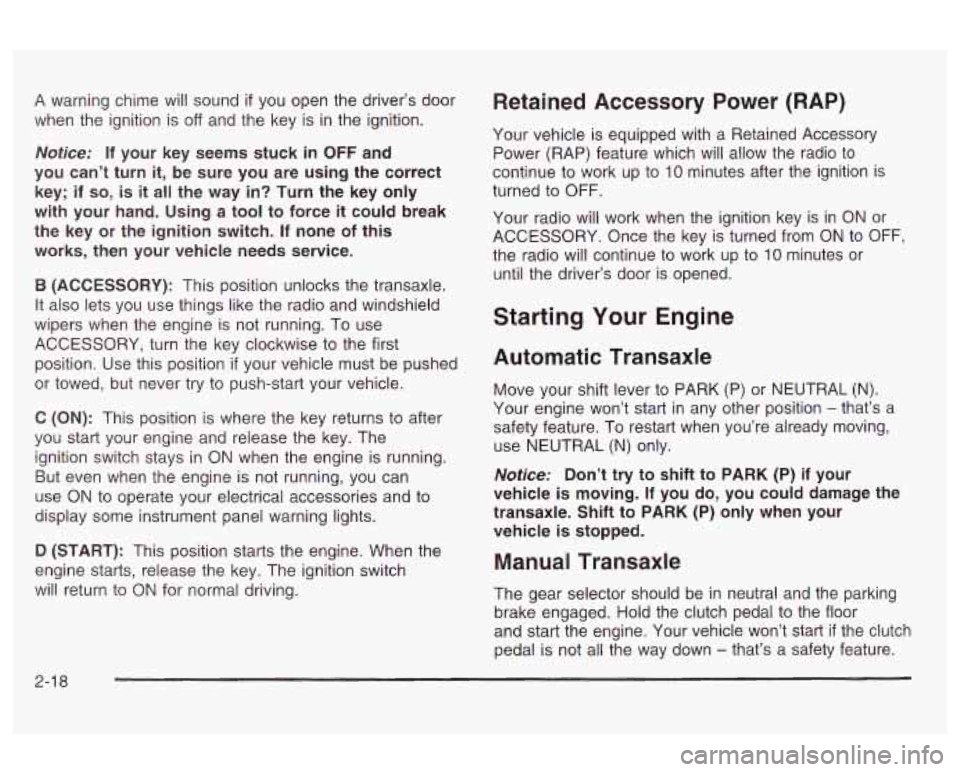
B (ACCESSORY): This position unlocks the transaxle.
It also lets you use things like the radio and windshield
wipers when the engine is not running. To use
ACCESSORY, turn the key clockwise to the first
position. Use this position
if your vehicle must be pushed
or towed, but never try to push-start your vehicle.
C (ON): This position is where the key returns to after
you start your engine and release the key. The
ignition switch stays in ON when the engine is running.
But even when the engine is not running, you can
use
ON to operate your electrical accessories and to
display some instrument panel warning lights.
D (START): This position starts the engine. When the
engine starts, release the key. The ignition switch
will return to ON for normal driving.
Retained Accessory Power (RAP)
Your vehicle is equipped with a Retained Accessory
Power (RAP) feature which will allow the radio to
continue
to work up to 10 minutes after the ignition is
turned to OFF.
Your radio will work when the ignition key is in ON or
ACCESSORY. Once the key is turned from ON
to OFF,
the radio will continue
to work up to 10 minutes or
until the driver’s door is opened.
Starting Your Engine
Automatic Transaxle
Move your shift lever to PARK (P) or NEUTRAL (N).
Your engine won’t start in any other position
- that’s a
safety feature. To restart when you’re already moving,
use NEUTRAL (N) only.
Notice: Don’t try to shift to PARK (P) if your
vehicle
is moving. If you do, you could damage the
transaxle. Shift to PARK (P) only when your
vehicle is stopped.
Manual Transaxle
The gear selector should be in neutral and the parking
brake engaged. Hold the clutch pedal to the floor
and start the engine. Your vehicle won’t start
if the clutch
pedal is not all the way down
- that’s a safety feature.
2-1 8
Page 95 of 354
Shift Speeds
I
If you skip a gear when you downshift, you
could lose control of your vehicle. You could
injure yourself
or others. Don’t shift down
more than one gear at a time when you
downshift.
Up-Shift Light
Parking Brake
ii
SHIFT
If you have a manual
transaxle, you may have a
SHIFT light located on
the instrument panel
cluster. This light will show
you when to shift to the
next higher gear for
the best fuel economy.
When this light comes on, you can shift to the next
higher gear
if the weather, road and traffic conditions
permit. For the best fuel economy, accelerate slowly and
shift when the light comes on. Automatic Transaxle shown,
Manual Transaxle similar
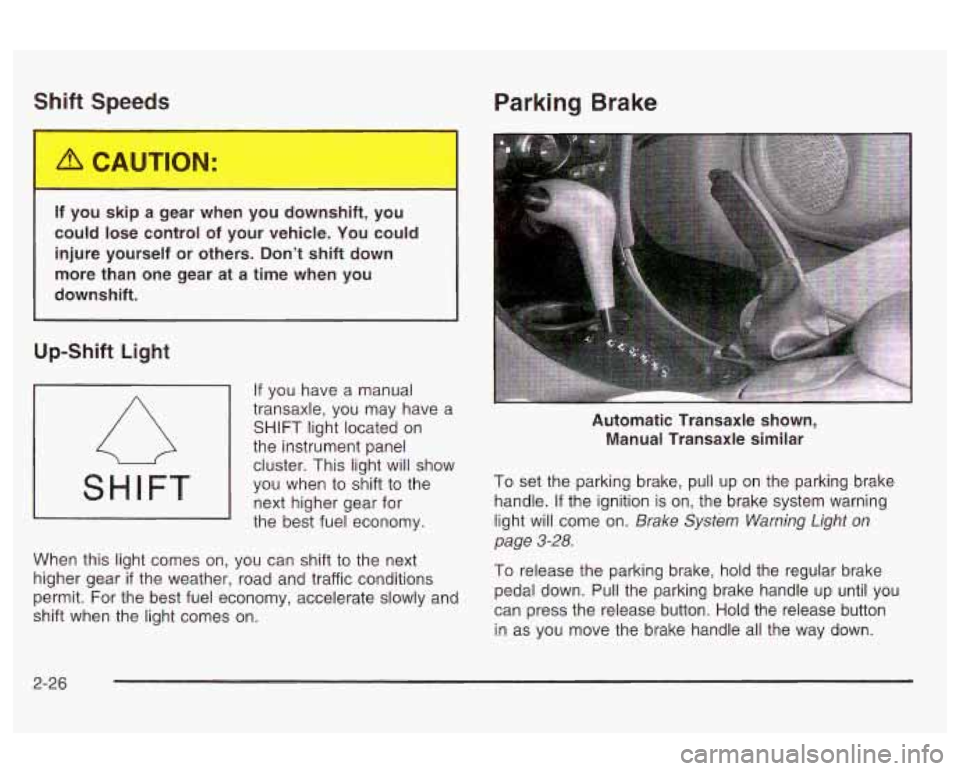
To set the parking brake, pull up on the parking brake
handle.
If the ignition is on, the brake system warning
light will come on.
Brake System Warning Light on
page
3-28.
To release the parking brake, hold the regular brake
pedal down. Pull the parking brake handle up until you
can press the release button.
Hold the release button
in as you move the brake handle all the way down.
2-26
Page 106 of 354
Section 3 Instrument Panel
Instrument Panel Overview ............................... 3.4
Hazard Warning Flashers
.......... .............. 3.6
Other Warning Devices
................................... 3.6
Horn
............................................................. 3.6
Tilt Wheel
..................................................... 3.7
Turn SignaVMultifunction Lever
......................... 3.7
Exterior Lamps
............................................. 3.13
Interior Lamps
.............................................. 3.16
Accessory Power Outlets
............................... 3.17
Ashtrays and Cigarette Lighter
........................ 3.18
Climate Controls
........................................... -3-1 9
Climate Control System
................................. 3.19
Outlet Adjustment
......................................... 3.22
Warning Lights, Gages and Indicators
............. 3.23
Instrument Panel Cluster
................................ 3.24
Speedometer and Odometer
........................... 3.25
Tachometer
................................................. 3.25
Safety Belt Reminder Light
............................. 3.26
Air
Eag Reauiness iighi 3-LW
Charging System Light .................................. 3.27
fi cln ................................
Up-Shift Light .............................. .......... 3-28
Brake System Warning Light
........, .......... 3-28
Anti-Lock Brake System
Enhanced Traction System
Enhanced Traction System
Warning
bight
........................................ 3-29
Warning Light
........................................... 3-29
Active Light
.............................................. 3-30
Engine Coolant Temperature Gage
.................. 3-31
Low Coolant Warning Light
............................ 3-31
Malfunction Indicator Lamp
............................. 3-31
Oil Pressure Light
......................................... 3-34
Low Oil Level Light
....................................... 3-35
Security Light
............................................... 3-36
Cruise Control Light
...................................... 3-36
%??:ice ‘!ehic!n see!? Light ........................... ._ 2-36
Fuel Gage ................................................... 3-37
Change Engine
Oil Light
................................ 3-35
Low Washer Fluid Warning Light
..................... 3-36
3-
1
Page 110 of 354
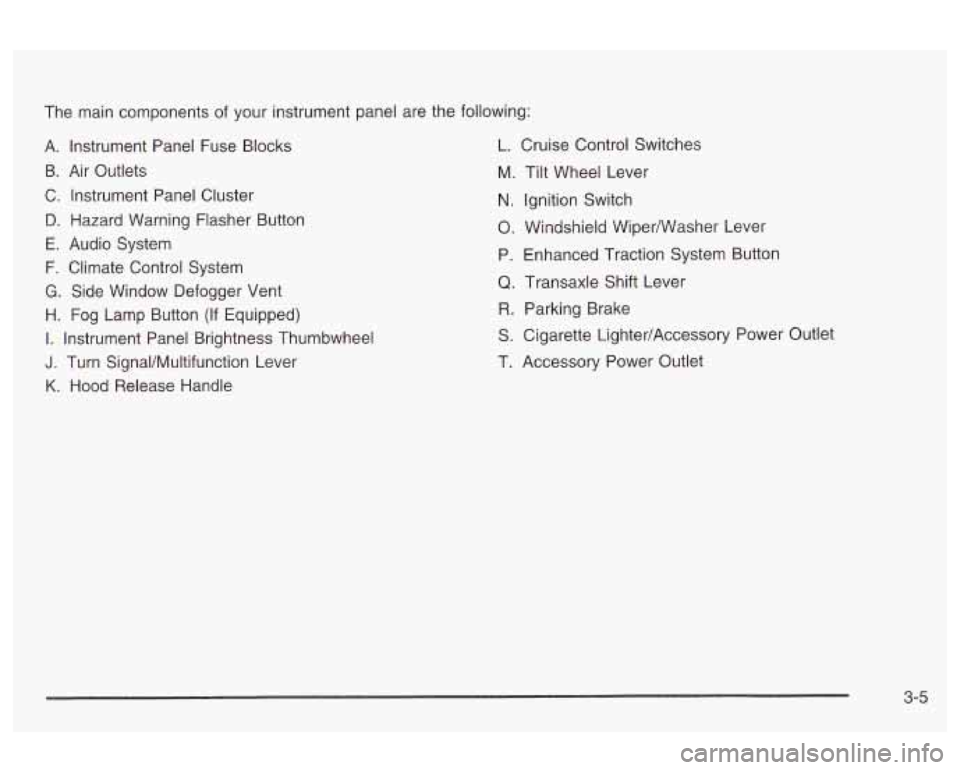
The main components of your instrument panel are the following:
A. Instrument Panel Fuse Blocks L. Cruise Control Switches
B. Air Outlets
C. Instrument Panel Cluster
D. Hazard Warning Flasher Button
E. Audio System
F. Climate Control System
G. Side Window Defogger Vent
H. Fog Lamp Button (If Equipped)
I. Instrument Panel Brightness Thumbwheel
J. Turn SignaVMultifunction Lever
K. Hood Release Handle M.
N.
0.
P,
Q
R
S
T.
Tilt
Wheel Lever
Ignition Switch
Windshieid Wiperwasher Lever
Enhanced Traction System Button
Transaxle Shift Lever Parking Brake
Cigarette Lighter/Accessory Power Outlet
Accessory Power Outlet
3-5
Page 113 of 354
Turn and Lane-Change Signals
The turn signal has two upward (for right) and two
downward (for left) positions. These positions allow you
to signal a turn or a lane change.
To signal a turn, move the lever all the way up or down.
When the turn is finished, the lever will return
automatically.
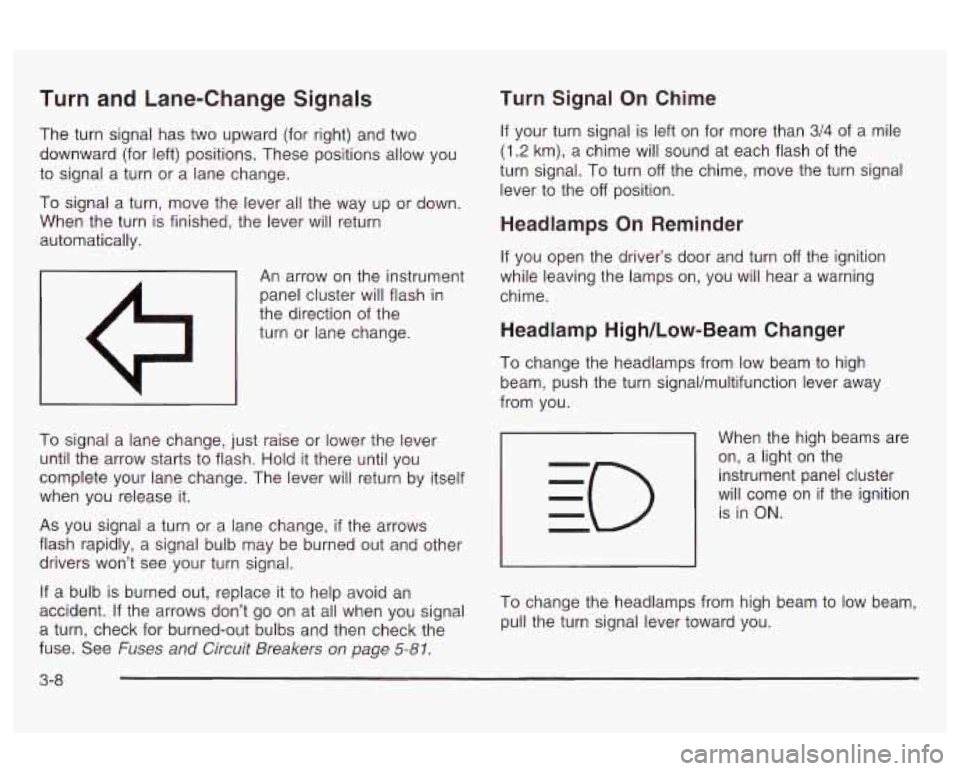
An arrow on the instrument
panel cluster will flash in
the direction
of the
turn or lane change.
To signal a lane change, just raise or lower the lever
until the arrow starts to flash. Hold it there until you
complete your lane change. The lever will return by itself
when you release it.
As you signal a turn or a lane change,
if the arrows
flash rapidly, a signal bulb may be burned out and other
drivers won’t see your turn signal.
If a bulb is burned out, replace it to help avoid an
accident.
If the arrows don’t go on at all when you signal
a turn, check for burned-out bulbs and then check the
fuse. See
Fuses and Circuit Breakers on page 5-81.
Turn Signal On Chime
If your turn signal is left on for more than 3/4 of a mile
(1.2 km), a chime will sound at each flash of the
turn signal.
To turn off the chime, move the turn signal
lever to the
off position.
Headlamps On Reminder
If you open the driver’s door and turn off the ignition
while leaving the lamps on, you will hear a warning
chime.
Headlamp High/Low-Beam Changer
To change the headlamps from low beam to high
beam, push the turn signaVmultifunction lever away
from you.
When the high beams are
on, a light on the
instrument panel cluster
will come on
if the ignition
is in
ON.
To change the headlamps from high beam to low beam,
pull the turn signal lever toward you.
3-8
Page 114 of 354
Flash-to-Pass Feature
This feature lets you use your high-beam headlamps to
signal a driver in front of you that you want
to pass.
To use it, pull the turn signaVmultifunction lever toward
you until the high-beam headlamps come on, then
release the lever to turn them
off.
Windshield Wipers
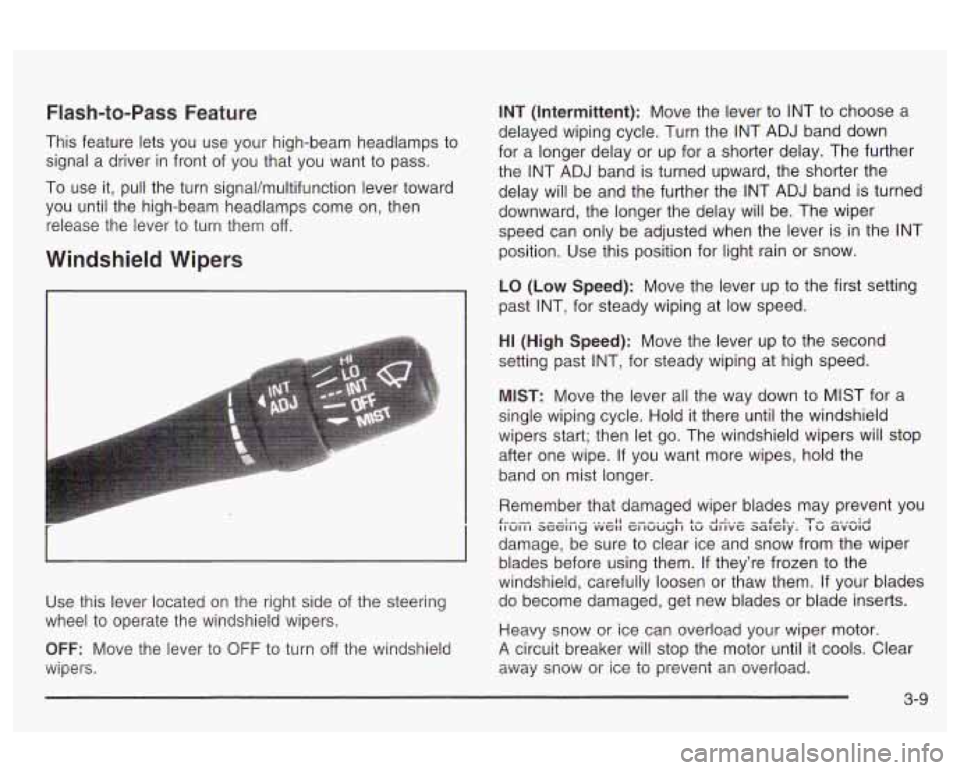
Use this lever located on the right side of the steering
wheel
to operate the windshield wipers.
OFF: Move the lever to OFF to turn off the windshield
wipers.
INT (Intermittent): Move the lever to INT to choose a
delayed wiping cycle. Turn the INT ADJ band down
for a longer delay or up for a shorter delay. The further
the INT ADJ band is turned upward, the shorter the
delay will be and the further the INT ADJ band is turned
downward, the longer the delay will be. The wiper
speed can only be adjusted when the lever is in the INT
position. Use this position for light rain or snow.
LO
(Low Speed): Move the lever up to the first setting
past INT, for steady wiping at low speed.
HI (High Speed): Move the lever up to the second
setting past INT, for steady wiping at high speed.
MIST: Move the lever all the way down to MIST for a
single wiping cycle. Hold it there until the windshield
wipers start; then let go. The windshield wipers will stop
after one wipe. If you want more wipes, hold the
band on mist longer.
Remember that damaged wiper blades may prevent you
damage, be sure
to clear ice and snow from the wiper
blades before using them. If they’re frozen to the
windshield, carefully loosen or thaw them.
If your blades
do become damaged, get new blades or blade inserts.
Heavy snow or Ice can overload your wiper motor-
A circuit breaker will stop the motor until it cools. Clear
away snow or ice
to prevent an overload.
t--- -,-:,, ... - 11 ---..-.L L- -I.-:.,- --&-I., T, -.,-:A IIUIII ~GGII ~y VVGII GI wuy~ I LW UIIVC; aalC;;ly. I u avulu
3-9
Page 116 of 354
The cruise control will turn off when any of the
following occur:
The brakes are applied,
the clutch is applied (manual transaxle),
the parking brake is applied, or
the brake system warning light is on.
Cruise control can be dangerous where
you can’t drive safely at a steady speed.
So, don’t use your cruise control on
winding roads or
in heavy traffic.
0 Cruise control can be dangerous on
slippery roads. On such roads, fast
changes in tire traction can cause
needless wheel spinning, and you could
lose control. Don’t use cruise control on
slippery roads.
If your vehicle is in cruise control when the enhanced
traction system,
if your vehicle has this feature, begins to
limit wheel spin, the cruise control will automatically
disengx~e. See Enhanced Trac?im Sys?m (ETSI ar?
page 4-9. When road conditions allow you to safely use
it again, you may turn the cruise control back on.
:ing Cruise Contrc
If you leave your cruise control on when you’re
not using cruise, you might hit a button and go
into cruise when you don’t want to. You could
be startled and even lose control. Keep the
cruise control switch
off until you want to use
cruise control.
1. Press the cruise control
ON OFF button. The
indicator light above the button will turn on.
2. Get up to the speed you want.
3. Press the CST SET (Coast Set) button and release
it. The
CRUISE light on the instrument panel cluster
will come on.
3-1 1
Page 119 of 354
The exterior lamps control has three positions:
pf (Parking Lamps): Turn the control to this position
to turn on the parking lamps, together with the
following.
Sidemarker Lamps
Taillamps
License Plate Lamps
0 Instrument Panel Lights
- - EO (Headlamps): Turn the control to this position to
turn on the headlamps, together with the previously
listed lamps and lights.
AUTO: Turn the control to this position to turn the
headlamps, taillamps and parking lamps on and
off automatically while the ignition is on, by sensing how
dark it is outside. For more information see Automatic
Headlamp System later in this section.
Daytime Running Lamps (DRL)
Daytime Running Lamps (DRL) can make it easier for
others to see the front
of your vehicle during the
day. DRL can be helpful
in many different driving
conditions, but they can be especially helpful in the
short
periods after dawn and before sunset. Fully functional
daytime running lamps are required on all vehicles
first sold in Canada. The DRL
system will make your low-beam headlamps
come on at a reduced brightness when the following
conditions are met:
The ignition is on.
the exterior lamps control is in AUTO or the parking
the light sensor detects daytime light,
lamps
only position.
the parking brake is released, and
the shift lever is not in PARK (P) on vehicles with
When the DRL system
is on, the taillamps, sidemarker
lamps, parking lamps and instrument panel lights
will not be illuminated unless you have turned the
exterior lamps control to the parking lamp position.
As with any vehicle, you should turn on the regular
headlamp system when you need it. an
automatic transaxle only.
Automatic Headlamp System
When it is dark enough outside, your Automatic
Headlamp System will turn on your headlamps at the
normal brightness along with other lamps such as
the taillamps, sidemarker, parking lamps and the
instrument panel lights. The radio lights will also be dim.
Your vehicle is equipped with a light sensor on the
top of the instrument panel under the defroster grill,
so
be sure it is not covered which will cause the system
to be on whenever the ignition
is on.
3-1 4
Page 120 of 354

The system may also be on when driving through a
parking garage, heavy overcast weather or a tunnel.
This is normal.
There is a delay in the transition between the daytime
and nighttime operation of the DRL and the Automatic
Headlamp System
so that driving under bridges or bright
overhead street lights does not affect the system. The
DRL and Automatic Headlamp Systems will only be
affected when the light sensor sees a change in lighting
lasting longer than this delay.
To idle your vehicle with the system off, set the parkin9
brake while the ignition is
off. Then start the vehicle.
The system will stay
off until you release the parking
brake.
As with any vehicle, you should turn on the regular
headlamps when you need them.
Headlamps Off in PARK (P)
To turn the headlamps off when it is dark outside, turn
the exterior lamps control
to the parking lamp position.
In this position, the parking lamps, sidemarker lamps,
taillamps, license plate lamps and instrument panel
lights will be on, but the headlamps will be off.
To turn on the headlamps along with the other lamps
when it is dark outside, turn the exterior lamps control
to
the AUTO or headlamp position.
Delayed Headlamps
The delayed headlamps feature will continue to
illuminate the headlamps for
20 seconds after the key is
turned to
OFF, then the headlamps will automatically
turn off.
To override the
20 second delayed headlamp feature
while it is active turn the turn signal/muItifunction
lever up one position and then back
to AUTO.
Fog Lamps
If your vehicle has this feature, the button for your fog
lamps is located on the instrument panel, to the left
of the steering wheel, beside the instrument panel
brightness thumbwheel.
When using the fog lamps, the ignition must be on as
well as the parking lamps or the low-beam headlamps.
Press the button to turn the fog lamps on. An indicator
light on the button will glow when the fog lamps are on.
Press the button again to turn the fog lamps off.
TI-- I--. I ... :I1 I ..... LT . I. . . I I luy I~III~ WIII Lull1 UII WII~II~V~I iile iliyil-bed1r1
headlamps are turned on. When the high beams
are turned off, the fog lamps will come on again.
3-1 5
Page 121 of 354
Interior Lamps
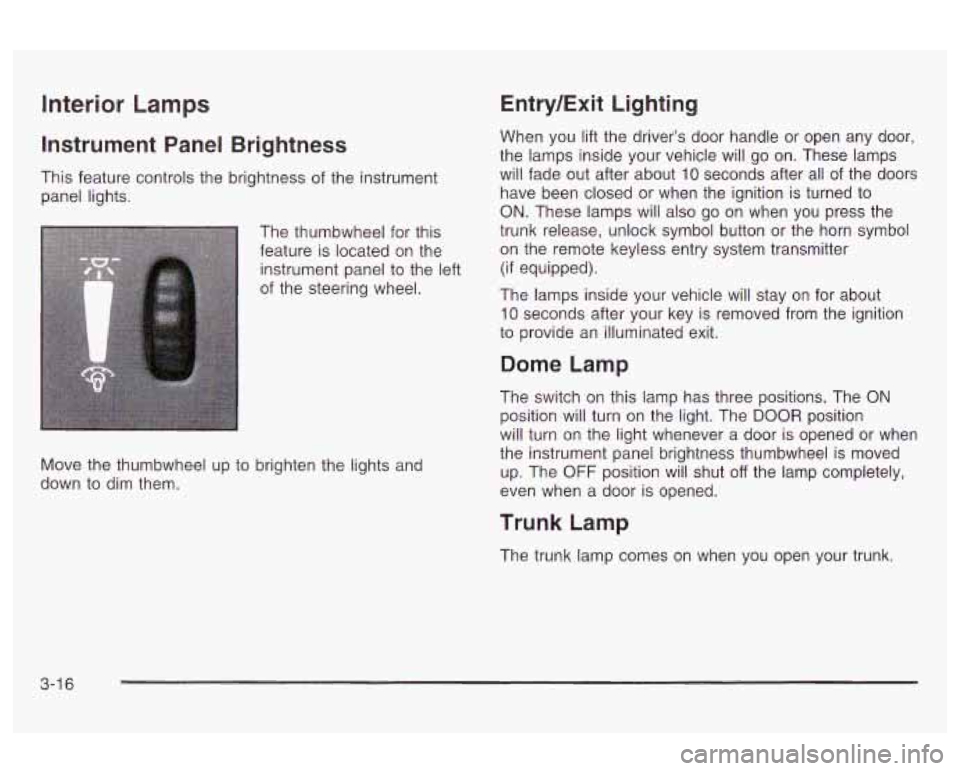
Instrument Panel Brightness
This feature controls the brightness of the instrument
panel lights.
The thumbwheel for this
feature is located on the
instrument panel to the left
of the steering wheel.
Move the thumbwheel up to brighten the lights and
down to dim them.
Entry/Exit Lighting
When you lift the driver’s door handle or open any door,
the lamps inside your vehicle will go on. These lamps
will fade out after about
10 seconds after all of the doors
have been closed or when the ignition is turned to
ON. These lamps will also go on when you press the
trunk release, unlock symbol button or the horn symbol
on the remote keyless entry system transmitter
(if equipped).
The lamps inside your vehicle will stay on for about
10 seconds after your key is removed from the ignition
to provide an illuminated exit.
Dome Lamp
The switch on this lamp has three positions. The ON
position will turn on the light. The DOOR position
will turn on the light whenever a door is opened or when
the instrument panel brightness thumbwheel is moved
up. The
OFF position will shut off the lamp completely,
even when a door is opened.
Trunk Lamp
The trunk lamp comes on when you open your trunk.
3-1 6