coolant temperature Oldsmobile Alero 2003 Owner's Manuals
[x] Cancel search | Manufacturer: OLDSMOBILE, Model Year: 2003, Model line: Alero, Model: Oldsmobile Alero 2003Pages: 354, PDF Size: 16.74 MB
Page 89 of 354
3. If your engine still won’t start (or starts but then
stops), it could be flooded with too much gasoline.
Try pushing your accelerator pedal all the way to the
floor and holding it there as you hold the key in
START for a maximum of 15 seconds. This clears
the extra gasoline from the engine.
If the engine
still won’t start or starts briefly but then stops again,
repeat Step
1 or 2, depending on temperature.
When the engine starts, release the key and the
accelerator pedal.
Notice: Your engine is designed to work with the
electronics in your vehicle.
If you add electrical
parts or accessories, you could change the way the
engine operates. Before adding electrical equipment,
check with your dealer.
If you don’t, your engine
might not perform properly.
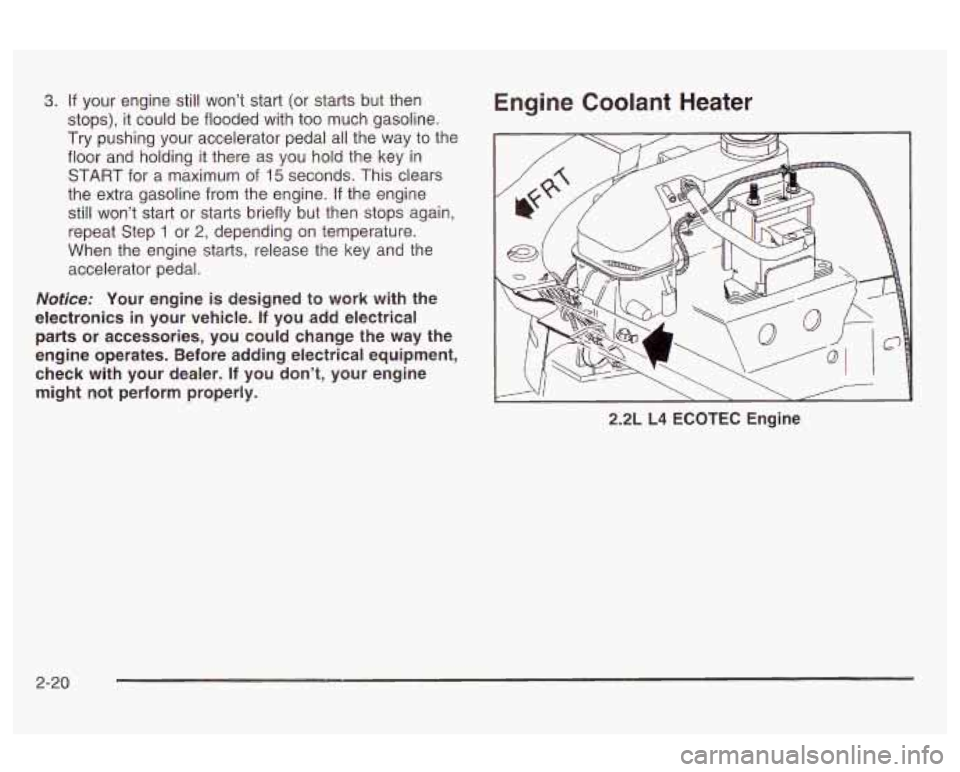
Engine Coolant Heater
2-20
Page 90 of 354
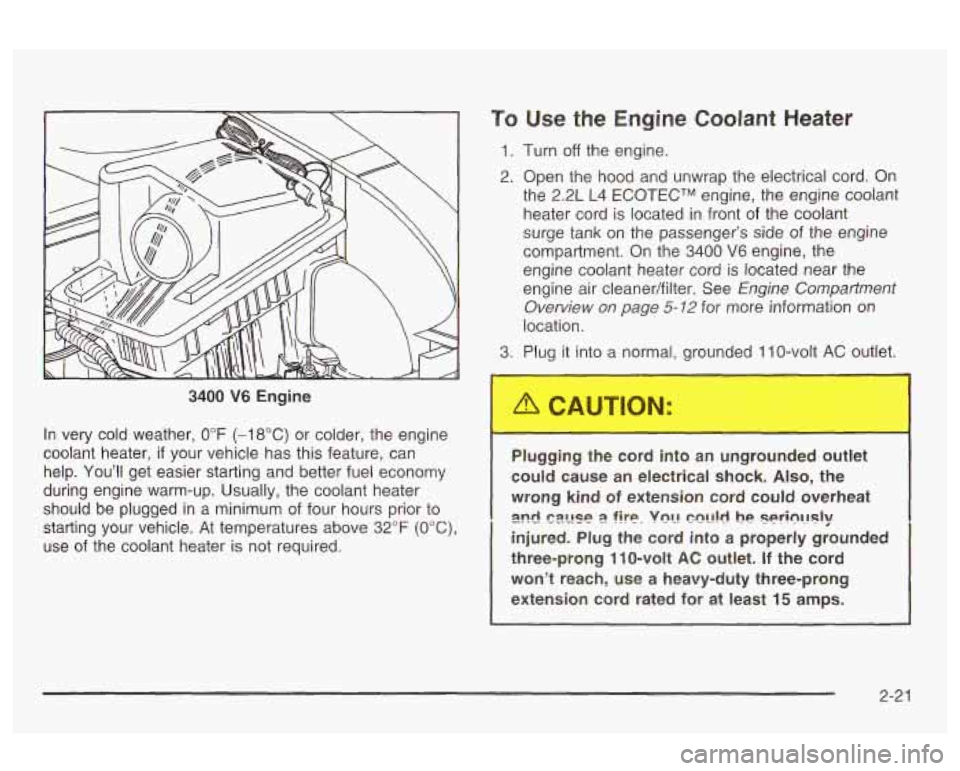
3400 V6 Engine
In very cold weather,
0°F (-18°C) or colder, the engine
coolant heater,
if your vehicle has this feature, can
help. You'll get easier starting and better fuel economy
during engine warm-up. Usually, the coolant heater
should be plugged in a minimum of four hours prior to
starting your vehicle. At temperatures above
32°F (OOC),
use of the coolant heater is not required.
To Use the Engine Coolant Heater
1. Turn off the engine.
2. Open the hood and unwrap the electrical cord. On
the 2.2L L4
ECOTECTM engine, the engine coolant
heater cord is located in front of the coolant
surge tank on the passenger's side
of the engine
compartment. On the
3400 V6 engine, the
engine coolant heater cord is located near the
engine air cleaner/filter. See
Engine Compartment
Overview on page
5-12 for more information on
location.
3. Plug it into a normal, grounded 1 IO-volt AC outlet.
Plugging the cord into an ungrounded ou' t
could cause an electrical shock. Also, the
wrong kind
of extension cord could overheat
injured. Plug the cord into a properly grounded
three-prong
11 0-volt AC outlet. If the cord
won't reach, use a heavy-duty three-prong
extension cord rated for at least
15 amps.
2nd !-?z!Jse 2 fire. VQL! C?!!!,! he Seri~IJsly
2-2 1
Page 91 of 354
4. Before starting the engine, be sure to unplug and
store the cord as it was before to keep it away
from moving engine parts.
If you don’t, it could be
damaged.
How long should you keep the coolant heater plugged
in? The answer depends on the outside temperature, the
kind of oil you have, and some other things. Instead
of trying to list everything here, we ask that you contact
your dealer in the area where you’ll be parking your
vehicle. The dealer can give you the best advice for that
particular area.
Automatic Transaxle Operation
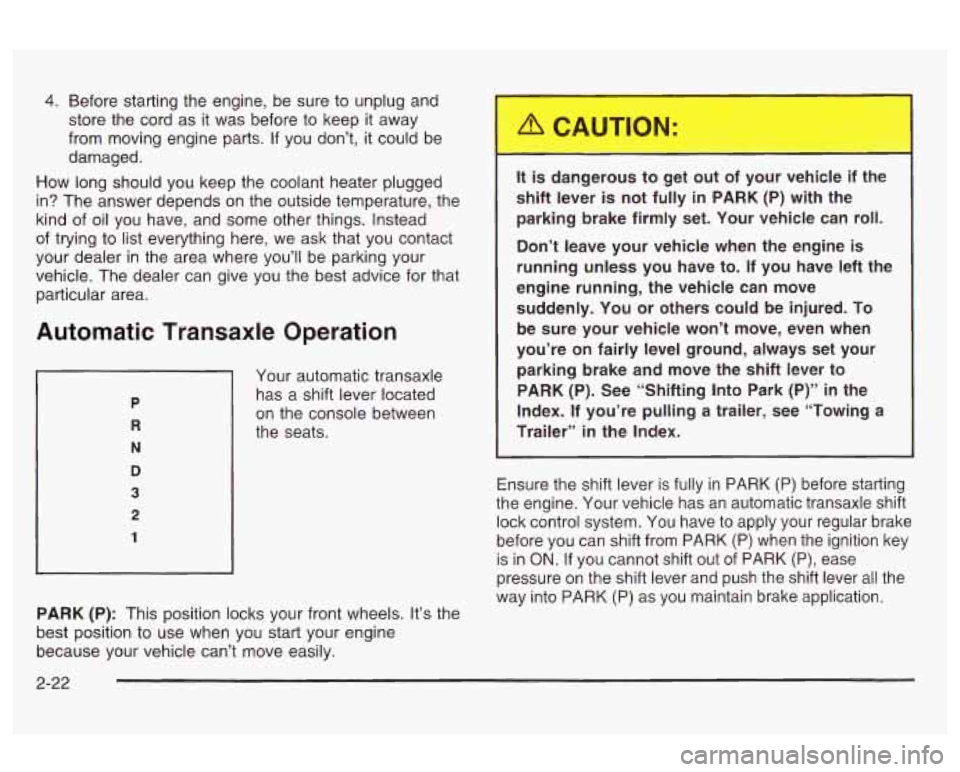
Your automatic transaxle
has a shift lever located
on the console between
the seats.
PARK (P): This position locks your front wheels. It’s the
best position to use when you start your engine
because your vehicle can’t move easily.
It igerous to get out of your vehicle if the
shift lever
is not fully in PARK (P) with the
parking brake firmly set. Your vehicle can roll.
Don’t leave your vehicle when the engine is
running unless you have to.
If you have left the
engine running, the vehicle can move
suddenly. You
or others could be injured. To
be sure your vehicle won’t move, even when
you’re on fairly level ground, always set your
parking brake and move the shift lever to
PARK (P). See “Shifting Into Park (P)” in the
Index. If you’re pulling a trailer, see “Towing a
Trailer”
in the Index.
Ensure the shift lever is fully in PARK (P) before starting
the engine. Your vehicle has an automatic transaxle shift
lock control system. You have to apply your regular brake
before you can shift from PARK
(P) when the ignition key
is
in ON. If you cannot shift out of PARK (P), ease
pressure on the shift lever and push the shift lever all the
way into PARK (P) as you maintain brake application.
2-22
Page 106 of 354
Section 3 Instrument Panel
Instrument Panel Overview ............................... 3.4
Hazard Warning Flashers
.......... .............. 3.6
Other Warning Devices
................................... 3.6
Horn
............................................................. 3.6
Tilt Wheel
..................................................... 3.7
Turn SignaVMultifunction Lever
......................... 3.7
Exterior Lamps
............................................. 3.13
Interior Lamps
.............................................. 3.16
Accessory Power Outlets
............................... 3.17
Ashtrays and Cigarette Lighter
........................ 3.18
Climate Controls
........................................... -3-1 9
Climate Control System
................................. 3.19
Outlet Adjustment
......................................... 3.22
Warning Lights, Gages and Indicators
............. 3.23
Instrument Panel Cluster
................................ 3.24
Speedometer and Odometer
........................... 3.25
Tachometer
................................................. 3.25
Safety Belt Reminder Light
............................. 3.26
Air
Eag Reauiness iighi 3-LW
Charging System Light .................................. 3.27
fi cln ................................
Up-Shift Light .............................. .......... 3-28
Brake System Warning Light
........, .......... 3-28
Anti-Lock Brake System
Enhanced Traction System
Enhanced Traction System
Warning
bight
........................................ 3-29
Warning Light
........................................... 3-29
Active Light
.............................................. 3-30
Engine Coolant Temperature Gage
.................. 3-31
Low Coolant Warning Light
............................ 3-31
Malfunction Indicator Lamp
............................. 3-31
Oil Pressure Light
......................................... 3-34
Low Oil Level Light
....................................... 3-35
Security Light
............................................... 3-36
Cruise Control Light
...................................... 3-36
%??:ice ‘!ehic!n see!? Light ........................... ._ 2-36
Fuel Gage ................................................... 3-37
Change Engine
Oil Light
................................ 3-35
Low Washer Fluid Warning Light
..................... 3-36
3-
1
Page 125 of 354
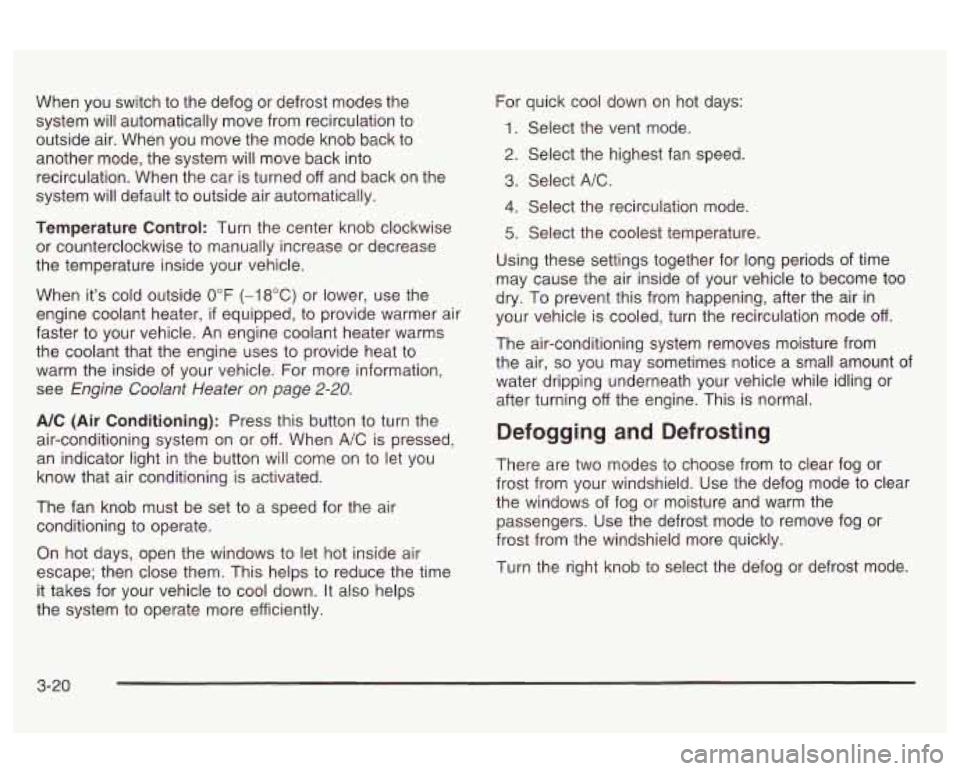
When you switch to the defog or defrost modes the
system will automatically move from recirculation to
outside air. When you move the mode knob back to
another mode, the system will move back into
recirculation. When the car is turned off and back on the
system will default to outside air automatically.
Temperature Control: Turn the center knob clockwise
or counterclockwise to manually increase or decrease
the temperature inside your vehicle.
When it’s cold outside
0°F (-18°C) or lower, use the
engine coolant heater,
if equipped, to provide warmer air
faster to your vehicle. An engine coolant heater warms
the coolant that the engine uses to provide heat to
warm the inside of your vehicle. For more information,
see
Engine Coolant Heater on page 2-20.
A/C (Air Conditioning): Press this button to turn the
air-conditioning system on or off. When
A/C is pressed,
an indicator light in the button will come on to let you
know that air conditioning is activated.
The fan knob must be set to a speed for the air
conditioning to operate.
On hot days, open the windows to let hot inside air
escape; then close them. This helps to reduce the time
it takes for your vehicle to cool down. It also helps
the system to operate more efficiently. For
quick cool down
on hot days:
1. Select the vent mode.
2. Select the highest fan speed.
3. Select A/C.
4. Select the recirculation mode.
5. Select the coolest temperature.
Using these settings together for long periods of time
may cause the air inside of your vehicle to become too
dry. To prevent this from happening, after the air in
your vehicle is cooled, turn the recirculation mode off.
The air-conditioning system removes moisture from
the air,
so you may sometimes notice a small amount of
water dripping underneath your vehicle while idling or
after turning off the engine. This is normal.
Defogging and Defrosting
There are two modes to choose from to clear fog or
frost from your windshield. Use the defog mode to clear
the windows of fog or moisture and warm the
passengers. Use the defrost mode to remove fog or
frost from the windshield more quickly.
Turn the right knob to select the defog or defrost mode.
3-20
Page 136 of 354
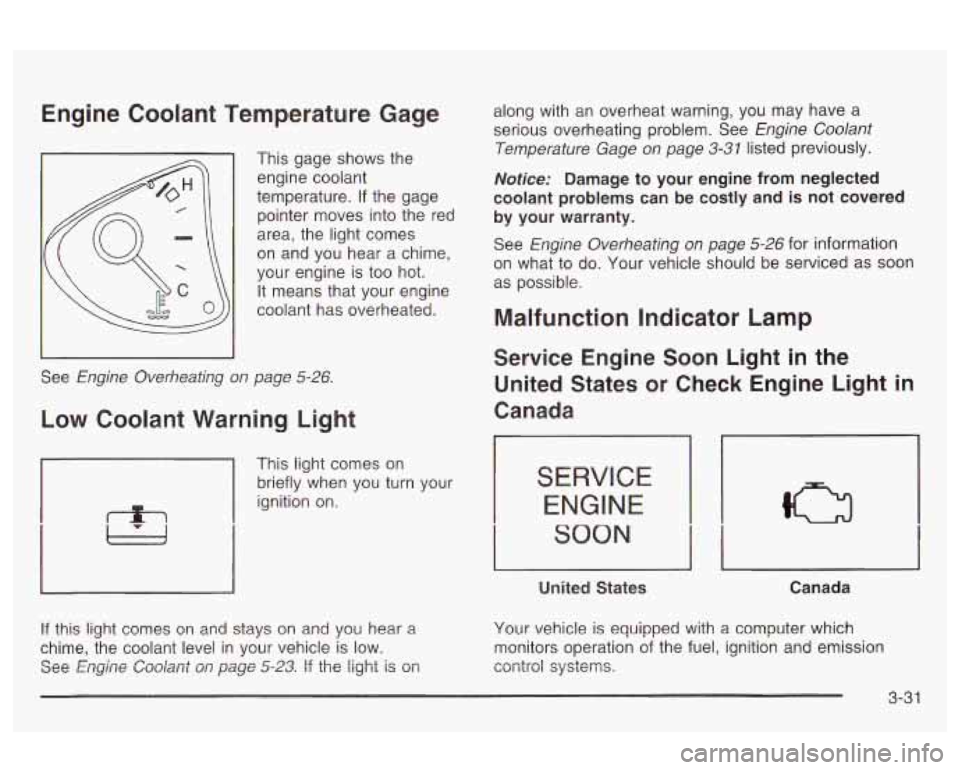
Engine Coolant Temperature Gage
This gage shows the engine coolant
temperature.
if the gage
pointer moves into the red
area, the light comes
on and you hear a chime,
your engine
is too hot.
It means that your engine
coolant has overheated.
See
Engine Overheating on page 5-26.
Low Coolant Warning Light
1
This light comes on
briefly when you turn your
ignition on.
!f this !ight comes on and stays on and you hear a
chime, the coolant level in your vehicle is low.
See
Engine Coolant on page 5-23. If the light is on along
with an overheat warning, you may have a
serious overheating problem. See
Engine Coolant
Temperature Gage on page 3-31
listed previously.
Notice: Damage to your engine from neglected
coolant problems can be costly and is not covered
by your warranty.
See
Engine Overheating on page 5-26 for information
on what
to do. Your vehicle should be serviced as soon
as possible.
Malfunction Indicator Lamp
Service Engine Soon Light in the
United States
or Check Engine Light in
Canada
17
SERVICE
ENGINE
SOON
II I I I
United States Canada
Your vehicle is equipped with a computer which
monitors operation of the fuel, ignition and emission
control systems.
3-3 1
Page 238 of 354
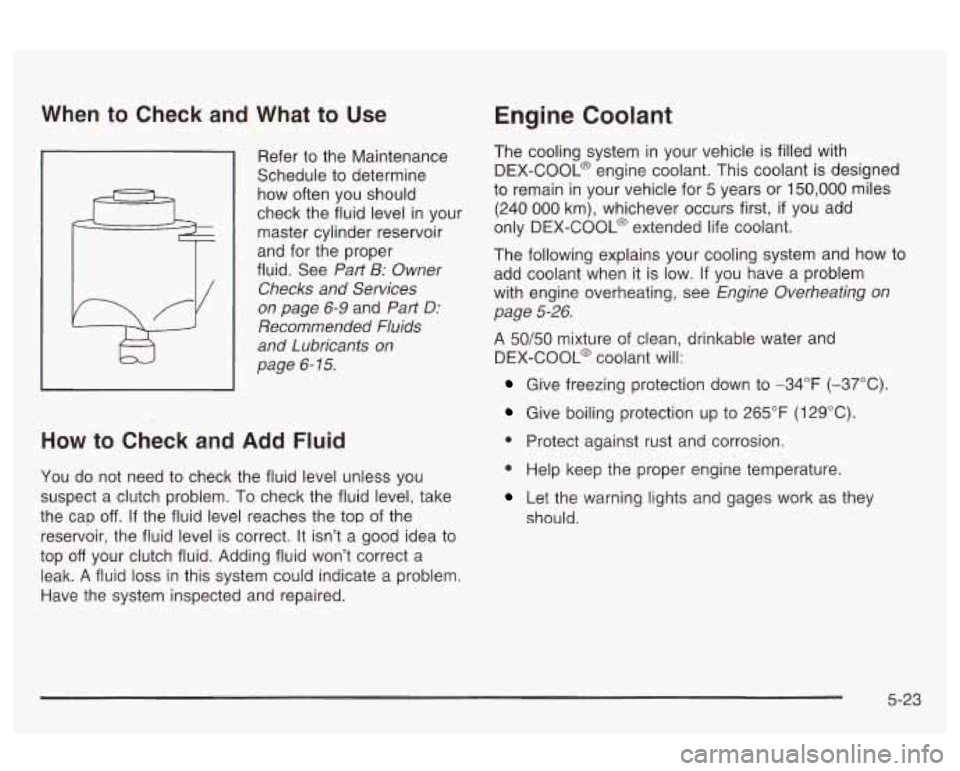
When to Check and What to Use
Schedule to determine
how often you should
check the fluid level in your
master cylinder reservoir
and for the proper
fluid. See
Part B: Owner
Checks and Services
on page 6-9 and Part D:
Recommended Fluids
and Lubricants
on
page 6- 15.
How to Check and Add Fluid
You do not need to check the fluid level unless you
suspect a clutch problem. To check the fluid level, take
the cap
off. If the fluid level reaches the top of the
reservoir, the fluid level is correct. It isn’t a good idea to
top
off your clutch fluid. Adding fluid won’t correct a
leak. A fluid loss in this system could indicate a problem
Have the system inspected and repaired.
Engine Coolant
The cooling system in your vehicle is filled with
DEX-COOL@ engine coolant. This coolant is designed
to remain in your vehicle for 5 years or 150,000 miles
(240 000 km), whichever occurs first, if you add
only DEX-COOL@ extended life coolant.
The following explains your cooling system and how to
add coolant when
it is low. If you have a problem
with engine overheating, see
Engine Overheating on
page 5-26.
A 50/50 mixture of clean, drinkable water and
DEX-COOL@ coolant will:
Give freezing protection down to -34°F (-37°C).
Give boiling protection up to 265°F (1 29°C).
@ Protect against rust and corrosion.
@ Help keep the proper engine temperature.
Let the warning lights and gages work as they
should.
5-23
Page 241 of 354
Adding Coolant
If you need more coolant, add the proper DEX-COOL@
coolant mixture
at the surge tank, but only when the
engine is cool.
If the surge tank is empty, a special fill
procedure is necessary. See
Engine Overheating
on page
5-26 and “How to Add Coolant to the Coolant
Surge Tank under
Cooling System on page 5-28
for instructions.
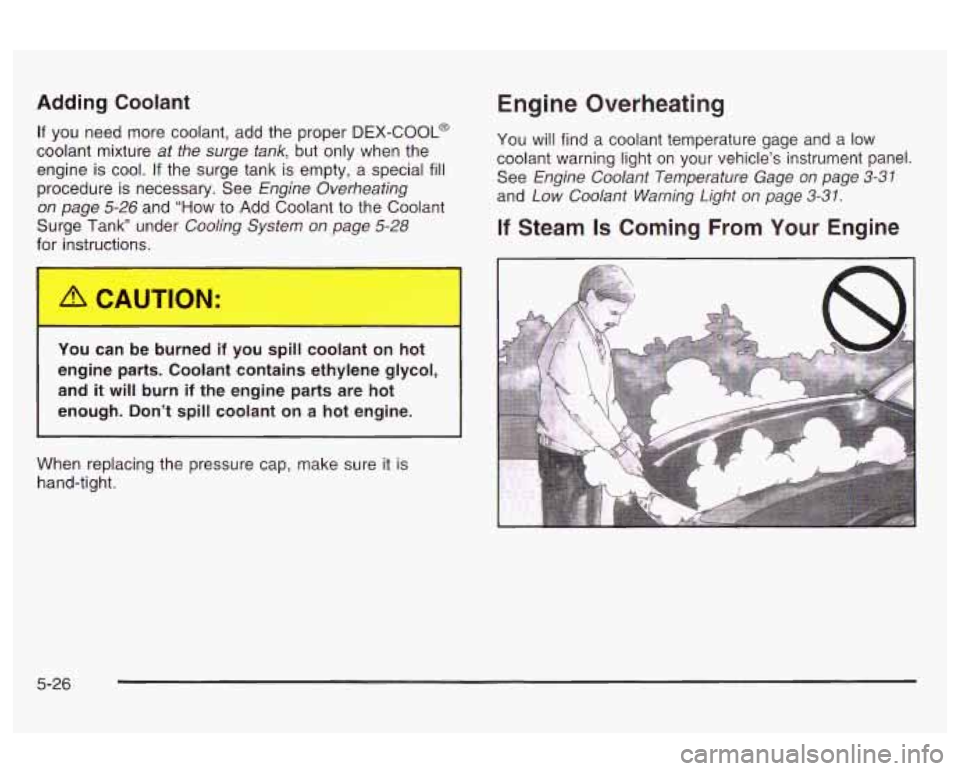
Engine Overheating
You will find a coolant temperature gage and a low
coolant warning light on your vehicle’s instrument panel.
See
Engine Coolant Temperature Gage on page 3-31
and Low Coolant Warning Light on page 3-31.
If Steam Is Coming From Your Engine
1 --I can be -Jrned you s I coolant on hot
engine parts. Coolant contains ethylene glycol,
and it will burn if the engine parts are hot
enough. Don’t spill coolant on a hot engine.
I I
When replacing the pressure cap, make sure it is
hand-tight.
5-26
Page 311 of 354
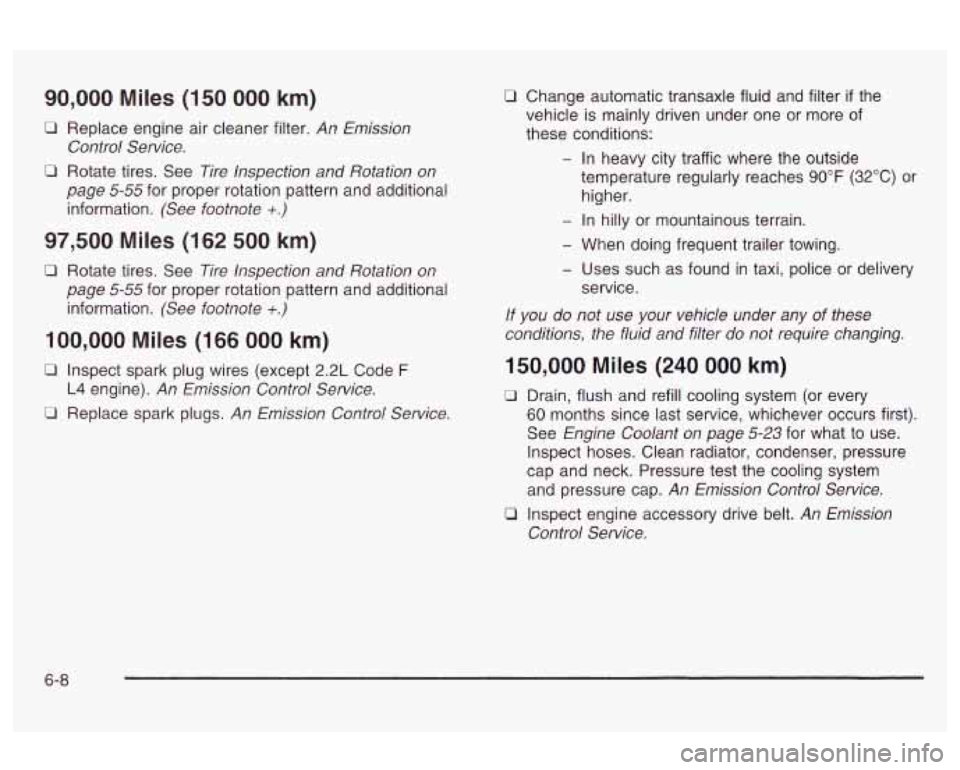
90,000 Miles (150 000 km)
0 Replace engine air cleaner filter. An Emission
0 Rotate tires. See Tire Inspection and Rotation on
Control Service.
page
5-55 for proper rotation pattern and additional
information.
(See footnote +.)
97,500 Miles (162 500 km)
0 Rotate tires. See Tire Inspection and Rotation on
page
5-55 for proper rotation pattern and additional
information.
(See footnote +.)
100,000 Miles (166 000 km)
0 Inspect spark plug wires (except 2.2L Code F
L4 engine). An Emission Control Service.
0 Replace spark plugs. An Emission Control Service.
0 Change automatic transaxle fluid and filter if the
vehicle
is mainly driven under one or more of
these conditions:
- In heavy city traffic where the outside
temperature regularly reaches
90°F (32°C) or
higher.
- In hilly or mountainous terrain.
- When doing frequent trailer towing.
- Uses such as found in taxi, police or delivery
service.
If you do not use your vehicle under any of these
conditions, the fluid and filter do not require changing.
150,000 Miles (240 000 km)
0 Drain, flush and refill cooling system (or every
60 months since last service, whichever occurs first).
See
Engine Coolant on page 5-23 for what to use.
Inspect hoses. Clean radiator, condenser, pressure
cap and neck. Pressure test the cooling system
and pressure cap.
An Emission Control Service.
0 Inspect engine accessory drive belt. An Emission
Control Service.
6-8
Page 336 of 354
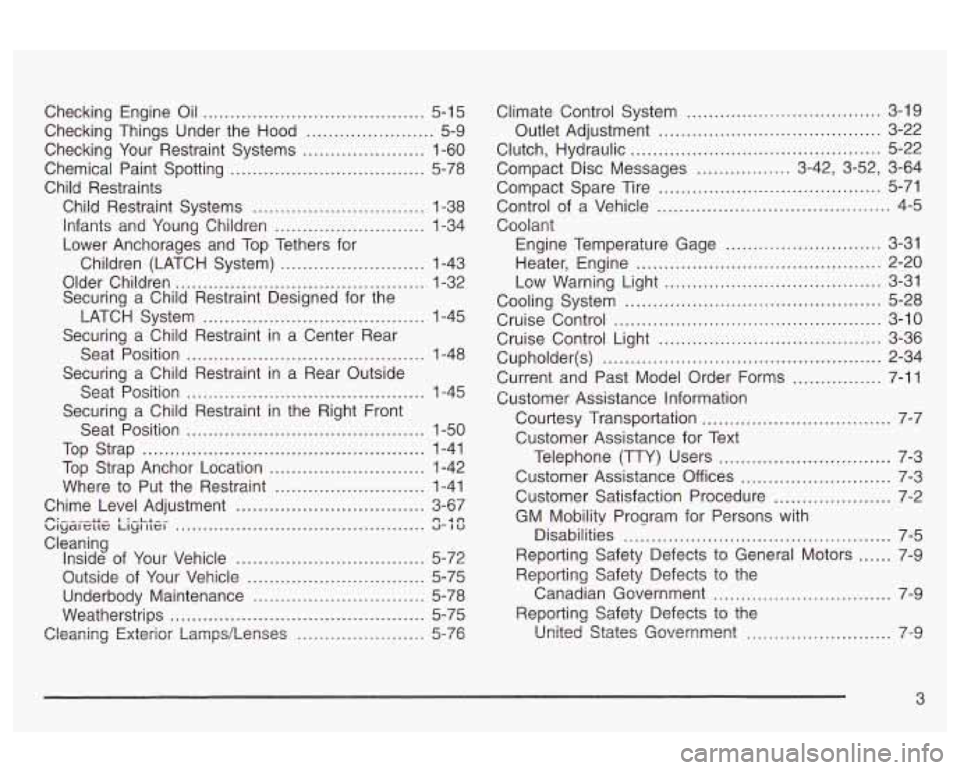
Checking Engine Oil ........................................ 5-15
Checking Things Under the Hood
....................... 5-9
Checking Your Restraint Systems
...................... 1-60
Chemical Paint Spotting
................................... 5-78
Child Restraints Child Restraint Systems
............................... 1-38
Infants and Young Children
........................... 1-34
Lower Anchorages and Top Tethers for Children (LATCH System)
.......................... 1-43
Older Children
............................................. 1-32
Securing a Child Restraint Designed for the
LATCH System
........................................ 1-45
Securing a Child Restraint in a Center Rear
Seat Position
........................................... 1-48
Securing a Child Restraint in a Rear Outside
Seat
Position ........................................... 1=45
Securing a Child Restraint in the Right Front
Seat Position
........................................... 1-50
Top Strap
................................................... 1-41
Where to Put the Restraint
........................... 1-41
Chime Level Adjustment
.................................. 3-67
wyC4i t;llt; Llyr ilGl 4- IO
Cleaning Inside of Your Vehicle
........................... 5-72
Outside of Your Vehicle
................................ 5-75
Underbody Maintenance
............................... 5-78
Weatherstrips
.............................................. 5-75
Cleaning Exterior LampdLenses ....................... 5-76
Top Strap Anchor Location ............................ 1-42
P: -.--- IL- I :-.LA-- A +n .............................................
Climate Control System ................................... 3-19
Outlet Adjustment
........................................ 3-22
Compact Disc Messages
................. 3-42, 3-52, 3-64
Compact Spare Tire
........................................ 5-71
Control of a Vehicle
.......................................... 4-5
Coolant Engine Temperature Gage
............................ 3-31
Heater, Engine
............................................ 2-20
Low Warning Light
....................................... 3-31
Cooling System
.............................................. 5-28
Cruise Control
................................................ 3-10
Cruise Control Light
........................................ 3-36
Current and Past Model Order Forms
................ 7-11
Customer Assistance Information
Courtesy Transportation
.........
Customer Assistance for Text
Telephone (TTY) Users
............................... 7-3
Customer Assistance Offices
........................... 7-3
Customer Satisfaction Procedure
..................... 7-2
GM Mobility Proaram for Persons with
Disabilities
................................................ 7-5
Reporting Safety Defects to General Motors
...... 7-9
Reporting Safety Defects to the
Canadian Government
................................ 7-9
Reporting Safety Defects to the
United
States Gzvernment .... ....... 7-9
Clutch, Hydraulic ............................................. 5-22
Cupholder(s)
.................................................. 2-34
.............. 7-7
3