Engine cover Oldsmobile Alero 2004 Owner's Manuals
[x] Cancel search | Manufacturer: OLDSMOBILE, Model Year: 2004, Model line: Alero, Model: Oldsmobile Alero 2004Pages: 360, PDF Size: 2.49 MB
Page 4 of 360
Vehicle Damage Warnings
Also, in this book you will find these notices:
Notice:These mean there is something that could
damage your vehicle.
A notice will tell you about something that can damage
your vehicle. Many times, this damage would not be
covered by your warranty, and it could be costly. But the
notice will tell you what to do to help avoid the
damage.
When you read other manuals, you might see CAUTION
and NOTICE warnings in different colors or in different
words.
You’ll also see warning labels on your vehicle. They use
the same words, CAUTION or NOTICE.
Vehicle Symbols
Your vehicle has components and labels that use
symbols instead of text. Symbols, used on your vehicle,
are shown along with the text describing the operation
or information relating to a specific component, control,
message, gage or indicator.
If you need help figuring out a specific name of a
component, gage or indicator, reference the following
topics:
•Seats and Restraint Systems in Section 1
•Features and Controls in Section 2
•Instrument Panel Overview in Section 3
•Climate Controls in Section 3
•Warning Lights, Gages and Indicators in Section 3
•Audio System(s) in Section 3
•Engine Compartment Overview in Section 5
iv
Page 91 of 360
Ensure the shift lever is fully in PARK (P) before starting
the engine. Your vehicle has an automatic transaxle
shift lock control system. You have to apply your regular
brake and press the shift lever button before you can
shift from PARK (P) while the ignition key is in ON. If you
cannot shift out of PARK (P), ease pressure on the
shift lever and push the shift lever all the way into
PARK (P) as you maintain brake application. Then move
the shift lever into another gear. SeeShifting Out of
Park (P) on page 2-30later in this section.
REVERSE (R):Use this gear to back up.
Notice:Shifting to REVERSE (R) while your vehicle
is moving forward could damage the transaxle.
The repairs would not be covered by your warranty.
Shift to REVERSE (R) only after your vehicle is
stopped.
To rock your vehicle back and forth to get out of snow,
ice or sand without damaging your transaxle, see If
You Are Stuck: In Sand, Mud, Ice or Snow on
page 4-30.NEUTRAL (N):In this position, your engine doesn’t
connect with the wheels. To restart when you’re already
moving, use NEUTRAL (N) only. Also, use
NEUTRAL (N) when your vehicle is being towed.
{CAUTION:
Shifting into a drive gear while your engine is
running at high speed is dangerous. Unless
your foot is rmly on the brake pedal, your
vehicle could move very rapidly. You could
lose control and hit people or objects. Do not
shift into a drive gear while your engine is
running at high speed.
Notice:Shifting out of PARK (P) or NEUTRAL (N)
with the engine racing may damage the transaxle.
The repairs would not be covered by your warranty.
Be sure the engine is not racing when shifting
your vehicle.
2-23
Page 93 of 360
Manual Transaxle Operation
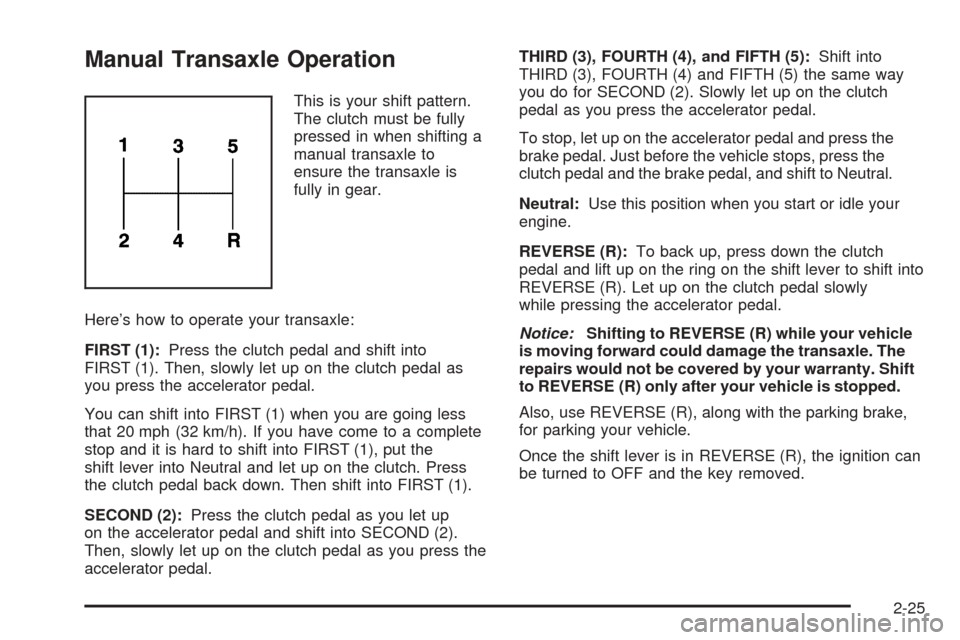
This is your shift pattern.
The clutch must be fully
pressed in when shifting a
manual transaxle to
ensure the transaxle is
fully in gear.
Here’s how to operate your transaxle:
FIRST (1):Press the clutch pedal and shift into
FIRST (1). Then, slowly let up on the clutch pedal as
you press the accelerator pedal.
You can shift into FIRST (1) when you are going less
that 20 mph (32 km/h). If you have come to a complete
stop and it is hard to shift into FIRST (1), put the
shift lever into Neutral and let up on the clutch. Press
the clutch pedal back down. Then shift into FIRST (1).
SECOND (2):Press the clutch pedal as you let up
on the accelerator pedal and shift into SECOND (2).
Then, slowly let up on the clutch pedal as you press the
accelerator pedal.THIRD (3), FOURTH (4), and FIFTH (5):Shift into
THIRD (3), FOURTH (4) and FIFTH (5) the same way
you do for SECOND (2). Slowly let up on the clutch
pedal as you press the accelerator pedal.
To stop, let up on the accelerator pedal and press the
brake pedal. Just before the vehicle stops, press the
clutch pedal and the brake pedal, and shift to Neutral.
Neutral:Use this position when you start or idle your
engine.
REVERSE (R):To back up, press down the clutch
pedal and lift up on the ring on the shift lever to shift into
REVERSE (R). Let up on the clutch pedal slowly
while pressing the accelerator pedal.
Notice:Shifting to REVERSE (R) while your vehicle
is moving forward could damage the transaxle. The
repairs would not be covered by your warranty. Shift
to REVERSE (R) only after your vehicle is stopped.
Also, use REVERSE (R), along with the parking brake,
for parking your vehicle.
Once the shift lever is in REVERSE (R), the ignition can
be turned to OFF and the key removed.
2-25
Page 126 of 360
Rear Window Defogger
The rear window defogger uses a warming grid to
remove fog from the rear window.
will come on to let you know that the rear window
defogger is activated. Be sure to clear as much snow
from the rear window as possible.
The rear window defogger will turn off about 10 minutes
after the button is pressed. If turned on again, the
defogger will only run for about five minutes before
turning off. The defogger can also be turned off turning
off the engine.
Notice:Don’t use anything sharp on the inside of
the rear window. If you do, you could cut or damage
the warming grid, and the repairs wouldn’t be
covered by your warranty. Do not attach a temporary
vehicle license, tape, a decal or anything similar
to the defogger grid.
Outlet Adjustment
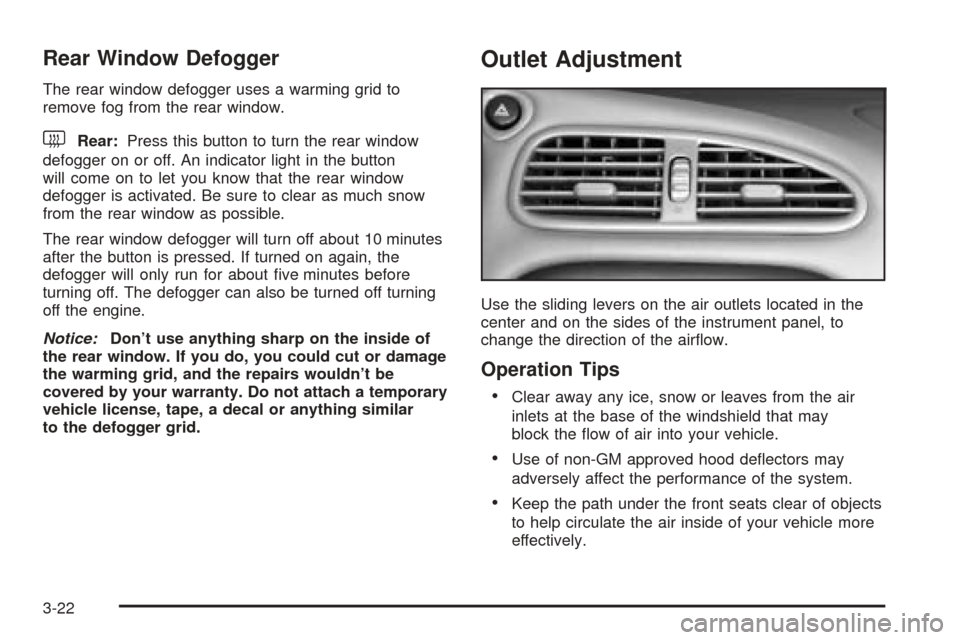
Use the sliding levers on the air outlets located in the
center and on the sides of the instrument panel, to
change the direction of the airflow.
Operation Tips
•
Clear away any ice, snow or leaves from the air
inlets at the base of the windshield that may
block the flow of air into your vehicle.
•Use of non-GM approved hood deflectors may
adversely affect the performance of the system.
•Keep the path under the front seats clear of objects
to help circulate the air inside of your vehicle more
effectively.
3-22
Page 129 of 360
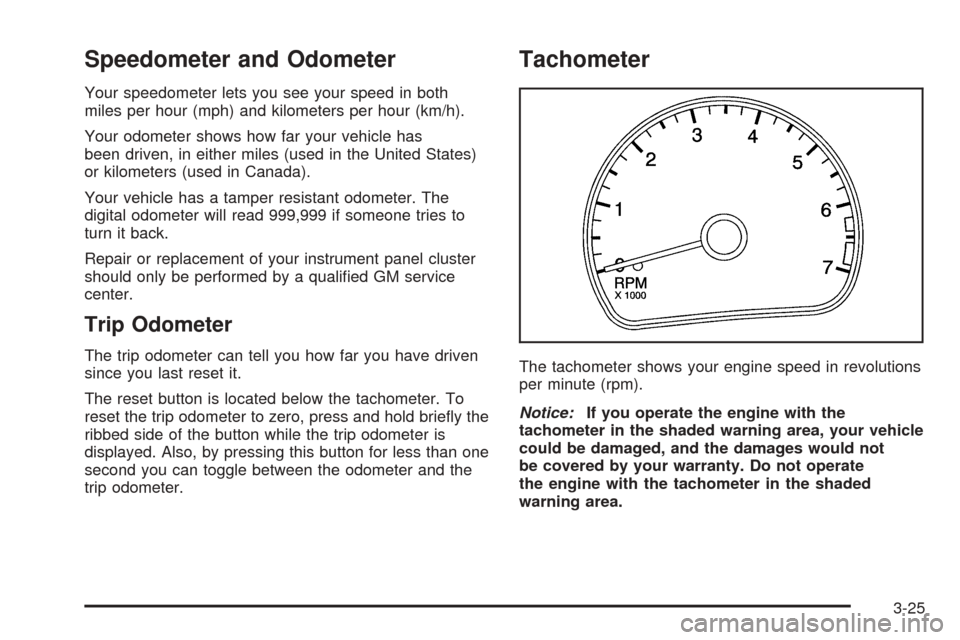
Speedometer and Odometer
Your speedometer lets you see your speed in both
miles per hour (mph) and kilometers per hour (km/h).
Your odometer shows how far your vehicle has
been driven, in either miles (used in the United States)
or kilometers (used in Canada).
Your vehicle has a tamper resistant odometer. The
digital odometer will read 999,999 if someone tries to
turn it back.
Repair or replacement of your instrument panel cluster
should only be performed by a qualified GM service
center.
Trip Odometer
The trip odometer can tell you how far you have driven
since you last reset it.
The reset button is located below the tachometer. To
reset the trip odometer to zero, press and hold briefly the
ribbed side of the button while the trip odometer is
displayed. Also, by pressing this button for less than one
second you can toggle between the odometer and the
trip odometer.
Tachometer
The tachometer shows your engine speed in revolutions
per minute (rpm).
Notice:If you operate the engine with the
tachometer in the shaded warning area, your vehicle
could be damaged, and the damages would not
be covered by your warranty. Do not operate
the engine with the tachometer in the shaded
warning area.
3-25
Page 136 of 360
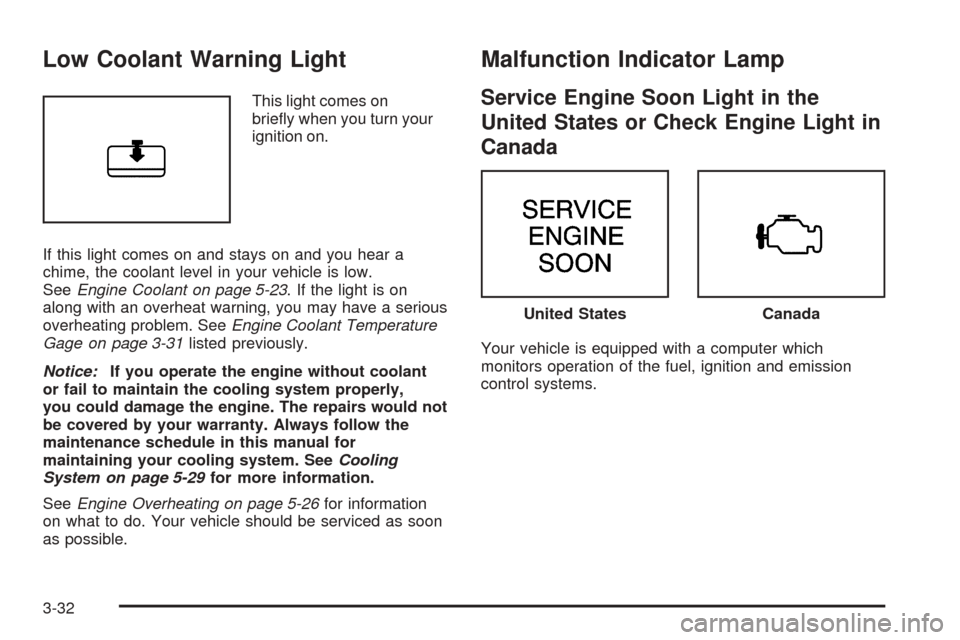
Low Coolant Warning Light
This light comes on
briefly when you turn your
ignition on.
If this light comes on and stays on and you hear a
chime, the coolant level in your vehicle is low.
SeeEngine Coolant on page 5-23. If the light is on
along with an overheat warning, you may have a serious
overheating problem. SeeEngine Coolant Temperature
Gage on page 3-31listed previously.
Notice:If you operate the engine without coolant
or fail to maintain the cooling system properly,
you could damage the engine. The repairs would not
be covered by your warranty. Always follow the
maintenance schedule in this manual for
maintaining your cooling system. SeeCooling
System on page 5-29for more information.
SeeEngine Overheating on page 5-26for information
on what to do. Your vehicle should be serviced as soon
as possible.
Malfunction Indicator Lamp
Service Engine Soon Light in the
United States or Check Engine Light in
Canada
Your vehicle is equipped with a computer which
monitors operation of the fuel, ignition and emission
control systems.
United StatesCanada
3-32
Page 137 of 360
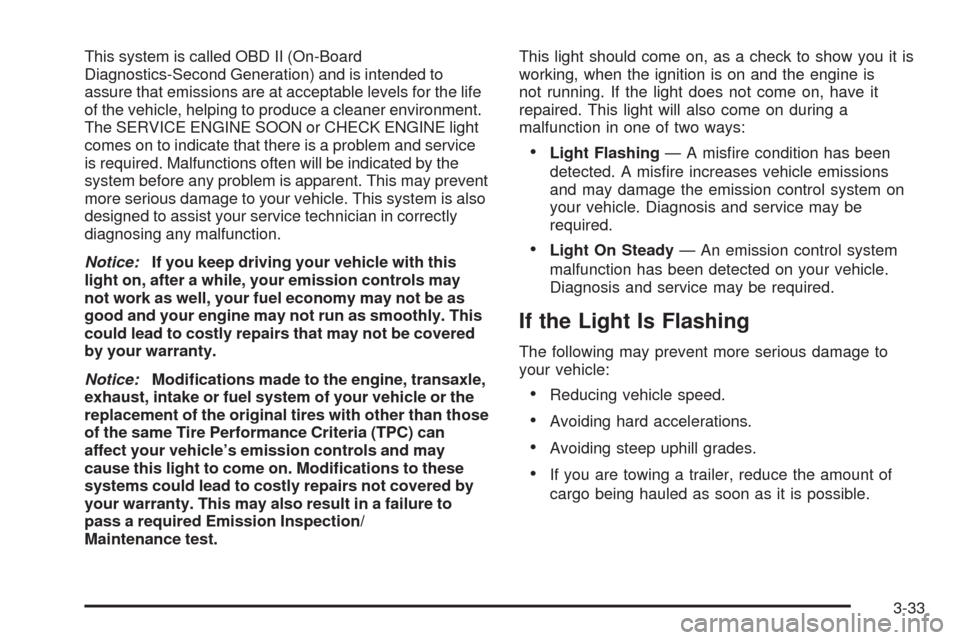
This system is called OBD II (On-Board
Diagnostics-Second Generation) and is intended to
assure that emissions are at acceptable levels for the life
of the vehicle, helping to produce a cleaner environment.
The SERVICE ENGINE SOON or CHECK ENGINE light
comes on to indicate that there is a problem and service
is required. Malfunctions often will be indicated by the
system before any problem is apparent. This may prevent
more serious damage to your vehicle. This system is also
designed to assist your service technician in correctly
diagnosing any malfunction.
Notice:If you keep driving your vehicle with this
light on, after a while, your emission controls may
not work as well, your fuel economy may not be as
good and your engine may not run as smoothly. This
could lead to costly repairs that may not be covered
by your warranty.
Notice:Modications made to the engine, transaxle,
exhaust, intake or fuel system of your vehicle or the
replacement of the original tires with other than those
of the same Tire Performance Criteria (TPC) can
affect your vehicle’s emission controls and may
cause this light to come on. Modications to these
systems could lead to costly repairs not covered by
your warranty. This may also result in a failure to
pass a required Emission Inspection/
Maintenance test.This light should come on, as a check to show you it is
working, when the ignition is on and the engine is
not running. If the light does not come on, have it
repaired. This light will also come on during a
malfunction in one of two ways:
•Light Flashing— A misfire condition has been
detected. A misfire increases vehicle emissions
and may damage the emission control system on
your vehicle. Diagnosis and service may be
required.
•Light On Steady— An emission control system
malfunction has been detected on your vehicle.
Diagnosis and service may be required.
If the Light Is Flashing
The following may prevent more serious damage to
your vehicle:
•Reducing vehicle speed.
•Avoiding hard accelerations.
•Avoiding steep uphill grades.
•If you are towing a trailer, reduce the amount of
cargo being hauled as soon as it is possible.
3-33
Page 140 of 360
When the ignition is on but the engine is not running,
the light will come on as a test to show you it is working,
but the light will go out when the engine is running. If
it doesn’t come on with the ignition on, you may have a
problem with the bulb. Have it fixed right away.
{CAUTION:
Do not keep driving if the oil pressure is low. If
you do, your engine can become so hot that it
catches re. You or others could be burned.
Check your oil as soon as possible and have
your vehicle serviced.
Notice:Lack of proper engine oil maintenance may
damage the engine. The repairs would not be
covered by your warranty. Always follow the
maintenance schedule in this manual for changing
engine oil.
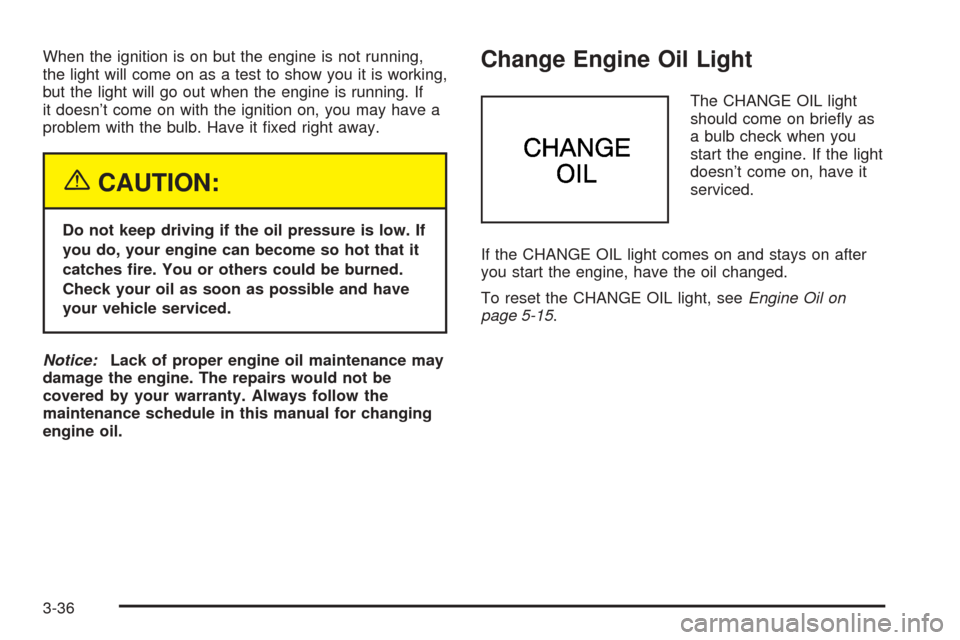
Change Engine Oil Light
The CHANGE OIL light
should come on briefly as
a bulb check when you
start the engine. If the light
doesn’t come on, have it
serviced.
If the CHANGE OIL light comes on and stays on after
you start the engine, have the oil changed.
To reset the CHANGE OIL light, seeEngine Oil on
page 5-15.
3-36
Page 143 of 360
•It takes a little more or less fuel to fill up than the
gage indicated. For example, the gage may have
indicated the tank was half full, but it actually took a
little more or less than half the tank’s capacity to
fill the tank.
•The indicator moves a little when you turn a corner
or speed up.
•The gage goes back to empty when you turn off the
ignition.
Audio System(s)
Notice:Before you add any sound equipment to
your vehicle – like a tape player, CB radio, mobile
telephone or two-way radio – be sure you can add
what you want. If you can, it’s very important to do it
properly. Added sound equipment may interfere with
the operation of your vehicle’s engine, radio or other
systems, and even damage them. Your vehicle’s
systems may interfere with the operation of sound
equipment that has been added improperly.
So, before adding sound equipment, check with
your dealer and be sure to check federal rules
covering mobile radio and telephone units.Your audio system has been designed to operate easily
and to give years of listening pleasure. You will get
the most enjoyment out of it if you acquaint yourself with
it first. Figure out which radio you have in your vehicle,
find out what your audio system can do and how to
operate all of its controls to be sure you’re getting the
most out of the advanced engineering that went into it.
Your vehicle has a feature called Retained Accessory
Power (RAP). With RAP, you can play your audio
system even after the ignition is turned off. See
“Retained Accessory Power (RAP)” underIgnition
Positions on page 2-17.Setting the Time for Radios without
Radio Data Systems (RDS)
Press and hold the HR or MIN arrow for two seconds.
Then press the HR arrow until the correct hour appears
on the display. Press and hold the MIN arrow until
the correct minute appears on the display. The time may
be set with the ignition on or off.
3-39
Page 219 of 360
When You Are Ready to Leave After
Parking on a Hill
1. Apply your regular brakes and hold the pedal down
while you:
•start your engine,
•shift into a gear, and
•release the parking brake.
2. Let up on the brake pedal.
3. Drive slowly until the trailer is clear of the chocks.
4. Stop and have someone pick up and store the
chocks.
Maintenance When Trailer Towing
Your vehicle will need service more often when you are
pulling a trailer. See the Maintenance Schedule for more
on this. Things that are especially important in trailer
operation are automatic transaxle fluid (do not overfill),
engine oil, drive belt, cooling system and brake system.
Each of these is covered in this manual, and the Index
will help you find them quickly. If you are trailering, it is a
good idea to review this information before you start
your trip.
Check periodically to see that all hitch nuts and bolts
are tight.
Engine Cooling When Trailer Towing
Your cooling system may temporarily overheat during
severe operating conditions. SeeEngine Overheating on
page 5-26.
4-45