engine Oldsmobile Aurora 1997 s Owner's Guide
[x] Cancel search | Manufacturer: OLDSMOBILE, Model Year: 1997, Model line: Aurora, Model: Oldsmobile Aurora 1997Pages: 404, PDF Size: 20.75 MB
Page 136 of 404
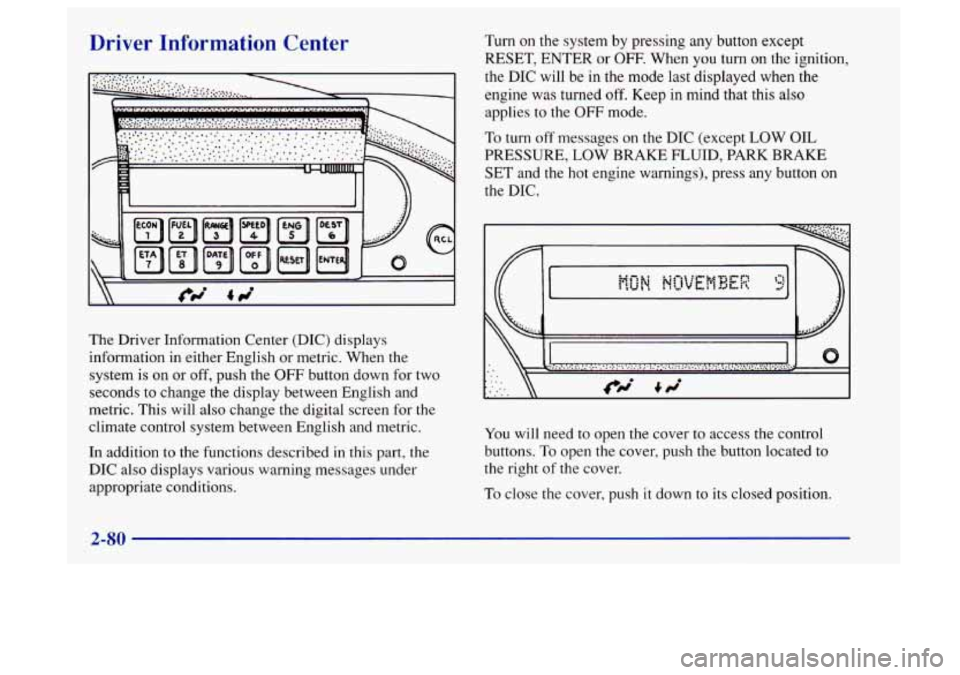
Driver Information Center
The Driver Information Center (DIC) displays
information in either English or metric. When the
system
is on or off, push the OFF button down for two
seconds to change the display between English and
metric. This will also change the digital screen for the
climate control system between English and metric.
In addition to the functions described in this part, the
DIC also displays various warning messages under
appropriate conditions.
Turn on the system by pressing any button except
RESET, ENTER or
OFF- When you turn on the ignition,
the DIC will be in the mode
last displayed when the
engine was turned
off. Keep in mind that this also
applies to the
OFF mode.
To turn off messages on the DIC (except LOW OIL
PRESSURE,
LOW BRAKE FLUID, PARK BRAKE
SET and the hot engine warnings), press any button on
the DIC.
0
You will need to open the cover to access the control
buttons.
To open the cover, push the button located to
the right of the cover.
To close the cover, push it down to its closed position.
2-80
Page 138 of 404
Fuel Range
RANGE calculates the remaining distance you can drive
without refueling. It’s based on fuel economy and the
fuel remaining in the tank. The display will show a
reading such as:
FUEL RANGE 235 MI or FUEL RANGE 378 KM
If the range is less than SO miles (80 km), the display
will read
LOW FUEL RANGE.
The fuel economy data used to determine fuel range is
an average of recent driving conditions.
As your driving
conditions change, this data is gradually updated.
Resetting fuel range causes the fuel economy data to be
updated immediately. To reset fuel range, press
RANGE, then RESET.
Average Speed
The. calculation for average speed begins when SPEED
is reset. Press SPEED to display the average speed,
such as:
AVG SPEED 56 MPH or AVG SPEED 90 KM/H
To reset the average speed, press SPEED and then RESET.
Engine
The ENG button scrolls through the following functions:
0
0
0
0
Oil pressure, such as:
OIL PRESSURE 40 PSI or OIL PRESSURE 276 kPa
Battery voltage, such as:
BATTERY 13.8 VOLTS
Transaxle fluid life, such as:
TRANS
FLUID LIFE 40%
This is an estimate of the transaxle fluid’s remaining
useful life.
It will show 100% when the system is
reset after a transaxle fluid change. It will alert you
to change your transaxle fluid on a schedule
consistent with your driving conditions.
Engine oil life, such as:
OIL LIFE 30%
This
is an estimate of the oil’s remaining useful life.
It
will show 100% when the system is reset after an
oil change.
It will alert you to change your oil on a
schedule consistent with your driving conditions.
2-82
Page 139 of 404
When the remaining oil life or transaxle fluid life is low,
the system will alert you with a message:
CHANGE OIL SOON
or CHANGE TRNS
FLUID SOON
When the oil or transaxle fluid life is down to zero, you
will receive
the message:
CHANGE OIL NOW or CHANGE TRNS
FLUID NOW
To reset the OIL LIFE reminder after an oil change or
the TRNS FLUID LIFE reminder after a transaxle
fluid change:
1. With the ignition on, press the ENG button so the
OIL LIFE percentage or the TRNS LIFE percentage
is displayed.
2. Press RESET and hold for five seconds. The word
RESET will appear, then OIL LIFE 100% or TRNS
FLUID 100%.
Remember, you must reset the OIL LIFE or TRNS
FLUID yourself after each oil or transaxle fluid change.
It will not reset itself. Also, be careful not to reset the
OIL LIFE or TRNS FLUID accidentally at any time
other than when the oil or transaxle fluid has just been
changed. It can’t be reset accurately until the next oil or
transaxle fluid change. The
DIC does
not replace the need to maintain your
vehicle
as recommended in the Maintenance Schedule in
this manual.
Also, the oil change reminder will not
detect dusty conditions or engine malfunctions that may
affect the oil.
If you drive in dusty areas, change your oil
after every
3,000 miles (5 000 km) or three months,
whichever occurs first, unless the DIC instructs you to
do so sooner. Also, the oil change reminder does not
measure how much oil you have in your engine.
So, be
sure to check your oil level often. See “Engine Oil” in
the Index.
Check Oil Level Warning
When CHECK OIL LEVEL appears, it indicates that the
engine oil level is
1 to 1 1/2 quarts (0.9 L to 1.4 L) low.
The message will appear only if the engine is running
and it’s been at least eight minutes since the engine was
last running. If the message appears, check the oil
dipstick level. If it reads low, your oil level should be
brought up
to the proper level (see “Engine Oil” in the
Index). After bringing the oil
to the proper level, the
ignition must be off for eight minutes to allow
the
majority of oil to drain into the oil pan.
Page 148 of 404
Automatic Operation
Press the AUTO-PUSH knob when you want the system
to automatically adjust the interior temperature to your
preference. When the system is set for automatic
operation, air will come from the floor, upper or the
windshield outlets depending on the temperature inside
the vehicle, the outside temperature and the sun load.
Fan speed will vary as the system reaches and maintains
the comfort setting you have selected.
To find your comfort setting, start with the system in
automatic mode by pressing the AUTO-PUSH knob.
Adjust the comfort setting by using
the red and blue
buttons located below the digital display until you reach
a value of 75°F (24"C), on the display. Give the vehicle
about
20 minutes to stabilize and then readjust the
comfort setting if necessary. The display will show the
comfort setting for five seconds and then
it will show
the outside temperature.
In cold weather, the system will delay turning on the fan
to avoid blowing cold air. The length of the delay
depends
on the engine coolant temperature and the
outside temperature. Rotating the AUTO FAN knob will
override this delay by turning
off the automatic fan
mode and changing the fan speed.
I A I
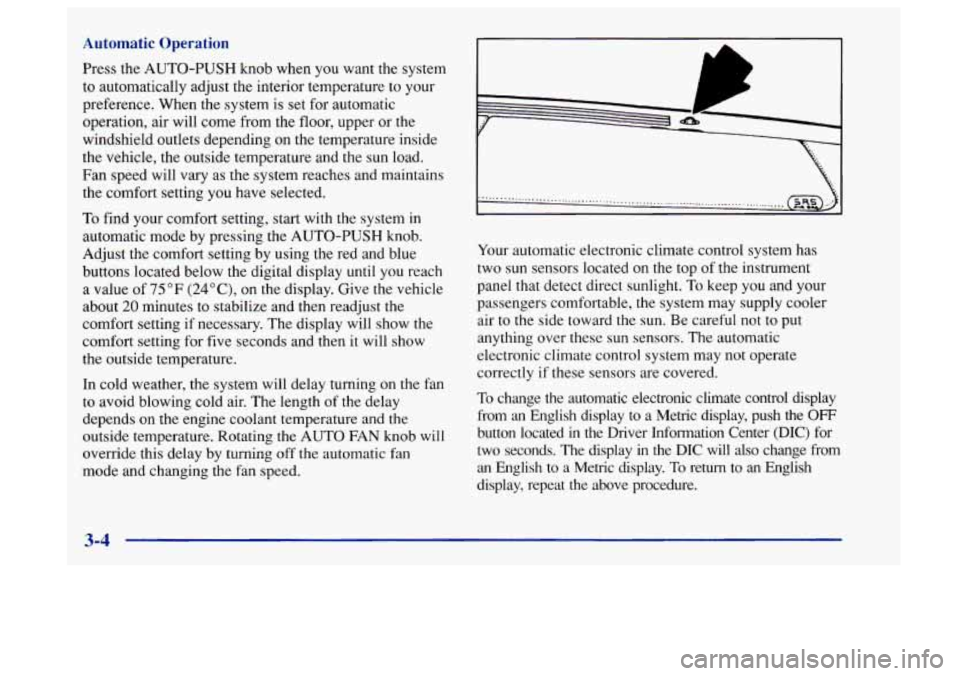
Your automatic electronic climate control system has
two sun sensors located on the top of the instrument
panel that detect direct sunlight.
To keep you and your
passengers comfortable, the system may supply cooler
air to the side toward the sun. Be careful not
to put
anything over these sun sensors. The automatic
electronic climate control system may not operate
correctly if these sensors are covered.
To change the automatic electronic climate control display
from an English display to a Metric display, push the
OFF
button located in the Driver Information Center (DIC) for
two seconds. The display
in the DIC will also change from
an English
to a Metric display. To return to an English
display, repeat
the above procedure.
3-4
Page 150 of 404
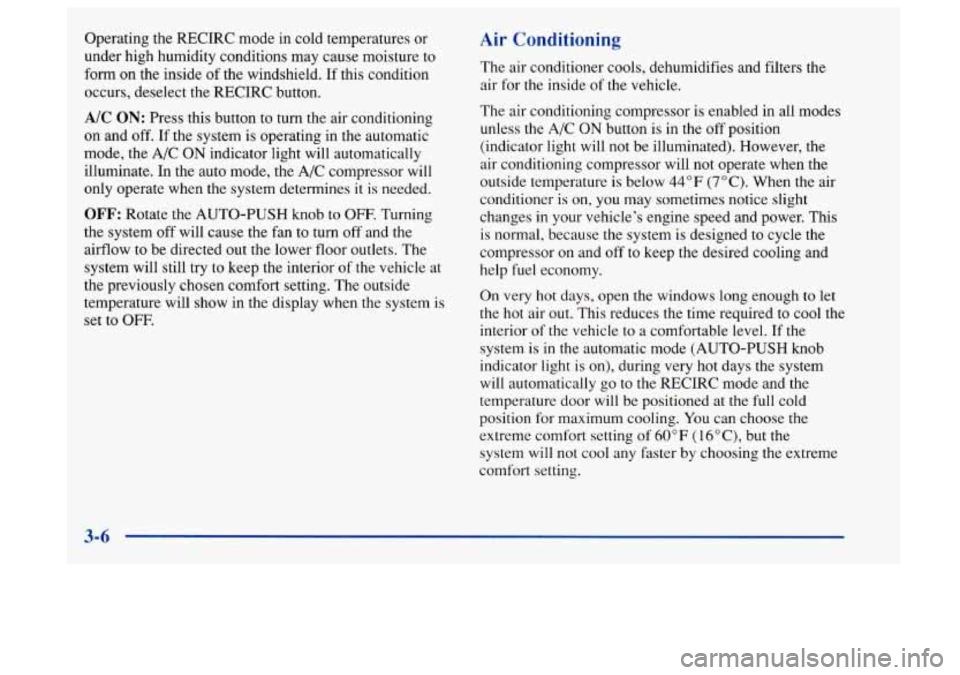
Operating the RECIRC mode in cold temperatures or
under high humidity conditions may cause moisture
to
form on the inside of the windshield. If this condition
occurs, deselect the RECIRC button.
A/C ON: Press this button to turn the air conditioning
on and
off. If the system is operating in the automatic
mode, the A/C
ON indicator light will automatically
illuminate. In the auto mode, the A/C compressor will
only operate when the system determines
it is needed.
OFF: Rotate the AUTO-PUSH knob to OFF. Turning
the system off will cause the fan to turn off and the
airflow to be directed
out the lower floor outlets. The
system will still try to keep the interior of the vehicle at
the previously chosen comfort setting. The outside
temperature will show in the display when the system is set to
OFF.
Air Conditioning
The air conditioner cools, dehumidifies and filters the
air for the inside of the vehicle.
The air conditioning compressor is enabled in all modes
unless the A/C
ON button is in the off position
(indicator light will not be illuminated). However, the
air conditioning compressor will not operate when the
outside temperature is below
44°F (7°C). When the air
conditioner is on,
you may sometimes notice slight
changes in your vehicle's engine speed and power. This
is normal, because the system is designed
to cycle the
compressor on and off to keep the desired cooling and
help
fuel economy.
On very
hot days, open the windows long enough to let
the hot air out. This reduces the time required to cool the
interior
of the vehicle to a comfortable level. If the
system
is in the automatic mode (AUTO-PUSH knob
indicator light is
on), during very hot days the system
will automatically
go to the RECIRC mode and the
temperature door will be positioned
at the full cold
position for maximum cooling. You can choose
the
extreme comfort setting of 60°F (16"C), but the
system
will not cool any faster by choosing the extreme
comfort setting.
Page 151 of 404
Heating
In cold weather, if the automatic mode is selected
(AUTO-PUSH knob indicator light is
on), the system
will automatically direct the airflow out of the lower
floor outlets and the temperature door will be positioned
at the full hot position. You can choose the extreme
comfort setting
of 90°F (32°C) but the system
will not warm up any faster by selecting the extreme
comfort setting.
In cold weather, the system will delay turning on the fan
to avoid blowing cold air. The length of the delay
depends on the engine coolant temperature and the
outside temperature. The fan speed will increase as the
temperature of the engine coolant increases. Rotating the
AUTO FAN knob will override this delay by turning
off the automatic fan control mode and changing the
fan speed.
Ventilation System
Your Aurora’s flow-through ventilation system always
allows outside air
to flow through your vehicle when it
is moving, even when the system is
OFF.
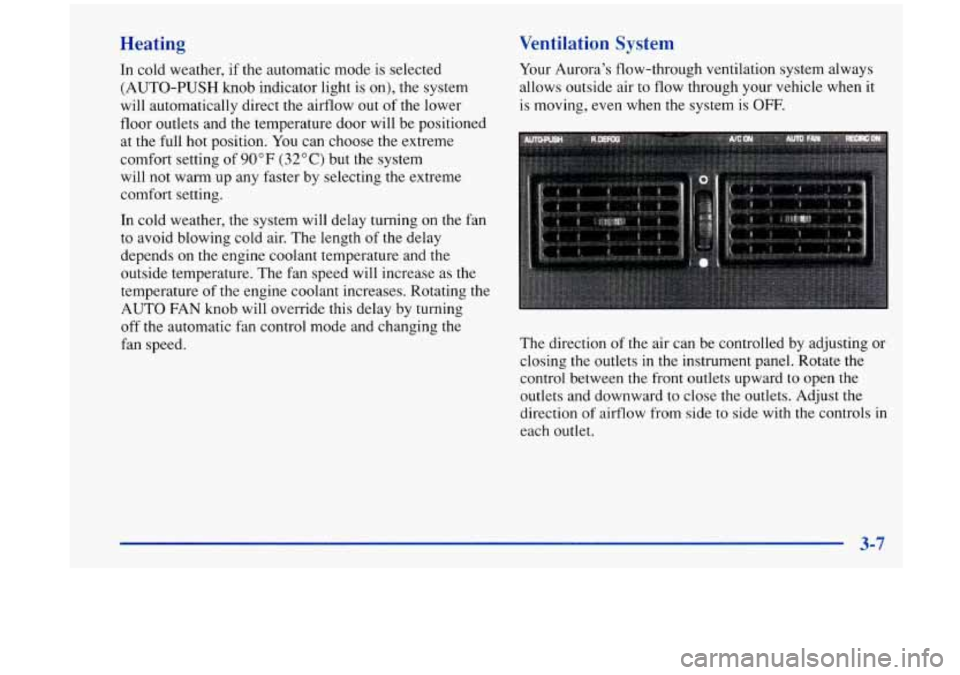
The direction of the air can be controlled by adjusting or
closing the outlets in the instrument panel. Rotate the
control between the front outlets upward to open the
outlets and downward
to close the outlets. Adjust the
direction
of airflow from side to side with the controls in
each outlet.
3-7
Page 155 of 404
Audio Systems
Your Delco@ audio system has been designed to operate
easily and give years
of listening pleasure. You will get
the most enjoyment out
of it if you acquaint yourself
with it first. Find out what your Delco system can do
and how to operate all its controls, to be sure you’re
getting the most out of the advanced engineering that
went into
it.
Setting the Clock
Press and hold HR until the correct hour appears. The
letter
A or P may appear on the display for AM or PM.
Then, press and hold MN until the correct minute
appears. The clock may be set with the ignition
on or off.
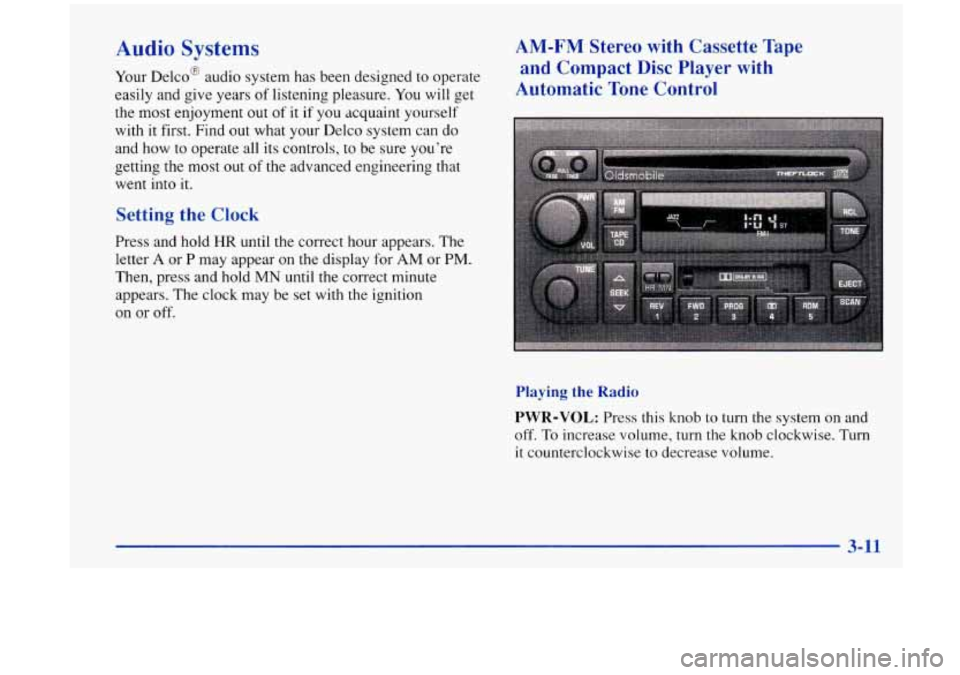
AM-FM Stereo with Cassette Tape
and Compact Disc Player with
Automatic Tone Control
Playing the Radio
PWR-VOL:
Press this knob to turn the system on and
off. To increase volume, turn the knob clockwise. Turn
it counterclockwise to decrease volume.
Page 173 of 404

Understanding Radio Reception
FM Stereo
FM stereo will give you the best sound. But
FM signals
will reach only about
10 to 40 miles ( 16 to 65 km). Tall
buildings or hills can interfere with
FM signals, causing
the sound to come and
go.
AM
The range for most AM stations is greater than for FM,
especially at night. The longer range, however, can
cause stations to interfere with each other. AM can pick
up noise from things like storms and power lines. Try
reducing the treble
to reduce this noise if you ever get it.
Tips About Your Audio System
Hearing damage from loud noise is almost undetectable
until it is too late. Your hearing can adapt to higher
volumes
of sound. Sound that seems normal can be loud
and harmful to your hearing. Take precautions by
adjusting the volume control on your radio to a safe
sound level before your hearing adapts to it. To
help avoid hearing loss or damage:
Adjust the volume control to the lowest setting.
Increase volume slowly until you hear comfortably
and clearly.
NOTICE:
Before you add any sound equipment to your
vehicle
-- like a tape player, CB radio, mobile
telephone or two-way radio
-- be sure you can add
what you want.
If you can, it’s very important to
do it properly. Added sound equipment may
interfere with the operation of your vehicle’s
engine, Delco radio or other systems, and even
damage them. Your vehicle’s systems may interfere
with the operation of sound equipment that has
been added improperly.
So, before adding sound equipment, check with
your retailer and be sure to check Federal rules
covering mobile radio and telephone units.
3-29
Page 183 of 404
Avoid needless heavy braking. Some people drive in
spurts
-- heavy acceleration followed by heavy
braking
-- rather than keeping pace with traffic. This is a
mistake. Your brakes may not have time to cool between
hard stops. Your brakes will wear out much faster
if you
do
a lot of heavy braking. If you keep pace with the
traffic and allow realistic following distances, you will
eliminate a lot of unnecessary braking. That means
better braking and longer brake life.
If your engine ever stops while you’re driving, brake
normally but don’t pump your brakes. If you do, the
pedal may get harder to push down. If your engine
stops, you will still have some power brake assist. But
you will use it when you brake. Once the power assist is
used up, it may take longer to stop and the brake pedal
will be harder to push.
Anti-Lock Brakes
Your vehicle has anti-lock brakes (ABS). ABS is an
advanced electronic braking system that will help
prevent a braking skid.
When you start your engine and begin to drive away,
your anti-lock brake system will check itself. You may
hear a momentary motor or clicking noise while this test
is going on, and you may even notice that your brake
pedal moves a little. This is normal.
LOCK
ANT‘- (@)
If there’s a problem with the
anti-lock brake system, this
warning light will stay on.
See “Anti-Lock Brake
System Warning Light” in
the Index.
4-7
Page 185 of 404

Remember: Anti-lock doesn’t change the time you need
to get your foot up to the brake pedal or always decrease
stopping distance. If you get too close to the vehicle in
front
of you, you won’t have time to apply your brakes
if that vehicle suddenly slows or stops. Always leave
enough room up ahead to stop, even though you have
anti-lock brakes.
Using Anti-Lock
Don’t pump the brakes. Just hold the brake pedal down
and let anti-lock work for you. You may hear a motor or
clicking noise during a hard stop, but this is normal.
Traction Control System
Your vehicle has a traction control system that limits
wheel spin. This is especially useful in slippery road
conditions. The system operates only if it senses that one
or both of the front wheels are spinning or beginning to
lose traction. When this happens, the system works the
front brakes and reduces engine power to limit
wheel spin.
TRACTION ACTIVE
This light will come on
when your traction control
system is limiting wheel
spin. See “Traction Control
System Active Light” in
the Index.
You may feel or hear the system working, but this
is normal.
If your vehicle is in cruise control when the traction
control system begins to limit wheel spin, the cruise
control will automatically disengage. When road
conditions allow you to safely use it again, you may
re-engage the cruise control. (See “Cruise Control”
in
the Index.)
4-9