change wheel Oldsmobile Aurora 1998 Owner's Manuals
[x] Cancel search | Manufacturer: OLDSMOBILE, Model Year: 1998, Model line: Aurora, Model: Oldsmobile Aurora 1998Pages: 380, PDF Size: 19.75 MB
Page 100 of 380
Tilt Wheel Turn SignaVMultifunction Lever
.. ::..,". .: ..:. s;r:
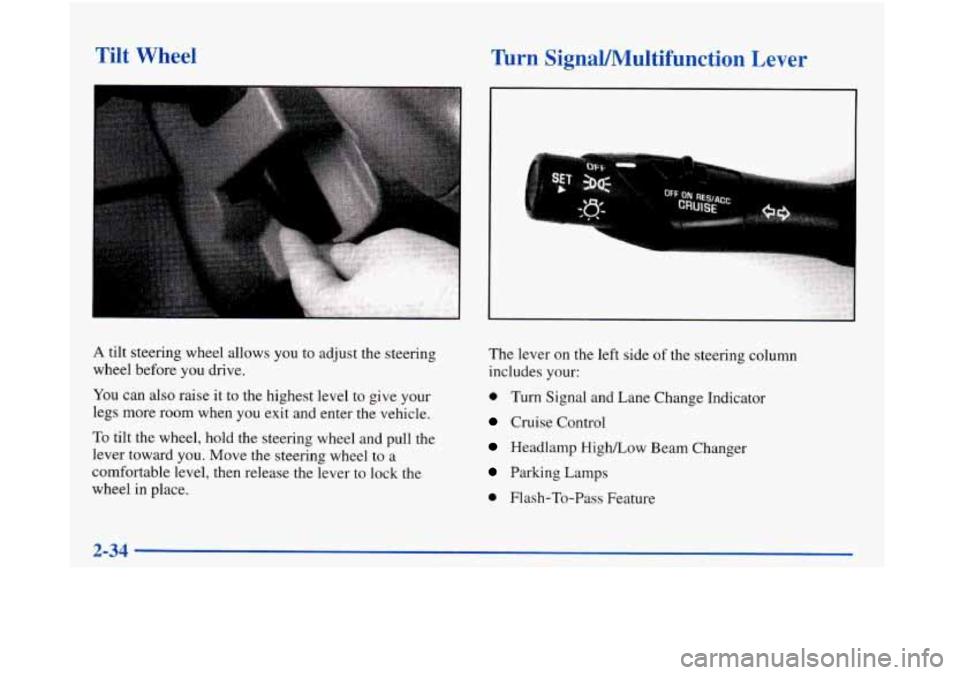
A tilt steering wheel allows you to adjust the steering
wheel before you drive.
You can also raise it to the highest level to give your
legs more room when you exit and enter the vehicle.
To tilt the wheel, hold the steering wheel and pull the
lever toward you. Move the steering wheel to a
comfortable level, then release the lever
to lock the
wheel in place. The
lever on the left side
of the steering column
includes your:
0 Turn Signal and Lane Change Indicator
Cruise Control
Headlamp High/Low Beam Changer
Parking Lamps
0 Flash-To-Pass Feature
2-34
Page 105 of 380
Windshield Washer Cruise Control
The
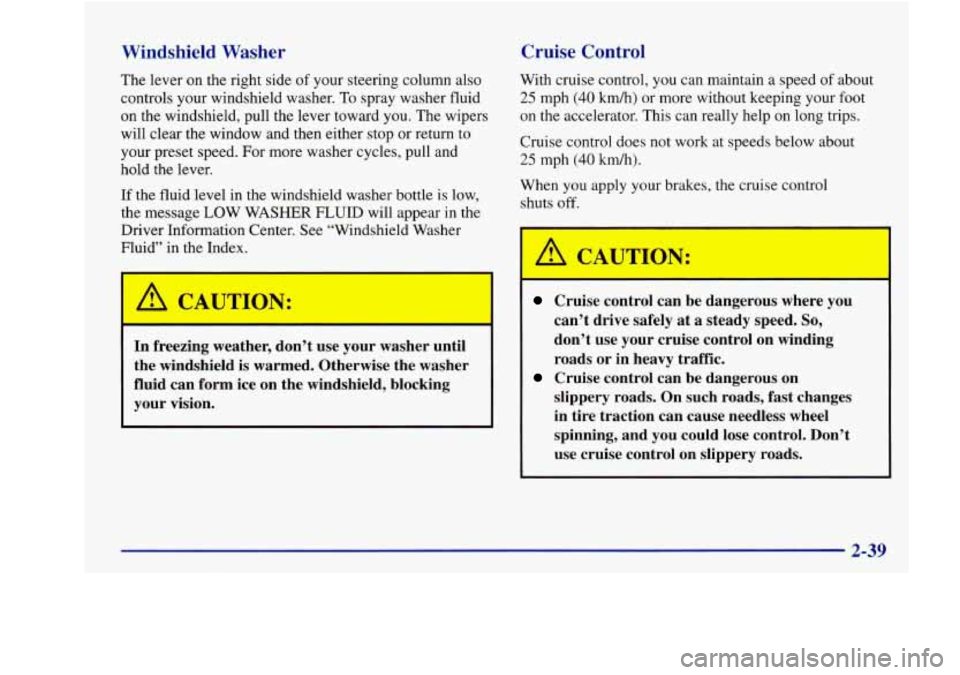
lever on the right side of your steering column also
controls your windshield washer. To spray washer fluid
on the windshield, pull the lever toward
you. The wipers
will clear the window and then either stop or return to
your preset speed. For more washer cycles, pull and
hold the lever.
If the fluid level in the windshield washer bottle is low,
the message LOW WASHER
FLUID will appear in the
Driver Information Center. See “Windshield Washer
Fluid” in the Index.
In freezing weather, don’t use your washer until
the windshield is warmed. Otherwise the washer
fluid can form ice on the windshield, blocking
your vision.
With cruise control, you can maintain a speed of about
25 mph (40 km/h) or more without keeping your foot
on the accelerator. This can really help on long trips.
Cruise control does not work at speeds below about
25 mph (40 ludh).
When you apply your brakes, the cruise control
shuts
off.
Cruise control can be dangerous where you
can’t drive safely at
a steady speed. So,
don’t use your cruise control on winding
roads or in heavy traffic.
slippery roads. On such roads, fast changes
in tire traction can cause needless wheel
spinning, and you could lose control. Don’t
use cruise control on slippery roads.
Cruise control can be dangerous on
Page 151 of 380
@ Section 3 Comfort Controls and Audio Systems
In this section, you’ll find out how to operate the comfort control and audio systems offered with your vehicle. Be
sure to read about the particular systems supplied with your vehicle.
3-2 3-2
3-6
3-7 3-7
3-9
3-9
3- 10
3-10
3-11
3-11
Comfort Controls
Automatic Electronic Climate Control
Air Conditioning
Heating Ventilation System
Defogging and Defrosting
Rear Window Defogger
Passenger Temperature Control Steering
Wheel Controls for Climate Control
Audio Systems Setting
the Clock 3-11
3-18
3-21
3-23 3 -24
3 -24
3-25
3-26
3-26
3-27 AM-FM
Stereo with Cassette Tape and
Compact Disc Player with Automatic
Tone Control
Trunk Mounted CD Changer (Option)
Theft-Deterrent Feature
Audio Steering Wheel Controls
Understanding Radio Reception
Tips About Your Audio System
Care of Your Cassette Tape Player
Care of Your Compact Discs
Care of Your Compact Disc Player
Power Antenna Mast Care
Page 186 of 380
The anti-lock system can change the brake pressure
faster than any driver could. The computer is
programmed
to make the most of available tire and
road conditions.
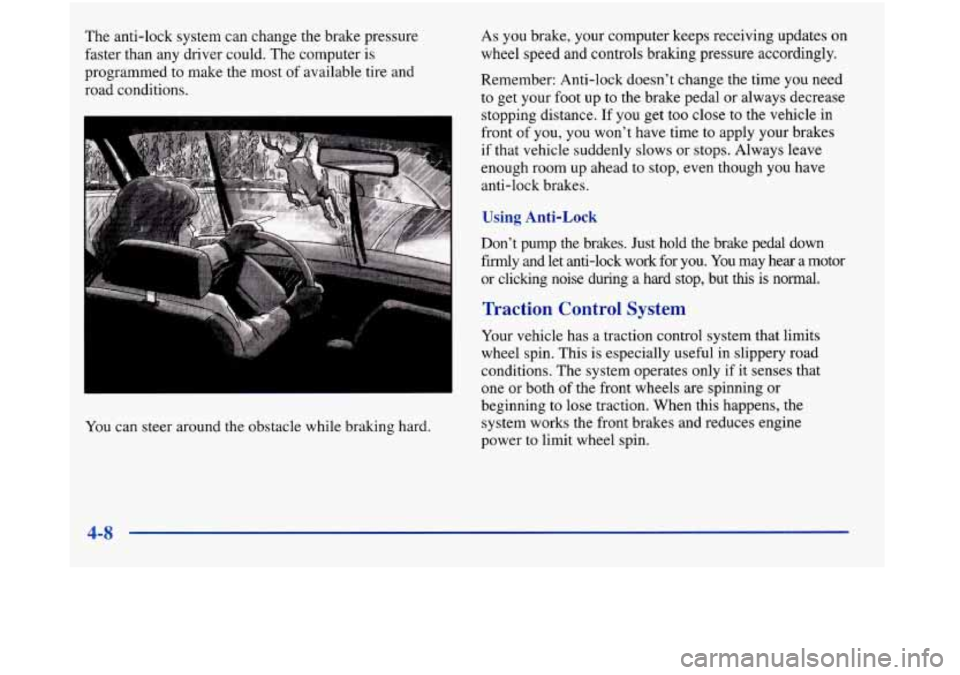
You can steer around the obstacle while braking hard. As you
brake, your computer keeps receiving updates on
wheel speed and controls bralung pressure accordingly.
Remember: Anti-lock doesn’t change the time you need
to get your foot up to the brake pedal or always decrease
stopping distance. If you get too close to the vehicle in
front of you, you won’t have time to apply your brakes
if that vehicle suddenly slows or stops. Always leave
enough room up ahead to stop, even though you have
anti-lock brakes.
Using Anti-Lock
Don’t pump the brakes. Just hold the brake pedal down
firmly and let anti-lock work for you. You may hear a motor
or clicking noise during a hard stop, but this is normal.
Traction Control System
Your vehicle has a traction control system that limits
wheel spin. This is especially useful in slippery road
conditions. The system operates only if it senses that
one or both of the front wheels are spinning or
beginning to lose traction. When this happens, the
system works
the front brakes and reduces engine
power to limit wheel spin.
4-8
Page 189 of 380
Steering Tips
Driving on Curves
It’s important to take curves at a reasonable speed.
A lot of the “driver lost control” accidents mentioned on
the news happen on curves. Here’s why:
Experienced driver or beginner, each of us is subject to
the same laws of physics when driving on curves. The
traction of the tires against the road surface makes it
possible for the vehicle to change its path when you turn
the front wheels. If there’s no traction, inertia will keep
the vehicle going in the same direction. If you’ve ever
tried to steer
a vehicle on wet ice, you’ll understand this.
The traction you can get in a curve depends
on the
condition of your tires and the road surface, the angle at
which the curve is banked, and your speed. While you’re
in a curve, speed
is the one factor you can control. Suppose you’re steering through a sharp curve. Then
you
suddenly accelerate.
Both control systems -- steering and
acceleration -- have to do their work where the tires meet
the road. Adding the sudden acceleration can demand to!,
much of those places. You can lose control. Refer to
“Traction Control System” in the Index,
What should you
do if this ever happens? Ease up on
the accelerator pedal, steer the vehicle the way you
want it to go, and slow down.
Speed limit signs near curves warn that you shou1.d
adjust your speed. Of course, the posted speeds are
based on good weather and road conditions. Under
less favorable conditions you’ll want to
go slower.
If you need to reduce your speed as you approxh a
curve, do it before you enter the curve, while your
front wheels are straight ahead.
Try to adjust your speed
so you can “drive” through
the curve. Maintain a reasonable, steady speed.
Wait
to accelerate until you are out of the curve, and then
accelerate gently into the straightaway.
Page 193 of 380
Skidding
In a skid, a driver can lose control of the vel-ucle.
Defensive drivers avoid most skids by taking reasonable
care suited to existing conditions, and by not “overdriving”
those conditions. But skids
are always possible.
The three types of skids correspond to your vehicle’s
three control systems. In the braking skid, your wheels
aren’t rolling. In the steering or cornering skid, too
much speed or steering in a curve causes tires to slip
and lose cornering force. And in the acceleration skid,
too much throttle causes the driving wheels to spin.
A cornering skid is best handled by easing your foot off
the accelerator pedal.
Remember: Any traction control system helps avoid
only the acceleration skid.
If your traction control system is off, then an
acceleration skid is also best handled by easing your
foot off the accelerator pedal.
If your vehicle starts
to slide, ease your foot off the
accelerator pedal and quickly steer the way you want the vehicle to go.
If
you start steering quickly enough, your
vehicle may straighten out. Always be ready for a
second skid if it occurs.
Of course, traction is reduced when water, snow, ice,
gravel or other material
is on the road. For safety, you’ll
want to slow down and adjust your driving
to these
conditions. It is important to slow down on slippery
surfaces because stopping distance will be longer and
vehicle control more limited.
While driving on a surface with reduced traction, try
your best to avoid sudden steering, acceleration
or
braking (including engine braking by shifting to a
lower gear). Any sudden changes could cause the tires
to slide. You may not realize the surface is slippery until
your vehicle is skidding. Learn to recognize warning
clues
-- such as enough water, ice or packed snow on
the road to make a “mirrored surface”
-- and slow down
when you have any doubt.
Remember: Any anti-lock brake system (ABS) helps
avoid only the braking skid.
Page 224 of 380
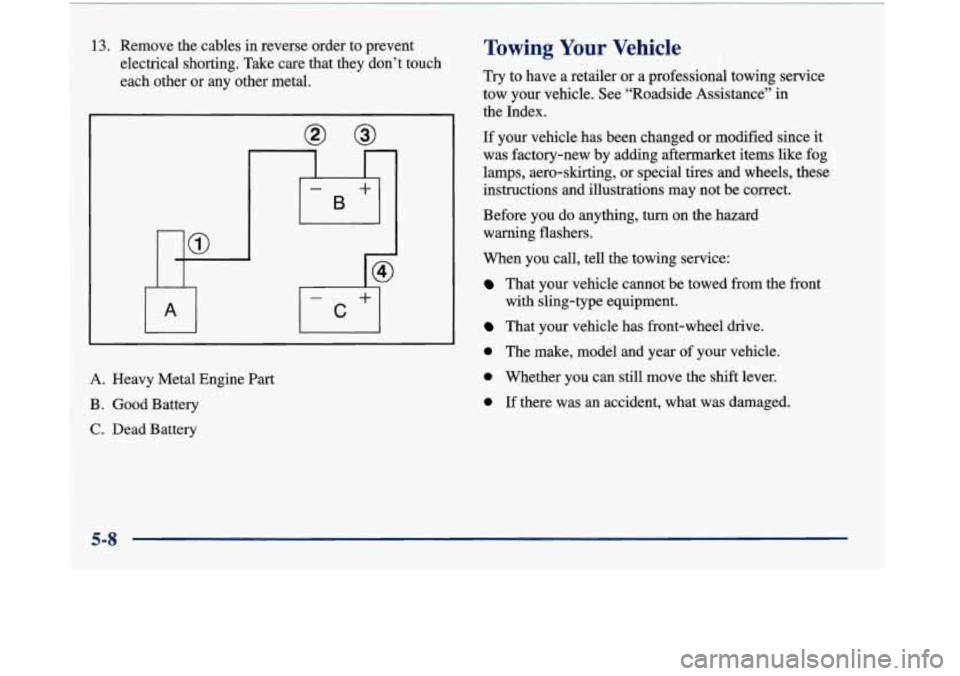
13. Remove the cables in reverse order to prevent
electrical shorting. Take care that they don’t touch
each other or any other metal.
A. Heavy Metal Engine
Part
B. Good Battery
C. Dead Battery
Towing Your Vehicle
Try to have a retailer or a professional towing service
tow your vehicle. See “Roadside Assistance’’ in
the Index.
If your vehicle has been changed or modified since it
was factory-new by adding aftermarket items like fog
lamps, aero-skirting, or special tires and wheels, these
instructions and illustrations may not be correct.
Before
you do anything, turn on the hazard
warning flashers.
When you call, tell the towing service:
That your vehicle cannot be towed from the front
That your vehicle has front-wheel drive.
with
sling-type equipment.
0 The make, model and year of your vehicle.
0 Whether you can still move the shift lever.
0 If there was an accident, what was damaged.
5-8
Page 240 of 380

If a Tire Goes Flat
It’s unusual for a tire to “blow out” while you’re driving,
especially if you maintain your tires properly. If air goes
out of a tire, it’s much more likely to leak out slowly.
But if you should ever have a “blowout,” here are a few
tips about what to expect and what
to do:
If a front tire fails, the flat tire will create a drag that
pulls the vehicle toward that side. Take your foot
off the
accelerator pedal and grip the steering wheel firmly.
Steer to maintain lane position, and then gently brake to
a stop well out of the traffic lane.
A rear blowout, particularly on a curve, acts much like a
skid and may require the same correction you’d use in a
skid.
In any rear blowout, remove your foot from the
accelerator pedal. Get the vehicle under control by
steering the way you want the vehicle to go. It may be
very bumpy and noisy, but you can still steer. Gently
brake to a stop
-- well off the road if possible.
If a tire goes flat, the next part shows how to use your
jacking equipment to change a flat tire safely.
Changing a Flat Tire
If a tire goes flat, avoid further tire and wheel damage
by driving slowly to
a level place. Turn on your hazard
warning flashers.
I-
Changing a tire can cause an injury. The vehicle
can slip
off the jack and roll over you or other
people. You and they could be badly injured.
Find a level place
to change your tire. To help
prevent the vehicle from moving:
1. Set the parking brake firmly.
2. Put the shift lever in PARK (P).
3. Turn off the engine.
To be even more certain the vehicle won’t move,
you can put blocks at the front and rear of the
tire farthest away from the one being changed.
That would be the tire on the other side of the
vehicle, at the opposite end.
5-24
Page 241 of 380

Removing the Spare Tire and Tools
The following steps will tell you how to use the jack and
change a tire. The equipment you'll need is in the trunk.
Instructions for changing your tires are
on the inside of
the tire cover. You can rest the cover near you for easy
reference while you change the tire.
1. Lift the tire cover to gain access to the spare tire and
2. Remove the wheel wrench and jack from the
jacking equipment.
jack
container.
3. Remove the spare tire from the trunk.
5-25
Page 245 of 380

5. Raise the vehicle by rotating the wheel wrench to the
right on the jack. Raise the vehicle
far enough off the
ground so there’s enough room for the spare tire
to fit.
4. Remove all the wheel nuts and take off the flat tire.
7. Remove any rust or dirt
from the wheel bolts,
mounting surfaces and
spare wheel.
Rust or dirt on the wheel, or on the parts to
which it is fastened, can make the wheel nuts
become loose after a time. The wheel could come
off and cause an accident. When you change a
wheel, remove any rust or dirt from the places
where the wheel attaches to the vehicle. In an
~ emergency, you can use a cloth or a paper towel
to do this; but be sure to use a scraper or wire
brush later,
if you need to, to get all the rust or
dirt off.
Never use oil or grease on studs or nuts.
If you
do, the nuts might come loose. Your wheel could
fall off, causing
a serious accident. 1
8. Place the spare tire on the wheel-mounting surface.