headlamp Oldsmobile Aurora 1998 Owner's Manuals
[x] Cancel search | Manufacturer: OLDSMOBILE, Model Year: 1998, Model line: Aurora, Model: Oldsmobile Aurora 1998Pages: 380, PDF Size: 19.75 MB
Page 76 of 380
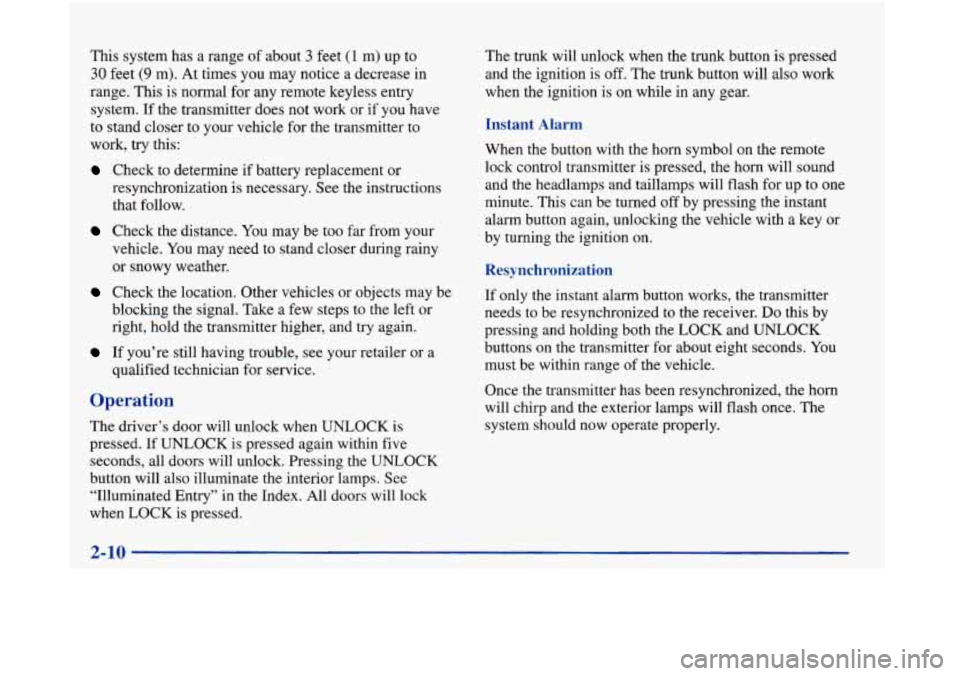
This system has a range of about 3 feet (1 m) up to
30 feet (9 m). At times you may notice a decrease in
range. This is normal for any remote keyless entry
system. If the transmitter does not work or if you have
to stand closer to your vehicle for the transmitter to
work, try this:
Check to determine if battery replacement or
resynchronization
is necessary. See the instructions
that follow.
Check the distance. You may be too far from your
vehicle.
You may need to stand closer during rainy
or snowy weather.
Check the location. Other vehicles or objects may be
blocking the signal. Take a few steps
to the left or
right, hold the transmitter higher, and try again.
If you’re still having trouble, see your retailer or a
qualified technician for service.
Operation
The driver’s door will unlock when UNLOCK is
pressed. If UNLOCK is pressed again within five
seconds, all doors will unlock. Pressing the UNLOCK
button will also illuminate the interior lamps. See
“Illuminated Entry” in the Index. All doors will lock
when LOCK is pressed. The trunk
will unlock when the trunk button is pressed
and the ignition is off. The trunk button will also work
when the ignition is on while in any gear.
Instant Alarm
When the button with the horn symbol on the remote
lock control transmitter is pressed, the horn will sound
and the headlamps and taillamps will flash for up to one
minute. This can be turned off by pressing the instant
alarm button again, unlocking the vehicle with a key or
by turning the ignition on.
Resynchronization
If only the instant alarm button works, the transmitter
needs to be resynchronized to the receiver.
Do this by
pressing and holding both the LOCK and UNLOCK
buttons on the transmitter for about eight seconds.
You
must be within range of the vehicle.
Once the transmitter has been resynchronized, the horn
will chirp and the exterior lamps will flash once. The
system should now operate properly.
2-10
Page 77 of 380
Personalization Features
The following list of features that are available on your
vehicle can be programmed
to the driver’s preference
for each transmitter.
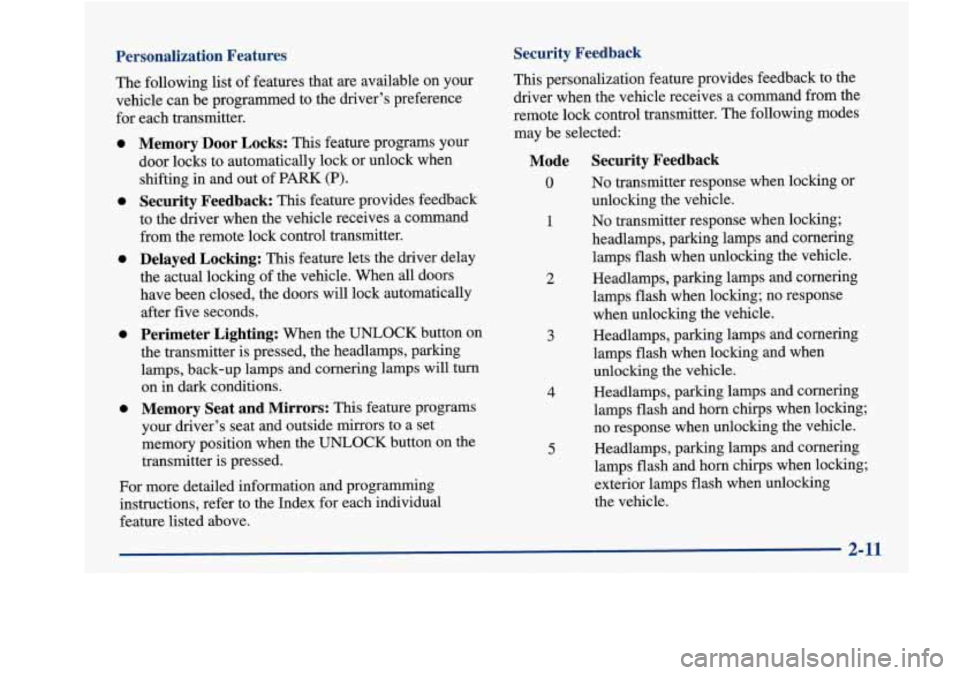
Security Feedback
0
0
0
0
0
Memory Door Locks: This feature programs your
door locks to automatically lock or unlock when
shifting in and out of PARK (P).
Security Feedback: This feature provides feedback
to the driver when the vehicle receives a command
from the remote lock control transmitter.
Delayed Locking: This feature lets the driver delay
the actual locking of the vehicle. When
all doors
have been closed, the doors will lock automatically after five seconds.
Perimeter Lighting: When the UNLOCK button on
the transmitter is pressed, the headlamps, parking
lamps, back-up lamps and cornering lamps will turn
on in dark conditions.
Memory Seat and Mirrors: This feature programs
your driver’s seat and outside mirrors to a set
memory position when the UNLOCK button on the
transmitter is pressed.
For more detailed information and programming
instructions, refer to the Index for each individual
feature listed above. This personalization feature
provides feedback to the
driver when the vehicle receives a command from the
remote lock control transmitter. The following modes
may be selected:
4
5
1
2
3
Mode Security Feedback
0 No transmitter response when locking or
unlocking the vehicle.
No transmitter response when locking;
headlamps, parking lamps and cornering
lamps flash when unlocking the vehicle.
Headlamps, parking lamps and cornering
lamps flash when locking; no response
when unlocking the vehicle.
Headlamps, parking lamps and cornering
lamps flash when locking and when
unlocking the vehicle.
Headlamps, parking lamps and cornering lamps flash and horn chirps when locking;
no response when unlocking the vehicle.
Headlamps, parking lamps and cornering
lamps flash and horn chirps when locking;
exterior lamps flash when unlocking
the vehicle.
2-11
Page 100 of 380
Tilt Wheel Turn SignaVMultifunction Lever
.. ::..,". .: ..:. s;r:
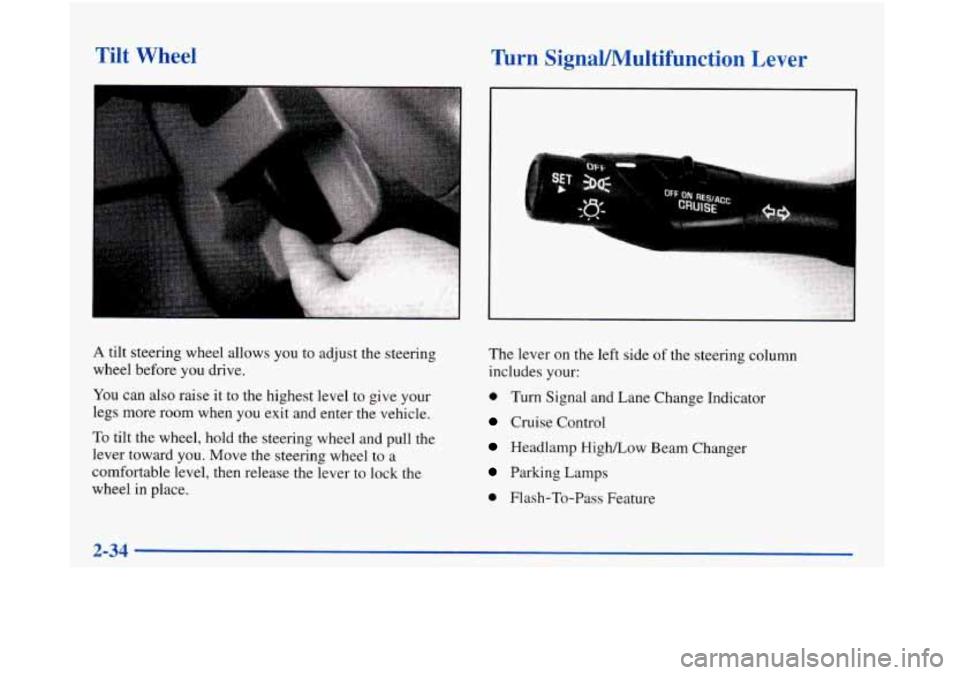
A tilt steering wheel allows you to adjust the steering
wheel before you drive.
You can also raise it to the highest level to give your
legs more room when you exit and enter the vehicle.
To tilt the wheel, hold the steering wheel and pull the
lever toward you. Move the steering wheel to a
comfortable level, then release the lever
to lock the
wheel in place. The
lever on the left side
of the steering column
includes your:
0 Turn Signal and Lane Change Indicator
Cruise Control
Headlamp High/Low Beam Changer
Parking Lamps
0 Flash-To-Pass Feature
2-34
Page 102 of 380
Headlamps
Sidemarker Lamps
Taillamps
Instrument Panel Lights
0 License Plate Lamps
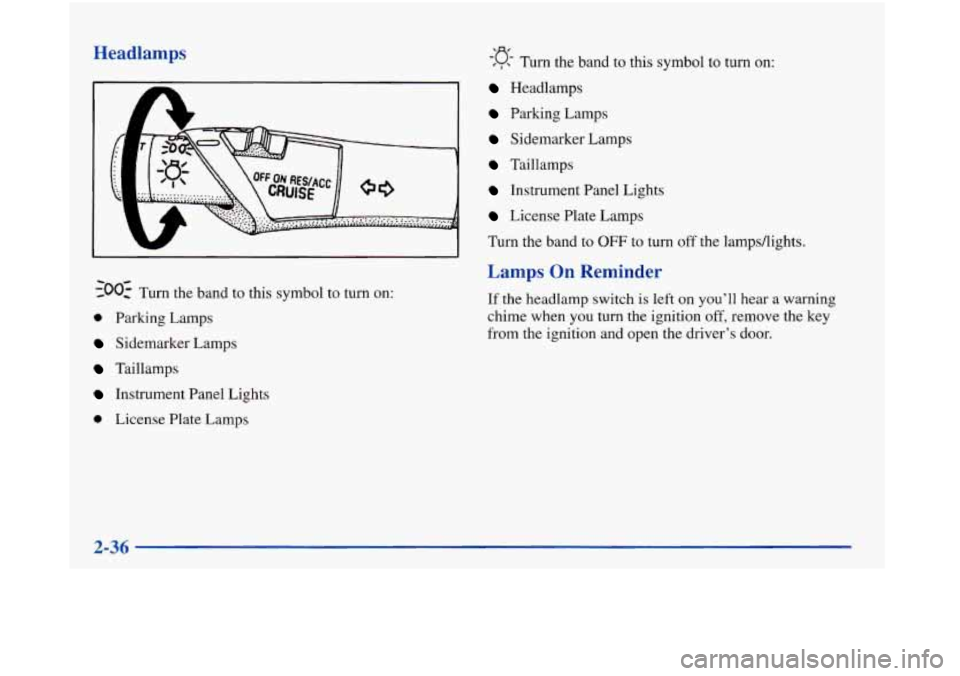
-‘a- / , Turn the band to this symbol to turn on:
Headlamps
Parking Lamps
Sidemarker Lamps
Taillamps
Instrument Panel Lights
License Plate Lamps
Turn the band to
OFF to turn off the 1ampsAights.
Lamps On Reminder
If the headlamp switch is left on you’ll hear a warning
chime when you turn the ignition
off, remove the key
from
the ignition and open the driver’s door.
2-36
-
Page 103 of 380
Headlamp High/Low Beam Changer
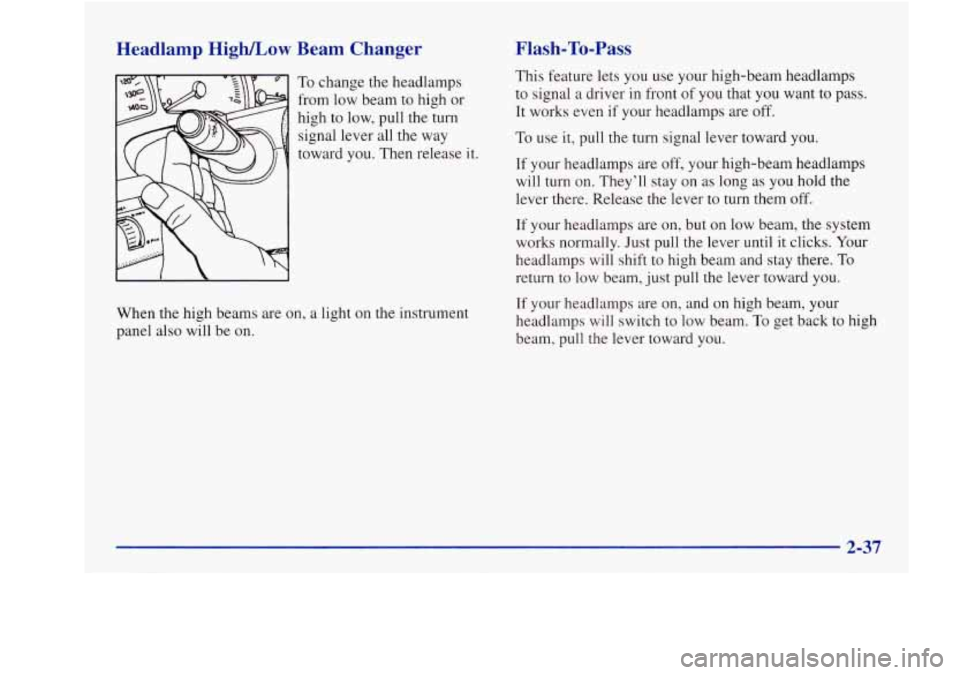
To change the headlamps
from low beam to high or
high to low, pull the turn
signal lever all
the way
toward you. Then release it.
When the high beams are on, a light on the instrument
panel also will be on.
Flash-To-Pass
This feature lets you use your high-beam headlamps
to signal a driver in front of you that you want to pass.
It works even if your headlamps are off.
To use it, pull the turn signal lever toward you.
If your headlamps are off, your high-beam headlamps
will turn on. They’ll stay on as long as you hold the
lever there. Release the lever to turn them off.
If your headlamps are on, but on low beam, the system
works normally. Just pull the lever until it clicks. Your
headlamps will shift
to high beam and stay there. To
return to low beam, just pull the lever toward you.
If your headlamps are
on, and on high beam, your
headlamps will switch
to low beam. To get back to high
beam, pull the lever toward you.
Page 108 of 380
Reducing Speed While Using Cruise Control
There are two ways to reduce your speed while using
cruise control:
Push in the button at the end of the lever until you
reach a desired lower speed then release it.
To slow down in very small amounts, push the
button briefly. Each time you do this, you’ll go
1 mph (1.6 km/h) slower.
Passing Another Vehicle While Using Cruise Control
Use the accelerator pedal to increase your speed. When
you take your foot
off the pedal, your vehicle will slow
down to the cruise control speed
you set earlier.
Using Cruise Control on Hills
How well your cruise control will work on hills depends
upon your speed, load, and the steepness of the hills.
When going up steep hills, you may have to step on the
accelerator pedal to maintain your speed. When going
downhill, you may have to brake or shift to a lower gear
to keep your speed down. Of course, applying the brake
takes you out of cruise control. Many drivers find this to
be too much trouble and don’t
use cruise control on
steep hills.
Ending Cruise Control
There are two ways to turn off the cruise control:
Step lightly on the brake pedal, or
Move the cruise switch to OFF. The CRUISE light
will also go out.
Erasing Speed Memory
When you turn off the cruise control or the ignition,
your cruise control set speed memory is erased.
Exterior Lamps
Headlamps
See “Turn SignalMultifunction Lever” in the Index.
Daytime Running Lamps
Daytime Running Lamps (DRL) can make it easier
for others to see the front of your vehicle during the
day.
DRL can be helpful in many different driving
conditions, but they can be especially helpful in the
short periods after dawn and before sunset.
2-42
~
Page 109 of 380
A light sensor on top of the instrument panel makes the
DRL work,
so be sure it isn’t covered.
The DRL system will make your low-beam headlamps
come on at reduced brightness in daylight when:
The ignition is on,
0 The headlamp switch is off and
The transaxle is not in PARK (P).
When DRL are on, only your low-beam headlamps will
be on. The parking lamps, taillamps, sidemarker and
other lamps won’t be on. Your instrument panel won’t
be lit up either.
When it’s dark enough outside, your low-beam
headlamps will change to full brightness. The other
lamps that come
on with your headlamps will also come
on. When it’s bright enough outside, the regular lamps
will go off, and your low-beam headlamps change
to
the reduced brightness of DRL.
To idle your vehicle with the DRL off, shift the
transaxle into PARK (P). The DIU will stay off until
you shift out of PARK
(P).
To turn off all exterior lighting at night when you are
in PARK (P), turn off the headlamps and move the
twilight sentinel control, located to the left of the
steering column, all the way toward
MIN. See “Twilight
Sentinel” in the Index.
As with any vehicle, you should turn on the regular
headlamp system when you need it.
Fog Lamps
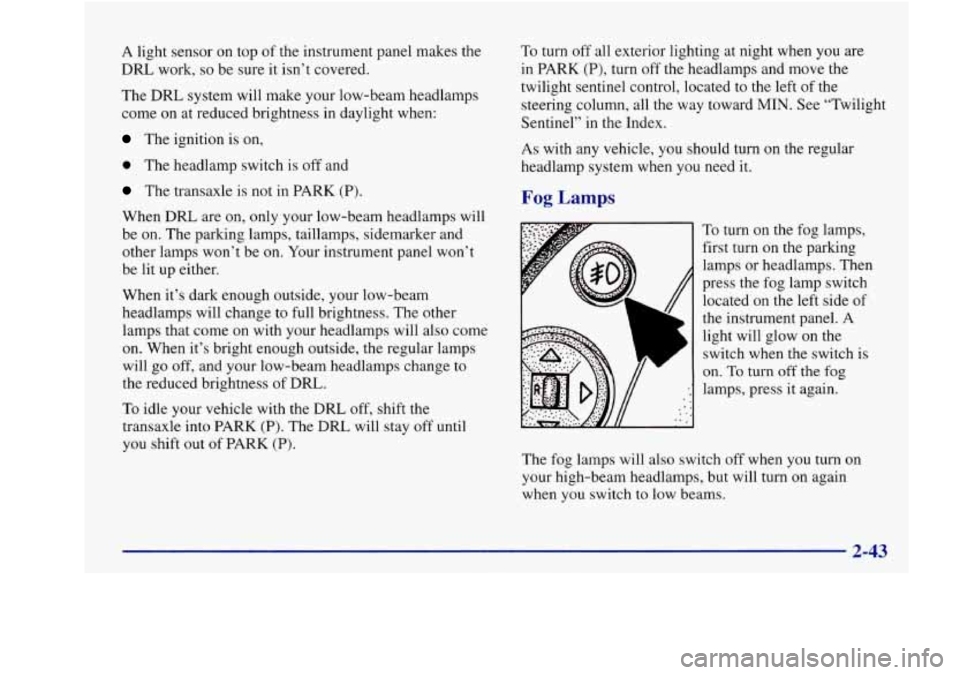
To turn on the fog lamps,
first turn on the parking
lamps or headlamps. Then
press the fog lamp switch
located
on the left side of
the instrument panel. A
light will glow on the
switch when the switch is
on.
To turn off the fog
lamps, press it again.
The fog lamps will
also switch off when you turn on
your high-beam headlamps, but will turn on again
when you switch to low beams.
Page 110 of 380
Cornering Lamps
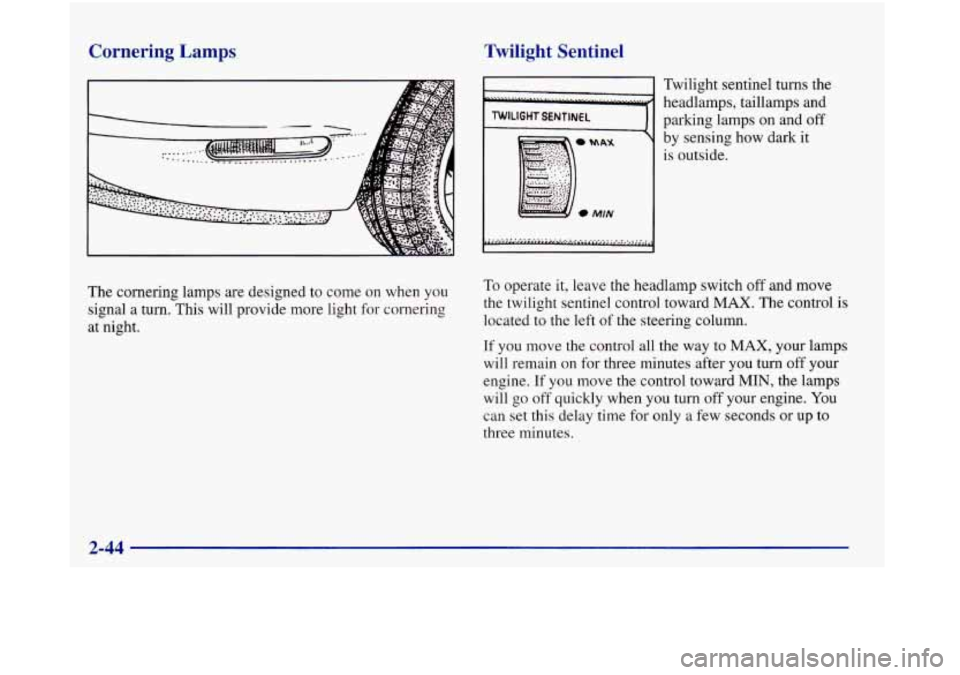
The cornering lamps are designed to come on when you
signal a turn. This will provide more light for cornering
at night.
Twilight Sentinel
Twilight sentinel turns the
headlamps, taillamps and
TWILIGHT SfNTlNEL
II parking famps on and off
by sensing how dark it
is outside.
To operate it, leave the headlamp switch off and move
the twilight sentinel control toward MAX. The control is
located to the left of the steering column.
If you move the control all the way to MAX, your lamps
will remain on for three minutes after you turn
off your
engine. If you move the control toward MIN, the lamps
will go off quickly when you turn off your engine. You
can set this delay time for only a few seconds
or up to
three minutes.
Page 111 of 380
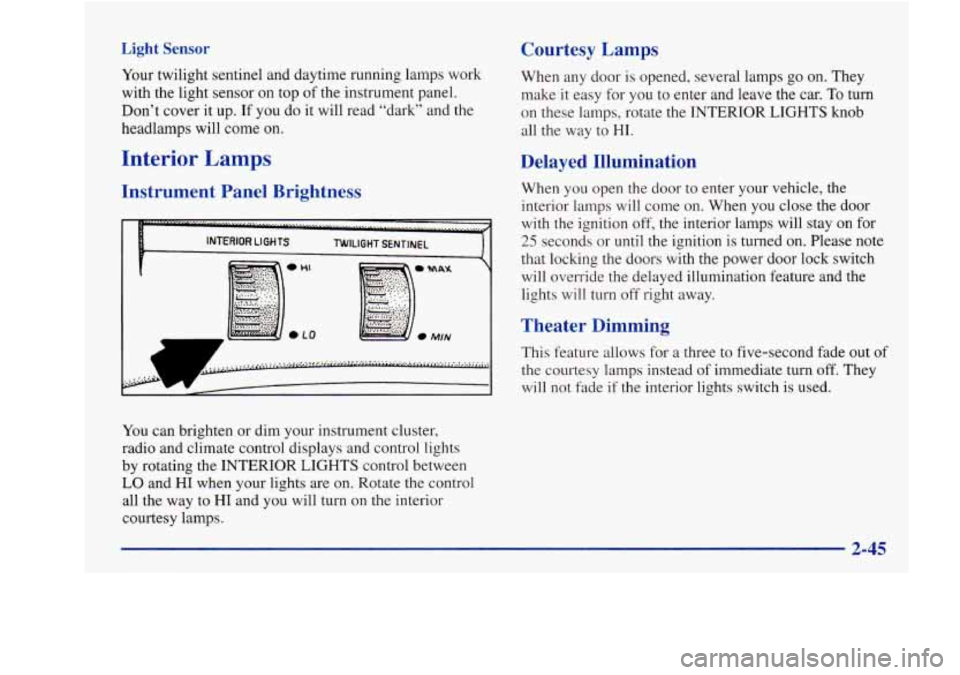
Light Sensor
Your twilight sentinel and daytime running lamps work
with the light sensor on
top of the instrument panel.
Don’t cover it up. If you do it will read “dark” and the
headlamps will come on.
Interior Lamps
Courtesy Lamps
When any door is opened, several lamps go on. They
make it easy for you to enter and leave the car.
To turn
on these lamps, rotate the INTERIOR LIGHTS knob
all the way to HI.
Instrument Panel Brightness Delayed Illumination When you
open the door to enter your vehicle, the
interior lamps will come on. When you close the door
with the ignition off, the interior lamps will stay on for
25 seconds or until the ignition is turned on. Please note
that locking the doors with the power door lock switch
will override the delayed illumination feature and the
lights will turn off right away.
Theater Dimming
This feature allows for a three to five-second fade out of
the courtesy lamps instead of immediate turn off. They
will not fade if the interior lights switch is used.
You can brighten or dim your instrument cluster,
radio and climate control displays and control lights
by rotating the
INTERIOR LIGHTS control between
LO and HI when your lights are on. Rotate the control
all the way to HI and you will turn
on the interior
courtesy lamps.
2-45
Page 112 of 380

Parade Dimming
This feature prohibits the dimming of your instrument
displays during daylight while your headlamps are on.
This feature operates with the light sensor for the
twilight sentinel and is fully automatic. When the
light sensor reads darkness outside, you will be able
to dim your instrument panel displays once again.
Perimeter Lighting
When the UNLOCK button on the remote lock control
transmitter is pressed, the headlamps, parking lamps,
back-up lamps and cornering lamps will come on
if it is
dark enough outside according to the twilight sentinel.
Exit Lighting
With this feature, the interior lamps will come on for
25 seconds after you remove the key from the ignition.
This will give you time to find the door pull handle or
lock switches when you exit the vehicle.
Illuminated Entry
Press the UNLOCK button on the remote lock control
transmitter and the interior courtesy lamps will come on
and stay on for up to a minute. The lamps will turn
off
immediately by pressing the LOCK button on the
remote lock control transmitter, starting the ignition or
activating the power door locks. This
option can be programmed on or
off for each
driver’s transmitter.
To turn the feature off
1. Turn the ignition key to OFF
2. Press and hold the door lock switch throughout this
procedure. All doors will lock.
3. Press the instant alarm button on the remote lock
control transmitter. Perimeter lighting remains on at
this time and the horn will chirp two times.
4. Press the instant alarm button on the remote lock
control transmitter again. Perimeter lighting is
disabled and the horn will chirp one time.
5. Release the door lock switch. The perimeter lighting
option is now
off.
2-46