trunk OLDSMOBILE AURORA 2003 User Guide
[x] Cancel search | Manufacturer: OLDSMOBILE, Model Year: 2003, Model line: AURORA, Model: OLDSMOBILE AURORA 2003Pages: 387, PDF Size: 18.05 MB
Page 116 of 387

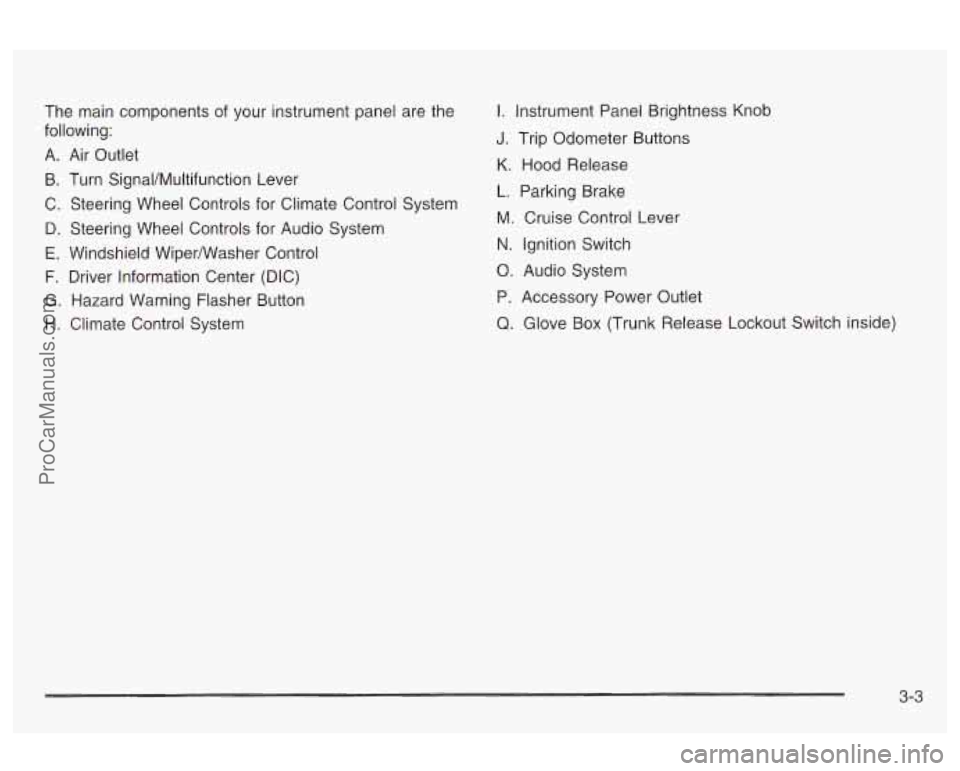
The main components of your instrument panel are the
following:
A. Air Outlet
B. Turn SignaVMultifunction Lever
C. Steering Wheel Controls for Climate Control System
D. Steering Wheel Controls for Audio System
E. Windshield Wiperwasher Control
F. Driver information Center (DIC)
G. Hazard Warning Flasher Button
H. Climate Control System
I. Instrument Panel Brightness Knob
J. Trip Odometer Buttons
K. Hood Release
L. Parking Brake
M. Cruise Control Lever
N. ignition Switch
0. Audio System
P. Accessory Power Outlet
Q. Glove Box (Trunk Release Lockout Switch inside)
3-3
ProCarManuals.com
Page 133 of 387

Front Reading Lamps
These lamps and the interior courtesy lamps will come
on when you open a door. They will turn
off when
you turn on the ignition.
If a door is left open, they will
turn
off after about 10 minutes.
To turn on the reading lamps when the doors are
closed, press the button under the lamp you want on.
Press it again to turn the lamp
off.
These lamps work even when the ignition is off. To
avoid draining your vehicle’s battery, be sure to turn off
all front and rear reading lamps when leaving your
vehicle.
tear Reading Lamps
These lamps will come on when you open the doors.
You can also turn them on by pressing the button on the
side of the lamp. Press it again to turn them
off.
Inadvertent Power Battery Saver
This feature is designed to protect your vehicle’s battery
against drainage from the interior lamps, trunk lamp,
glove box lamp or cigarette lighters. When the ignition is
turned
off, the power to these features will automatically
turn
off after 10 minutes. Power will be restored for
an additional
10 minutes if any door is opened, the trunk
is opened or the courtesy lamp control is turned on.
To restore power to the cigarette lighters, the ignition
must be turned back to
ON.
3-20
ProCarManuals.com
Page 163 of 387

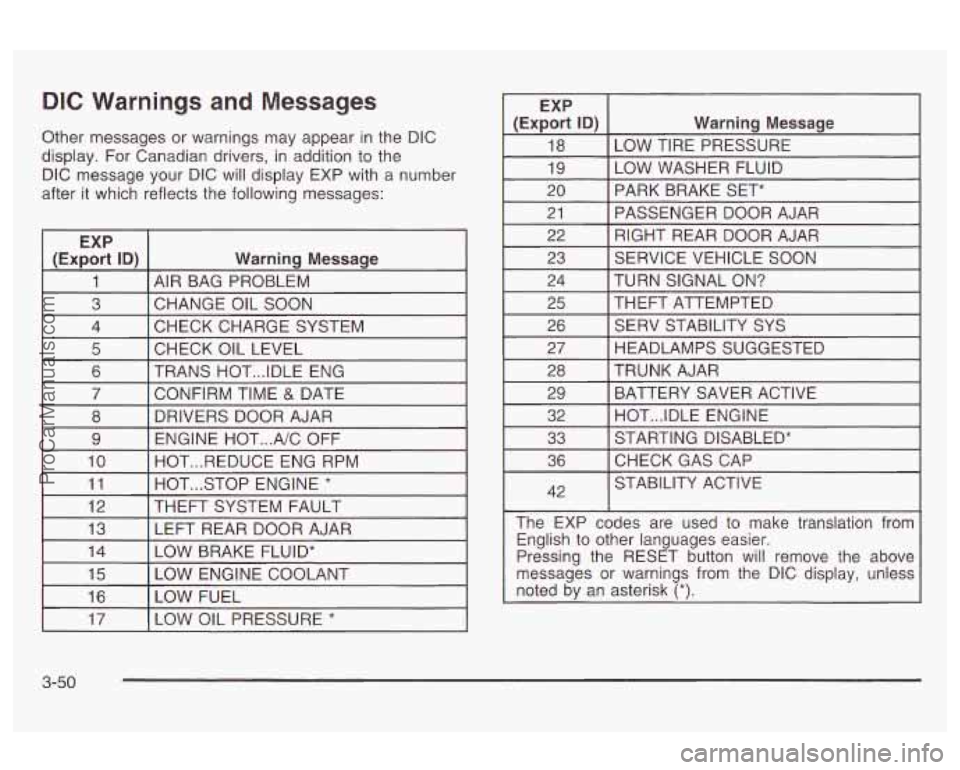
DIC Warnings and Messages
Other messages or warnings may appear in the DIC
display.
For Canadian drivers, in addition to the
DIC message your DIC will display EXP with
a number
after it which reflects the following messages:
EXP
(Export ID)
Warning Message
1 AIR BAG PROBLEM
3 CHECK CHARGE SYSTEM
4
CHANGE OIL SOON
I 5 I CHECK OIL LEVEL I I
6 I TRANS HOT ... IDLE ENG
I 7 I CONFIRM TIME & DATE I
8
ENGINE HOT
... A/C OFF
9 DRIVERS DOOR AJAR
10 HOT
... STOP ENGINE * 11 HOT
... REDUCE ENG RPM
I 12 I THEFT SYSTEM
FAULT I I
13 I LEFT REAR DOOR AJAR
I (ExE% ID) I Warning Message
18
LOW WASHER FLUID
19 LOW TIRE PRESSURE
20 PASSENGER DOOR AJAR
21 PARK BRAKE SET*
RIGHT REAR DOOR AJAR
22
23
TURN SIGNAL
ON? 24 SERVICE VEHICLE
SOON
I 25 I THEFT ATTEMPTED I I
26 [ SERV STABILITY SYS
I 27 I HEADLAMPS SUGGESTED I
28
BATTERY SAVER ACTIVE
29 TRUNK AJAR
32 STARTING DISABLED*
33 HOT
... IDLE ENGINE
36
42 CHECKGASCAP
STABILITY ACTIVE
The EXP codes are used to make translation from English to other languages easier.
Pressing the RESET button will remove the above
messages or warnings from the DIC display, unless
noted by an asterisk
(*).
I 17 I LOW OIL PRESSURE * I
3-50
ProCarManuals.com
Page 183 of 387

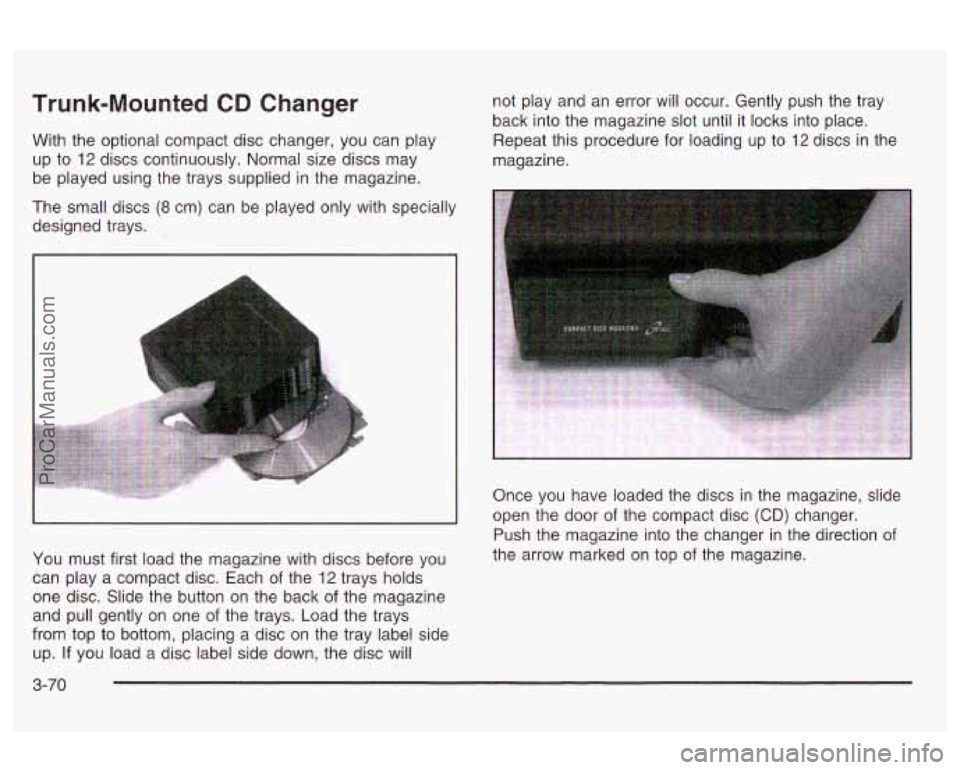
Trunk-Mounted CD Changer
With the optional compact disc changer, you can play
up to
12 discs continuously. Normal size discs may
be played using the trays supplied in the magazine.
The small discs
(8 cm) can be played only with specially
designed trays. not play
and an error
will occur. Gently push the tray
back into the magazine slot until it locks into place.
Repeat this procedure for loading up to
12 discs in the
magazine.
You must first load the magazine with discs before you
can play a compact disc. Each
of the 12 trays holds
one disc. Slide the button on the back of the magazine
and pull gently on one of the trays. Load the trays
from top to bottom, placing a disc on the tray label side
up.
If you load a disc label side down, the disc will Once you have loaded
the discs in the magazine, slide
open the door of the compact disc
(CD) changer.
Push the magazine into the changer in the direction of
the arrow marked on top of the magazine.
3-70
ProCarManuals.com
Page 215 of 387

Know how to go uphill. Drive in the highest gear
possible.
Stay in your own lane when driving on two-lane
roads in hills or mountains. Don’t swing wide or
cut across the center of the road. Drive at speeds
that let you stay in your own lane.
As you go over the top of a hill, be alert. There
could be something in your lane, like a stalled car or
an accident.
You may see highway signs on mountains that
warn of special problems. Examples are long
grades, passing or no-passing zones, a falling rocks
area or winding roads. Be alert to these and take
appropriate action.
Winter Driving
Here are some tips for winter driving:
Have your vehicle in good shape for winter.
You may want to put winter emergency supplies in
your trunk.
4-26
ProCarManuals.com
Page 224 of 387

DATE, , GVWR , GAWR FRT
MFD BY GENERAL MOTORS CORP
- uu
THIS VEHICLE CONFORMS TO ALLaL
Czzl
The other label is the Certification label, found on the
rear edge of the driver's door.
It tells you the gross
weight capacity of your vehicle, called the Gross Vehicle
Weight Rating (GVWR). The GVWR includes the
weight of the vehicle, all occupants, fuel and cargo.
Never exceed the GVWR for your vehicle, or the Gross
rear axle.
I Bvln .,\IV \A/nigh, . . V. Rating ((=_A.!l\!R> fer either the !rent c)r
And, if you do have a heavy load, you should spread it
out. Don't carry more than
176 Ibs. (80 kg) in your
trunk.
--I
Do no- ad your vehicle any heavier than the
GVWR, or either the maximum front or rear
GAWR. If you
do, parts on your vehicle can
break, and
it can change the way your vehicle
handles. These could cause you to lose
control and crash. Also, overloading can
shorten the life of your vehicle.
Notice: Your warranty does not cover parts or
components that fail because of overloading.
4-35
ProCarManuals.com
Page 225 of 387

If you put things inside your vehicle - like suitcases,
tools, packages, or anything else
- they will go as fast
as the vehicle goes.
If you have to stop or turn
quickly, or if there is a cra-", they'll keep going.
Things you phL inside your vehicle can strike
and injure people
in a sudden stop or turn, or
in a crash.
Put things in the trunk of your vehicle. In a
trunk, put them as far forward as you can.
Try to spread the weight evenly.
Never stack heavier things, like suitcases,
inside the vehicle
so that some of them
are above the tops of the seats.
Don't leave an unsecured child restraint in
your vehicle.
When you carry something inside the
vehicle, secure
it whenever you can.
Automatic Level Control
This feature keeps the rear of your vehicle level as the
load changes.
It is automatic - you do not need to
adjust anything.
Towinn a Trailer
If you don't use the correct equipment and
drive properly, you can lose control when you pull
a trailer. For example, if the trailer is too
heavy, the brakes may not work well
-- or even
at all. You and your passengers could be
seriously injured. You may also damage your
vehicle; the resulting repairs would not be
covered by your warranty. Pull a trailer only
if
you have followed all the steps in this section.
Ask your dealer for advice and information about towing a trailer with your vehicle.
4-36
ProCarManuals.com
Page 229 of 387

Trailer Brakes
Does your trailer have its own brakes?
Be sure to read and follow the instructions for the trailer
brakes
so you’ll be able to install, adjust and maintain
them properly.
Because you have anti-lock brakes, do not try to tap
into your vehicle’s brake system.
If you do, both brake
systems won’t work well, or at all.
Trailer Wiring Harness
All of the electrical circuits required for your trailer
lighting system can be accessed at the driver’s side rear
lamp connector. This connector is located under the
carpet
in the rear corner of the trunk compartment.
Driving with a Trailer
Towing a trailer requires a certain amount of experience.
Before setting out for the open road, you’ll want to get
to know your rig. Acquaint yourself with the feel of
handling and braking with the added weight
of the trailer.
And always keep in mind that the vehicle you are
driving is now a good deal longer and not nearly as
responsive as your vehicle is by itself. Before
you start, check the trailer hitch and platform
(and attachments), safety chains, electrical connector,
lamps, tires and mirror adjustment.
If the trailer has
electric brakes, start your vehicle and trailer moving and
then apply the trailer brake controller by hand to be
sure the brakes are working. This lets you check your
electrical connection at the same time.
During your trip, check occasionally to be sure that the
load is secure, and that the lamps and any trailer
brakes are still working.
Following Distance
Stay at least twice as far behind the vehicle ahead as
you would when driving your vehicle without a trailer.
This can help you avoid situations that require
heavy braking and sudden turns.
4-40
ProCarManuals.com
Page 241 of 387

The fuel cap is located behind a hinged fuel door on
the driver’s side of the vehicle. To open the fuel door,
press the button located
on the driver’s door
trim near the trunk release
button.
The ignition does not need to be on. The remote fuel
door release will work in all transaxle positions.
The trunk release lockout switch must be in
OFF for the
fuel door
to open.
The fuel door can be opened manually in case of a
power failure. To do this, first open the trunk. The release mechanism is located on the driver’s side of the
vehicle, at the top
of the trunk compartment.
5-8
ProCarManuals.com
Page 242 of 387

Pull the tab toward you to
release the fuel door.
Notice: Prying on a locked fuel filler door can
damage it. Use the remote fuel door manual release
located in the trunk
in the case of a power failure.
While refueling, hang the tethered fuel cap
from the
hook on the fuel door.
To remove the fuel cap, turn it slowly to the left
(counterclockwise). The fuel cap has a spring in it;
if
you let go of the cap too soon, it will spring back to the
rinht a '3' '*.
I
5-9
ProCarManuals.com