instrument panel OLDSMOBILE BRAVADA 1996 Owners Manual
[x] Cancel search | Manufacturer: OLDSMOBILE, Model Year: 1996, Model line: BRAVADA, Model: OLDSMOBILE BRAVADA 1996Pages: 340, PDF Size: 17.49 MB
Page 16 of 340

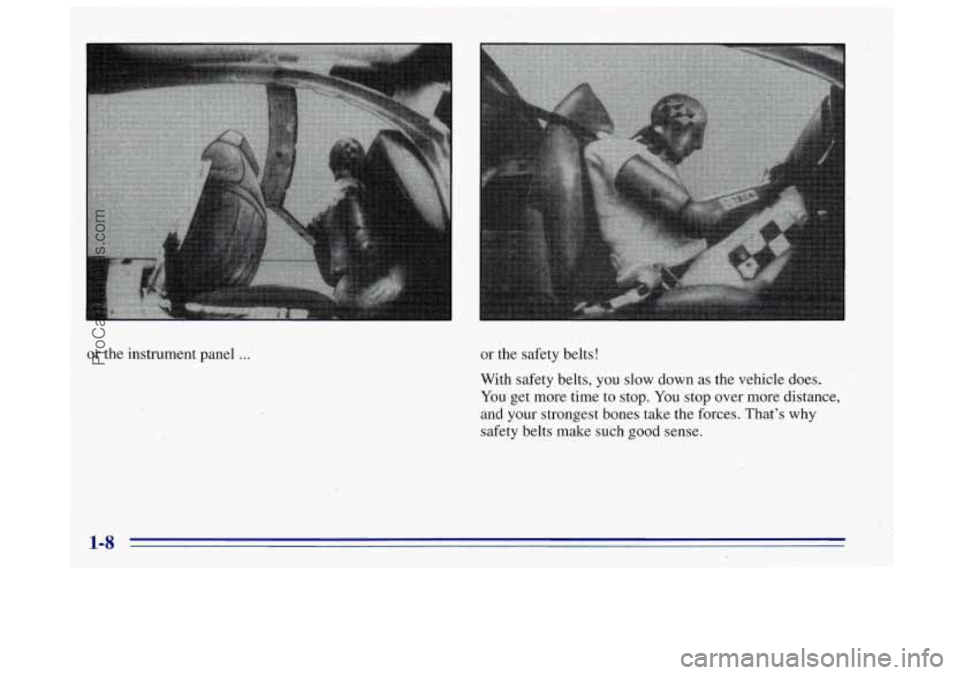
or the safety belts!
or the instrument panel ...
With safety belts, you slow down as the vehicle does.
You get more time to stop. You stop over more distance,
and
your strongest bones take the forces. That’s why
safety belts make such good sense.
1-8
ProCarManuals.com
Page 25 of 340

Air bags inflate with great force, faster than the
blink of an eye. If you’re too close to an inflating
air bag, it could seriously injure you. Safety belts
help keep you in position for an air bag inflation
in
a crash. Always wear your safety belt, even
with an air bag, and sit
as far back as you can
while still maintaining control of your vehicle.
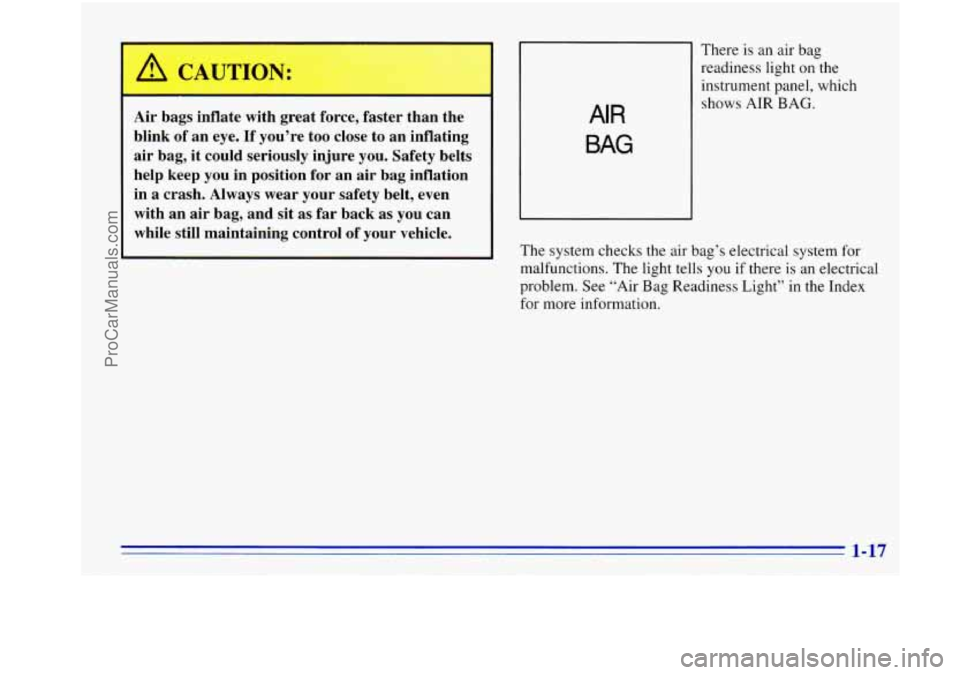
BAG
There is an air bag
readiness light on the
instrument panel, which
shows AIR
BAG.
The system checks the air bag’s electrical system for
malfunctions. The light tells
you if there is an electrical
problem. See “Air Bag Readiness Light’’ in the Index
for more information.
1-17
ProCarManuals.com
Page 53 of 340

1 Section 2 Features and Controls
Here you can learn about the many standard and
optional features on your Oldsmobile, and information
on starting, shifting and braking. Also explained are the
instrument panel and the warning systems that tell you
if
everything is working properly -- and what to do if you
have
a problem.
Keys
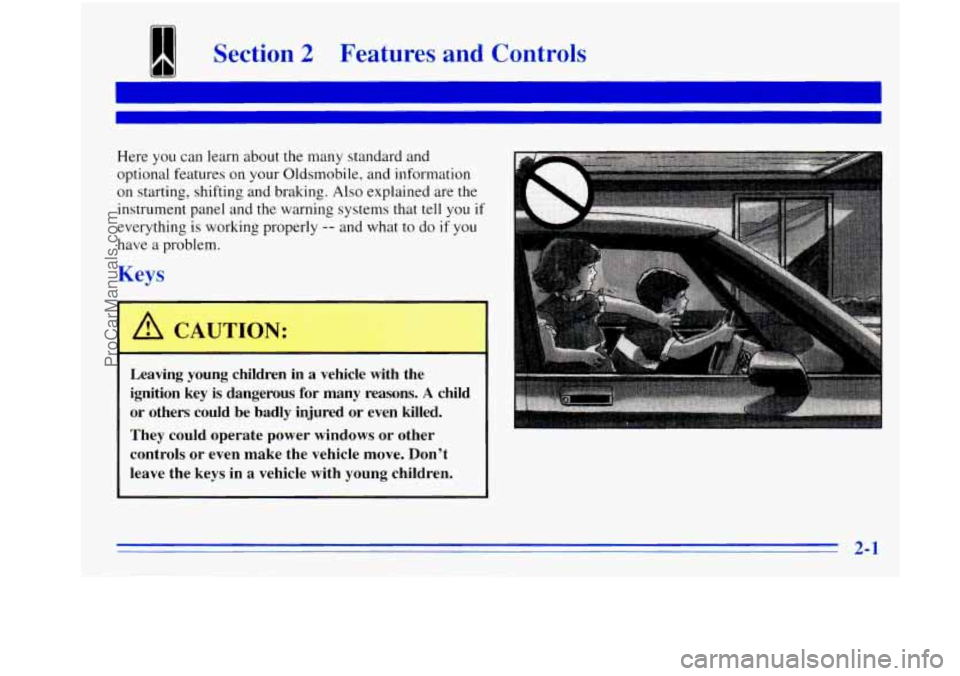
A CAUTION:
~hild
Leaving young children in
a vehicle with the
ignition key is dangerous for many reasons. A c
or others could be badly injured or even killed.
They could operate power windows
or other
controls or even make the vehicle move. Don't
leave the keys in
a vehicle with young children.
U
2-1
ProCarManuals.com
Page 59 of 340

Endgate
A CAUTION:
It can be dangerous to drive with the rear
window or endgate open because carbon
monoxide (CO) gas can come into your vehicle.
You can’t see
or smell CO. It can cause
unconsciousness and even death.
If you must drive with the rear window or
endgate open or if electrical wiring or other cable
connections must pass through the seal between
the body and the rear window or endgate:
0 Make sure all windows are shut.
Turn the fan on your heating or cooling
system to its highest speed with the setting
on VENT. That will force outside air into
your vehicle. See “Comfort Controls’’ in
the Index.
instrument panel, open them all the
way.
If you have air outlets on or under the
See “Engine Exhaust” in the Index.
Endgate Release
There are several ways to release the endgate. However,
the endgate glass will not release if the vehicle
is in gear.
You can use
you key to unlock the endgate from the
outside. Insert
the key in the endgate lock button and
turn it counterclockwise. All doors will unlock.
You may also use the Keyless Entry system
described earlier.
The endgate can be opened without a key if the driver’s
door is unlocked.
ProCarManuals.com
Page 69 of 340

Locking Rear Axle
Your rear axle can give you additional traction on snow,
mud, ice, sand or gravel. It works like
a standard axle
most
of the time, but when one of the rear wheels has no
traction and the other does, the locking feature will
allow the wheel with traction to move the vehicle.
All-Wheel Drive
Your engine’s driving power is sent to all four wheels
for extra traction. All-wheel drive
is like four-wheel
drive, but there is no lever or switch
to engage or
disengage the front axle. It is
fully automatic and adjusts
itself
as needed for road conditions.
Parking Brake
To set the parking brake, hold the regular brake pedal
down with your right foot. Push down the parking brake
pedal with your left
foot. If the ignition is on, the brake
system warning light will come on.
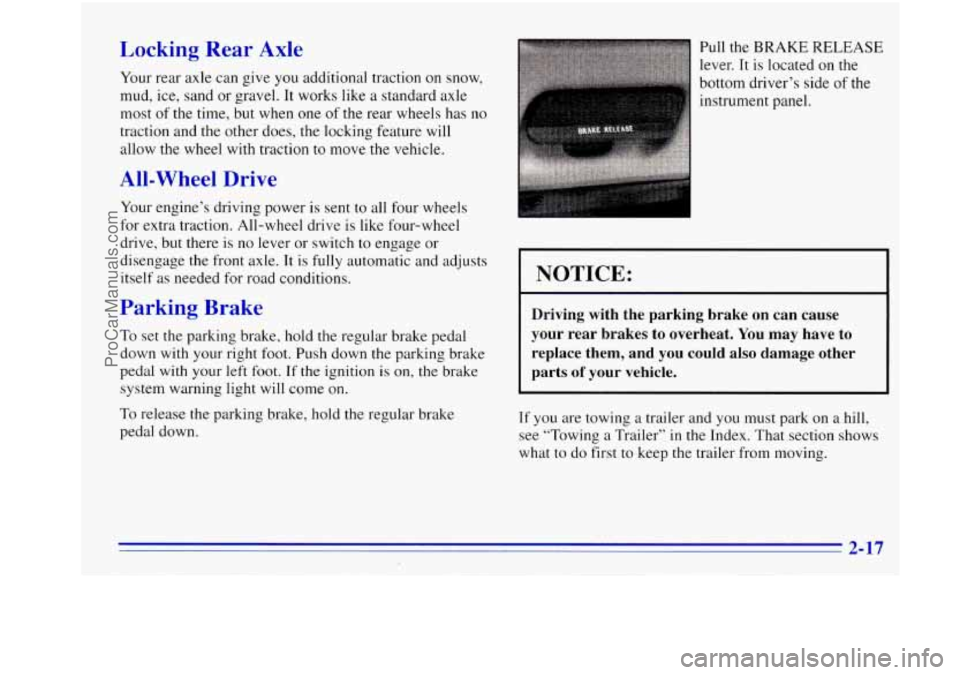
To release the parking brake, hold the regular brake
pedal down. Pull the
BRAKE RELEASE
lever.
It is located on the
bottom driver’s side of the
instrument panel.
NOTICE:
Driving with the parking brake on can cause
your rear brakes to overheat. You may have to
replace them, and you could
also damage other
parts of your vehicle.
If you are towing a trailer and you must park on a hill,
see “Towing
a Trailer” in the Index. That section shows
what to do first to keep the trailer from moving.
2-17
ProCarManuals.com
Page 76 of 340

Turn Signal/Multifunction Lever Turn and Lane Change Signals
The turn signal has two upward (for right) and two
downward (for left) positions. These positions allow you
to signal a turn or a lane change.
To signal a turn, move the lever all the way up
or down. When the
turn is finished, the lever will
return automatically.
The lever on
the left side of the steering column
includes your:
0 Turn Signal and Lane Change Indicator
0 Headlamp High/Low Beam Changer
Windshield Wipers
0 Windshield Washer
Cruise Control An
arrow on the instrument
panel will flash
in the
direction of the turn
or lane change.
To signal a lane change, just raise or lower the lever
until the arrow starts to flash. Hold it there until you
complete
your lane change. The lever will return by
itself when you release it.
2-24
ProCarManuals.com
Page 77 of 340

As you signal a turn or a lane change, if the arrows don’t
flash but just stay on,
a signal bulb may be burned out
and other drivers won’t see your turn signal.
If a bulb is burned out, replace it to help avoid an
accident. If the arrows don’t go on at all when you
signal
a turn, check the fuse (see “Fuses and Circuit
Breakers” in the Index) and for burned-out bulbs.
If you have a trailer towing option with added wiring for
the trailer lamps,
a different turn signal flasher is used.
With this flasher installed, the signal indicator will flash
even if
a turn signal bulb is burned out. Check the front
and rear turn signal lamps regularly to make sure they
are working.
Headlamp HighLow Beam Changer
To change the headlamps from low beam to high or high
to low, pull the multifunction lever all the way toward
you. Then release
it.
When the high beams are
on, this indicator light on
the instrument panel will
also be on.
2-25
ProCarManuals.com
Page 79 of 340

Rear Window WasherNiper
WASH
REAR WIPER
The rear window wiper operates with a constant five
second delay when the rear wiper switch
is in the ON
position. If the rear glass is opened, the wiper arm will
automatically park on the endgate. When the glass
is
completely closed, the wiper will resume the delay mode.
To wash the window, press and hold ON. The wipers
will continue
to work after you release the switch.
Press
OFF to turn the wiper off.
The rear window washer uses the same fluid bottle as
the windshield washer. However, the rear window
washer will run out
of fluid before the windshield
washer.
If you can wash your windshield but not your
rear window, check your fluid level.
This switch is located on the instrument panel.
2-27
ProCarManuals.com
Page 82 of 340

Using Cruise Control on Hills
How well your cruise control will work on hills depends
upon
your speed, load and the steepness of the hills.
When going up steep hills, you may want to step
on the
accelerator pedal to maintain your speed. When going
downhill, you may have to brake or shift to a lower gear
to keep your speed down.
Of course, applying the brake
takes
you out of cruise control. Many drivers find this to
be too much trouble and don't use cruise control on
steep hills.
Ending Cruise Control
There are two ways to turn off the cruise control:
0 Step lightly on the brake pedal.
0 Move the cruise switch to OFF.
Erasing Speed Memory
When you turn off the cruise control or the ignition,
your cruise control set speed memory is erased.
Lamps
The switches are on the left side of your instrument panel.
Press the top switch
with the parking lamps symbol on it
to turn on:
0 Parking Lamps
Sidemarker Lamps
0 Taillamps
0 License Plate Lamps
0 Instrument Panel Lights
2-30
ProCarManuals.com
Page 83 of 340

Press the bottom switch with the master lamps symbol on
it to turn on all the lamps listed as well as the headlamps.
Press the side of the switch marked
OFF to turn off
your lamps.
Lamps On Reminder
A reminder tone will sound when your headlamps or
parking lamps are turned on and your ignition is in OFF,
LOCK or ACCESSORY. To turn the tone off, press the
OFF switch.
Daytime Running Lamps (If Equipped)
Daytime Running Lamps (DRL) can make it easier for
others to see the front of your vehicle during the day.
DRL can be helpful
in many different driving
conditions, but they can be especially helpful
in the
short periods after dawn and before sunset.
The DRL system will make your headlamps come on at
reduced brightness when:
the ignition is on,
the headlamp switch is off, and
the parking brake is released. When the
DRL are
on, only your headlamps will be on.
The taillamps, sidemarker and other lamps won’t be on.
The instrument panel won’t be lit up either.
When
it begins to get dark, your DRL indicator light is
a reminder to turn your headlamp switch on. The other
lamps that come on with your headlamps will also
come on.
When you turn the headlamp switch off, the regular
lamps will go off, and your headlamps will change to
the reduced brightness of
DRL.
To idle your vehicle with the DRL off, set the parking
brake. The DRL will stay off
until you release the
parking brake.
As with any vehicle, you should turn on the regular
headlamp system when
you need it.
ProCarManuals.com