light Oldsmobile Bravada 2002 s Owner's Guide
[x] Cancel search | Manufacturer: OLDSMOBILE, Model Year: 2002, Model line: Bravada, Model: Oldsmobile Bravada 2002Pages: 393, PDF Size: 2.79 MB
Page 125 of 393
2-57
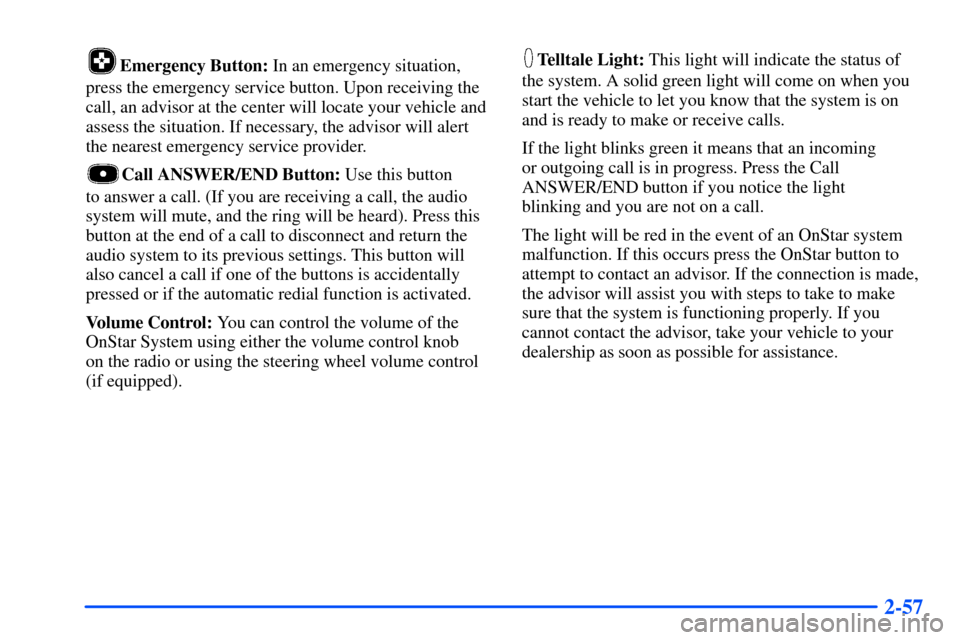
Emergency Button: In an emergency situation,
press the emergency service button. Upon receiving the
call, an advisor at the center will locate your vehicle and
assess the situation. If necessary, the advisor will alert
the nearest emergency service provider.
Call ANSWER/END Button: Use this button
to answer a call. (If you are receiving a call, the audio
system will mute, and the ring will be heard). Press this
button at the end of a call to disconnect and return the
audio system to its previous settings. This button will
also cancel a call if one of the buttons is accidentally
pressed or if the automatic redial function is activated.
Volume Control: You can control the volume of the
OnStar System using either the volume control knob
on the radio or using the steering wheel volume control
(if equipped).
Telltale Light: This light will indicate the status of
the system. A solid green light will come on when you
start the vehicle to let you know that the system is on
and is ready to make or receive calls.
If the light blinks green it means that an incoming
or outgoing call is in progress. Press the Call
ANSWER/END button if you notice the light
blinking and you are not on a call.
The light will be red in the event of an OnStar system
malfunction. If this occurs press the OnStar button to
attempt to contact an advisor. If the connection is made,
the advisor will assist you with steps to take to make
sure that the system is functioning properly. If you
cannot contact the advisor, take your vehicle to your
dealership as soon as possible for assistance.
Page 126 of 393
2-58 Safety and Security Services
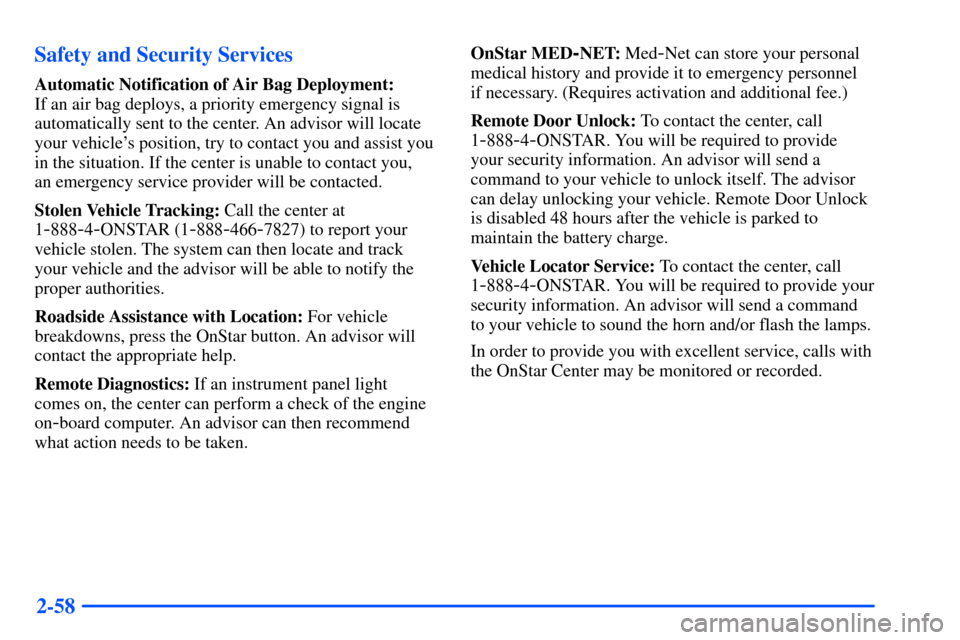
Automatic Notification of Air Bag Deployment:
If an air bag deploys, a priority emergency signal is
automatically sent to the center. An advisor will locate
your vehicle's position, try to contact you and assist you
in the situation. If the center is unable to contact you,
an emergency service provider will be contacted.
Stolen Vehicle Tracking: Call the center at
1
-888-4-ONSTAR (1-888-466-7827) to report your
vehicle stolen. The system can then locate and track
your vehicle and the advisor will be able to notify the
proper authorities.
Roadside Assistance with Location: For vehicle
breakdowns, press the OnStar button. An advisor will
contact the appropriate help.
Remote Diagnostics: If an instrument panel light
comes on, the center can perform a check of the engine
on
-board computer. An advisor can then recommend
what action needs to be taken.OnStar MED
-NET: Med-Net can store your personal
medical history and provide it to emergency personnel
if necessary. (Requires activation and additional fee.)
Remote Door Unlock: To contact the center, call
1
-888-4-ONSTAR. You will be required to provide
your security information. An advisor will send a
command to your vehicle to unlock itself. The advisor
can delay unlocking your vehicle. Remote Door Unlock
is disabled 48 hours after the vehicle is parked to
maintain the battery charge.
Vehicle Locator Service: To contact the center, call
1
-888-4-ONSTAR. You will be required to provide your
security information. An advisor will send a command
to your vehicle to sound the horn and/or flash the lamps.
In order to provide you with excellent service, calls with
the OnStar Center may be monitored or recorded.
Page 129 of 393

2-61 Programming the HomeLink Transmitter
Do not use the HomeLink Transmitter with any garage
door opener that does not have the ªstop and reverseº
feature. This includes any garage door opener model
manufactured before April 1, 1982.
Be sure that people and objects are clear of the garage
door you are programming.
It is recommended that a new battery be installed in
your hand
-held transmitter for quicker and more
accurate transmission of the radio frequency.
Your vehicle's engine should be turned off while
programming the transmitter. Follow these steps to
program up to three channels:
1. Decide which one of the three channels (one of the
HomeLink buttons) you want to program.
2. Press and hold the desired button on HomeLink
through Step 3.3. When the HomeLink indicator light begins to blink
slowly (this may take up to 30 seconds), hold the
hand
-held transmitter about 1 to 3 inches (3 to 8 cm)
away from HomeLink and then press and hold the
transmit button on the hand
-held transmitter.
Continue to hold both buttons until the indicator
light on HomeLink begins to flash rapidly
(this may take up to 90 seconds).
If you have trouble programming HomeLink,
make sure that you have followed the directions exactly
as described and that the battery in the hand
-held
transmitter is not weak. If you still cannot program it,
move the hand
-held transmitter to the left or right or
forward or backward or flip it upside down. HomeLink
may not work with older garage door openers that do
not meet current Federal Consumer Safety Standards.
If you cannot program the transmitter after repeated
attempts, refer to ªTraining a Garage Door Opener
with Rolling Codesº later in this section or contact the
manufacturer of HomeLink at 1
-800-355-3515, or on
the internet at www.homelink.com.
Be sure to keep the original hand
-held transmitter in
case you need to erase and reprogram HomeLink.
Page 130 of 393

2-62 Training a Garage Door Opener with a
ªRolling Codeº Feature (If Equipped)
If you have not previously programmed the hand-held
transmitter to HomeLink, see ªProgramming the
HomeLink Transmitterº listed previously. If you have
completed this programming already, you now need to
train the garage door opener motor head unit to
recognize HomeLink.
1. Find the ªLearnº or ªSmartº button on the
garage door opener motor head unit. The exact
location and color will vary by garage door opener
brand. If you have difficulty finding the ªLearnº or
ªSmartº button, refer to your garage door opener
owner's manual or contact the manufacturer of
HomeLink at 1
-800-355-3515, or on the internet at
www.homelink.com. Because of the steps involved,
it may be helpful to have another person assist in
programming the transmitter.2. Press the ªLearnº or ªSmartº button on the
garage door opener motor head unit. An indicator
light will begin to flash when the motor head unit
enters the training mode.
Following this step, you have 30 seconds to
start Step 3.
3. Return to HomeLink in your vehicle and firmly
press and release the programmed HomeLink button
three times.
The rolling
-code garage door opener should now
recognize HomeLink. You may either use HomeLink
or the hand
-held transmitter to open the garage door.
If after following these instructions, you still have
problems training the garage door opener, contact the
manufacturer of HomeLink at 1
-800-355-3515, or on
the internet at www.homelink.com.
Page 131 of 393
2-63 Canadian Programming
Canadian Owners: During programming, the hand-held
transmitter may automatically stop transmitting after
two seconds. In this case, you should press and
hold the HomeLink button (see Steps 2 and 3 under
ªProgramming the HomeLink Transmitterº) while you
press and re
-press (cycle) your hand-held transmitter
every two seconds until HomeLink is trained.
Operating the HomeLink Transmitter
Press and hold the appropriate button on HomeLink for
at least half of a second. The indicator light will come
on while the signal is being transmitted.
Erasing Channels
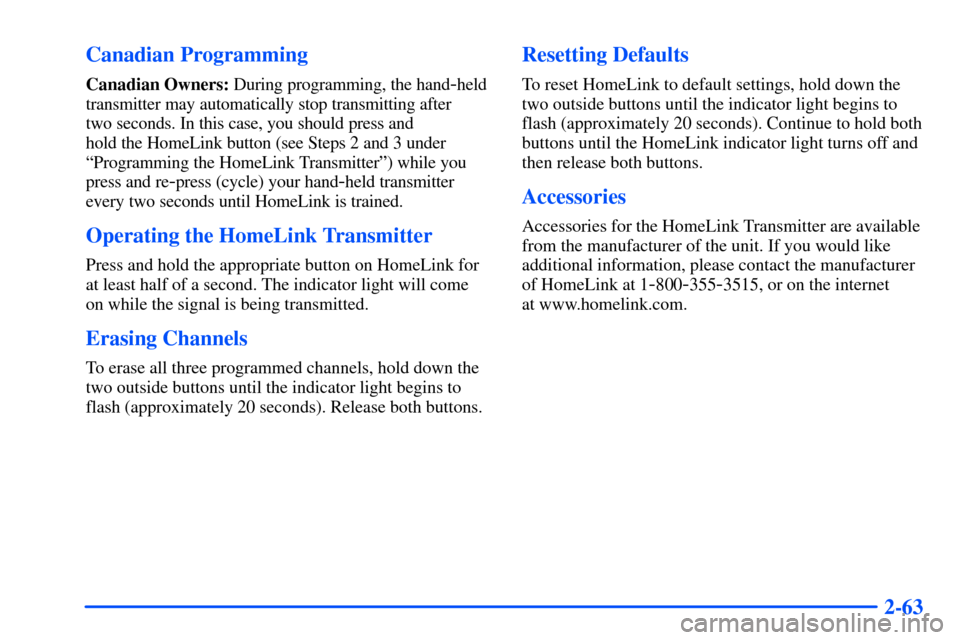
To erase all three programmed channels, hold down the
two outside buttons until the indicator light begins to
flash (approximately 20 seconds). Release both buttons.
Resetting Defaults
To reset HomeLink to default settings, hold down the
two outside buttons until the indicator light begins to
flash (approximately 20 seconds). Continue to hold both
buttons until the HomeLink indicator light turns off and
then release both buttons.
Accessories
Accessories for the HomeLink Transmitter are available
from the manufacturer of the unit. If you would like
additional information, please contact the manufacturer
of HomeLink at 1
-800-355-3515, or on the internet
at www.homelink.com.
Page 133 of 393
2-65
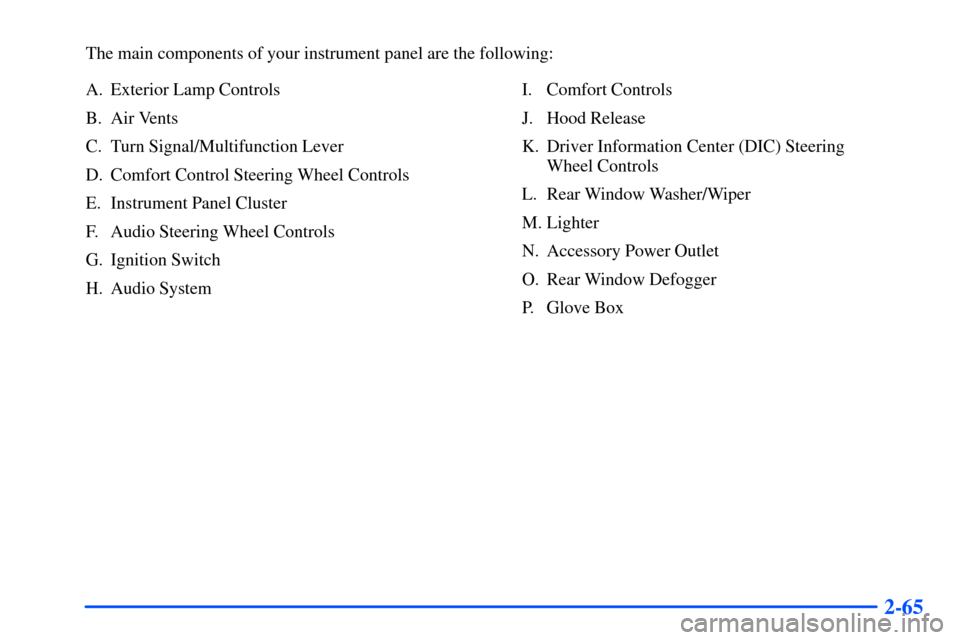
The main components of your instrument panel are the following:
A. Exterior Lamp Controls
B. Air Vents
C. Turn Signal/Multifunction Lever
D. Comfort Control Steering Wheel Controls
E. Instrument Panel Cluster
F. Audio Steering Wheel Controls
G. Ignition Switch
H. Audio SystemI. Comfort Controls
J. Hood Release
K. Driver Information Center (DIC) Steering
Wheel Controls
L. Rear Window Washer/Wiper
M. Lighter
N. Accessory Power Outlet
O. Rear Window Defogger
P. Glove Box
Page 136 of 393
2-68
Warning Lights, Gages and Indicators
This part describes the warning lights and gages that
may be on your vehicle. The pictures will help you
locate them.
Warning lights and gages can signal that something is
wrong before it becomes serious enough to cause an
expensive repair or replacement. Paying attention to
your warning lights and gages could also save you or
others from injury.
Warning lights come on when there may be or is a
problem with one of your vehicle's functions. As you
will see in the details on the next few pages, some
warning lights come on briefly when you start the
engine just to let you know they're working. If you are
familiar with this section, you should not be alarmed
when this happens.
Gages can indicate when there may be or is a problem
with one of your vehicle's functions. Often gages and
warning lights work together to let you know when
there's a problem with your vehicle.
When one of the warning lights comes on and stays on
when you are driving, or when one of the gages shows
there may be a problem, check the section that tells you
what to do about it. Please follow this manual's advice. Waiting to do repairs
can be costly -- and even dangerous. So please get to
know your warning lights and gages. They're a big help.
Your vehicle also has a Driver Information Center (DIC)
that works along with the warning lights and gages.
See ªDriver Information Center (DIC)º in the Index.
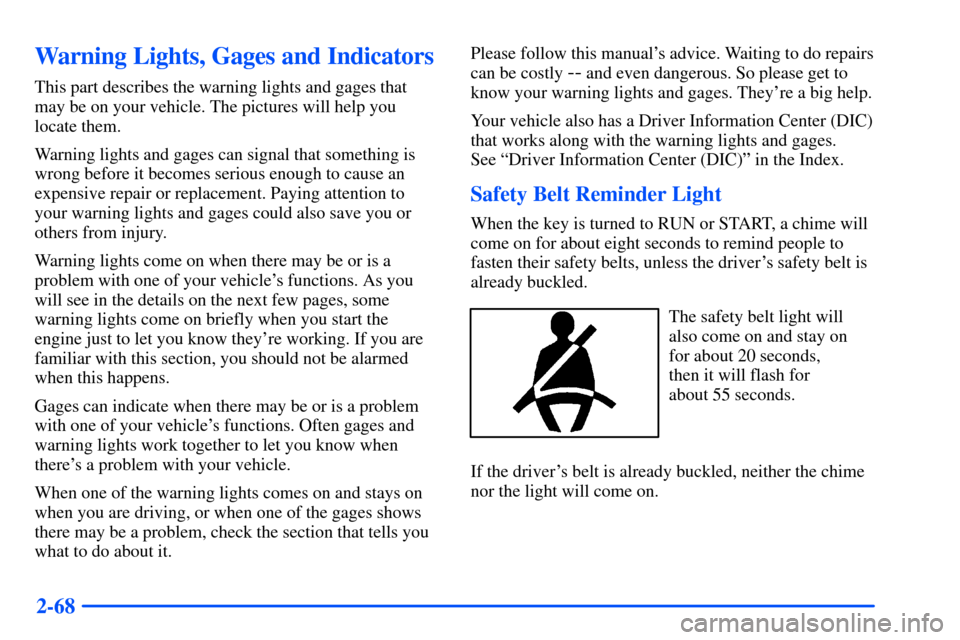
Safety Belt Reminder Light
When the key is turned to RUN or START, a chime will
come on for about eight seconds to remind people to
fasten their safety belts, unless the driver's safety belt is
already buckled.
The safety belt light will
also come on and stay on
for about 20 seconds,
then it will flash for
about 55 seconds.
If the driver's belt is already buckled, neither the chime
nor the light will come on.
Page 137 of 393
2-69 Air Bag Readiness Light
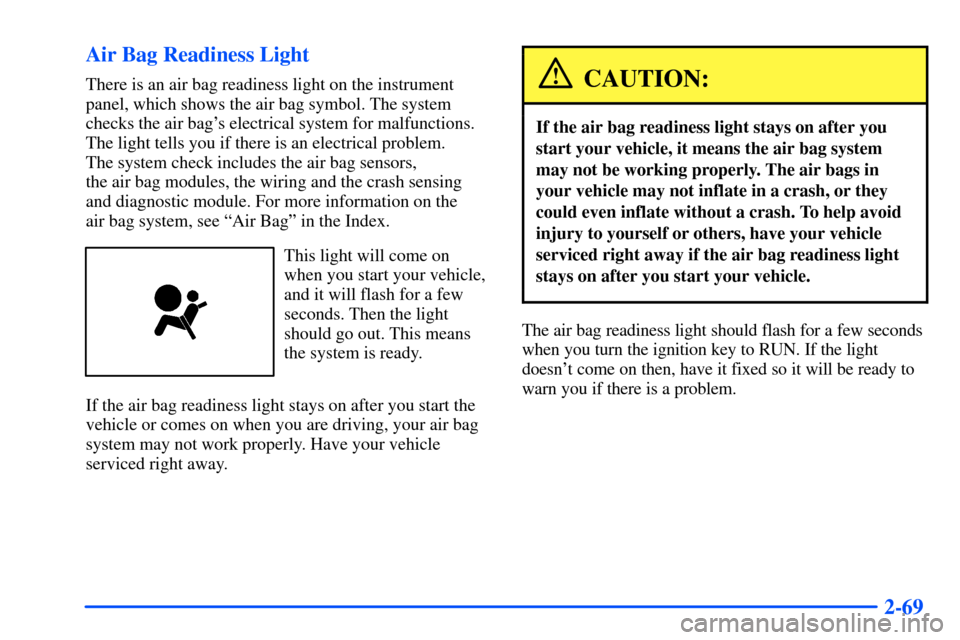
There is an air bag readiness light on the instrument
panel, which shows the air bag symbol. The system
checks the air bag's electrical system for malfunctions.
The light tells you if there is an electrical problem.
The system check includes the air bag sensors,
the air bag modules, the wiring and the crash sensing
and diagnostic module. For more information on the
air bag system, see ªAir Bagº in the Index.
This light will come on
when you start your vehicle,
and it will flash for a few
seconds. Then the light
should go out. This means
the system is ready.
If the air bag readiness light stays on after you start the
vehicle or comes on when you are driving, your air bag
system may not work properly. Have your vehicle
serviced right away.
CAUTION:
If the air bag readiness light stays on after you
start your vehicle, it means the air bag system
may not be working properly. The air bags in
your vehicle may not inflate in a crash, or they
could even inflate without a crash. To help avoid
injury to yourself or others, have your vehicle
serviced right away if the air bag readiness light
stays on after you start your vehicle.
The air bag readiness light should flash for a few seconds
when you turn the ignition key to RUN. If the light
doesn't come on then, have it fixed so it will be ready to
warn you if there is a problem.
Page 138 of 393
2-70 Charging System Indicator Light
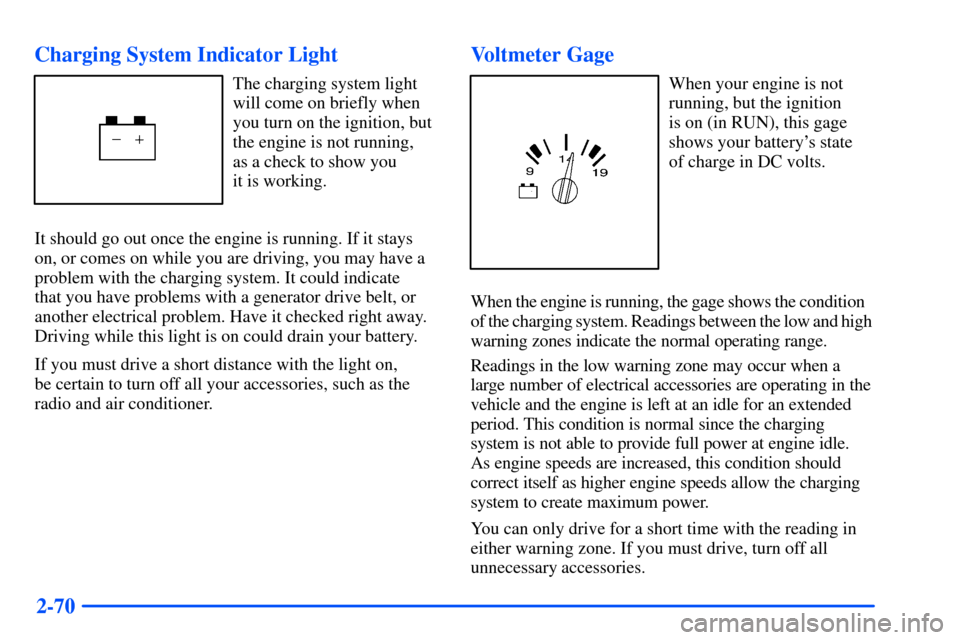
The charging system light
will come on briefly when
you turn on the ignition, but
the engine is not running,
as a check to show you
it is working.
It should go out once the engine is running. If it stays
on, or comes on while you are driving, you may have a
problem with the charging system. It could indicate
that you have problems with a generator drive belt, or
another electrical problem. Have it checked right away.
Driving while this light is on could drain your battery.
If you must drive a short distance with the light on,
be certain to turn off all your accessories, such as the
radio and air conditioner.
Voltmeter Gage
When your engine is not
running, but the ignition
is on (in RUN), this gage
shows your battery's state
of charge in DC volts.
When the engine is running, the gage shows the condition
of the charging system. Readings between the low and high
warning zones indicate the normal operating range.
Readings in the low warning zone may occur when a
large number of electrical accessories are operating in the
vehicle and the engine is left at an idle for an extended
period. This condition is normal since the charging
system is not able to provide full power at engine idle.
As engine speeds are increased, this condition should
correct itself as higher engine speeds allow the charging
system to create maximum power.
You can only drive for a short time with the reading in
either warning zone. If you must drive, turn off all
unnecessary accessories.
Page 139 of 393
2-71
Readings in either warning zone indicate a possible
problem in the electrical system. Have the vehicle
serviced as soon as possible.
Brake System Warning Light
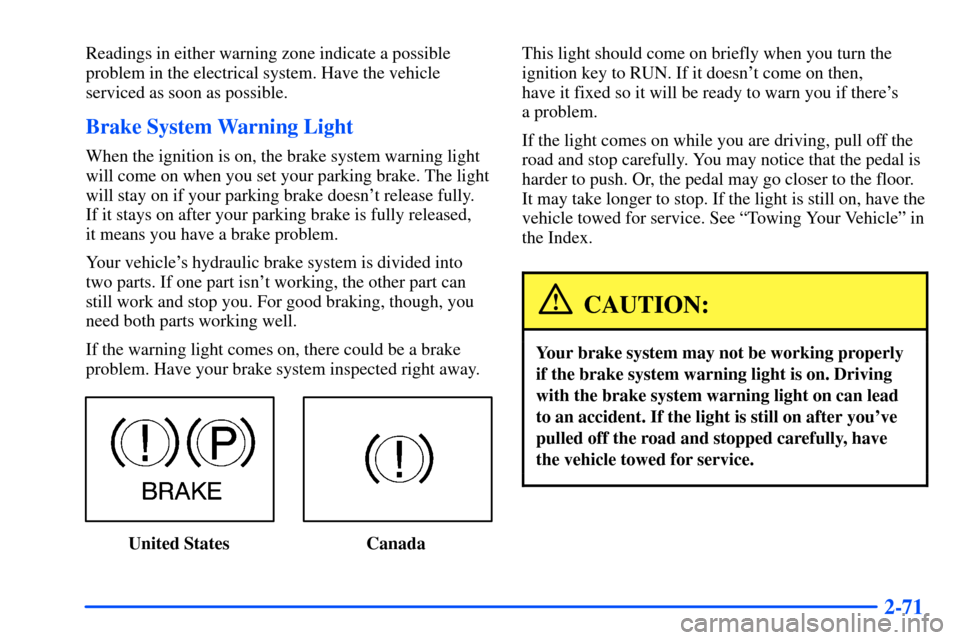
When the ignition is on, the brake system warning light
will come on when you set your parking brake. The light
will stay on if your parking brake doesn't release fully.
If it stays on after your parking brake is fully released,
it means you have a brake problem.
Your vehicle's hydraulic brake system is divided into
two parts. If one part isn't working, the other part can
still work and stop you. For good braking, though, you
need both parts working well.
If the warning light comes on, there could be a brake
problem. Have your brake system inspected right away.
United States CanadaThis light should come on briefly when you turn the
ignition key to RUN. If it doesn't come on then,
have it fixed so it will be ready to warn you if there's
a problem.
If the light comes on while you are driving, pull off the
road and stop carefully. You may notice that the pedal is
harder to push. Or, the pedal may go closer to the floor.
It may take longer to stop. If the light is still on, have the
vehicle towed for service. See ªTowing Your Vehicleº in
the Index.
CAUTION:
Your brake system may not be working properly
if the brake system warning light is on. Driving
with the brake system warning light on can lead
to an accident. If the light is still on after you've
pulled off the road and stopped carefully, have
the vehicle towed for service.