stop start Oldsmobile Bravada 2003 s Owner's Guide
[x] Cancel search | Manufacturer: OLDSMOBILE, Model Year: 2003, Model line: Bravada, Model: Oldsmobile Bravada 2003Pages: 410, PDF Size: 20.1 MB
Page 195 of 410
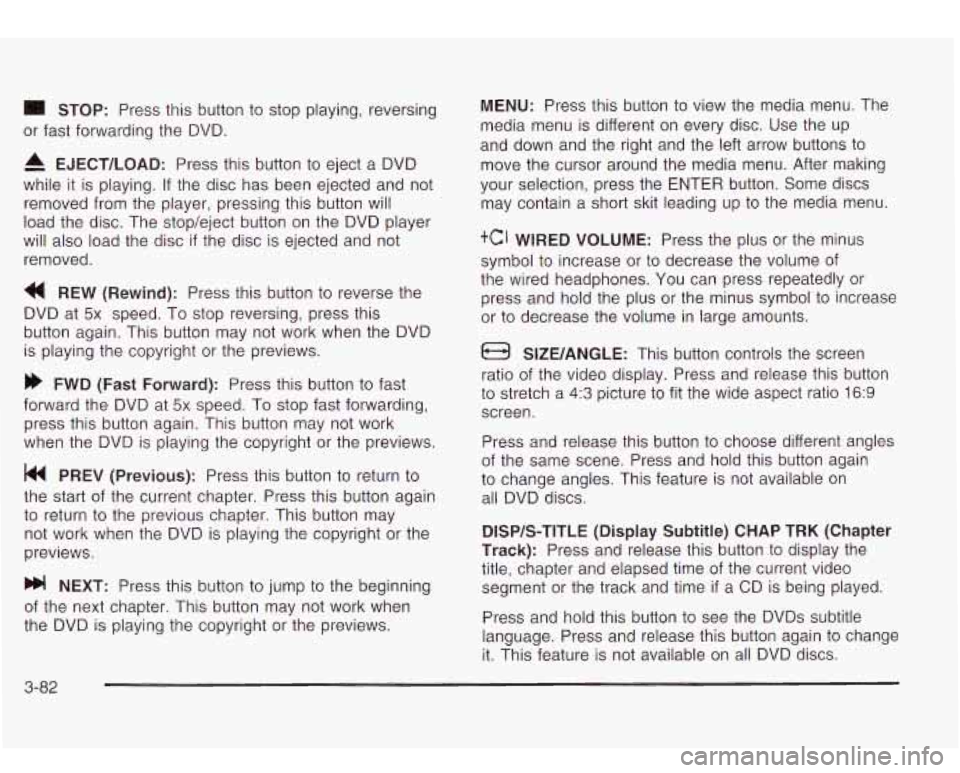
STOP: Press this button to stop playing, reversing
or fast forwarding the DVD.
A EJECT/LOAD: Press this button to eject a DVD
while it is playing. If the disc has been ejected and not
removed from the player, pressing this button will
load the disc. The stop/eject button on the DVD player
will also load the disc
if the disc is ejected and not
removed.
a REW (Rewind): Press this button to reverse the
DVD at
5x speed. To stop reversing, press this
button again. This button may not work when the DVD
is playing the copyright or the previews.
FWD (Fast Forward): Press this button to fast
forward the DVD at
5x speed. To stop fast forwarding,
press this button again. This button may not work
when the DVD is playing the copyright
or the previews.
PREV (Previous): Press this button to return to
the start of the current chapter. Press this button again
to return to the previous chapter. This button may
not work when the DVD is playing the copyright or the
previews.
bb! NEXT: Press this button to jump to the beginning
of the next chapter. This button may not work when
the DVD is playing the copyright or the previews.
MENU: Press this button to view the media menu. The
media menu is different on every disc. Use the up
and down and the right and the left arrow buttons
to
move the cursor around the media menu. After making
your selection, press the ENTER button. Some discs
may contain a short skit leading up
to the media menu.
+cI WIRED VOLUME: Press the plus or the minus
symbol
to increase or to decrease the volume of
the wired headphones.
You can press repeatedly or
press and hold the plus or the minus symbol
to increase
or
to decrease the volume in large amounts.
a SIZE/ANGLE: This button controls the screen
ratio of the video display. Press and release this button
to stretch a 4:3 picture to fit the wide aspect ratio 16.9
screen.
Press and release this button
to choose different angles
of the same scene. Press and hold this button again
to change angles. This feature is not available on
all DVD discs.
DISP/S-TITLE (Display Subtitle) CHAP TRK (Chapter
Track):
Press and release this button to display the
title, chapter and elapsed time of the current video
segment or the track and time
if a CD is being played.
Press and hold this button
to see the DVDs subtitle
language. Press and release this button again
to change
it. This feature is not available on all DVD discs.
3-82
Page 198 of 410
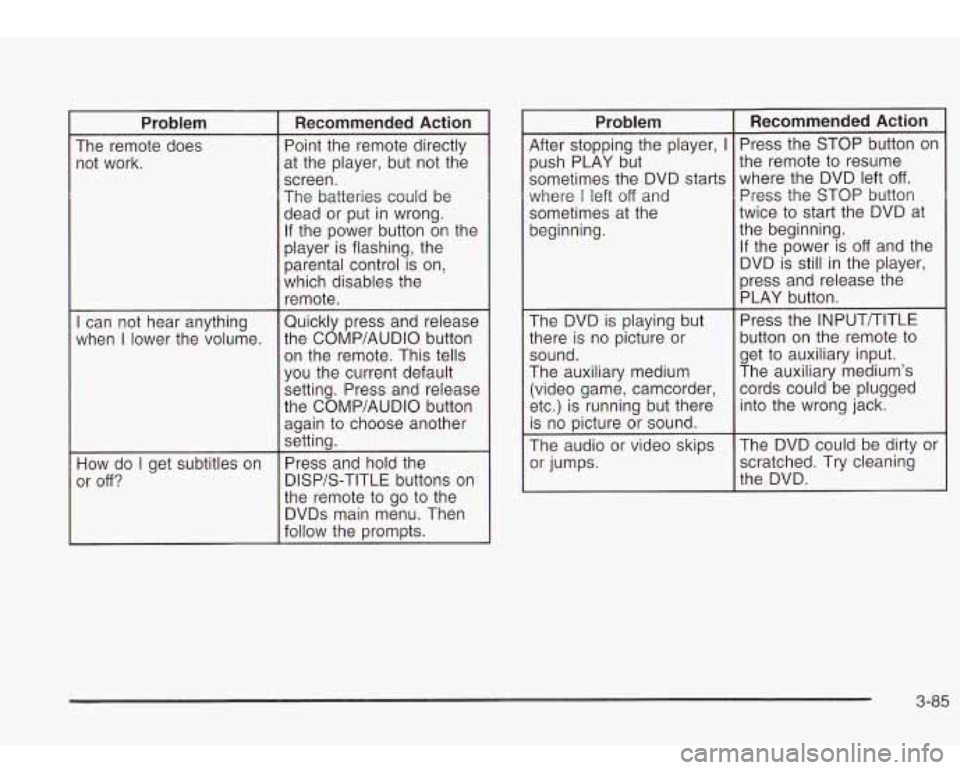
Problem
The remote does
not work.
I can not hear anything
when
I lower the volume.
How do
I get subtitles on
or
off?
Recommended Action
Point the remote directly
at the player, but not the
screen.
The batteries could be
dead or put in wrong.
If the power button on the
player is flashing, the
parental control
is on,
which disables the
remote.
Quickly press and release
the COMP/AUDIO button
on the remote. This tells
you the current default
setting. Press and release
the COMP/AUDIO button again to choose another
setting.
Press and hold the
DISP/S-TITLE buttons on
the remote to
go to the
DVDs main menu. Then
follow the prompts.
Problem Recommended Action
After stopping the player, I Press the STOP button on
push PLAY 6ut
sometimes the DVD starts
where
I left off and
sometimes at the
beginning.
.-
The DVD is playing but
there is no picture or
sound.
The auxiliary medium
(video game, camcorder,
etc.) is running but there
is no picture or sound.
The audio or video skips
I Or Jumps.
the remote to resume
where the DVD left
off.
Press the STOP button
twice to start the DVD at
the beginning.
If the power is
off and the
DVD is still
in the player,
press and release the
PLAY button.
Press the INPUTTTITLE
button on the remote to
get to auxiliary input.
The auxiliary medium’s
cords could be plugged
into the wrong jack.
The DVD could be dirtv or
‘I
scratched. Try cleaning
the DVD.
3-85
Page 199 of 410
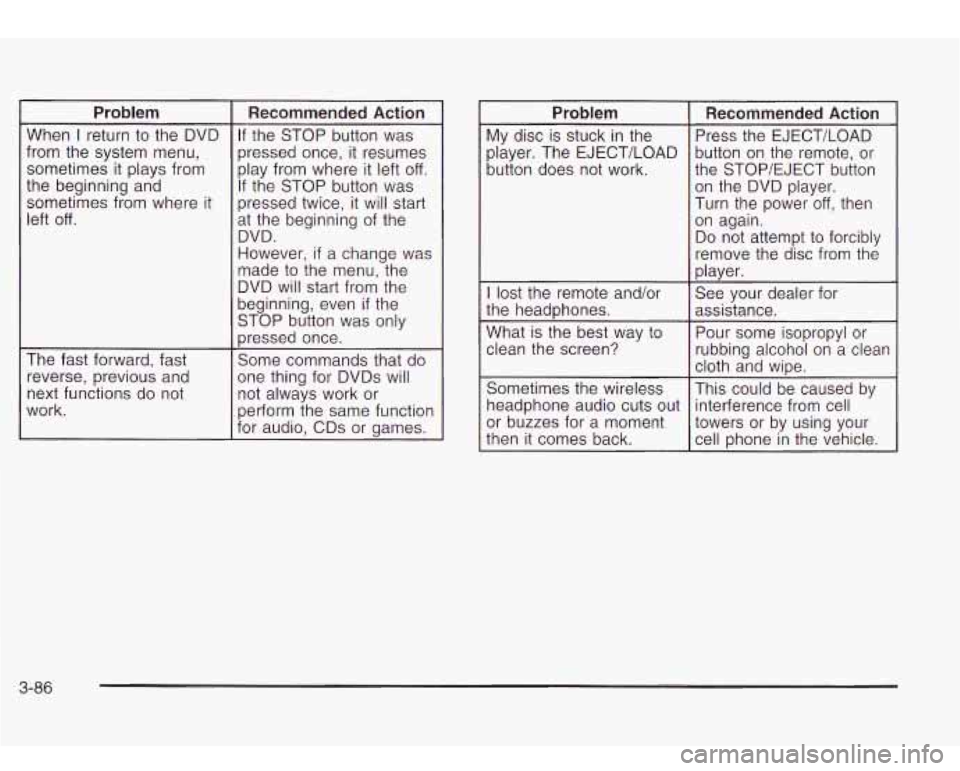
Problem
When I return to the DVD
from the system menu,
sometimes it plays from
the beginning and
sometimes from where it
left
off.
The fast forward, fast reverse, previous and
next functions do not
work.
Recommended Action
If the STOP button was
pressed once, it resumes
play from where it left
off.
If the STOP button was
pressed twice, it will start
at the beginning of the
DVD.
However,
if a change was
made to the menu, the
DVD will start from the
beginning, even
if the
STOP button was only
pressed once.
Some commands that do
one thing for DVDs will
not always work or
perform the same function
for audio, CDs or games.
- Problem
My disc is stuck in the
player. The EJECT/LOAD
button does not work.
Recommended Action
Press the EJECT/LOAD
button on the remote, or
the STOP/EJECT button
on the DVD player.
Turn the power
off, then
on again.
Do not attempt
to forcibly
remove the disc from the
player.
I lost the remote and/or
Pour some isopropyl or
What
is the best way
to
assistance.
the
headphones. See
your dealer for
clean the screen?
rubbing alcohol on
a clean
Sometimes the wireless
This could be caused by
headphone audio cuts out interference from cell
or buzzes for a moment
towers or by using your
then it comes back.
cell Dhone in the vehicle.
cloth and
wipe.
3-86
Page 212 of 410
Anti-lock Brake System
Your vehicle has anti-lock brakes. ABS is an advanced
electronic braking system that will help prevent a
braking skid.
When you start your engine and begin to drive away,
your anti-lock brake system will check itself. You
may hear a momentary motor or clicking noise while
this test
is going on. This is normal.
If there’s a problem with
~ the anti-lock brake system,
~ this warning light will
stay on. See
Anti-Lock
Brake System Warning
Light
on page 3-34.
Along with ABS, your vehicle has a Dynamic Rear
Proportioning (DRP) system. If there’s a DRP problem,
both the brake and ABS warning lights will come on
accompanied by a IO-second chime. The lights
and chime will come on each time the ignition
is turned
on until the problem is repaired. See your dealer for
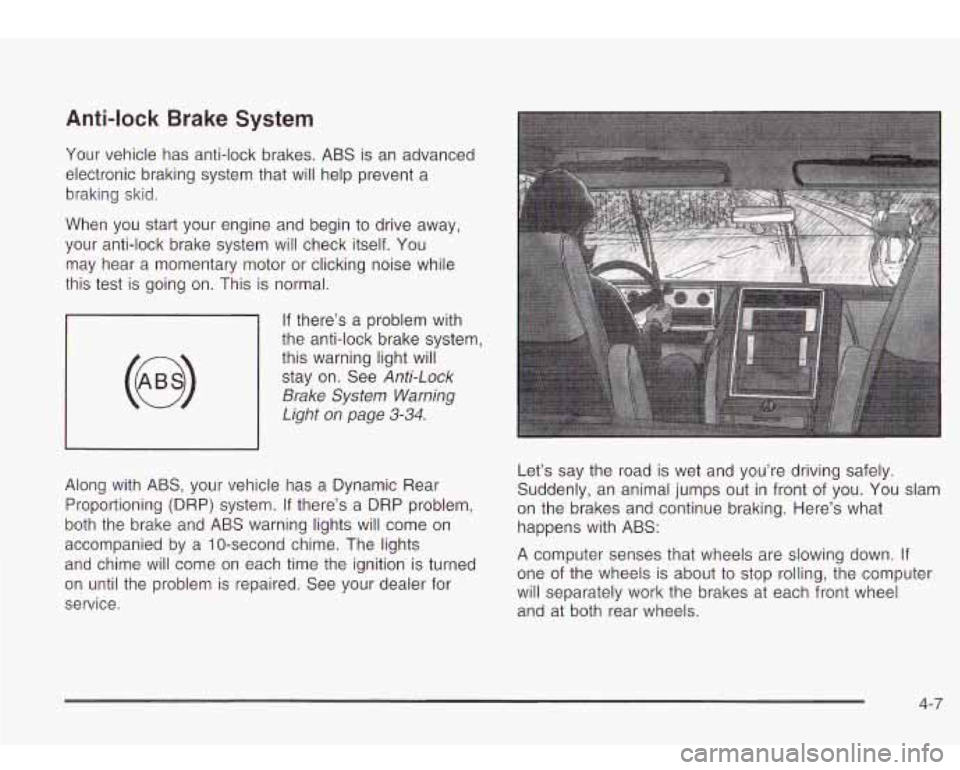
service. Let’s say the
road is wet and you’re driving safely.
Suddenly, an animal jumps out in front of you. You slam
on the brakes and continue braking. Here’s what
happens with ABS:
A computer senses that wheels are slowing down. If
one of the wheels is about to stop rolling, the computer
will separately work the brakes at each front wheel
and at both rear wheels.
4-7
Page 214 of 410
Traction Assist System (TAS)
Your vehicle has a Traction Assist System (TAS) that
limits wheel spin. This is especially useful in slippery
road conditions. The system operates only
if it senses
that one or both of the rear wheels are spinning or
beginning to lose traction. When this happens,
the system reduces engine power to limit wheel spin.
The LOW TRAC light next
to the button will come
on when the TAS is limiting wheel spin. You may feel or
hear the system working, but this is normal.
The Traction Assist System may operate on dry roads
under some conditions. When this happens, you
may notice a reduction in acceleration. This is normal
and doesn’t mean there’s a problem with your vehicle.
Examples of these conditions include a hard
acceleration in a turn, an abrupt upshift or downshift
of
the transmission or driving on rough roads.
If your vehicle is in cruise control when the TAS begins
to limit wheel spin, the cruise control will automatically
disengage. When road conditions allow you to safely
use it again, you may re-engage the cruise control. See
Cruise Control Light on page 3-40. When the TRAC
OFF light on the button is on, the TAS is off and will not
limit wheel spin. Adjust your driving accordingly. The TRAC
OFF light
on the button will come on under
the following conditions:
0 The Traction Assist System is turned off, either by
pressing the TAS on/off button or by turning
off
the automatic engagement feature of the TAS.
The transmission is in FIRST (1) gear; TAS will not
operate in this gear. This is normal.
0 The vehicle is driven on an extremely rough road.
When the vehicle leaves the rough surface,
slows
down or stops, the light will go off and TAS will
be on again. This is normal.
A Traction Assist System, Anti-Lock Brake System
or engine-related problem has been detected and
the vehicle needs service.
The Traction Assist System, as delivered from the factory, will automatically come on whenever you start
your vehicle. To limit wheel spin, especially in
slippery road conditions, you should always leave the
system on. But you can turn the TAS
off if you ever need
to. You shouid turn the TAS
off if your vehicle ever
gets stuck in sand, mud or snow and rocking the vehicle
is required.
4.- 9
Page 215 of 410
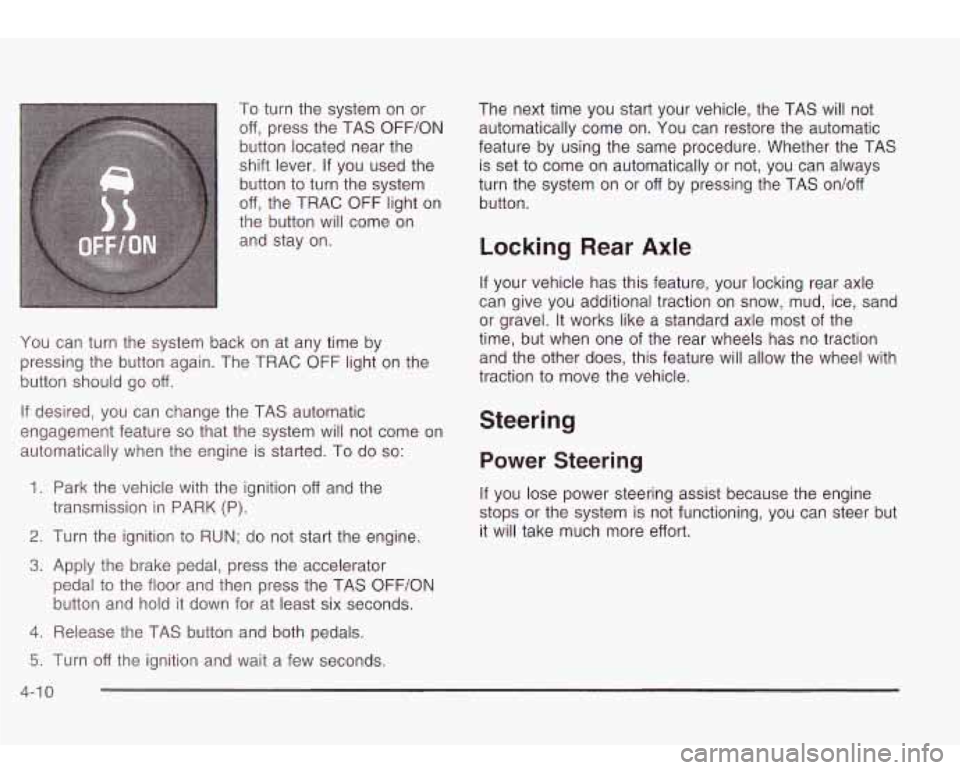
To turn the system on or
off, press the TAS OFF/ON
button located near the
shift lever.
If you used the
button to turn the system
off, the TRAC OFF light on
the button will come on
and stay on.
You can turn the system back on at any time by
pressing the button again. The TRAC OFF light on the
button should go off.
If desired, you can change the TAS automatic
engagement feature
so that the system will not come on
automatically when the engine is started. To do
so:
1.
Park the vehicle with the ignition off and the
2. Turn the ignition to RUN; do not start the engine.
3. Apply the brake pedal, press the accelerator
transmission in
PARK (P).
pedal
to the floor and then press the TAS OFF/ON
button and hold it down for at least six seconds.
4. Release the TAS button and both pedals. The next time you
start your vehicle, the TAS will not
automatically come on. You can restore the automatic
feature by using the same procedure. Whether the TAS
is set
to come on automatically or not, you can always
turn the system on or off by pressing the TAS on/off
button.
Locking Rear Axle
If your vehicle has this feature, your locking rear axle
can give you additional traction on snow, mud, ice, sand
or gravel. It works like a standard axle most of the
time, but when one
of the rear wheels has no traction
and the other does, this feature will allow the wheel with
traction to move the vehicle.
Steering
Power Steering
If you lose power steering assist because the engine
stops or the system is not functioning, you can steer but
it will take much more effort.
5. Turn off the ignition and wait a few seconds.
4-1 0
Page 218 of 410

Passing
The driver of a vehicle about to pass another on a
two-lane highway waits for
just the right moment,
accelerates, moves around the vehicle ahead, then
goes back into the right lane again.
A simple maneuver?
Not necessarily! Passing another vehicle on a two-lane
highway is a potentially dangerous move, since the
passing vehicle occupies the same lane as oncoming
traffic for several seconds.
A miscalculation, an error in
judgment,
or a brief surrender to frustration or anger
can suddenly put the passing driver face
to face with the
worst of all traffic accidents
- the head-on collision.
So here are some tips for passing:
“Drive ahead.’’ Look down the road,
to the sides
and
to crossroads for situations that might affect
your passing patterns.
If you have any doubt
whatsoever about making a successful pass, wait
for a better time.
Watch for traffic signs, pavement markings and
lines. If you can see a sign up ahead that might
indicate a turn
or an intersection, delay your pass.
A broken center line usually indicates it’s all
right
to pass (providing the road ahead is clear).
Never cross a solid line on your side of the lane or
a double solid line, even
if the road seems empty
of approaching traffic.
Do not get too close to the vehicle you want to
pass while you’re awaiting an opportunity. For
one thing, following too closely reduces your area
of vision, especially
if you’re following a larger
vehicle.
Also, you won’t have adequate space if the
vehicle ahead suddenly slows or stops. Keep
back a reasonable distance.
When it looks like a chance to pass is coming up,
start to accelerate but stay in the right lane and
don’t get
too close. Time your move so you will be
increasing speed as the time comes
to move
into the other lane.
If the way is clear to pass, you
will have a “running start” that more than makes
up for the distance you would lose by dropping
back. And
if something happens to cause you to
cancel your pass, you need only slow down
and drop back again and wait for another
opportunity.
0 If other vehicles are lined up to pass a slow vehicle,
wait your turn.
But take care that someone isn’t
trying
to pass you as you pull out to pass the slow
vehicle. Remember
to glance over your shoulder
and check the blind spot.
4-1 3
Page 223 of 410
Controlling your vehicle is the key to successful off-road
driving. One of the best ways to control your vehicle
is to control your speed. Here are some things to keep
in mind. At higher speeds:
you approach things faster and you have less time
to scan the terrain for obstacles.
you have less time to react.
you have more vehicle bounce when you drive over
obstacles.
you’ll need more distance for braking, especially
since you’re on an unpaved surface.
I
When you’re driving off-road, bouncing and
quick changes in direction can easily throw
you out of position. This could cause you to
lose control and crash.
So, whether you’re
driving on
or off the road, you and your
passengers should wear safety belts.
Scanning the Terrain
Off-road driving can take you over many different kinds of
terrain.
You need to be familiar with the terrain and its
many different features. Here are some things to
consider.
Surface Conditions: Off-roading can take you over
hard-packed dirt, gravel, rocks, grass, sand, mud, snow
or ice. Each of these surfaces affects the steering,
acceleration and braking of your vehicle in different ways.
Depending upon the kind of surface you are on, you may
experience slipping, sliding, wheel spinning, delayed
acceleration, poor traction and longer braking distances.
Surface Obstacles: Unseen or hidden obstacles can
be hazardous.
A rock, log, hole, rut or bump can startle
you
if you’re not prepared for them. Often these
obstacles are hidden by grass, bushes, snow or even
the rise and fall of the terrain itself. Here are some
things
to consider:
Is the path ahead clear?
Will the surface texture change abruptly up ahead?
Does the travel take you uphill or downhill?
(There’s more discussion of these subjects later.)
Will you have to stop suddenly or change direction
quickly?
Page 226 of 410

Driving to the top (crest) of a hill at full speed
can cause an accident. There could be a
drop-off, embankment, cliff, or even another
vehicle. You could be seriously injured or
killed.
As you near the top of a hill, slow down
and stay alert.
Q: What should I do if my vehicle stalls, or is
about to stall, and
I can’t make it up the hill?
A: If this happens, there are some things you should
do, and there are some things you must not do?
First, here’s what you should do:
Push the brake pedal to stop the vehicle and keep
it from rolling backwards. Also, apply the parking
brake.
If your engine is still running, shift the transmission
to REVERSE (R), release the parking brake, and
slowly back down the hill in REVERSE (R).
0 If your engine has stopped running, you’ll need to
restart it. With the brake pedal pressed and the
parking brake still applied, shift the transmission to
PARK (P) and restart the engine. Then shift to REVERSE
(R), release the parking brake, and
slowly back down the hill as straight as possible
in
REVERSE (R).
As you are backing down the hill, put your left hand
on the steering wheel at the
12 o’clock position.
This way you’ll be able to tell
if your wheels
are straight and maneuver as you back down. It’s
best that you back down the hill with your
wheels straight rather than in the left or right
direction. Turning the wheel too far to the left or
right will increase the possibility of a rollover.
Here are some things you
must not do if you stall, or
are about to stall, when going up a hill.
Never attempt to prevent a stall by shifting into
NEUTRAL (N) to “rev-up” the engine and regain
forward momentum. This won’t work. Your vehicle
will roll backwards very quickly and you could
go out of control.
Instead, apply the regular brake to stop the vehicle.
Then apply the parking brake. Shift to
REVERSE (R), release the parking brake, and
slowly back straight down.
0 Never attempt to turn around if you are about to stall
when going up a hill. If the hill is steep enough to stall
your vehicle, it’s steep enough to cause you to roll
over
if you turn around. If you can’t make it up the hill
you must back straight down the hill.
4-21
Page 228 of 410
Q: Am I likely to stall when going downhill?
A: It’s much more likely to happen going uphill. But if it
happens going downhill, here’s what to do.
Apply the parking brake.
engine.
and drive straight down.
Stop your vehicle by applying the regular brakes.
Shift to PARK (P) and, while still braking, restart the
Shift back to a low gear, release the parking brake,
If the engine won’t start, get out and get help.
Driving Across an Incline
Sooner or later, an off-road trail will probably go across
the incline of a hill. If this happens, you have to
decide whether to try to drive across the incline. Here
are some things to consider:
A hill that can be driven straight up or down may be
too steep to drive across. When you go straight up
or down a hill, the length of the wheel base (the distance from
the front wheels to the rear wheels)
reduces the likelihood the vehicle will tumble
end over end. But when you drive across an incline,
the much more narrow track width (the distance
between the left and right wheels) may not prevent
the vehicle from tilting and rolling over.
Also,
driving across an incline puts more weight on the
downhill wheels. This could cause
a downhill
slide or a rollover.
Surface conditions can be a problem when you
drive across a hill. Loose gravel, muddy spots,
or even wet grass can cause your tires to slip
sideways, downhill.
If the vehicle slips sideways, it
can hit something that will trip it (a rock, a rut,
etc.) and roll over.
Hidden obstacles can make the steepness of the
incline even worse.
If you drive across a rock with the
uphill wheels, or it the downhill wheels drop into a rut
or depression, your vehicle can tilt even more.
4-23