ESP Oldsmobile Bravada 2003 Owner's Manuals
[x] Cancel search | Manufacturer: OLDSMOBILE, Model Year: 2003, Model line: Bravada, Model: Oldsmobile Bravada 2003Pages: 410, PDF Size: 20.1 MB
Page 19 of 410
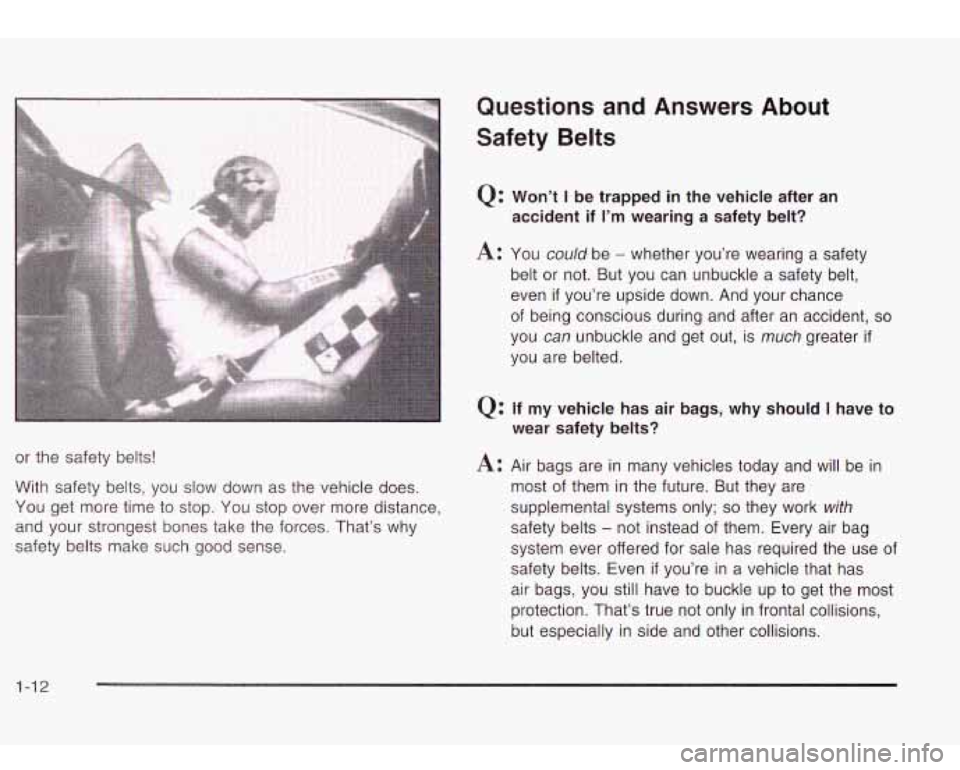
or the safety belts!
With safety belts, you slow down as the vehicle does.
You get more time to stop. You stop over more distance,
and your strongest bones take the forces. That’s why
safety belts make such good sense.
Questions and Answers About
Safety
Belts
Q: Won’t I be trapped in the vehicle after an
accident
if I’m wearing a safety belt?
A: You could be - whether you’re wearing a safety
belt or not. But you can unbuckle a safety belt,
even
if you’re upside down. And your chance
of being conscious during and after an accident,
so
you can unbuckle and get out, is much greater if
you are belted.
Q: If my vehicle has air bags, why should I have to
wear safety belts?
A: Air bags are in many vehicles today and will be in
most of them in the future. But they are
supplemental systems only;
so they work with
safety belts - not instead of them. Every air bag
system ever offered for sale has required the use of
safety belts. Even
if you’re in a vehicle that has
air bags, you still have to buckle up to get the most
protection. That’s true not only in frontal collisions,
but especially in side and other collisions.
Page 59 of 410
In any particular crash, no one can say whether an air
bag should have inflated simply because of the damage
to a vehicle or because of what the repair costs were.
For frontal air bags, inflation is determined by the angle
of the impact and how quickly the vehicle slows down
in frontal and near-frontal impacts. For side impact
air bags, inflation is determined by the location and severity of the impact.
The air bag system is designed
to work properly under
a wide range of conditions, including off-road usage.
Observe safe driving speeds, especially on rough
terrain. As always, wear your safety belt. See
Operating
Your All-Wheel-Drive Vehicle
Off Paved Roads on
page
4-15 for tips on off-road driving.
What Makes an Air Bag Inflate?
In an impact of sufficient severity, the air bag sensing
system detects that the vehicle is in a crash. For
both frontal and side impact air bags, the sensing
system triggers a release of gas from the inflator, which
inflates the air bag. The inflator, the air bag and
related hardware are all part of the air bag modules.
Frontal air bag modules are located inside the steering
wheel and instrument panel. For vehicles with side
impact air bags, the air bag modules are located in the
seatback closest
to the driver’s and/or right front
passenger’s door.
How Does an Air Bag Restrain?
In moderate to severe frontal or near frontal collisions,
even belted occupants can contact the steering wheel or
the instrument panel. In moderate
to severe side
collisions, even belted occupants can contact the inside
of the vehicle. The air bag supplements the protection
provided by safety belts. Air bags distribute the force of
the impact more evenly over the occupant’s upper
body, stopping the occupant more gradually. But the
frontal air bags would not help you in many types
of collisions, including rollovers, rear impacts, and many
side impacts, primarily because an occupant’s motion
is not toward the air bag. Side impact air bags would not
help you in many types of collisions, including frontal
or near frontal collisions, rollovers, and rear impacts,
primarily because an occupant’s motion is not toward
those air bags. Air bags should never be regarded
as anything more than a supplement
to safety belts, and
then only in moderate
to severe frontal or near-frontal
collisions for the driver’s and right front passenger’s
frontal air bags, and only in moderate
to severe
side collisions for vehicles with a driver’s and right front
passenger’s side impact air bag.
1-52
Page 73 of 410
Doors and Locks
Door Locks
There are several ways to lock and unlock your vehicle.
You can use the remote keyless entry system.
You can use your key to unlock your door from the
outside.
V AUTION:
Unlocked doors can be dangerous.
Passengers - especially children - can
easily open the doors and fall out of a moving vehicle. When a door is locked, the
handle won’t open
it. You increase the
chance of being thrown out of the vehicle
in a crash if the doors aren’t locked. So,
wear safety belts properly and lock the
doors whenever you drive.
vehicles may be unable to get out.
A child
can be overcome by extreme heat and can
suffer permanent injuries or even death
from heat stroke. Always lock your vehicle
whenever you leave
it.
unlocked door when you slow down or
stop your vehicle. Locking your doors can
help prevent this from happening.
Young children who get into unlocked
Outsiders can easily enter through an
r
.
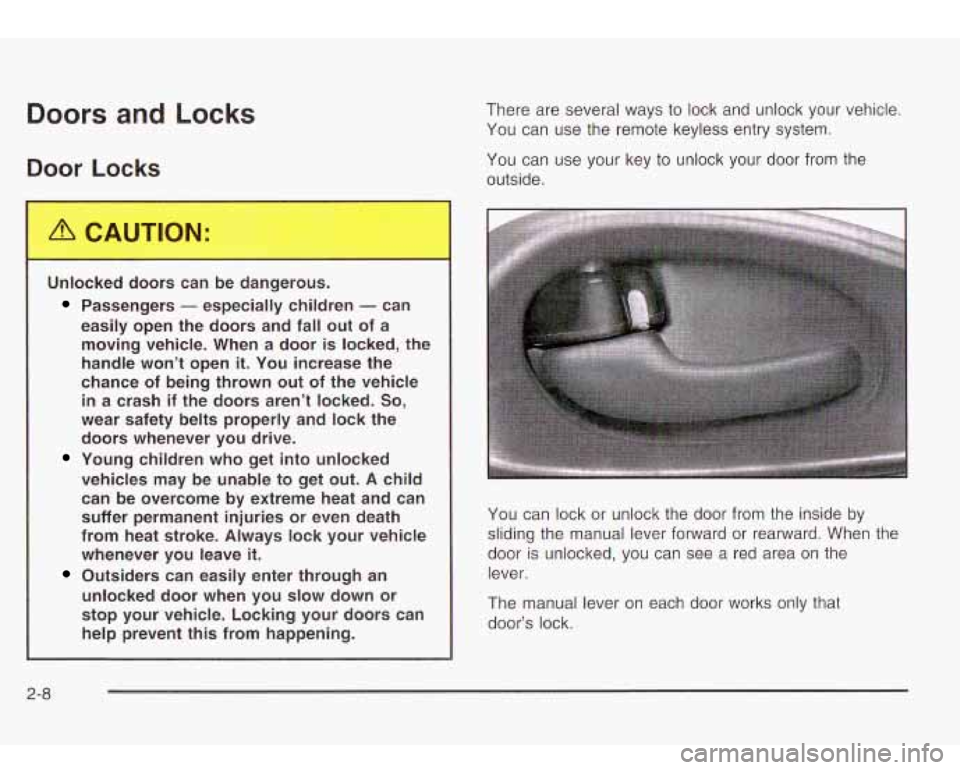
You can lock or unlock the door from the inside by
sliding the manual lever forward or rearward. When the
door
is unlocked, you can see a red area on the
lever.
The manual lever on each door works only that
door’s lock.
2-8
Page 79 of 410
Windows
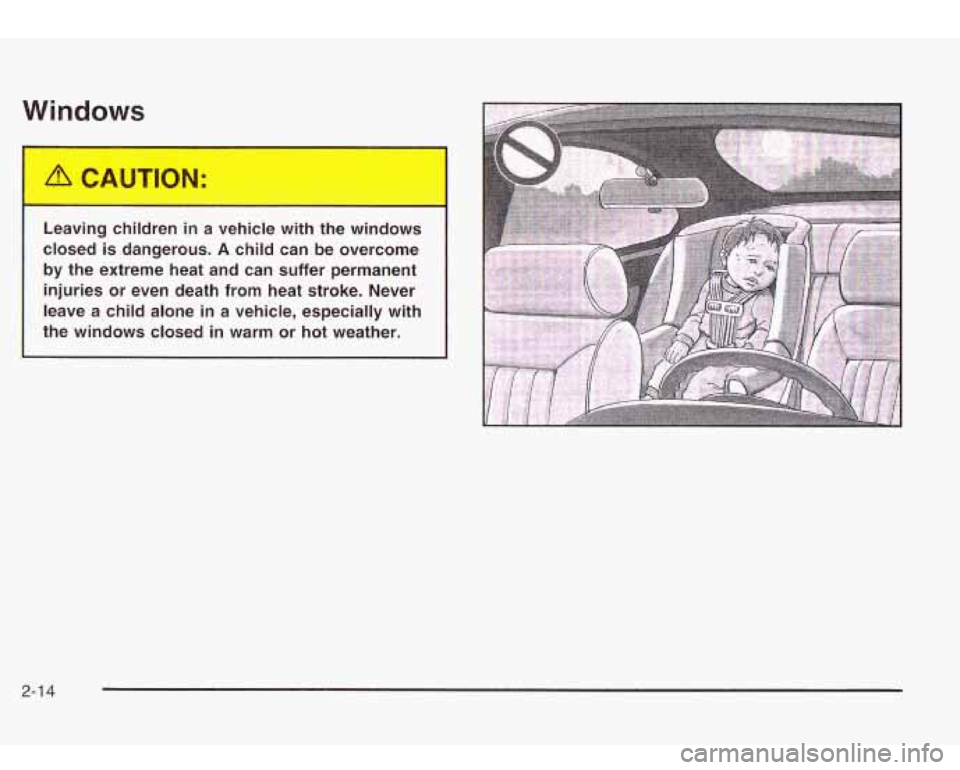
Leaving children in a vehicle with the winc vs
closed is dangerous. A child can be overcome
by the extreme heat and can suffer permanent
injuries or even death from heat stroke. Never
leave a child alone in a vehicle, especially with
the windows closed in warm or hot weather.
2-1 4
Page 81 of 410
Theft-Deterrent Systems
Vehicle theft is big business, especially in some cities.
Although your vehicle has a number of theft-deterrent
features, we know that nothing we put on it can make it
impossible
to steal. However, there are ways you
can help.
Content Theft-Deterrent
Your vehicle may be equipped with a content
theft-deterrent alarm system.
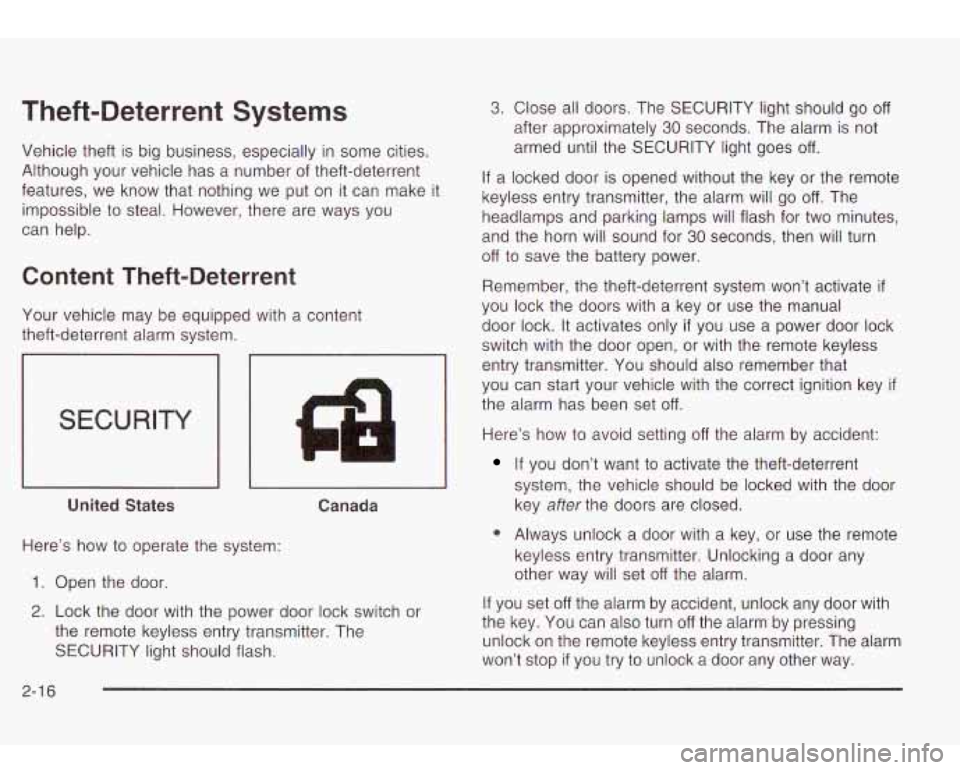
SECURITY
4 I1
I I I I
United States Canada
Here’s how to operate the system:
1. Open the door.
2. Lock the door with the power door lock switch or
the remote keyless entry transmitter. The
SECURITY light should flash.
3. Close all doors. The SECURITY light should go off
after approximately 30 seconds. The alarm is not
armed until the SECURITY light goes
off.
If a locked door is opened without the key or the remote
keyless entry transmitter, the alarm will go
off. The
headlamps and parking lamps will flash for two minutes,
and the horn will sound for
30 seconds, then will turn
off to save the battery power.
Remember, the theft-deterrent system won’t activate
if
you lock the doors with a key or use the manual
door lock.
It activates only if you use a power door lock
switch with the door open, or with the remote keyless
entry transmitter. You should also remember that
you can start your vehicle with the correct ignition key
if
the alarm has been set off.
Here’s how to avoid setting off the alarm by accident:
If you don’t want to activate the theft-deterrent
system, the vehicle should be locked with the door
key
after the doors are closed.
0 Always unlock a door with a key, or use the remote
keyless entry transmitter. Unlocking a door any
other way will set
off the alarm.
If you set
off the alarm by accident, unlock any door with
the key. You can also turn
off the alarm by pressing
unlock on the remote keyless entry transmitter. The alarm
won’t stop
if you try to unlock a door any other way.
2-1 6
Page 112 of 410
Vehicle Personalization
Memory Seat
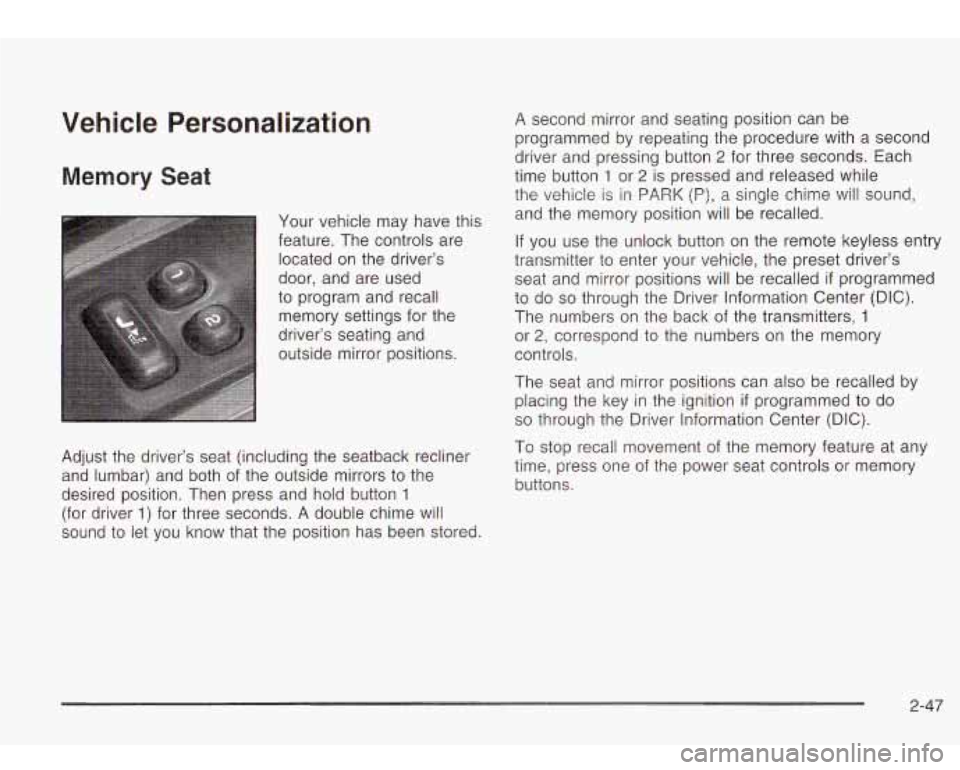
Your vehicle may have this
feature. The controls are located on the driver’s
door, and are used
to program and recall memory settings for the
driver’s seating and
outside mirror positions.
Adjust the driver’s seat (including the seatback recliner
and lumbar) and both of the outside mirrors to the
desired position. Then press and hold button
1
(for driver 1) for three seconds. A double chime will
sound
to let you know that the position has been stored.
A second mirror and seating position can be
programmed by repeating the procedure with a second
driver and pressing button
2 for three seconds. Each
time button
1 or 2 is pressed and released while
the vehicle is in PARK
(P), a single chime will sound,
and the memory position will be recalled.
If you use the unlock button on the remote keyless entry
transmitter to enter your vehicle, the preset driver’s
seat and mirror positions will be recalled
if programmed
to do
so through the Driver Information Center (DIC).
The numbers on the back of the transmitters,
1
or 2, correspond to the numbers on the memory
controls.
The seat and mirror positions can also be recalled by
placing the key in the ignition
if programmed to do
so through the Driver Information Center (DIC).
To stop recall movement of the memory feature at any
time, press one of the power seat controls or memory
buttons.
2-47
Page 129 of 410
Daytime Running Lamps
Daytime Running Lamps (DRL) can make it easier for
others
to see the front of your vehicle during the
day. DRL can be helpful in many different driving
conditions, but they can be especially helpful in the short
periods after dawn and before sunset. Fully functional
daytime running lamps are required on all vehicles
first sold in Canada.
The DRL system will make your headlamps come on
at
reduced brightness when the following conditions
are met:
The ignition is on,
the exterior lamps knob is in automatic
the light sensor detects daytime light, and
the transmission is not in PARK (P).
headlamp
mode,
When the DRL are on, only your headlamps will be on.
The taillamps, sidemarker and other lamps won’t be
on. The instrument panel won’t be lit up either.
When it begins
to get dark, the headlamps will
automatically switch from DRL
to the regular headlamps.
Fog Lamps
Your vehicle may have this feature. Use your fog lamps
for better vision in foggy or misty conditions. Your
ignition must be in RUN for your fog lamps
to work.
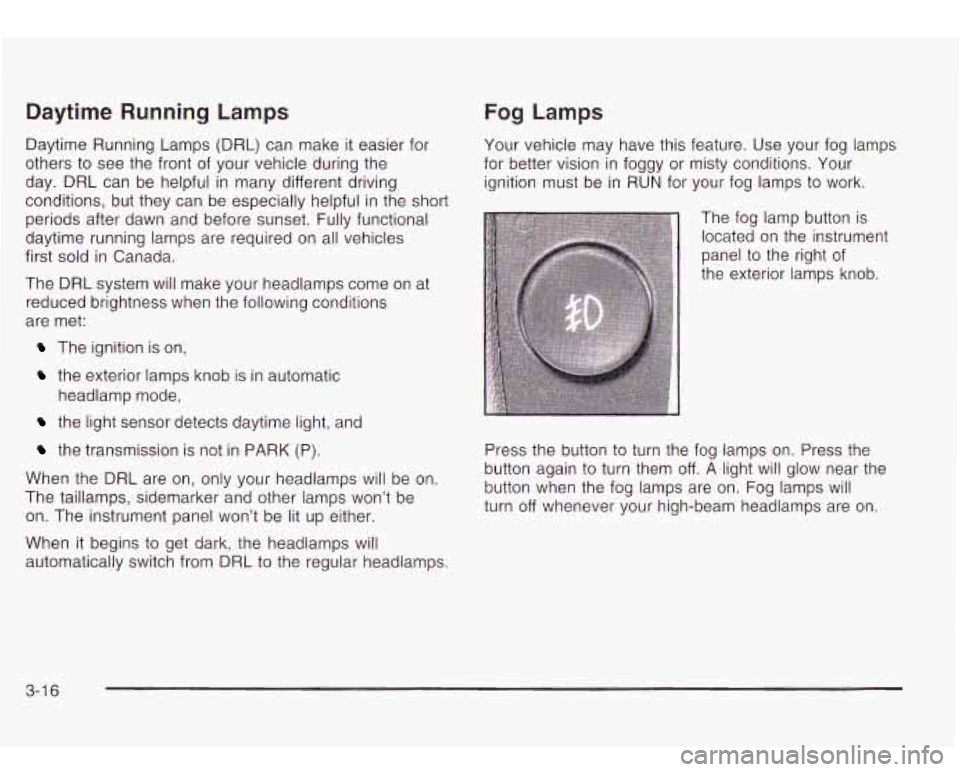
The fog lamp button is
located on the instrument
panel
to the right of
the exterior lamps knob.
Press the button
to turn thl
fog lamps on. Press the e
button again to turn them off. A light will glow near the
button when the fog lamps are on. Fog lamps will
turn off whenever your high-beam headlamps are on.
3-1 6
Page 186 of 410
Playing a Specific Loaded
Compact Disc
For every CD loaded, a number will appear on the radio
display. To play a specific CD, first press the CD AUX
button
to start playing a CD. Then press the numbered
pushbutton that corresponds
to the CD you want to
play. A small bar will appear under the CD number that
is playing, and the track number will appear.
If an error appears on the radio display, see “Compact
Disc Messages” later in this section.
LOAD CD /1 (Eject): Pressing the CD eject side of
this button will eject a single disc or multiple discs.
To eject the disc that is currently playing, press
and release this button. To eject multiple discs, press
and hold this button for two seconds. You will hear
a beep and the light will flash
to let you know when a
disc is being ejected.
REMOVE CD will be displayed. You can now remove
the disc. If the disc is not removed, after 25 seconds, the
disc
will be automatically pulled back into the receiver.
If you try
to push the disc back into the receiver,
before the
25 second time period is complete, the
receiver will sense an error and will try
to eject the disc
several times before stopping.
Do not repeatedly press the CD eject side of the
LOAD CD eject button
to eject a disc after you have
tried to push it in manually. The receivers 25-second eject timer
will reset at each press
of eject, which will
cause the receiver
to not eject the disc until the
25-second time period has elapsed.
Once the player stops and the disc is ejected, remove
the disc. After removing the disc, press the PWR
knob
off and then on again. This will clear the
disc-sensing feature and enable discs
to be loaded into
the player again.
<< REV (Reverse): Press and hold this button to
reverse quickly within a track. You will hear sound at a
reduced volume. Release it
to play the passage.
The display will show elapsed time.
FWD >> (Forward): Press and hold this button to
advance quickly within a track. You will hear sound at a
reduced volume. Release it to play the passage. The
display will show elapsed time.
RPT (Repeat): With repeat, you can repeat one track
or an entire disc. To use repeat, do the following:
To repeat the track you are listening to, press and
release the RPT button. RPT will appear on the
display. Press RPT again to turn it
off.
To repeat the disc you are listening to, press and
hold the RPT button for two seconds. RPT will
appear
on the display. Press RPT again to turn it off.
3-73
Page 201 of 410
PROG (Program): Press this button to switch between
playing a cassette tape or a CD and listening
to the
radio. The inactive tape
or CD will remain safely inside
the radio for future listening.
SEEK: Press the SEEK button to seek to the next
station and stay there. The display will show your
selection.
To scan preset stations, press and hold the SEEK
button. The radio will scan to a preset station, play for a
few seconds, then go on
to the next preset station.
The display will show your selections. The SEEK button
is inactive
if the front radio is in use.
While listening to a cassette tape, press the SEEK
button
to hear the next selection on the tape. Press and
hold the SEEK button to go
to the other side of the
tape. The SEEK button is inactive
if the tape mode on
the front radio is in use.
While listening
to a CD, press the SEEK button to hear
the next track on the CD. The SEEK button is inactive
if the CD mode on the front radio or the CD changer
is in use.
Radio Personalization
If your vehicle has this feature, it allows the driver to
return
to the last used audio source (radio, cassette or
CD) using the remote keyless entry transmitter. This
feature can also store and recall
AM and FM presets,
volume, tone and the
last selected radio station.
The number on the back of each transmitter
(1 or 2)
corresponds to driver 1 or 2. If transmitter 1 is used to
enter the vehicle, the last used audio source and/or
settings set by driver
1 will be recalled. If transmitter 2 is
used
to enter the vehicle, the last used audio source
and/or settings set by driver
2 will be recalled.
Theft-Deterrent Feature
THEFTLOCK@ is designed to discourage theft of yout
radio. The feature works automatically by learning a
portion of the Vehicle Identification Number (VIN). If the
radio is moved to
a different vehicle, it will not operate
and LOCKED will be displayed.
When the radio and vehicle are turned
off, your radio
may have a blinking red light that indicates that
THEFTLOCK is armed.
With THEFTLOCK activated, your radio will not operate
if stolen.
3-88
Page 202 of 410
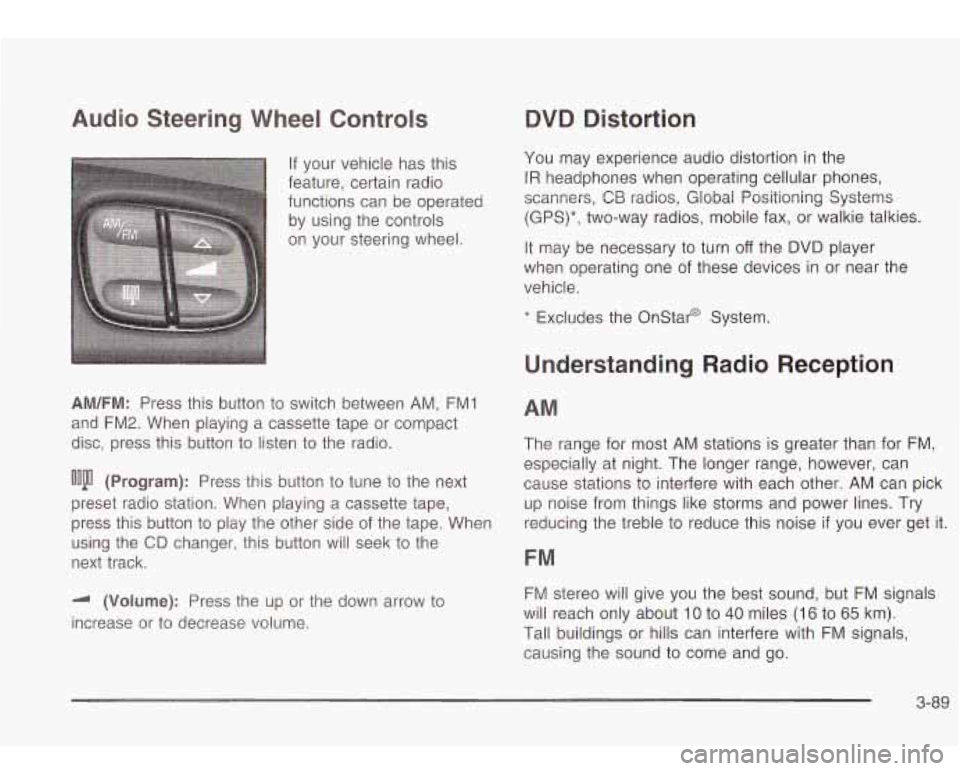
Audio Steering Wheel Controls
If your vehicle has this
feature, certain radio
functions can be operated
by using the controls
on your steering wheel.
AM/FM: Press this button to switch between AM, FMI
and FM2. When playing a cassette tape or compact
disc, press this button
to listen to the radio.
ooju (Program): Press this button to tune to the next
preset radio station. When playing a cassette tape,
press this button
to play the other side of the tape. When
using the
CD changer, this button will seek to the
next track.
-I (Volume): Press the up or the down arrow to
increase or to decrease volume.
QVQ Distortion
You may experience audio distortion in the
IR headphones when operating cellular phones,
scanners,
CB radios, Global Positioning Systems
(GPS)*, two-way radios, mobile fax, or walkie talkies.
It may be necessary to turn
off the DVD player
when operating one of these devices in or near the
vehicle.
* Excludes the Onstar@ System.
Understanding Radio Reception
AM
The range for most AM stations is greater than for FM,
especially at night. The longer range, however, can
cause stations
to interfere with each other. AM can pick
up noise from things like storms and power lines. Try
reducing the treble
to reduce this noise if you ever get it.
FM
FM stereo will give you the best sound, but FM signals
will reach only about
10 to 40 miles (16 to 65 km).
Tall buildings or hills can interfere with FM signals,
causing the sound to come and go.
3-89