lock Oldsmobile Bravada 2004 s Owner's Guide
[x] Cancel search | Manufacturer: OLDSMOBILE, Model Year: 2004, Model line: Bravada, Model: Oldsmobile Bravada 2004Pages: 420, PDF Size: 4.37 MB
Page 88 of 420
Leaving Your Vehicle With the Engine
Running
{CAUTION:
It can be dangerous to leave your vehicle with
the engine running. Your vehicle could move
suddenly if the shift lever is not fully in
PARK (P) with the parking brake �rmly set.
And, if you leave the vehicle with the engine
running, it could overheat and even catch �re.
You or others could be injured. Do not leave
your vehicle with the engine running.
If you have to leave your vehicle with the engine
running, be sure your vehicle is in PARK (P) and your
parking brake is �rmly set before you leave it. After
you’ve moved the shift lever into PARK (P), hold
the regular brake pedal down. Then, see if you can
move the shift lever away from PARK (P) without �rst
pressing the button on the console shift lever. If you can,
it means that the shift lever wasn’t fully locked into
PARK (P).
Torque Lock
If you are parking on a hill and you don’t shift your
transmission into PARK (P) properly, the weight of the
vehicle may put too much force on the parking pawl
in the transmission. You may �nd it difficult to pull the
shift lever out of PARK (P). This is called “torque
lock.” To prevent torque lock, set the parking brake and
then shift into PARK (P) properly before you leave
the driver’s seat. To �nd out how, seeShifting Into Park
(P) on page 2-25.
When you are ready to drive, move the shift lever out of
PARK (P)beforeyou release the parking brake.
If torque lock does occur, you may need to have another
vehicle push yours a little uphill to take some of the
pressure from the parking pawl in the transmission, so
you can pull the shift lever out of PARK (P).
Shifting Out of Park (P)
Your vehicle has an automatic transmission shift lock
control system. You have to fully apply the regular
brakes before you can shift from PARK (P) when the
ignition is in RUN. SeeAutomatic Transmission
Operation on page 2-22.
2-26
Page 95 of 420
A completed Subscription Service Agreement is required
prior to delivery of OnStar®services and prepaid
calling minutes are also required for OnStar®Personal
Calling and OnStar®Virtual Advisor use. Terms and
conditions of the Subscription Service Agreement can be
found at www.onstar.com.
OnStar®Services
One of the following plans is normally included for a
speci�c duration with each vehicle equipped with
OnStar
®. You can upgrade or extend your OnStar®
service plan to meet your needs.
Safe and Sound Plan
Automatic Noti�cation of Air Bag Deployment
Emergency Services
Roadside Assistance
Stolen Vehicle Assistance
AccidentAssist
Remote Door Unlock
Remote Diagnostics
Online Concierge
Directions and Connections Plan
All Safe and Sound Plan services
Route Support
RideAssist
Information and Convenience Services
Luxury and Leisure Plan
All Directions and Connections Plan services
Personal Concierge
OnStar®Personal Calling
With OnStar®Personal Calling, you have a safer way to
stay connected while driving. It’s a hands-free wireless
phone that’s integrated into your vehicle. You can place
calls nationwide using voice-activated dialing with no
contracts and no additional roaming charges. To �nd out
more about OnStar
®Personal Calling, refer to the
OnStar®owner’s guide in your vehicle’s glove box, or
call OnStar®at 1-888-4-ONSTAR (1-888-466-7827).
2-33
Page 96 of 420
OnStar®Virtual Advisor
With OnStar®Virtual Advisor you can listen to your
favorite news, entertainment and information topics,
such as traffic and weather reports, stock quotes
and sports scores. You listen to your e-mail through
your vehicle’s speakers, and reply with your hands on
the wheel and your eyes on the road.
HomeLink®Transmitter
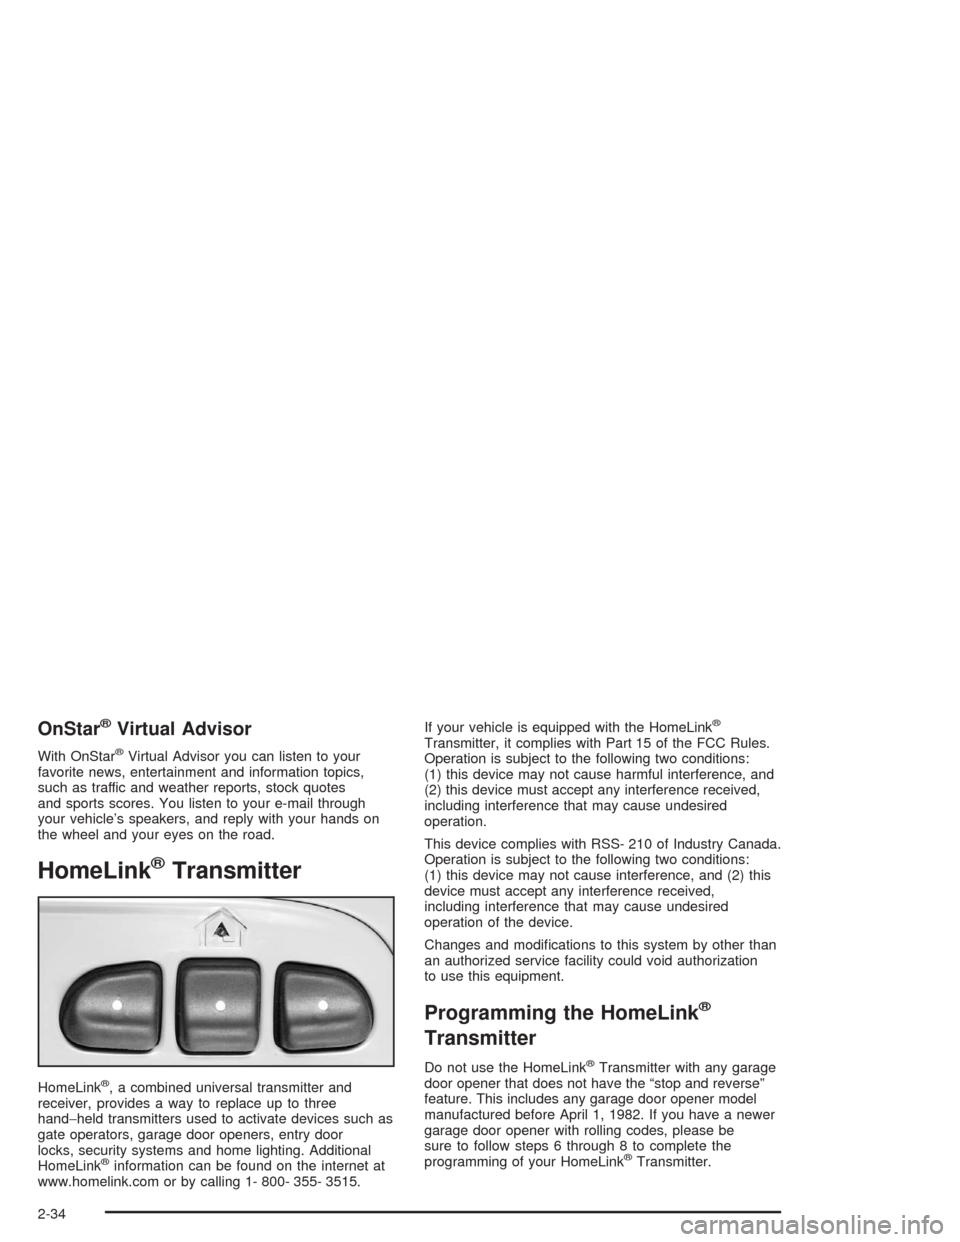
HomeLink®, a combined universal transmitter and
receiver, provides a way to replace up to three
hand−held transmitters used to activate devices such as
gate operators, garage door openers, entry door
locks, security systems and home lighting. Additional
HomeLink
®information can be found on the internet at
www.homelink.com or by calling 1- 800- 355- 3515.If your vehicle is equipped with the HomeLink
®
Transmitter, it complies with Part 15 of the FCC Rules.
Operation is subject to the following two conditions:
(1) this device may not cause harmful interference, and
(2) this device must accept any interference received,
including interference that may cause undesired
operation.
This device complies with RSS- 210 of Industry Canada.
Operation is subject to the following two conditions:
(1) this device may not cause interference, and (2) this
device must accept any interference received,
including interference that may cause undesired
operation of the device.
Changes and modi�cations to this system by other than
an authorized service facility could void authorization
to use this equipment.
Programming the HomeLink®
Transmitter
Do not use the HomeLink®Transmitter with any garage
door opener that does not have the “stop and reverse”
feature. This includes any garage door opener model
manufactured before April 1, 1982. If you have a newer
garage door opener with rolling codes, please be
sure to follow steps 6 through 8 to complete the
programming of your HomeLink
®Transmitter.
2-34
Page 101 of 420
w(Play):To play a recorded message, press this
button. Pressing the button more than once will return
you to previously recorded messages. If you press
and hold this button for more than one second, all of the
recorded messages will be played back.
c(Stop):To delete messages, press this button
while the message is playing. If you press and hold the
play and record buttons at the same time for a half
of a second, all of the messages will be deleted.
Front Storage Area
Lift the armrest cover of the console compartment to
reveal a coinholder and additional storage.
Luggage Carrier
{CAUTION:
If you try to carry something on top of your
vehicle that is longer or wider than the luggage
carrier — like paneling, plywood, a mattress
and so forth — the wind can catch it as you
CAUTION: (Continued)
CAUTION: (Continued)
drive along. This can cause you to lose
control. What you are carrying could be
violently torn off, and this could cause you or
other drivers to have a collision, and of course
damage your vehicle. You may be able to carry
something like this inside. But, never carry
something longer or wider than the luggage
carrier on top of your vehicle.
A luggage carrier allows you to load things on top of
your vehicle. The luggage carrier has side rails attached
to the roof, sliding crossrails (if equipped) and places
to use for tying things down. These let you load
some other things on top of your vehicle, as long as
they are not wider or longer than the luggage carrier.
To slide the crossrails to where you want them, pull up
on the lever on each side of the crossrail. This will
release the crossrail and allow you to slide it. When the
crossrail is where you want it, press down on the
levers to lock it into place.
2-39
Page 102 of 420
Notice:Loading cargo on the luggage carrier that
weighs more than 220 lbs (100 kg) or hangs over the
rear or sides of the vehicle may damage your
vehicle. Load cargo so that it rests on the slats as
far forward as possible and against the side
rails, making sure to fasten it securely.
Don’t exceed the maximum vehicle capacity when
loading your vehicle. For more information on vehicle
capacity and loading, seeLoading Your Vehicle on
page 4-43.
To prevent damage or loss of cargo as you’re driving,
check now and then to make sure the luggage carrier is
locked and cargo is still securely fastened.
When the luggage carrier is not in use, place the
crossrails at the following positions for wind noise
reduction. Place one crossrail at the rear most point of
the vehicle and the other crossrail above the opening
of the rear door.Rear Floor Storage Lid
{CAUTION:
If any removable convenience item is not
secured properly, it can move around in a
collision or sudden stop. People in the vehicle
could be injured. Be sure to secure any such
item properly.
Your vehicle has a rear cargo area with a removeable
storage lid.
To remove the rear �oor storage lid, do the following:
1. Press the latch release and lift up the latch handle.
2. Raise the lid slightly to unhook it.
3. Pull the lid toward you to release it from the forward
mounting tabs.
To reinstall the rear �oor storage lid, reverse the
previous steps. Make sure the lid is secure by applying
slight pressure to the latch until you hear it click.
2-40
Page 104 of 420
Cargo Tie Downs
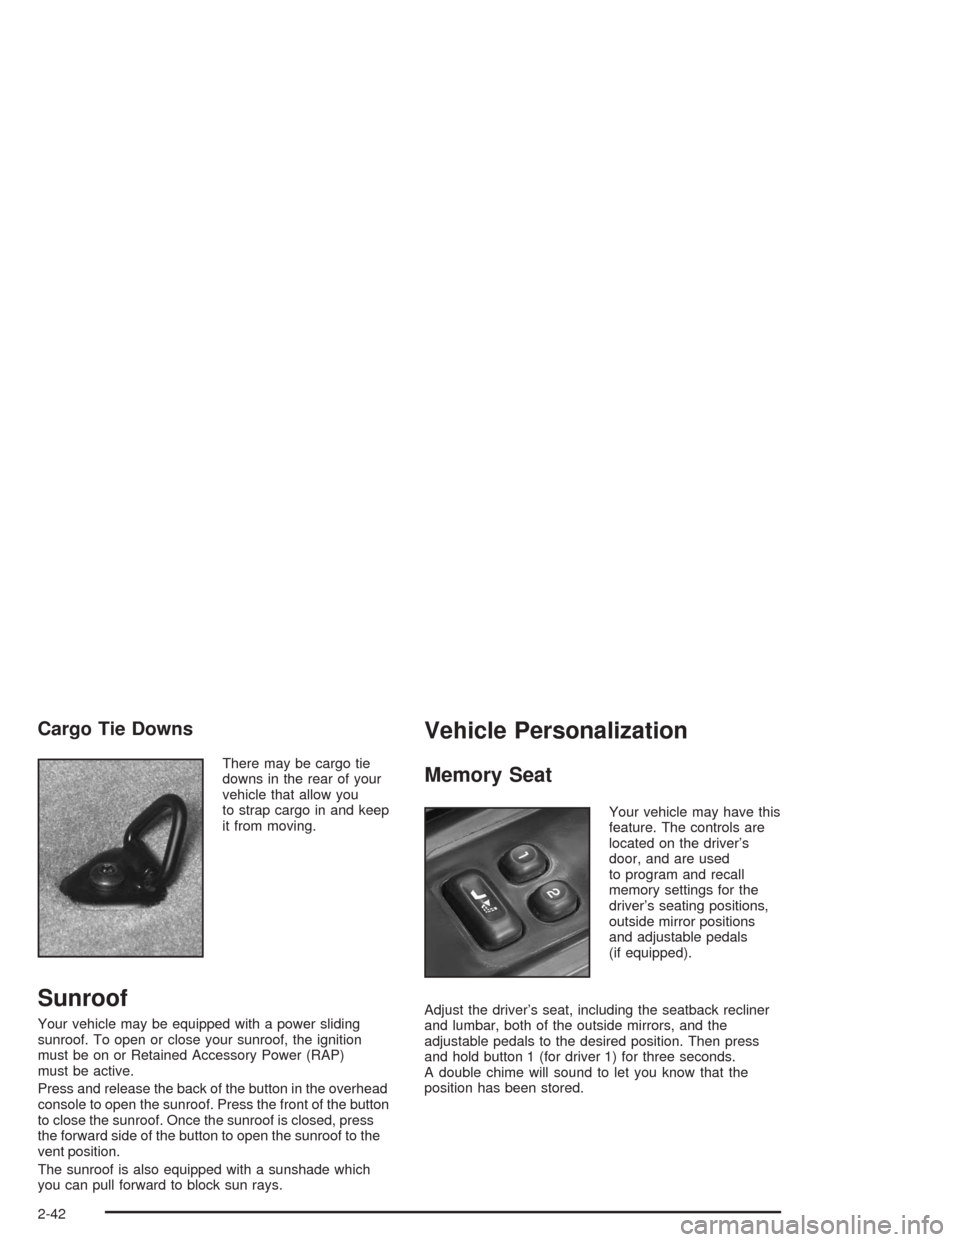
There may be cargo tie
downs in the rear of your
vehicle that allow you
to strap cargo in and keep
it from moving.
Sunroof
Your vehicle may be equipped with a power sliding
sunroof. To open or close your sunroof, the ignition
must be on or Retained Accessory Power (RAP)
must be active.
Press and release the back of the button in the overhead
console to open the sunroof. Press the front of the button
to close the sunroof. Once the sunroof is closed, press
the forward side of the button to open the sunroof to the
vent position.
The sunroof is also equipped with a sunshade which
you can pull forward to block sun rays.
Vehicle Personalization
Memory Seat
Your vehicle may have this
feature. The controls are
located on the driver’s
door, and are used
to program and recall
memory settings for the
driver’s seating positions,
outside mirror positions
and adjustable pedals
(if equipped).
Adjust the driver’s seat, including the seatback recliner
and lumbar, both of the outside mirrors, and the
adjustable pedals to the desired position. Then press
and hold button 1 (for driver 1) for three seconds.
A double chime will sound to let you know that the
position has been stored.
2-42
Page 105 of 420
A second mirror position, seating position and adjustable
pedal position can be programmed by repeating the
procedure with a second driver and pressing button 2 for
three seconds. Each time button 1 or 2 is pressed
and released while the vehicle is in PARK (P), a single
chime will sound, and the memory position will be
recalled.
If you use the unlock button on the remote keyless entry
transmitter to enter your vehicle, the preset driver’s
seat, mirror positions and adjustable pedal position will
be recalled if programmed to do so through the
Driver Information Center (DIC). The numbers on the
back of the transmitters, 1 or 2, correspond to the
numbers on the memory controls.
The seat positions, mirror positions and adjustable
pedal positions can also be recalled by placing the key
in the ignition if programmed to do so through the
Driver Information Center (DIC). SeeDIC Operation and
Displays on page 3-45.
To stop recall movement of the memory feature at any
time, press one of the power seat controls or memory
buttons.Two personalized exit positions can be set by �rst
recalling the driver’s position by pressing 1 or 2, then
positioning the seat in the desired exit position for
that driver. Press and hold the button with the exit
symbol for three seconds. A double chime will sound to
let you know that the position has been stored. With
the vehicle in PARK (P), the exit position for that driver
can be recalled by pressing the exit button. The
mirrors, power lumbar, recline and adjustable pedal
positions will not be stored or recalled for the exit
positions. If no exit position is stored, the default is all
the way rearward.
Further programming for automatic seat and mirror
movement can be done through the Driver Information
Center (DIC). You may choose to either select or
not select the following:
Automatic seat, mirror movement and pedal
position when the vehicle is unlocked with the
remote keyless entry
automatic seat, mirror movement and pedal position
when a key is placed in the ignition
automatic seat movement to the exit position when
the vehicle is in PARK (P)
2-43
Page 107 of 420
Instrument Panel Overview...............................3-4
Hazard Warning Flashers................................3-6
Other Warning Devices...................................3-7
Horn.............................................................3-7
Tilt Wheel.....................................................3-7
Turn Signal/Multifunction Lever.........................3-8
Exterior Lamps.............................................3-15
Interior Lamps..............................................3-17
Accessory Power Outlets...............................3-20
Ashtrays and Cigarette Lighter........................3-20
Climate Controls............................................3-21
Dual Automatic Climate Control System...........3-21
Rear Climate Control System.........................3-26
Climate Controls Personalization.....................3-27
Warning Lights, Gages and Indicators.............3-28
Instrument Panel Cluster................................3-29
Speedometer and Odometer...........................3-30
Tachometer.................................................3-31
Safety Belt Reminder Light.............................3-31
Air Bag Readiness Light................................3-32Charging System Light..................................3-33
Voltmeter Gage............................................3-33
Brake System Warning Light..........................3-34
Anti-Lock Brake System Warning Light.............3-35
Engine Coolant Temperature Gage..................3-36
Malfunction Indicator Lamp.............................3-36
Oil Pressure Gage........................................3-39
Change Engine Oil Light................................3-40
Security Light...............................................3-41
Cruise Control Light......................................3-41
Reduced Engine Power Light.........................3-42
Service All-Wheel Drive Light.........................3-42
Check Gages Warning Light...........................3-43
Gate Ajar Light.............................................3-43
Fuel Gage...................................................3-44
Low Fuel Warning Light.................................3-44
Driver Information Center (DIC).......................3-45
DIC Operation and Displays...........................3-45
DIC Warnings and Messages.........................3-54
Section 3 Instrument Panel
3-1
Page 113 of 420
Other Warning Devices
If you carry re�ective triangles, you can set one up at
the side of the road about 300 feet (100 m) behind your
vehicle.
Horn
To sound the horn, press the horn symbols on the
steering wheel pad.
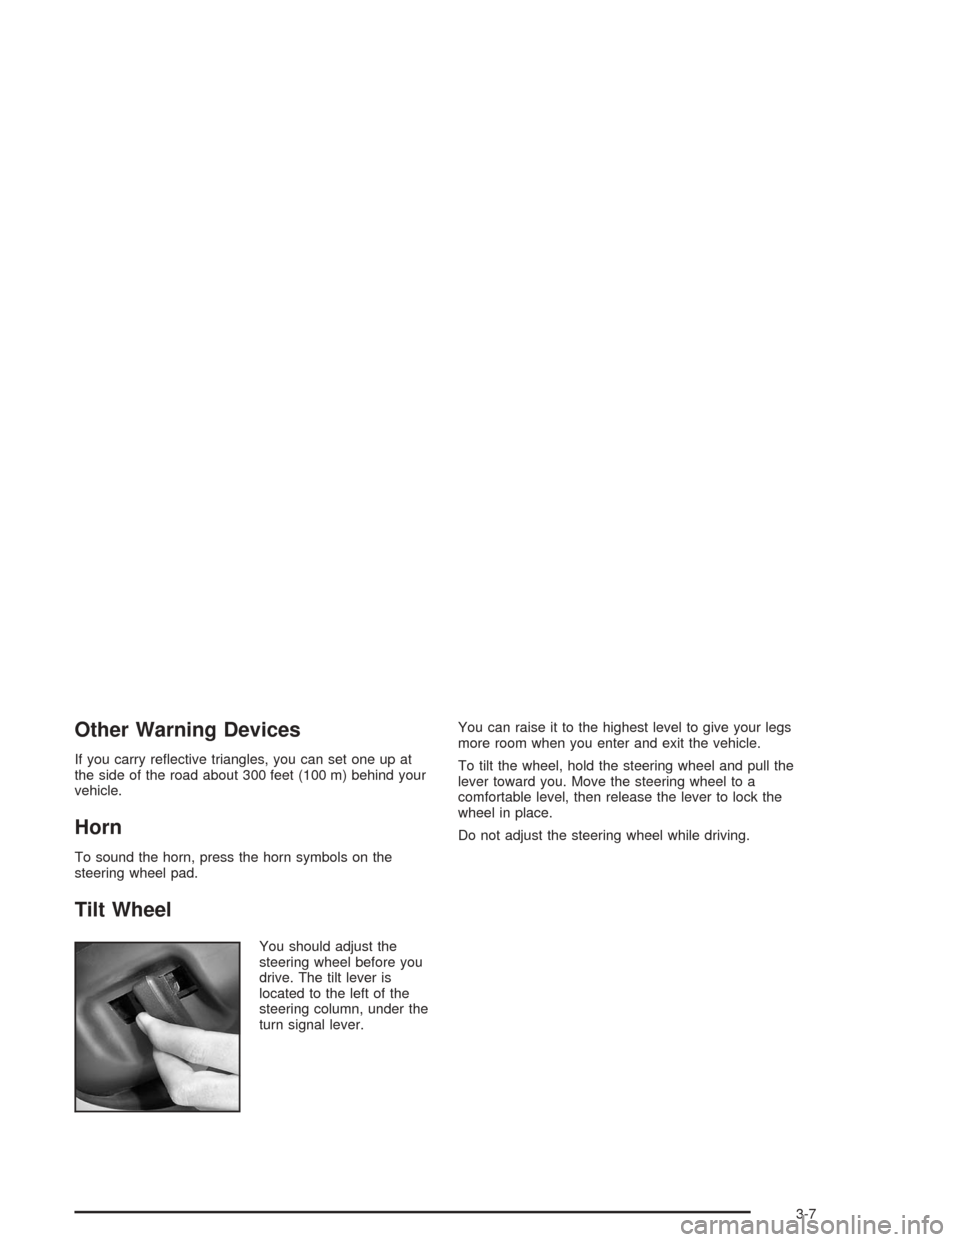
Tilt Wheel
You should adjust the
steering wheel before you
drive. The tilt lever is
located to the left of the
steering column, under the
turn signal lever.You can raise it to the highest level to give your legs
more room when you enter and exit the vehicle.
To tilt the wheel, hold the steering wheel and pull the
lever toward you. Move the steering wheel to a
comfortable level, then release the lever to lock the
wheel in place.
Do not adjust the steering wheel while driving.
3-7
Page 117 of 420
Windshield Washer
L
(Windshield Washer):To spray washer �uid on the
windshield, press the windshield washer paddle. The
wipers will clear the window and then either stop
or return to your preset speed.
{CAUTION:
In freezing weather, do not use your washer
until the windshield is warmed. Otherwise the
washer �uid can form ice on the windshield,
blocking your vision.
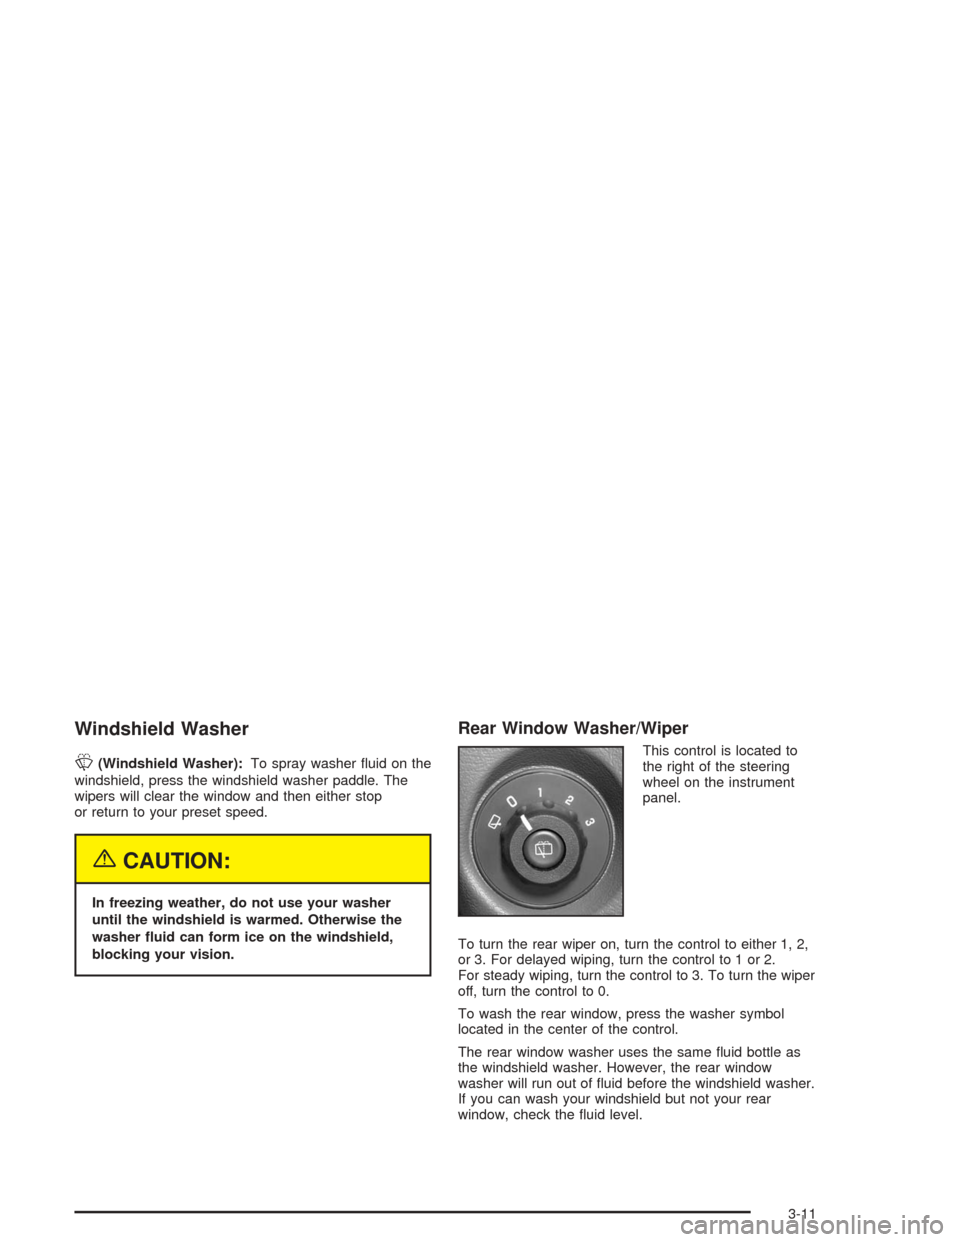
Rear Window Washer/Wiper
This control is located to
the right of the steering
wheel on the instrument
panel.
To turn the rear wiper on, turn the control to either 1, 2,
or 3. For delayed wiping, turn the control to 1 or 2.
For steady wiping, turn the control to 3. To turn the wiper
off, turn the control to 0.
To wash the rear window, press the washer symbol
located in the center of the control.
The rear window washer uses the same �uid bottle as
the windshield washer. However, the rear window
washer will run out of �uid before the windshield washer.
If you can wash your windshield but not your rear
window, check the �uid level.
3-11