ECU Oldsmobile Cutlass 1998 s User Guide
[x] Cancel search | Manufacturer: OLDSMOBILE, Model Year: 1998, Model line: Cutlass, Model: Oldsmobile Cutlass 1998Pages: 348, PDF Size: 17.46 MB
Page 74 of 348
____ ~~ ~ ~~ ~ ~ ~~~
~ ~~~~
4. Check the operation of the transmitter with your
vehicle. If the transmitter does not work, try
synchronizing the transmitter with the receiver.
Synchronization
Your remote lock control system is equipped with a
security system that prevents anyone from recording and
playing back your signal. The transmitter does not send
the same signal twice to the receiver. The receiver will
not respond to a signal that has been sent to it more
than once.
To synchronize your transmitter and receiver, follow
these directions:
1. Stand close to your vehicle.
2. Press and hold the LOCK and UNLOCK buttons on
the transmitter at the same time.
3. Hold the buttons for five seconds. In this time, the
doors should lock and unlock once. This confirms
the resynchronization.
If the doors do not lock and
unlock, see your retailer for service.
~~~ .~ ~~ - ..
Trunk
To unlock the trunk from the outside, insert the key and
turn the trunZC lock cylinder.
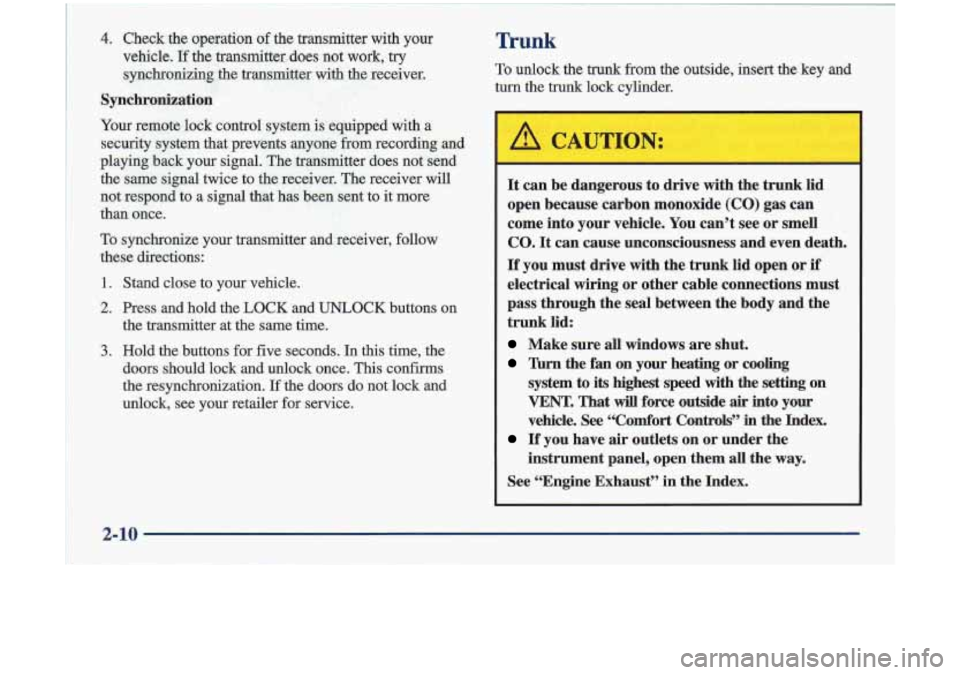
It can be dangerous to drive with the trunk lid
open because carbon monoxide
(CO) gas can
come into your vehicle. You can’t see or smell
CO.
It can cause unconsciousness and even death.
If you must drive with the trunk lid open or if
electrical wiring or other cable connections must
pass through the seal between the body and the
trunk lid:
Make sure all windows are shut.
Thrn the fan on your heating or cooling
system to its highest speed with the setting on
VENT. That will force outside air into your
vehicle. See
“Comfort Controls’’ in the Index.
instrument panel, open them all the
way.
If you have air outlets on or under the
See “Engine Exhaust” in the Index.
2-10 B
.-
Page 143 of 348

2. Turn the ignition to ACC or ON.
3. Turn the radio off.
4. Press the 1 and 4 buttons together. Hold them down
until
--- shows on the display. Next you will use the
secret code number which you have written down.
5. Press MN and 000 will appear on the display.
6. Press MN again to make the last two digits agree
7. Press HR to make the first one or two digits agree
with your code.
with your code.
8. Press AM-FM after you have confirmed that
the
code matches the secret code you have written down.
The display will show REP to let you know that you
need to repeat Steps
5 through 7 to confirm your
secret code.
9. Press AM-FM and this time the display will show
SEC to let you know that your radio is secure.
Unlocking the Theft-Deterrent Feature After a
Power Loss
Enter your secret code as follows; pause no more than
15 seconds between steps:
1. LOC appears when the ignition is on.
2. Press MN and 000 will appear on the display.
3. Press MN again to make the last two digits agree
4. Press HR to make the first one or two digits agree
with your code.
with your code.
5. Press AM-FM after you have confirmed that the
code matches the secret code you have written down.
The display will show
SEC, indicating the radio is
now operable and secure.
If you enter the wrong code eight times, INOP will
appear on the display. You will have to wait an hour
with the ignition
on before you can try again. When you
try again, you will only have three chances to enter the
correct code before
INOP appears.
If you lose or forget your code, contact your retailer.
3-19 I
Page 168 of 348

Highway Hypnosis
Is there actually such a condition as “highway hypnosis”?
Or is it just plain falling asleep at the wheel? Call it
highway hypnosis, lack of awareness, or whatever.
There is something about
an easy stretch of road with
the same scenery, along with the hum
of the tires on the
road, the drone of the engine, and the rush of the wind
against the vehicle that can make you sleepy. Don’t let it
happen to you! If it does, your vehicle can leave the
road in
less than a secund, and you could crash and
be injured.
What can you do about highway hypnosis? First, be aware that it can happen.
Then here are some tips:
Make sure your vehicle is well ventilated, with a
comfortably cool interior.
Keep your eyes moving. Scan the road ahead and to
the sides. Check your rearview mirrors and your
instruments frequently.
If you get sleepy, pull off the road into a rest, service
or parking area and take a nap, get some exercise, or
both. For safety, treat drowsiness
on the highway as
an emergency.
Hill and Mountain Roads
Driving on steep hills or mountains is different from
driving in flat or rolling terrain.
4-22
Page 170 of 348
Winter Driving
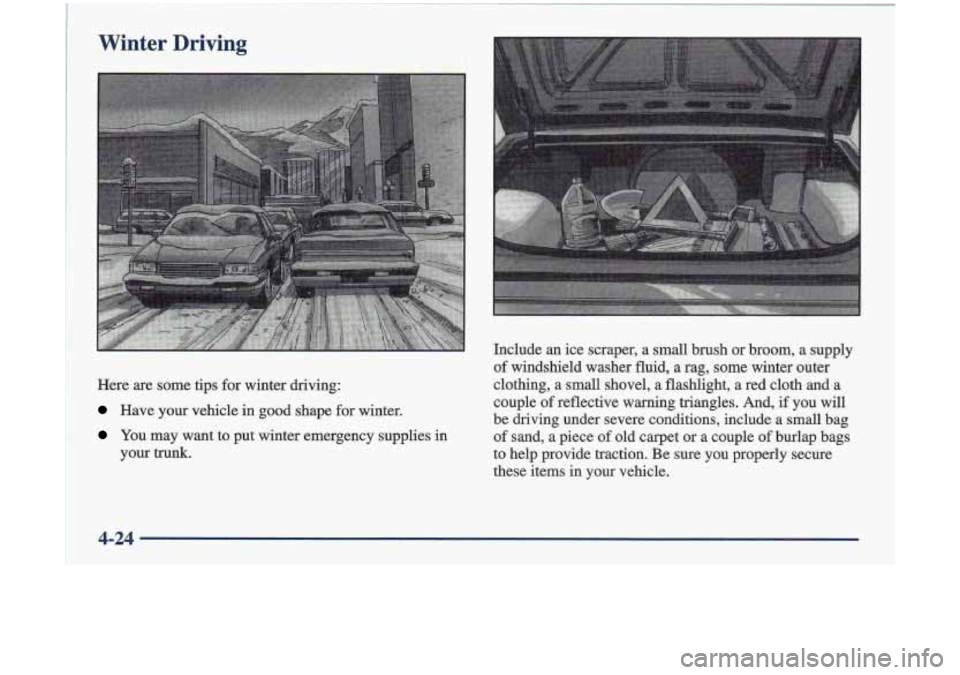
Here are some tips for winter driving:
Have your vehicle in good shape for winter.
You may want to put winter emergency supplies in
your
mnk.
Include an ice scraper, a small brush or broom, a supply
of windshield washer fluid, a rag, some winter outer
clothing, a small shovel, a flashlight, a red cloth
and a
couple
of reflective warning triangles. And, if you will
be driving under severe conditions, include a small bag
of sand, a piece of old carpet or a couple of burlap bags
to help provide traction. Be sure you properly secure
these items in your vehicle.
4-24
Page 175 of 348
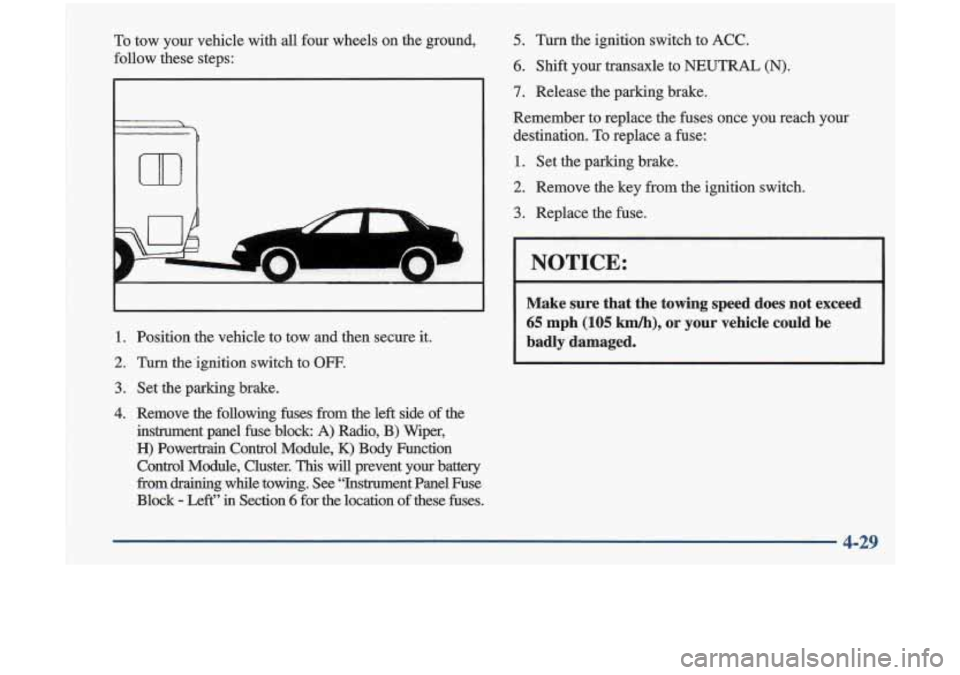
To tow your vehicle with all four wheels on the ground,
follow these steps:
m
A
1. Position the vehicle to tow and then secure it.
2. Turn &.ignition switch to OFF.
3. Set the parking brake.
4. Remove the following fuses from the left side of the
instrument panel fuse block A) Radio, B)
Wiper,
H) Powertrain Control Module, K) Body Function
Control Module, Cluster.
This will prevent your battery
from
draining while towing. See “Instrument Panel Fuse
Block
- Left” in Section 6 for the location of these fuses.
5. Turn the ignition switch to ACC.
6. Shift your transaxle to NEUTRAL (N).
7. Release the parking brake.
Remember to replace the fuses once you reach your
destination.
To replace a fuse:
1. Set the parhg brake.
2. Remove the key from the
3. Replace the fuse. ignition switch.
I NOTICE:
Make sure that the towing speed does not exceed
65 mph (105 km/h), or your vehicle could be
badly damaged.
4-29
Page 195 of 348

To help avoid injury to you or others:
--
A vehicle can fall from a car carrier if it isn't
e
e
e
0
e
e
Never let passengers ride in a vehicle that is
bemg towed.
Never tow faster than safe or posted,speeds.
Never tow with damaged parts not
fully secured.
Never get under your vehicle after
it has
been lifted by the tow truck.
Always secure the vehi'cle on each side with
separate safety chains when towing
it.
Never use J-hooks. Use T-hooks instead.
5-9
Page 216 of 348
NOTICE:
Improperly tightened wheel nuts can lead to
brake pulsation and rotor damage.
To avoid
expensive brake repairs, evenly tighten the wheel
nuts in the proper sequence and to the proper
torque specification.
I NOTICE:
Wheel covers won't fit on your compact spare. If
you try to put a wheel cover on your compact
spare, you could damage the cover or the spare.
Stori-7 the Flat Tire and Tools
Storing a jack, a tire or other equipment in the
passenger compartment
of the vehicle could
cause injury. In
a sudden stop or collision, loose
equipment could strike someone. Store all these
in the proper place.
Store the jack and wheel wrench in the foam tray. Place
the foam tray in the spare tire compartment. Store the flat tire in the compact spare tire compartment. Place the
tire in the compartment, then secure the adapter,
extension (aluminum wheels only) and wing bolt.
5-30
Page 253 of 348

p. !
4. Pull out the taillamp assembly to expose the backplate. 5. Carefully remove the backplate by p-g the four g. I
outer tabs and two inner tabs sideways away from r'
the backplate.
6. Gently wiggle the bulbs to remove them from the i
socket. Replace the bulb.
7. Reverse the steps to reassemble the rear lamp
assembly and mount to
the car. Y
Make sure' that all six tabs are securely fastened to "-
the backplate before reassembling the lamp. I
lamp so that the trunk lid doesn't contact it.
8. When securing the lamp back into place, align the
I
Page 262 of 348
Tire Chains
NOTICE: L
Use tire chains only where legal and only when
you must. Use only
SAE Class “S” type chains
that are the proper size for your tires. Install
them on the front tires and tighten them as
tightly as possible with the ends securely
fastened. Drive slowIy and foIlow the chain
manufacturer’s instructions.
If you can hear the
chains contacting your vehicle, stop and retighten
them,
If the contact continues, slow down until it
stops. Driving too fast
or spinning the wheels
with chains on will damage
your vehicle.
Appearance Care
Remember, cleaning products can be hazardous. Some
are toxic. Others can burst into flame if you strike a
match or get them on a hot
part of the vehicle. Some are
dangerous
if you breathe their fumes in a closed space.
When you use anything from a container to clean your
vehicle, be sure to follow the manufacturer’s warnings and instructions. And always open your doors
or
windows when you’re cleaning the inside.
Never use these to clean your vehicle:
0 Gasoline
Benzene
Naphtha
0 Carbon Tetrachloride
Acetone
e Paint Thinner
Turpentine
Lacquer Thinner
0 Nail Polish Remover
They can all be hazardous
-- some more than
others
-- and they can all damage your vehicle, too.
Don’t use any
of these unless this manual says you can. !
In many uses, these will damage your vehicle:
Alcohol
Laundry Soap
Bleach
Reducing Agents
6-42
Page 273 of 348

Fuses and Circuit Breakers
The wiring circuits in your vehicle are protected from
short circuits by a combination of fuses, circuit breakers
and fusible thermal
links in the wiring itself. This
greatly reduces the chance of fires caused by
electrical problems.
Look at the silver-colored band inside the fuse.
If the
band is broken or melted, replace the fuse. Be sure you
replace a bad fuse with a new one of the identical size
and rating.
If you ever have a problem on the road and don’t have a
spare- fuse, you can borrow one that has the same
amperage. Just pick a feature
of your vehicle that you
can get along without
-- like the radio or cigarette
lighter
-- and use its fuse, if it is the correct amperage.
Replace it as soon as you can. Also, there are spare fuses
in the left side instrument panel fuse block.
There are three fuse blocks in your vehicle: two
instmment panel fuse blocks and the engine
compartment fuse block.
Instrument Panel Fuse Block
The instrument panel fuse
blocks are located at each
end of the instrument panel.
To access the fuses, open
the fuse panel door by
To replace the door, insert the hooks at the front end
fiist, then push the door in to the instrument panel to
secure it.
Instrument Panel Fuse Block - Left
In the left instrument panel fuse block, there are spare
fuses and a fuse puller.
6-53