ECU Oldsmobile Cutlass Supreme 1995 Owner's Manuals
[x] Cancel search | Manufacturer: OLDSMOBILE, Model Year: 1995, Model line: Cutlass Supreme, Model: Oldsmobile Cutlass Supreme 1995Pages: 340, PDF Size: 16.68 MB
Page 36 of 340
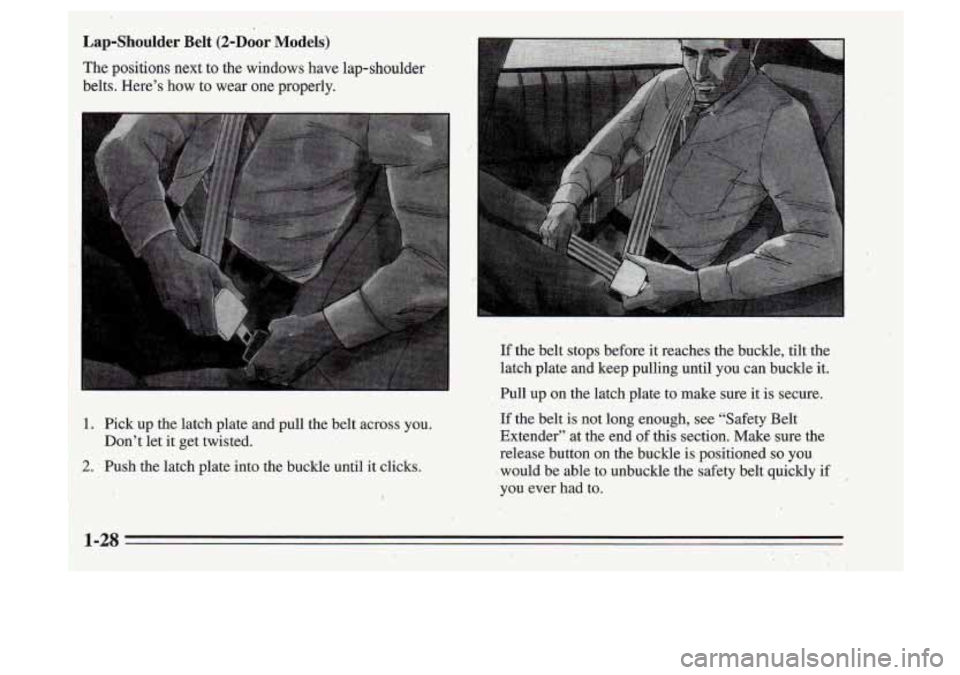
~ If .the belt stops before
it reaches the buckle, tilt the
.latch plate and keep pulling until you can buckle it.
Pull up on the latch plate to make sure it is secure.
--
,,
1. Pick up the latch plate and pull the belt across you.
2. Push the latch plate into the buckle until it clicks.
’ ’ Don’t let it get twisted.
I
If the belt is not long enough, see “Safety Belt
Extender” at the end
of this section. Make sure the
release button on the buckle is positioned
so you
‘would be able to unbuckle the safety belt quickly if
you ever had to.
Page 39 of 340
I Make sure the release button on the buckle is
positioned
so you would be able to unbuckle the
safety belt quickly
if you ever had to.
I
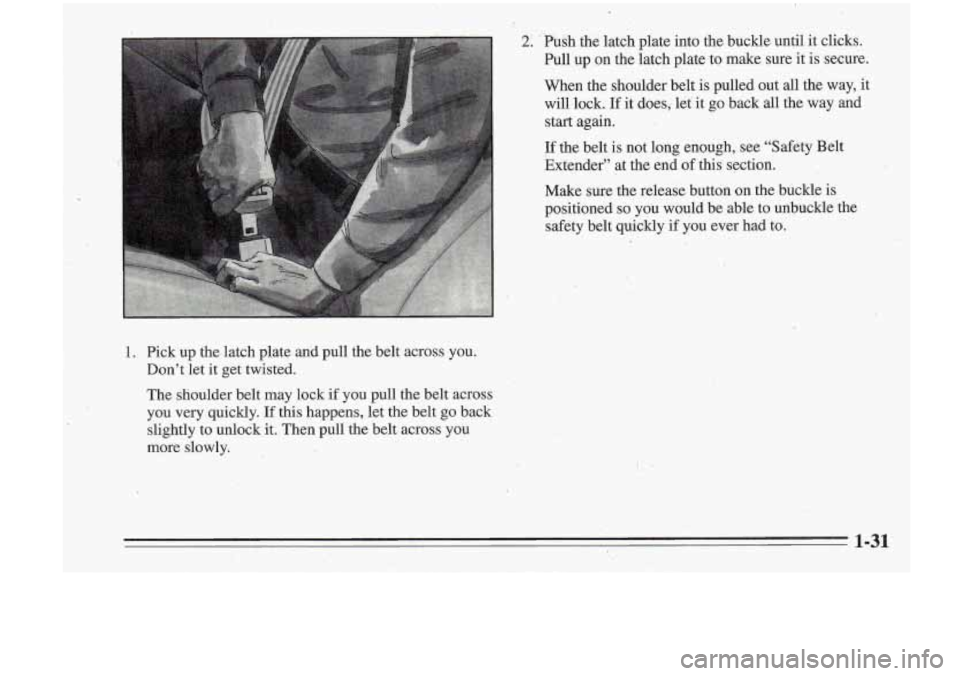
21 ’ ’Push the latch plate into the buckle until it clicks.
Pull up
on the latch plate to make sure it is secure.
When the shoulder belt is pulled out
all the way, it
will lock.
If it does; lit it go back all the way and
.start again.
If the belt is not long enough, see “Safety Belt
Extender” at the end
of this section.
I.
1. Pick up the latch plate and pull the belt across you.
Don’t let
it get twisted.
The shoulder belt may lock
if you pull the belt across
you very quickly.
If this happens, let the belt go back
slightly
to unlock it. Then pull the belt across you
more slowly.
Page 43 of 340
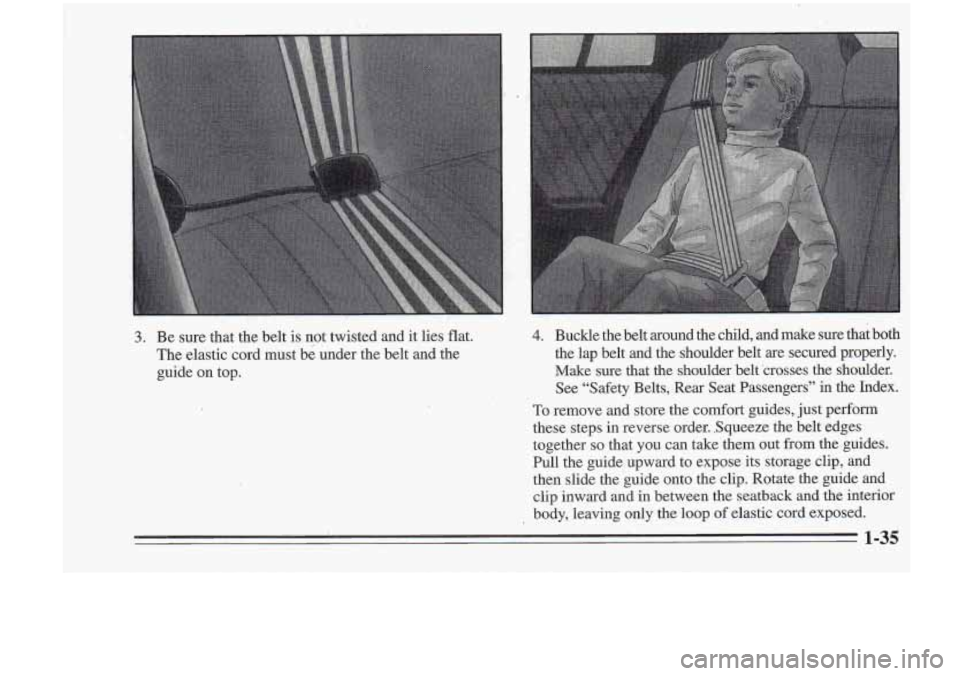
3.
,.
Be sure that the belt is not twisted and it lies flat. 4. Buckle the belt around the child, and make sure that both
The elastic cord must be under the belt and the the lap belt and
the shoulder belt are secured properly.
guide on top. Make sure that the shoulder belt
crosses the
shoulder:
See “Safety Belts, Rear Seat Passengers”
in the Index.
To-remove and store the comfort guides, just perform
these steps
in reverse order. Squeeze the belt edges ’
together so that you can t&e them out from the guides.
Pull the guide upward to expose its storage clip, and
then slide the guide onto the clip. Rotate the guide and
clip inward and in between the seatback and the
interioz‘
body, leaving only the loop of elastic cord exposed.
Page 46 of 340
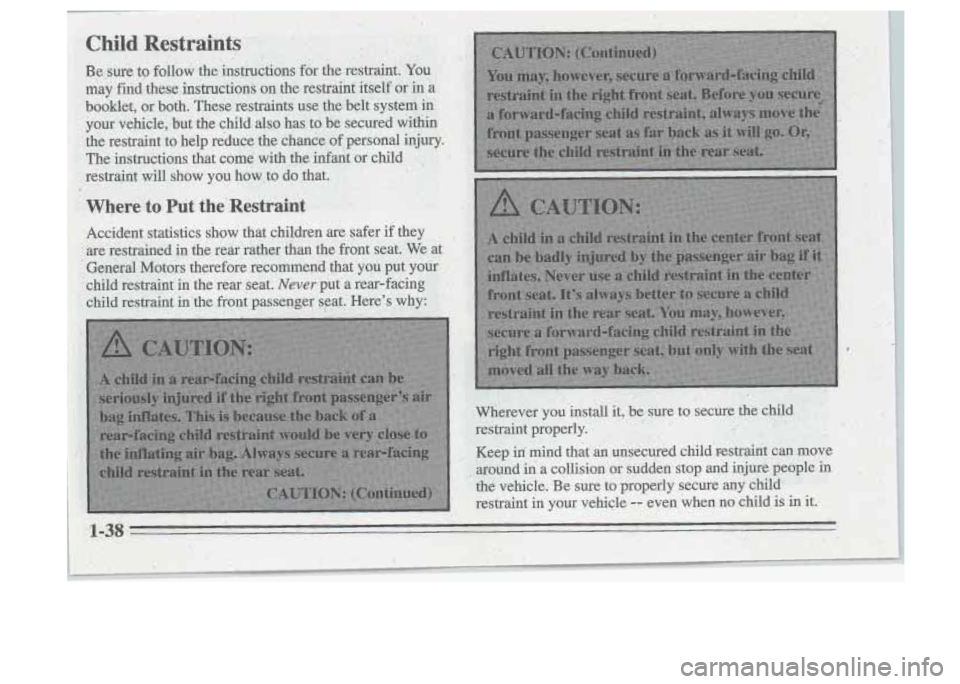
Be sure to follow the instructions for the restraint. YOU
~,:$i may find these instructions on the restraint itself or in -a
' . ..I. booklet, or both. These restraints use the belt system in
._. j;;j your vehicle, but the child also has to be secured within
, . ':@The #.e instructions that come' with the infant or child ,
, ' ?d
:$;the restraint to help reduce the chance of personal injury.
Yjrestraint'will
.& show you how-to do that. L.-3$& , I . , <:' .^
Where to Put the-Restraint
accident statistics show that children are safer if they
in the rear rather than the front seat. We at
Motors therefore recommend that you put your
child restraint in the rear seat. Never-put a rear-facing
child restraint in'the front passenger seat. Here's why:
1-38
.,
Wherever you install it, be sure to secure the child
restraint properly.
Keep
iri mind that .in unsecured child Festraint can move
, . around in a collision or sudden stop and injure people in
the vehicle. Be sure to properly secure any child
restraint in your vehicle
-- even when no child is in it.
Page 50 of 340
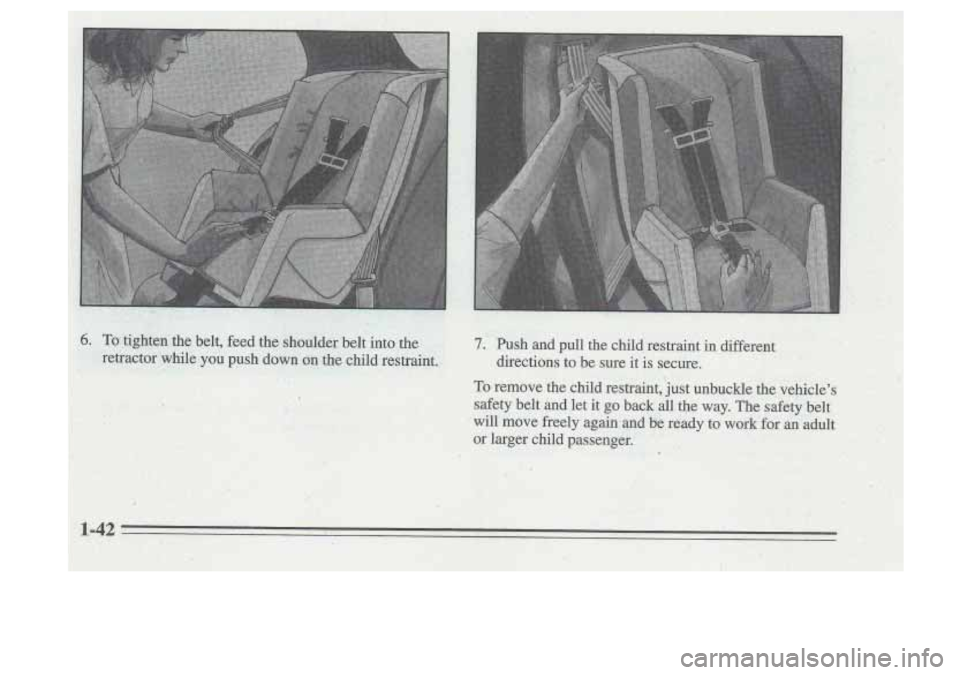
6. To tighten the belt, feed the shoulder belt into the
retractor while you push down on the child restraint. 7. Push and pull the child restraint in different
directions to be sure it is secure.
To remove the child restraint, just unbuckle the vehicle’s
safety belt and let it
go back all the way. The safety belt
will move freely again and
be ready to work for an adult
or larger child passenger.
1-42
Page 53 of 340
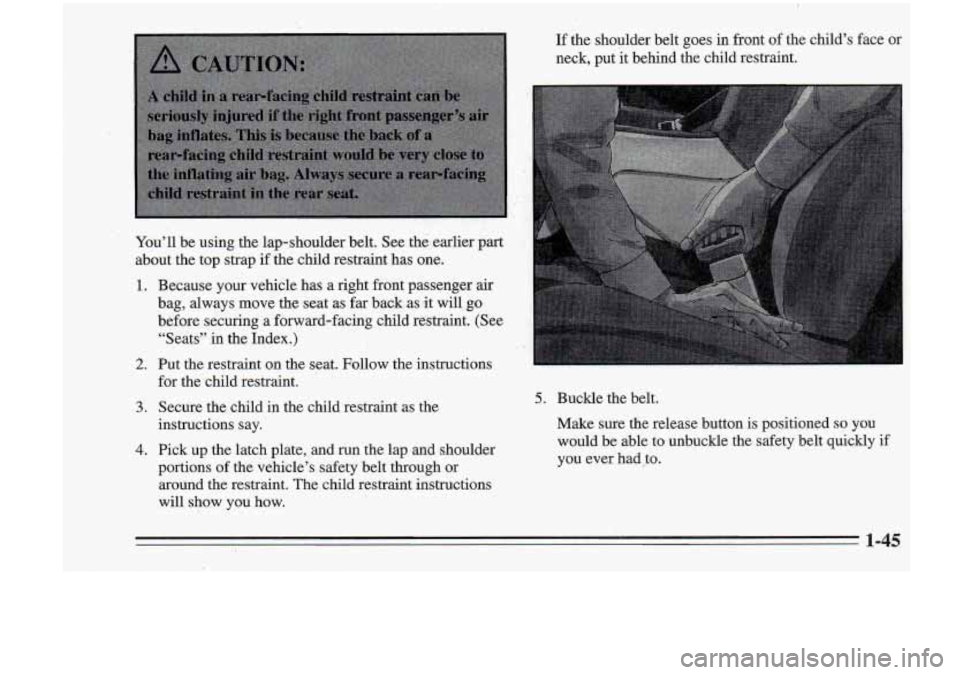
You’ll be using the lap-shoulder belt. See the earlier part 1,
about the top strap if the child restraint has one.
1. Because your vehicle has a right fibnt passenger air
bag, always move the seat as far back asit will go
before securing a forward-facing child restraint. (See
“Seats” in the Index.)
2. Put the restraint on the seat. Follow the instructions
for the child restraint.
3. Secure the child in the child restraint as the
instructions say.
If the^ shoulder belt goes in front of the child’s face or
neck, put it behind the child restraint.
4. Pick up the latch plate,:and run the lap and shoulder
portions of the vehic1e”s safety belt through or
around the restraint. The child restraint instructions
will show ypu how.
5. Buckle the belt.
Make sure the release button
is positioned so you
would be able to unbuckle the safety belt quickly
if
you ever: had *,to.
I 1-45
-.
Page 54 of 340
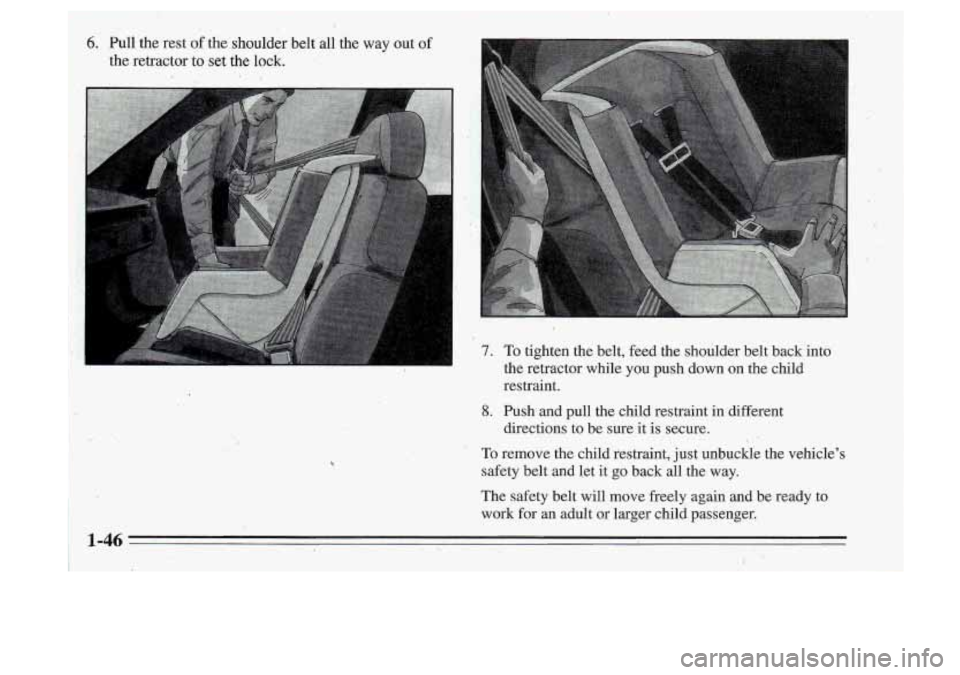
the retractor to set
I
I
the lock.
I
I ' 7. To tighten the belt, feed the shoulder belt back into
the retractor while
you pu.sh. down on the child
restraint.
8. Push.and pull the child restraint in different
To remove the child festraint, just unbuckle the vehicle's
safety belt and let it
go back all the way.
The safety belt will move freely again
and be ready to
work for an adult or larger child passenger. directions to be sure
it is secure.
Page 68 of 340
PASS-Key@II
r
J
Your vehicle is equipped
with the PASS-Key’II (Personalized Automotive
Security System) -theft
deterrent system.
PASS-Key’II is a passive
theft deterrent system. This
means you don’t have to
do anything different to
arm or disarm the system.
It works when you insert or remove the key from the
ignition. PASS-Key’II uses a resistor pellet in the
ignition key that matches a decoder in your vehicle.
When the PASS-Key@II system senses that someone
is
using the wrong key, it shuts down the vehicle’s starter an\
d
fuel systems. For about three minutes,
.the starter won’t
work and fuel won’t go to the engine. If someone tries
to
start your vehicle again Or uses another key during this
time, the vehicle will not
start. This discourages someone
from randomly trying different keys with different resistor
pellets in
an attempt to make a match.
The ignition key must be clean and dry before it’s
inserted in the ignition dr the- engine may not start. If the
engine does not start and the SECURITY light is on, the
key may be dirty or wet. Turn the ignition off. Clean and dry the key. Wait about three minutes and try
again. The security light may remain on during this
time. If the starter still won’t work, and the key appears
to be clean and dry, wait about three minutes and try
another ignition key. At this time, you may also want to
check the fuses (see “Fuses and Circuit Breakers” in the\
Index). If the starter won’t work with the other key, your
q vehicle needs service. If your vehicle does start, the first
ignition key may be faulty. See your Oldsmobile retailer
or a locksmith who can service the PASS-Key’II.
If you accidentally use a key that has a damaged or
missing resistor pellet, the starter‘won’t work, and the SECURITY light will come on. But you don’t have to
wait three minutes before trying another ignition key.
See your Oldsmobile retailer or a locksmith who can
service the PASS-Key@II
to have a new key made.
If you’re ever driving and the SECURITY light comes
on, you will be able to restart your engine if you turn it
off. Your PASS-Key’II system, however, is not
working properly and must be serviced by your
Oldsmobile retailer. Your vehicle is not protected by the
PASS-Key@II system.
If you lose or damage a PASS-Key@II ignition key, see
your Oldsmobile retailer or a, locksmith who can service
PASS-Key@II to have a new key made.
2-10
.. .
Page 96 of 340
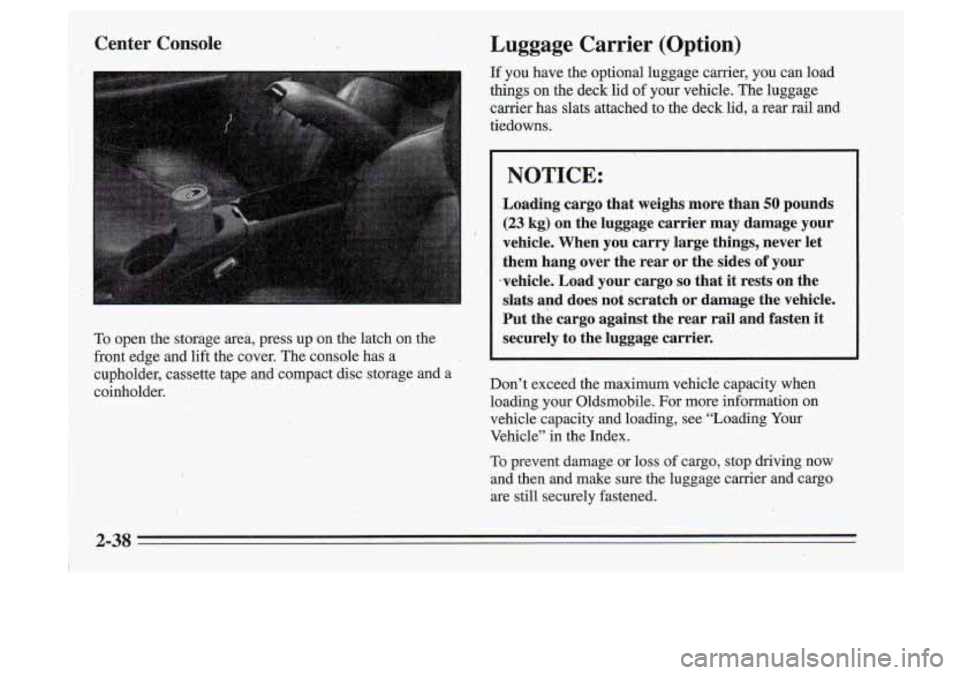
Center Console
To open the storage area, press up on the latch on the
Luggage Carrier (Option)
If you have the optional luggage carrier, you can load
things on the deck lid of your vehicle. The luggage
carrier has slats attached to the deck lid, a rear rail and
tiedowns.
I
I NOTICE:
Loading cargo that weighs more than 50 pounds
(23 kg) on the luggage carrier may damage your
vehicle. When you carry large things, never let
them hang over the rear or the sides
of your
*vehicle. Load your cargo
.so that it .rests on the
slats and does
not scratch or damage the vehicle.
Put. the cargo against the rear rail and fasten
it
securely to the luggage carrier.
front edge
and lift the cover. The console has a
cupholder, cassette tape and compact disc storage and a
coinholder. Don’t exceed the maximum vehicle capacity when
loading
your Oldsmobile.
For more information on
vehicle capacity and loading, see ‘‘Loading Your
Vehicle”
in the Index.
To prevent damage or loss of cargo, stop driving now
and then and make sure the luggage carrier and cargo
are still securely fastened.
2-38
Page 112 of 340
.(I
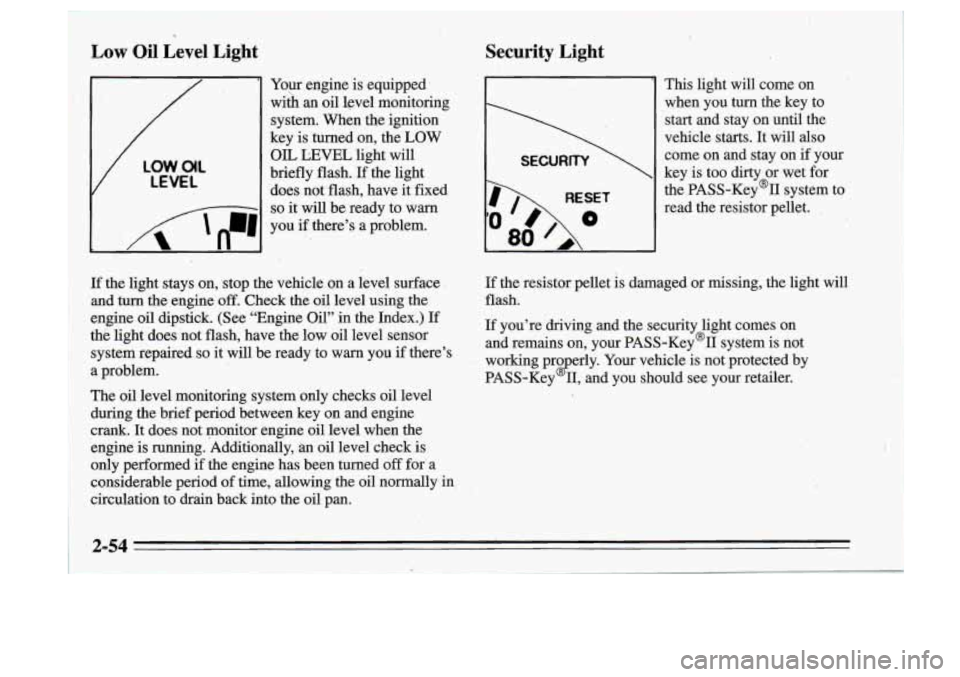
Low Oil Level Light
Your engine is equipped’
wiih
an oil level monitoring
system. When the ignition
key is turned on, the
LOW
V
LOW.O(L
LEVEL
OIL LEVEL light will
briefly flash.
If the light
‘does not flash, have it fixed
I 8 - -1 so it will be ready to warn
I n
I ‘A ‘n-1 , .
you if there’s a problem.
- ..
Security Light
I
RESET
80
This light will come on
when you
turn the key to
start and stay on until the
vehicle starts.
It will also
come on and stay on if your
key is too dirty or wet for
the PASS-Key% system to
read the resistor pellet.
,
If the light stays on,, stop the vehicle on a level surface
and turn the engine
off. Check the oil level using the
engine oil dipstick. (See “Engine Oil” in the Index.) If
thti light does not flash, have
the low oil level sensor
system repaired
so it will be ready to warn you if there’s
a problem.
The
oil level monitoring system only checks oil level
during the brief period between key on and engine
crank. It does not monitor engine oil level when the
engine is running. Additionally,
an oil level check.is
only performed if the engine has been turned
off for- a
considerable period
of time, allowing the oil normally in
circulation to drkn back into the oil pan.
If the resistor pellet is damaged or missing, the light will
flash.
If you’re driving and the security light comes on
and remains on, your PASS-Key’II system is not
working pro erly. Your vehicle is not protected by
PASS-Key
2 11, and you should see your retailer.
2-54
t