brake Oldsmobile Cutlass Supreme 1995 Owner's Manuals
[x] Cancel search | Manufacturer: OLDSMOBILE, Model Year: 1995, Model line: Cutlass Supreme, Model: Oldsmobile Cutlass Supreme 1995Pages: 340, PDF Size: 16.68 MB
Page 7 of 340
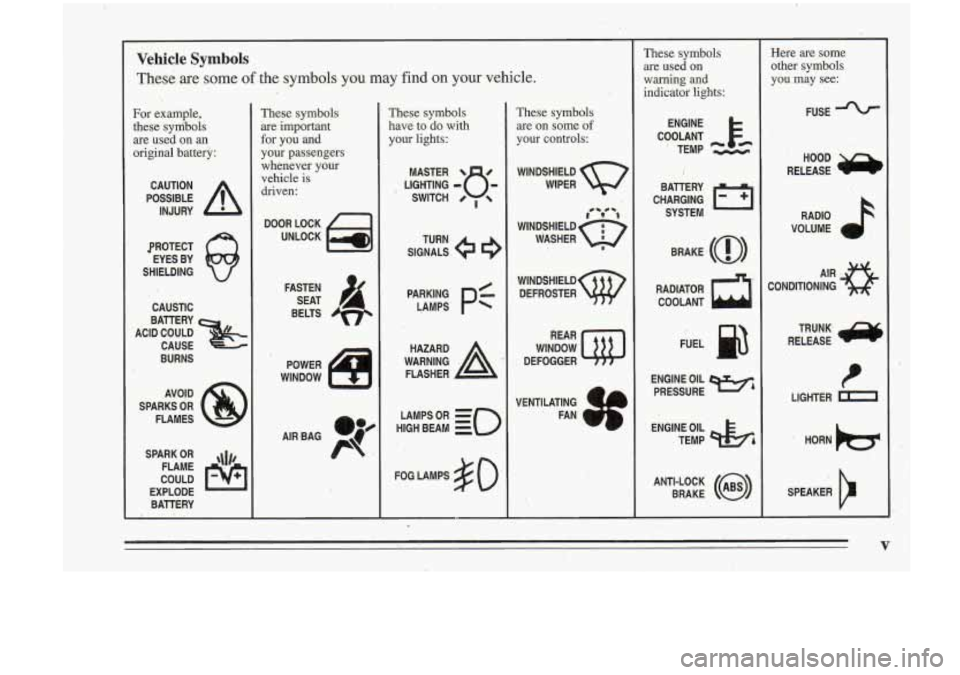
Vehicle Symbols
These are some of the symbols you may find on your vehicle.
3.
For example,
these sym%ols
are used on an
original battery:
POSSIBLE A
CAUTION
INJURY
PROTECT EYES BY
SHIELDING
CAUSTIC
BURNS
SPARKS
OR
FLAMES
SPARK
OR
FLAME ,I#$,
COULD
EXPLODE
BATTERY
These symbols are important
for you and
your passengers
whenever your vehicle is
driven:
POWER
WINDOW n-
These symbols
have to do with your lights:
SIGNALS e
TURN
pA;:z
pf
WARNING A
HAZARD
FLASHER
HIGH
LAMPSoR BEAM = =o
FOG LAMPS 3 0 '
These symbols
are on some
of
your controls:
WINDSHIELD
WIPER
'r' -4
WINDSHIELD 6$
WASHER I
WINDSHIELD
DEFROSTER
REAR
WINDOW
DEFOGGER
VENTILATING
b
. FAN
These symbols are used
on
warning and
indicator lights:
CHARGING ,I-1
BAllERY
SYSTEM
BRAKE
(a)
RADIATOR COOLANT
a
ENGINE OIL
PRESSURE Wh
. TEMP OIL
ANTI-LOCK
(@)
BRAKE
Here are some
other symbols
you may see:
FUSE
RADIO
k
VOLUME a
CONDITIONING AIR 43
LIGHTER k
SPEAKER
b
V
Page 69 of 340
New Vehicle “Break-In” Ignition Switch
NOTICE:
Your *modern Oldsmobile doesn’t need an
elaborate “break-in.” But it
will perform better
in the long run
if you follow these guidelines:
0 Don’t drive at any one speed -- fast or
slow 0- for the first 500 miles (804 km).
Don’t make full-throttle starts.
0 Avoid making hard stops for the fist
200 miles (322 km) or so. During this time
’ your new brake linings aren’t yet broken
in. Hard stops with new linings can mean
premature wear and earlier replacement.
Follow this “breaking-in” guideline every
time you get new brake linings.
0 Don’t tow a trailer during “break-in.” See
“Towing
a Trailer” in the Index for more
information.
..
C
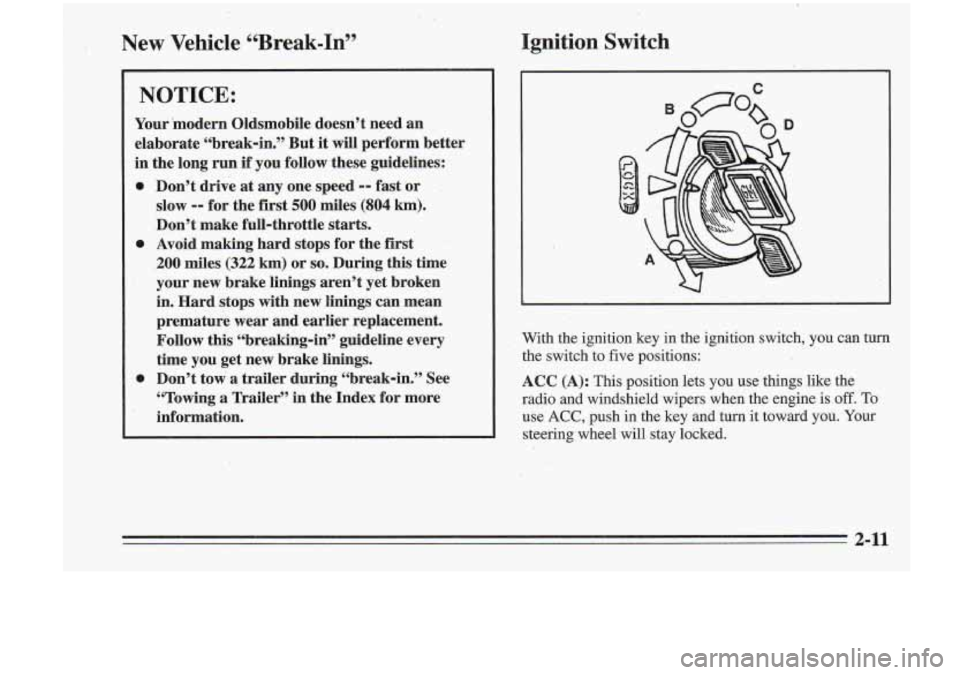
With the ignition key in the ignition switch, you can turn the switch to five positions:
ACC (A): This position lets you use things like the
radio and windshield wipers when the engine is off. To
use
ACC, push in the key and turn it toward you. Your
steering wheel will stay locked.
3-1 I
Page 74 of 340
~
~ ~~ ~~~ ~. - ~__~
I!” sure the shift lever
is fully into PARK (P) range
before starting the engine. Your Oldsmobile has a
!brake-transaxle shift interlock. You must fully apply
your regular brakes before you can shift from PARK (P)
Bwhen the ignition is in
RUN. If you cannot shift out of
PARK.(P), ease pressure on the shift lever by pushing
it all the way into PARK (P) while keeping the brake
pedal pushed down. Release the shift lever button
if you
have a console shift. Then move the shift lever out
of
PARK (P), being sure to press the shift lever button if
you have a console shift. See “Shifting Out of
PARK (P)” in the Index.
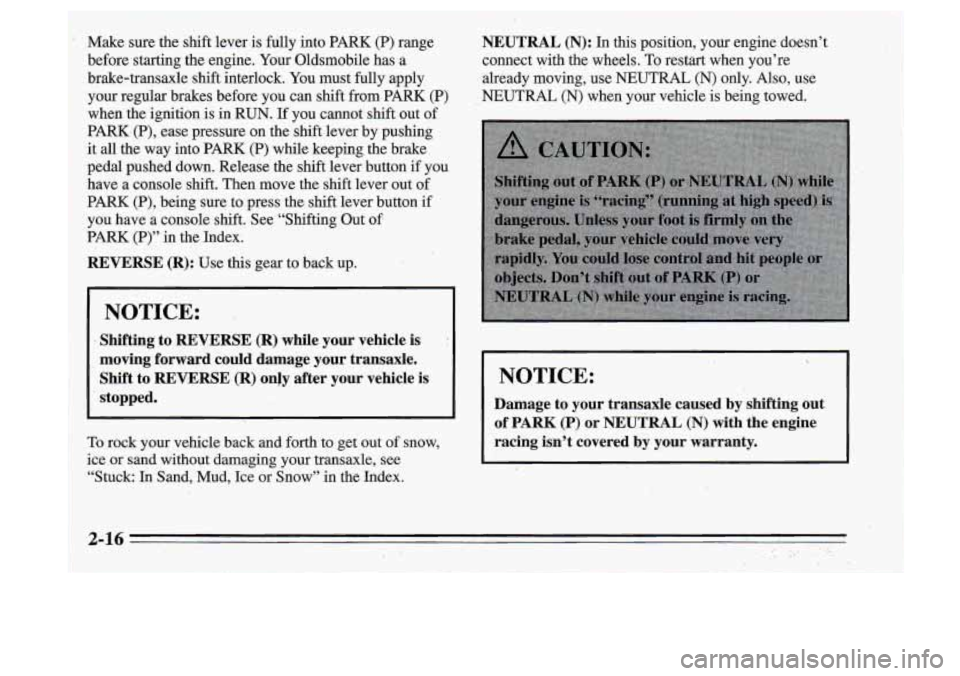
REVERSE (R): Use this gear to back up.
NOTICE:
Shifting’ to REVERSE (R) while your vehicle is :
moving forward could damage your transaxle.
Shift to REVERSE (R) only after your vehicle
is
stopped.
To rock your vehicle back and forth to get out of snow,
ice or sand without damaging your transaxle, see
“Stuck: In Sand, Mud, Ice or Snow” in the Index.
~ ~~~~
~~~ .
NEUTRAL (N): In this position, your engine doesn’t
connect with the wheels.
To restart when you’re
already moving, use NEUTRAL
(N) only. Also, use
NEUTRAL
(N) when your vehicle is being towed.
I NOTICE:
Damage to your transaxle caused by shifting out
of
PARK (P) or NEUTRAL (N) with the engine
racing isn’t covered by your warranty.
Page 75 of 340
DRIVE (D): This position is for normal driving. It is the
Overdrive position. If you need more power for passing,
and you’re:
- Going less than 35 mph (56 M), push your
accelerator pedal about halfway down.
- Going about 35 mph (56 kmh) or more, push the
accelerator pedal all the way down.
You’ll shift down to the next gear and have more
power.
NOTICE:
If your vehicle seems tb start up rather slowly, or
if it seems not to
shift gears as you go faster,
something
may be wrong with a transaxle system
sensor.
If you drive very far that way, your
vehicle can be damaged.
So, if this happens, have
your vehicle serviced right away. Until then, you
can use SECOND
(2) when you are driving less
than
35 mph (56 km/h) and DRIVE (D) for
higher speeds. THIRD
(3): THIRD (3) is like DRIVE (D),
but you
never
go into Overdrive.
Here are some times you might choose THIRD
(3)
instead of DRIVE (D):
- When driving on hilly, winding roads.
- When towing a trailer, so there is less shifting
- When going down a steep hill.
SECOND
(2): This position gives you more power but
lower fuel economy. You can use SECOND
(2) on hills.
It can help control your speed
as you go down steep
mountain roads, but then you would also want to use
between gears.
lr
brakes off and on.
NOTICE:
Don’t drive in SECOND (2) for more than
5 miles (8 km), or at speeds over 55 mph
(88 km/h), or you can damage your transaxle. Use
DRIVE
@) or THIRD (3) as much aspossible.
Don’t
shift into SECOND (2) unless you are going
slower than
65 mph (105 km/h), or you can
damage your engine.
Page 76 of 340
., ‘
FIRST (1): This position gives you even more power - .
(but lower fuel economy) than SECOND (2). You can
use it on very steep hills,
or in deep. snow or mud. If the
shift lever is put in FIRST (l), the transaxle won’t shift
into first gear until the vehicle is going slowly enough.
..
NOTICE:
If your front wheels can’t rotate, don’t try to
drive. This might ,happen if you were stuck in
very deep sand or mud- or were’up against
a solid
object. Youxould damage your ,transaxle.
Also,
if you stop when going uphill, don’t hold.
your vehicle there with only the accelerator
pedal. This could overheat and damage the
transaxle. Use your brakes.or
shift into PARK (P)
to hold your vehicle in position on a hill.
Parking Brake
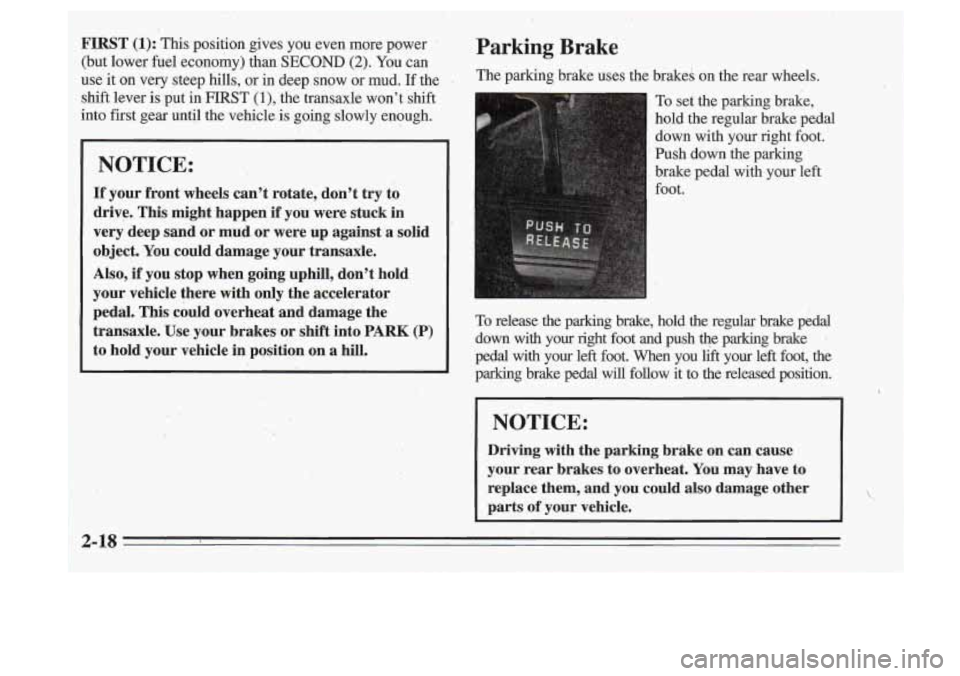
The parking brake uses the brakes on the rear wheels.
I To set the parking brake,
hold the regular brake pedal
down with your right foot.
Push down the parking
brake pedal with your left
foot.
To release the parking brake, hold the regular brake pedal
clown with your right foot and push
the parking brake
pd with your left foot. men you lift your left foot, the
parking brake pedal will follow it
to the released position.
NOTICE:
Driving with the parking brake on can cause
your rear brakes
to overheat. You may have to
replace them, and you could also damage ‘other
parts of your vehicle.
Page 77 of 340
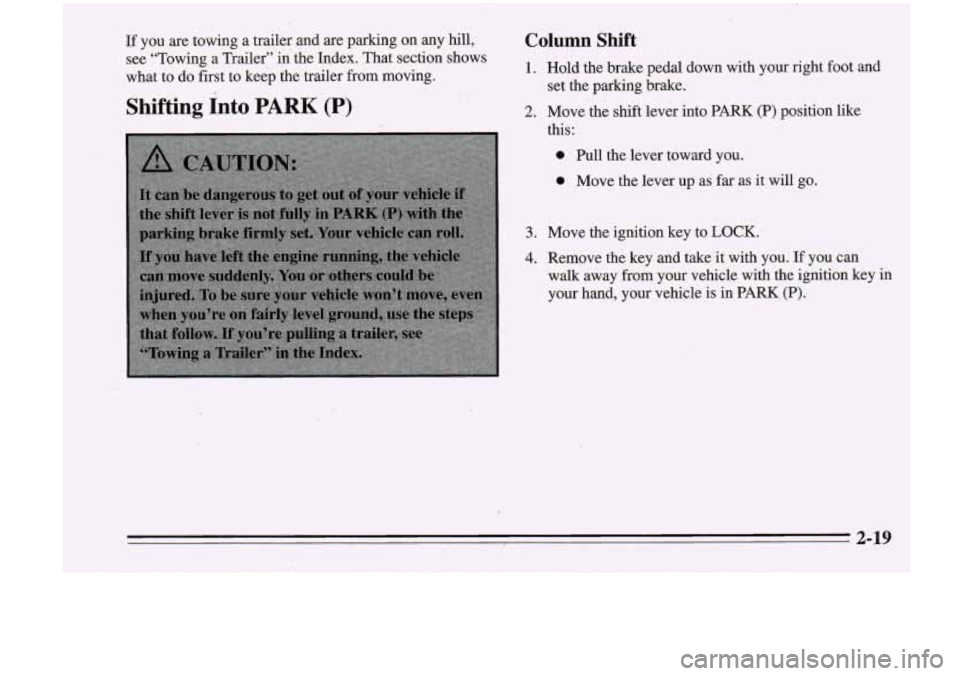
If you are towing a trailer and are parking on any hill, Column Shift
see “Towing a Trailer” in’ the Index. That section shows
what to do first to keep the trailer from moving. 1. Hold’the brake pedal down with your right foot and
set the parking brake.
Shifting Into PARK (P) 2. Move the shift lever into PARK (P) position like
2-19
c
Page 79 of 340
Torque Lock
If you are parking on a hill and you don’t shift your
transaxle into PARK (P) properly, the weight of the
vehicle may put too much force on the parking pawl
in
the transaxle. You may find it difficult to pull the shift
lever out of PARK
(P). This is called “torque lock.” To
prevent torque lock, set the parking brake and then shift
into PARK (P) properly before you 1,eave the driver’s
seat.
To fmd out how, see “Shifting Into PARK (P)” in
the Index.
When you
are ready to drive, move the shift lever out of
PARK (P)
before you release the parking brake.
Shifting Out of PARK (P)
If “torque lock” does occur, you may need to. have ,
another vehicle push yours a little uphill to take some of
the pressdre from the transaxle,
so you can pull the shift .
lever out of PARK (P). Your
Oldsmobile has
a brake-transaxle shift. interlock.
You must fully apply your regular brakes before you can
shift from PARK (P) when the ignition is in RUN. See
“Automatic Transaxle”
in the Index.
If you cannot shift out of
PARK (P), ease pressure on
the shift lever by pushing it all the way into PARK (P)
whil‘e keeping the brake pedal pushed down. Release the
shift lever button if you have a console shift. Then move
the shift lever out
of PARK (P), being sure to press the
shift lever button’
if you have a console shift.
If you ever hold the brake pedal down but still can’t
shift out of PARK (P), try this:
1. Turn the key to OFF.
2. Apply and hold the brake until the end of step 4.
3. Shift to NEUTRAL (N).
4. Start the vehicle and shift to the drive gear you want.
5. Have the vehicle fixed as soon as you can.
2-21
Page 87 of 340
To Set Cruise Control To Resume a Set Speed
1. Move the cruise control switch to ON. Suppose you set your cruise control at a desired speed
and then you apply the brake. This,
of course, shuts off
the cruise control. But you don’t need to reset it.
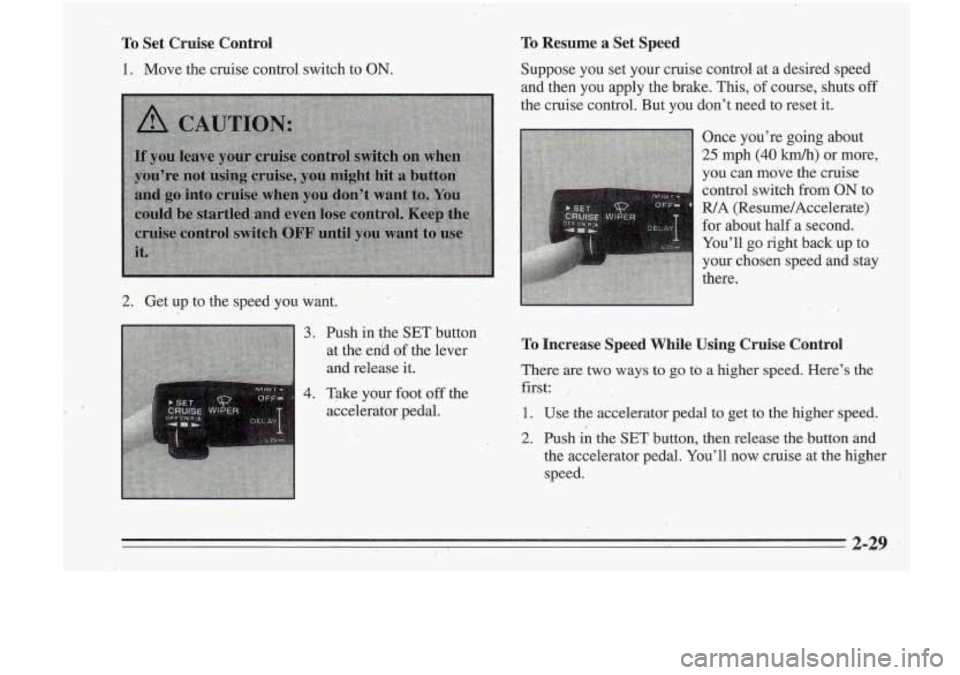
Once you’re going about
25 mph (40 km/h) or more,
you can move the cruise control switch from
ON to
R/A (Resume/Accelerate)
for about half a second.
You’ll go right back up to
your chosen speed and stay
there.
2. Get up to the speed you want.
3.
4.
Push in the SET,button
at the
enid of the lever
and release it.
Take your foot off the
accelerator pedal. To Increase Speed While Using Cruise Control
There are two ways to go to a higher speed. Here’s the
first:
,.
1. Use the accelerator pedal to get to the higher speed.
2. Push in the SET button, then release the.button and
.the accelerator pedal. You’ll now cruise at the higher
speed.
2-29
Page 88 of 340
..
Here's ,the second way to go to a higher speed:
0
0
The accelerate feature will only work after you set the
the cruise controhpeed by pushing the
SET button.
To Reduce Speed While Using Cruise Control
There are two ways to reduce, your speed while using
cruise control:
0 Push in the SET button until you reach the lower.
Move the cruise switch
from
ON to R/A. Hold it
there until you get up to-the speed you want, and
then release the switch.
To increase your speed in very small amounts, move
the switch to
R/A for less than half a second and then
release it. Each time you do
this, your vehicle will go
1 mph (.1.6 km/h) faster.
speed you want, then release it.
0 To slow down in very small amounts, push the SET
button
for less than half a second. Each time you do.
this, you'll go
1 mph (1.6 km/h) slower.
Passing Another Vehicle While Using Cruise Control
Use the accelerator pedal to increase your speed. men
you take your foot
off the pedal, your vehicle will slow
down to the cruise control speed- you set earlier.
Using Cruise Control on Hills
How well your cruise control will work on hills depends
upon your speed, load and the steepness of the hills.
When going up steep hills, you may have
to step on the
accelerator pedal to maintain your speed. When going
downhill, you may have to brake or shift to a lower gear
to keep your speed down. 'Of course, applying the brake
takes you out of cruise control. Many drivers
find this to
be too much trouble and don't use cruise control on
steep hills.
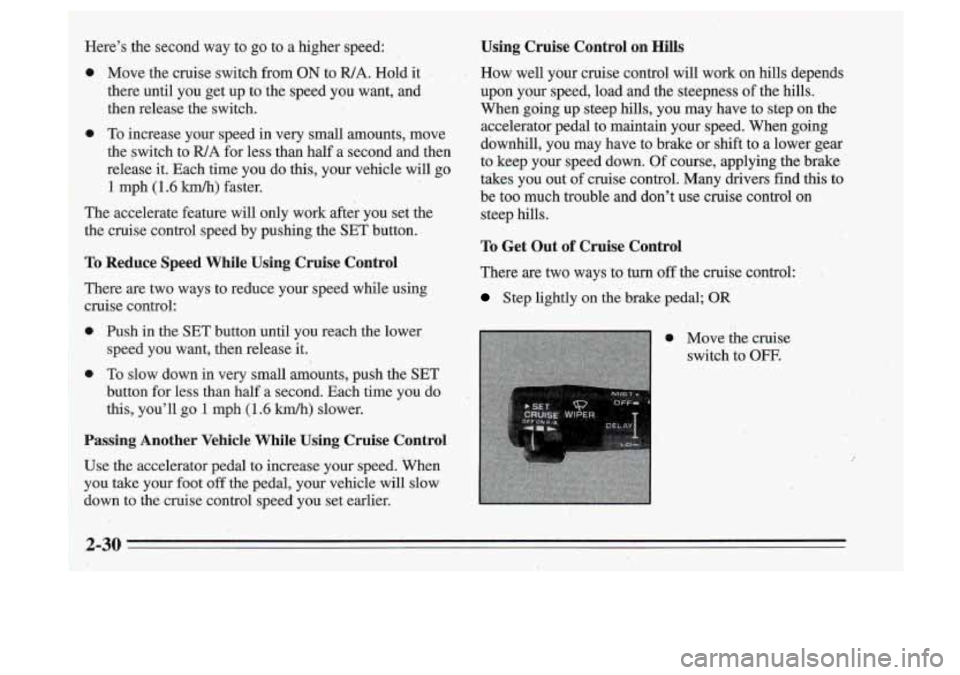
To Get Out of Cruise Control
There are two ways 'to turn off the cruise control: - :x.
Step lightly on the brake pedal; OR
Page 90 of 340
Instrument Panel Lamps
You can brighten or dim the instrument panel lamps by
moving the dial. If you turn the dial all the way to INT,
your courtesy or interior lamps will come on.
Daytime Running Lamps (Canada Only)
Daytime Running Lamps (DRL) can make it easier for
others to see the front of your vehicle during the day.
DRL can be helpful in many different driving
conditions, but they can be especially helpful in the
short periods after dawn and before sunset.
A light sensor makes the DRL work, so be sure the light
sensor hole on top
of the instrument panel isn't covered. The
DRL system will make your low-beam headlamps
come on
at reduced brightness in daylight when:
0 The ignition is on,
0 The headlamp switch is off, and
0 The parking brake is released.
When the
DRL are on, only your low-beam headlamps
will be on. The taillamps, sidemarker and,other lamps
won't
be on. Your instrument panel won't be lit up
either.
When it's dark enough outside, your low-beam
headlamps will change
fo full brightness. The other
lamps that come on with your headlamps will also come
on.
When it's bright enough outside, the regular lamps will
.go
off, and your low-beam headlamps change to the
reduced brightness of
DRL.
; To idle your vehicle with the DRL off, set the parking
brake while the ignition is in
OFF or LOCK. Then start
your vehicle. The
DRL will stay off until you release the
parking brake.
As with any vehicle, you should turn on the regular
headlamp system any time you need it.
. 3 13