brake OLDSMOBILE SILHOUETTE 1998 Service Manual
[x] Cancel search | Manufacturer: OLDSMOBILE, Model Year: 1998, Model line: SILHOUETTE, Model: OLDSMOBILE SILHOUETTE 1998Pages: 444, PDF Size: 23.2 MB
Page 298 of 444

If a Tire Goes Flat Changing a Flat Tire
It’s unusual for a tire to “blow out” while you’re driving,
especially
if you maintain your tires properly. If air goes
out of a tire, it’s much more likely to leak out slowly.
But if you should ever have a “blowout,” here are a few
tips about what to expect and what to do:
If a front tire fails, the flat tire will create a drag that
pulls the vehicle toward that side. Take your foot
off the
accelerator pedal and grip the steering wheel
firmly.
Steer to maintain lane position, and then gently brake to
a stop well out of the traffic lane.
A rear blowout, particularly on a curve, acts much like a
skid and may require the same correction you’d use in a
skid. In any rear blowout, remove your foot from the
accelerator pedal. Get the vehicle under control by
steering the way you want the vehicle
to go. It may be
very bumpy and noisy, but you can still steer. Gently
brake to a stop
-- well off the road if possible.
If a tire goes flat, the next part shows how to use your
jacking equipment to change a flat tire safely.
Air Inflator (Option)
Your vehicle may have an air inflator used to bring tires
up to the proper pressure. See “Accessory Inflator
System” in the Index for more details. If
a tire goes
flat, avoid further tire and wheel damage
by driving slowly to a level place.
Turn on your hazard
warning flashers.
/:1 CAUTION-
Changing a tire can cause an injury. The vehicle
can slip off the jack and roll over you
or other
people. You and they could be badly injured.
Find
a level place to change your tire. To help
prevent the vehicle from moving:
1. Set the parking brake firmly.
2. Put the shift lever in PARK (P).
3. lhrn off the engine.
To be even more certain the vehicle won’t move,
you can put blocks at the front and rear of the
tire farthest away from the one being changed.
That would be the tire on the other side of the
vehicle,
at the opposite end.
ProCarManuals.com
Page 307 of 444

I
NOTICE:
Improperly tightened wheel nuts can lead to
brake pulsation and rotor damage.
To avoid
expensive brake repairs, evenly tighten the wheel
nuts in the proper sequence and
to the proper
torque specification.
Don’t try to put a wheel cover on the compact spare tire. It
won’t fit. Store the wheel cover securely
in the rear of the
vehicle
until you have the flat tire repaired or replaced.
I NOTICE:
Wheel covers won’t fit on your compact spare. If
you try to put a wheel cover on your compact
spare, you could damage the cover or the spare.
Storing a Flat or Spare Tire and Tools
Storing a jack, a tire or other equipment in the
passenger compartment
of the vehicle could
cause injury.
In a sudden stop or collision, loose
equipment could strike someone. Store all these
in the proper place.
Lay the tire near the rear of the vehicle with the valve
stem down. Slide the cable retainer through the center
of
the wheel and start to raise the tire. When the tire is
almost in the stored position, turn the tire
so the valve is
towards the rear
of the vehicle. This will help when you
check and maintain tire pressure in the spare.
Keep raising the wheel until you hear the hoist
mechanism click twice. This means the wheel is firmly
stored against the underside
of the vehicle. Push
against the wheel to be sure it does not move and is
stored securely.
5-33
ProCarManuals.com
Page 311 of 444

Section 6 Service and Appearance Care
Here you will find information about the care of your vehicle. This section begins with service and fuel information,
and then it shows how to check important fluid and lubricant levels. There
is also technical information about your
vehicle, and a part devoted to its appearance care.
6-2 6-3
6-7
6-8
6-1
1
6-15
6- 16
6-18
6-2 1
6-24
6-26
6-27
6-30
6-3 1
6-38 Service
Fuel
Filling a Portable Fuel Container
Checking Things Under the Hood
Engine Oil
Air Cleaner
Passenger Compartment Air Filter
Replacement
Automatic Transaxle Fluid
Engine Coolant Radiator Pressure Cap
Windshield Washer Fluid
Brakes
Battery
Bulb Replacement
Windshield Wiper Blade Replacement 6-39
6-47
6-47
6-50
6-53
6-53
6-54
6-55
6-56
6-64
6-64
6-64
6-65
6-65
6-65 Tires
Appearance Care
Cleaning the Inside
of Your Vehicle
Cleaning the Outside of Your Vehicle
Underbody Maintenance
Chemical Paint Spotting
Appearance Care Materials Chart
Vehicle Identification Number (VIN)
Electrical System
Replacement Bulbs Capacities and Specifications
Engine Specifications
Vehicle Dimensions
Normal Maintenance Replacement Parts
Air Conditioning Refrigerants
6-1
ProCarManuals.com
Page 318 of 444

Checking Things Under the Hood
I
A CAUTION: I
An electric fan under the hood can start up and
injure you even when the engine is not running.
Keep hands, clothing and tools away from any
underhood electric fan.
I
L
A CAUTION:
I
Things that burn can get on hot engine parts and
start a fire. These include liquids like gasoline,
oil, coolant, brake fluid, windshield washer and
other fluids, and plastic or rubber. You or others
could be burned. Be careful not to drop or spill
things that will burn onto a hot engine.
Hood Release
To open the hood, first pull the hood release handle
inside the vehicle.
6-8
ProCarManuals.com
Page 320 of 444

When you lift the hood, you'll see these items:
T
A.
B.
C. Underhood Fuse and
D.
Relay Center E.
Remote Positive (+) Terminal E
Windshield
Washer G.
Fluid Reservoir Radiator
Pressure Cap
H. Transaxle Fluid Dipstick
Power Steering Fluid Reservoir
I. Brake Master Cylinder
Engine
Oil Fill Location J. Air Cleaner
Engine Oil Dipstick
IS. Engine Coolant Reservoir
6-10
ProCarManuals.com
Page 329 of 444

Wait at least 30 minutes before checking the transaxle
fluid level if
you have been driving:
When outside temperatures are above 90°F (32°C).
At high speed for quite a while.
In heavy traffic -- especially in hot weather.
While pulling a trailer.
To get the right reading, the fluid should be at normal
operating temperature, which is
180°F to 200°F
(82°C to 93°C).
Get the vehicle warmed up by driving about 15 miles
(24 km) when outside temperatures are above
50°F (10°C). If it's colder than 50°F (lO°C), you
may have to drive longer.
Checking the Fluid Level
Park your vehicle on a level place. Keep the
engine running.
With the parking brake applied, place the shift lever
in PARK (P).
With your foot on the brake pedal, move the shift
lever through each gear range, pausing for about
three seconds in each range. Then, position the shift
lever in
PARK (P).
Let the engine run at idle for three to five minutes.
Then, without shutting off the engine, follow
these steps:
1. The dipstick is located toward the back
of the engine
compartment, next to the brake master cylinder. The
dipstick handle has
a bright red loop design for easy
identification. Pull
out the dipstick and wipe it with a
clean rag or paper towel.
2. Push it back in all the way, wait three seconds and
then pull
it back out again.
6-19
ProCarManuals.com
Page 337 of 444

Brakes
Brake Fluid
Your brake master cylinder reservoir is here. It is filled
with
DOT-3 brake iluid. There are
only two reasons why the brake fluid level
in the
reservoir might go down. The first is that the brake fluid
goes down to an acceptable level during normal brake
lining wear. When new linings are put
in, the fluid level
goes back up. The other reason is that fluid is leaking out
of
the brake system. If it is, you should have your brake
system fixed, since a leak means that sooner
or later your
brakes won’t work well, or won’t work at
all.
So, it isn’t a good idea to “top off’ your brake fluid.
Adding brake fluid won’t correct a leak.
If you add fluid
when your linings are worn, then you’ll have too much
fluid when
you get new brake linings. You should add
(or remove) brake fluid, as necessary, only when work is
done on
the brake hydraulic system.
If you have too much brake fluid, it can spill on
the engine. The fluid will burn if the engine
is hot
enough. You or others could be burned, and your
vehicle could be damaged. Add brake fluid only
when work is done on the brake hydraulic system.
6-27
ProCarManuals.com
Page 338 of 444
BRAKE
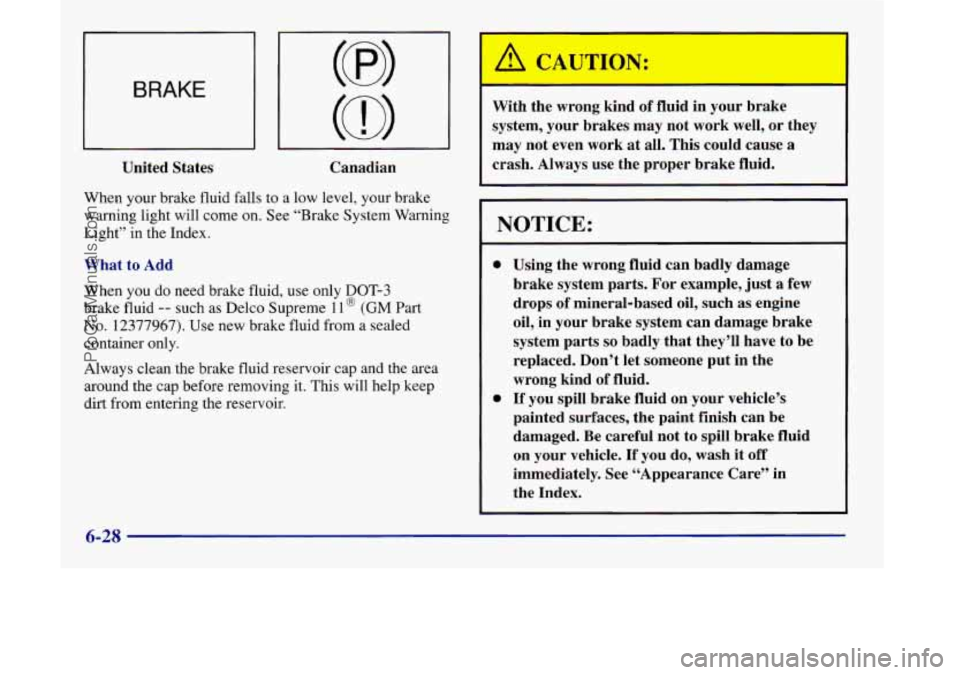
United States Canadian
When your brake fluid falls to a low level, your brake
warning light will come on. See “Brake System Warning
Light” in the Index.
What to Add
When
you do need brake fluid, use only DOT-3
brake fluid -- such as Delco Supreme 1 1 @ (GM Part
No. 12377967). Use new brake fluid from a sealed
container only.
Always clean the brake fluid reservoir cap and the area
around the cap before removing it. This will help keep
dirt from entering the reservoir. With the wrong kind
of fluid in your brake
system, your brakes may not work well, or they
may not even work at all. This could cause
a
crash. “1 Always use the proper brake fluid.
NOTICE:
0
0
Using the wrong fluid can badly damage
brake system parts. For example, just
a few
drops of mineral-based oil, such as engine
oil, in your brake system can damage brake
system parts
so badly that they’ll have to be
replaced. Don’t let someone put in the
wrong kind of fluid.
If you spill brake fluid on your vehicle’s
painted surfaces, the paint finish can be
damaged. Be careful not to spill brake fluid
on your vehicle.
If you do, wash it off
immediately. See “Appearance Care” in
the Index.
6-28
ProCarManuals.com
Page 339 of 444
Brake Wear
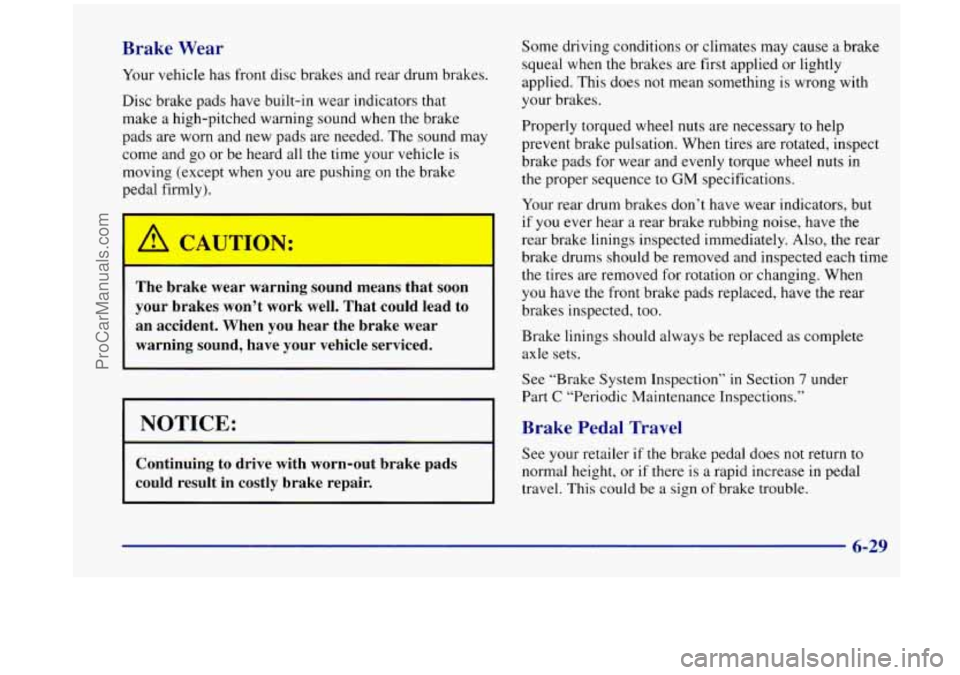
Your vehicle has front disc brakes and rear drum brakes.
Disc brake pads have built-in wear indicators that
make a high-pitched warning sound when the brake
pads are worn and new pads are needed. The sound may
come and go or be heard all the time your vehicle is
moving (except when you are pushing
on the brake
pedal firmly).
I A CAUTION:
The brake wear warning sound means that soon
your brakes won’t work well. That could lead to
an accident. When you hear the brake wear
warning sound, have your vehicle serviced.
NOTICE:
Continuing to drive with worn-out brake pads
could result in costly brake repair.
Some driving conditions or climates may cause a brake
squeal when the brakes are first applied
or lightly
applied. This does not mean something is wrong with
your brakes.
Properly torqued wheel nuts are necessary to help
prevent brake pulsation. When tires are rotated, inspect
brake pads for wear and evenly torque wheel nuts in
the proper sequence
to GM specifications.
Your rear drum brakes don’t have wear indicators, but
if you ever hear
a rear brake rubbing noise, have the
rear brake linings inspected immediately. Also, the rear
brake drums should be removed and inspected each time
the tires are removed for rotation or changing. When
you have the front brake pads replaced, have the rear
brakes inspected, too.
Brake linings should always be replaced as complete
axle sets.
See “Brake System Inspection’’ in Section
7 under
Part
C “Periodic Maintenance Inspections.”
Brake Pedal Travel
See your retailer if the brake pedal does not return to
normal height, or if there is a rapid increase in pedal
travel. This could be a sign of brake trouble.
6-29
ProCarManuals.com
Page 340 of 444
Brake Adjustment
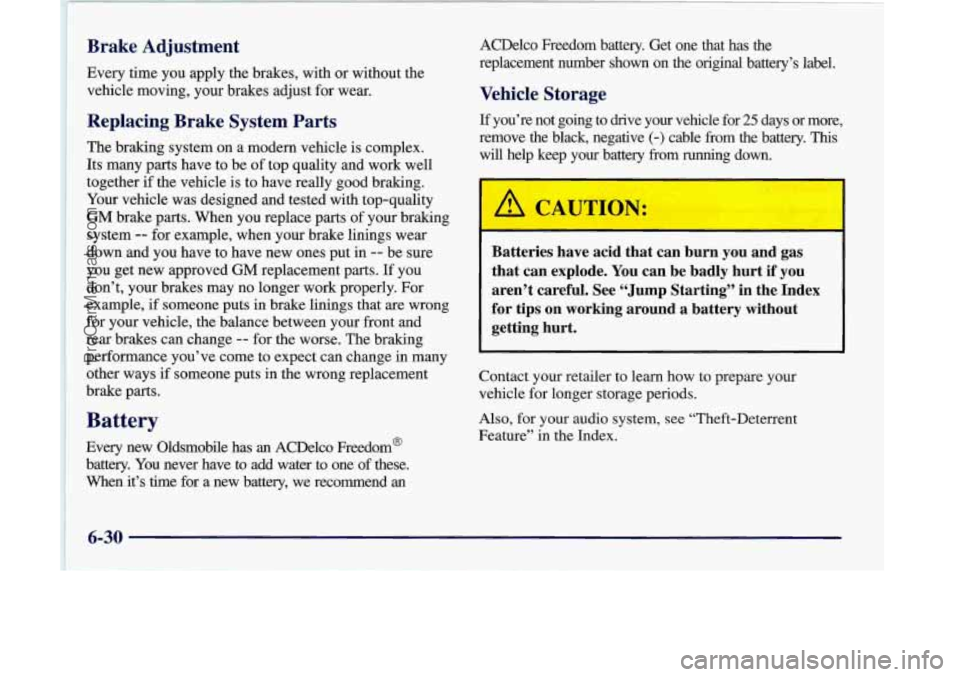
Every time you apply the brakes, with or without the
vehicle moving, your brakes adjust for wear.
Replacing Brake System Parts
The braking system on a modern vehicle is complex.
Its many parts have to be of top quality and work well
together if the vehicle is to have really good braking.
Your vehicle was designed and tested with top-quality
GM brake parts. When you replace parts
of your braking
system
-- for example, when your brake linings wear
down and you have to have new ones put
in -- be sure
you get new approved GM replacement parts. If you
don’t, your brakes may no longer work properly. For
example,
if someone puts in brake linings that are wrong
for your vehicle, the balance between your front and
rear brakes can change
-- for the worse. The braking
performance you’ve come to expect can change in many
other ways
if someone puts in the wrong replacement
brake parts.
Battery
Every new Oldsmobile has an ACDelco Freedom@
battery. You never have to add water to one of these.
When it’s time for a new battery, we recommend
an
ACDelco Freedom battery. Get one that has the
replacement number shown on the
original battery’s label.
Vehicle Storage
If you’re not going to drive your vehicle for 25 days or more,
remove the black, negative
(-) cable from the battery. This
will help keep your battery from running down.
Batteries have acid that can burn you and gas
that can explode. You can be badly hurt if you
aren’t careful. See “Jump Starting’’ in the Index
for tips on working around a battery without
getting hurt.
Contact your retailer to learn how to prepare your
vehicle for longer storage periods.
Also, for your audio system, see “Theft-Deterrent
Fedwe’’ in the Index.
6-30
ProCarManuals.com