buttons OLDSMOBILE SILHOUETTE 2003 User Guide
[x] Cancel search | Manufacturer: OLDSMOBILE, Model Year: 2003, Model line: SILHOUETTE, Model: OLDSMOBILE SILHOUETTE 2003Pages: 466, PDF Size: 21.55 MB
Page 218 of 466
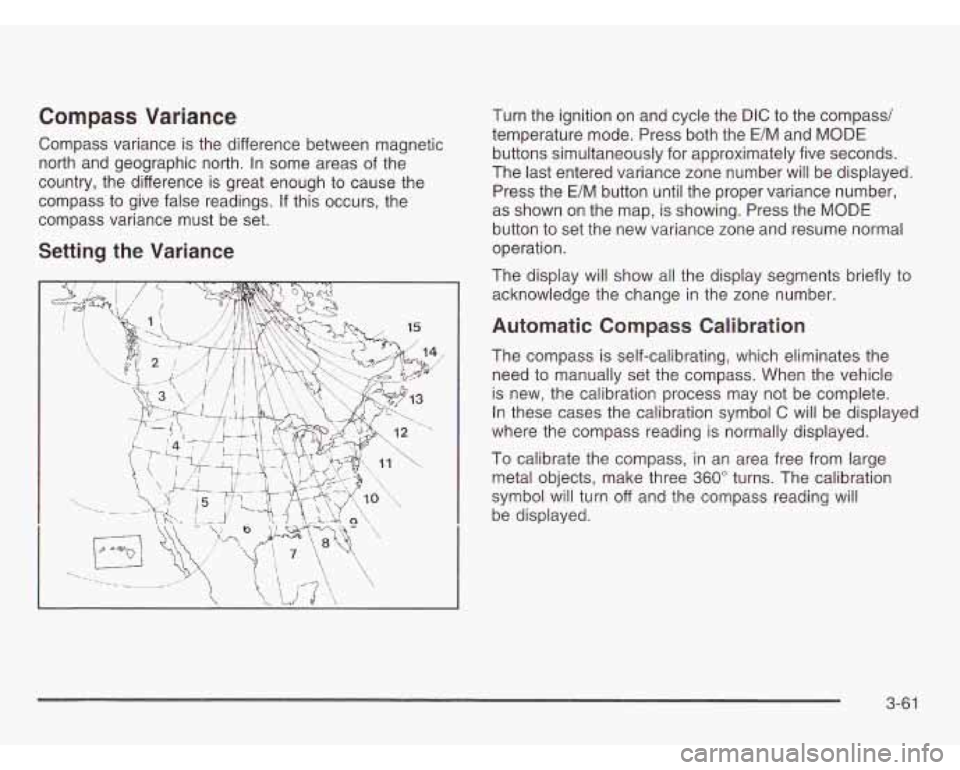
Compass Variance
Compass variance is the difference between magnetic
north and geographic north. In some areas of the
country, the difference is great enough to cause the
compass to give false readings. If this occurs, the
compass variance must be set.
Setting the Variance
t ('7
Turn the ignition on and cycle the DIC to the compass/
temperature mode. Press both the
E/M and MODE
buttons simultaneously for approximately five seconds.
The last entered variance zone number will be displayed.
Press the E/M button until the proper variance number,
as shown on the map, is showing. Press the MODE
button to set the new variance zone and resume normal
operation.
The display will show all the display segments briefly to
acknowledge the change
in the zone number.
Automatic Compass Calibration
The compass is self-calibrating, which eliminates the
need to manually set the compass. When the vehicle
is new, the calibration process may not be complete.
In these cases the calibration symbol C will be displayed
where the compass reading is normally displayed.
To calibrate the compass, in an area free from large
metal objects, make three
360" turns. The calibration
symbol will turn
off and the compass reading will
be displayed.
3-6 1
Page 219 of 466
Manual Compass Calibration
If the compass appears erratic and the calibration
symbol does not appear, you must manually put the
compass into the calibration mode.
Turn the ignition on and cycle the DIC to the
compass/temperature mode. Press both the
E/M and
MODE buttons simultaneously for at least
10 seconds
until the calibration symbol appears. Release both
buttons and complete three
360" turns in an area free
from large metal objects. The calibration symbol will
turn
off and the compass reading will be displayed.
Error Displays
0 An error of the vehicle's speed sensor or fuel
0 In the absence of vehicle communications, a dash
sender
will cause
-E- to be displayed.
"- -" is displayed.
If one of these error messages appear, see your dealer.
Trip Computer
There are five trip computer displays available by
pushing the MODE button. The information will appear
in the following order:
AVG ECON (Average Fuel Economy): This shows the
average fuel economy since the last reset.
INST ECON (Instant Fuel Economy): This shows fuel
economy for the most recent second of driving.
RANGE (Trip Range): This shows the estimated
distance that can be traveled with the remaining fuel.
The fuel economy used to calculate range is based
on the last few hours of driving.
FUEL USED (Trip Fuel Used): This shows the
accumulated fuel used since the last reset.
AVG SPEED (Average Speed): This shows the
average speed since the last reset.
Resetting the Trip Computer
Press and hold the MODE and E/M buttons for at least
two seconds. The reset is acknowledged with the
display showing all segments briefly. A reset can only
be done in AVG ECON, FUEL USED and AVG SPEED
displays. AVG ECON, FUEL USED and AVG SPEED
can only be reset independently. Only the mode
that is displayed will be reset.
3-62
Page 220 of 466

Audio System(s) Setting the Time
Notice: Before you add any sound equipment to
your vehicle
- like a tape player, CB radio, mobile
telephone or two-way radio
- be sure you can
add what you want.
If you can, it’s very important
to do
it properly. Added sound equipment may
interfere with the operation of your vehicle’s engine,
Delphi Electronics radio or other systems, and
even damage them. Your vehicle’s systems may
interfere with the operation of sound equipment that
has been added improperly.
So, before adding sound equipment, check with
your dealer and be sure to check federal rules
covering mobile radio and telephone units.
Your audio system has been designed to operate easily
and to give years
of listening pleasure. You will get the
most enjoyment out of it
if you acquaint yourself with it
first. Find out what your audio system can do and how to
most out
of the advanced engineering that went into it.
Your vehicle has a feature called Retained Accessory
Power (RAP). With RAP, you can play your audio
system even after the ignition is turned
off. See
“Retained Accessory Power
(RAP)” under !,nr?it.ior!
Positions on page 2-32.
npfygte all nf its cnntrnls tn he SL1t-e yn~tre pting the
Your radio may have a button marked with an H or
HR to represent hours and an
M or MIN to represent
minutes.
Press and hold the hour button until the correct hour
appears on the display. AM will also appear for morning
hours. Press and hold the minute button until the
correct minute appears on the display. The time may be
set with the ignition on or
off.
To synchronize the time with an FM station broadcasting
Radio Data System (RDS) information, press and
hold the hour and minute buttons at the same time until
UPDATED appears on the display.
If the time is not
available from the station,
NO UPDAT will appear on the
display instead.
3-63
Page 222 of 466
Finding a Station
BAND: Press this button to switch between AM, FM1,
or FM2. The display will show your selection.
TUNE: Turn this knob to choose radio stations.
4 SEEK b : Press the right or the left arrow to seek
to the next or to the previous station and stay there.
The radio will seek only to stations that are in the
selected band and only to those with a strong signal.
4 PSCAN (Preset Scan) b’ : Press and hold one of
the arrows for more than two seconds and the radio
will produce one beep. The radio will scan to the
first preset station stored on the pushbuttons, play for
a
few seconds and flash the station frequency, then go
on
to the next preset station. SCAN will be displayed.
Press one of the arrows again or one of the pushbuttons
to stop scanning presets.
The radio will scan only to the preset stations that are in
the selected band and only to those with a strong signal.
Setting Preset Stations
The six numbered pushbuttons let you return to your
favorite stations. You can set up to 18 stations (six AM,
six FMl and six FM2) by performing the following steps:
1. Turn the radio on.
2. Press BAND to select AM, FMl or FM2.
3. Tune in the desired station.
4. Press AUTO TONE to choose the bass and treble
equalization that best suits the type of station you
are listening to.
5. Press and hold one of the six numbered
pushbuttons. The radio will produce one beep.
Whenever you press that numbered pushbutton,
the station you set will return and the bass
and treble equalization that you selected will also
be automatically selected for that pushbutton.
6. Repeat the steps for each pushbutton.
3-65
Page 229 of 466
Finding a Station
BAND: Press this button to switch between AM, FM,
or FM2. The display will show your selection.
TUNE: Turn this knob to choose radio stations.
4 SEEK b : Press the right or the left arrow to seek
to the next or to the previous station and stay there.
The radio will seek only to stations that are in the
selected band and only to those with a strong signal.
4 PSCAN (Preset Scan) b : Press and hold one of
the arrows for more than two seconds. The radio will
produce one beep. The radio will scan through each of
the preset stations stored on the pushbuttons, play
for a few seconds, then go on to the next preset station.
SCAN will be displayed. Press one of the arrows
again or one of the pushbuttons to stop scanning
presets.
The radio will scan only to the preset stations that are in
the selected band and only to those with a strong signal.
Setting Preset Stations
The six numbered pushbuttons let you return to your
favorite stations. You can set up to
18 stations (six AM,
six FM1 and six FM2) by performing the following steps:
1.
2.
3.
4.
5.
6.
Turn the radio on.
Press BAND to select AM,
FMI or FM2.
Tune in the desired station.
Press AUTO TONE to choose the bass and treble
equalization that best suits the type of station you
are listening to.
Press and hold one of the six numbered
pushbuttons. The radio will produce one beep.
Whenever
you press that numbered pushbutton,
the station you set will return and the bass
and treble equalization that you selected will also
be automatically selected for that pushbutton.
Repeat the steps for each pushbutton.
3-72
Page 238 of 466
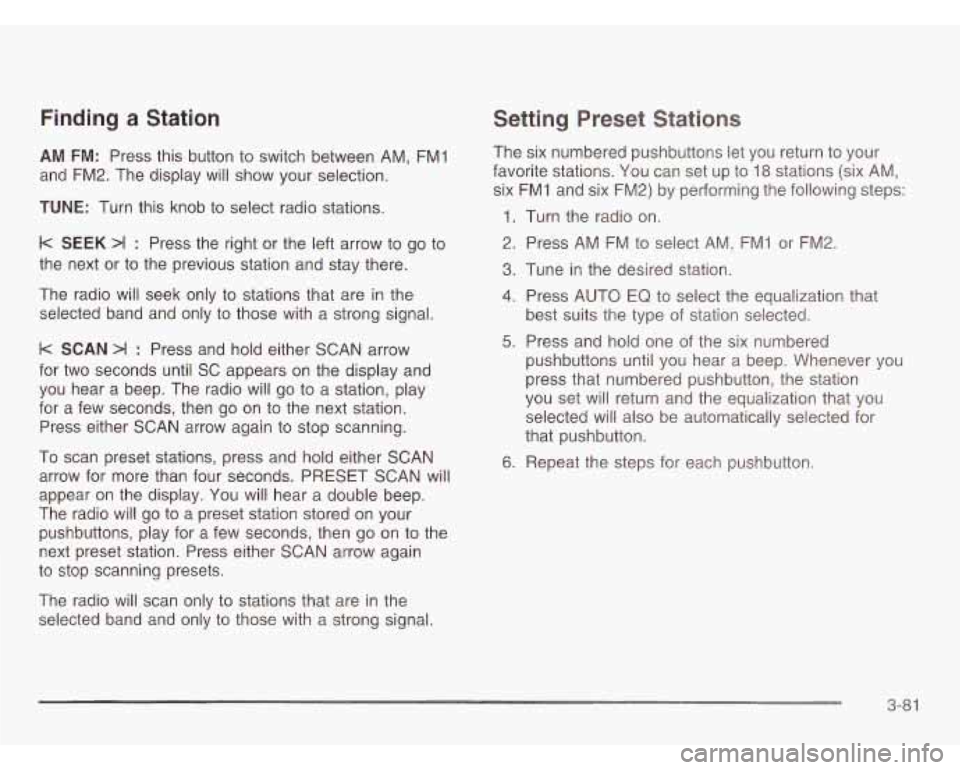
Finding a Station
AM FM: Press this button to switch between AM, FM1
and FM2. The display
will show your selection.
TUNE: Turn this knob to select radio stations.
k SEEK >I : Press the right or the left arrow to go to
the next or
to the previous station and stay there.
The radio will seek only
to stations that are in the
selected band and only to those with a strong signal.
k SCAN >I : Press and hold either SCAN arrow
for two seconds until SC appears on the display and
you hear a beep. The radio will go
to a station, play
for a few seconds, then go on to the next station.
Press either SCAN arrow again to stop scanning.
To scan preset stations, press and hold either SCAN
arrow for more than four seconds. PRESET SCAN will
appear on the display. You will hear a double beep.
The radio will go to a preset station stored on your
pushbuttons, play for a few seconds, then go on to the
next preset station. Press either SCAN arrow again
to stop scanning presets.
The radio will scan only to stations that are in the
selected band and only
to those with a strong signal.
Setting Preset Stations
The six numbered pushbuttons let you return to your
favorite stations. You can set up to
18 stations (six AM,
six FMI and six FM2) by performing the following steps:
1. Turn the radio on.
2. Press AM FM to select
AM, FMI or FM2.
3. Tune in the desired station.
4. Press AUTO EQ to select the equalization that
best suits the type of station selected.
5. Press and hold one of the six numbered
pushbuttons until you hear a beep. Whenever you
press that numbered pushbutton, the station
you set will return and the equalization that you
selected will also be automatically selected for
that pushbutton.
6. Repeat the steps for each pushbutton.
3-8 1
Page 241 of 466
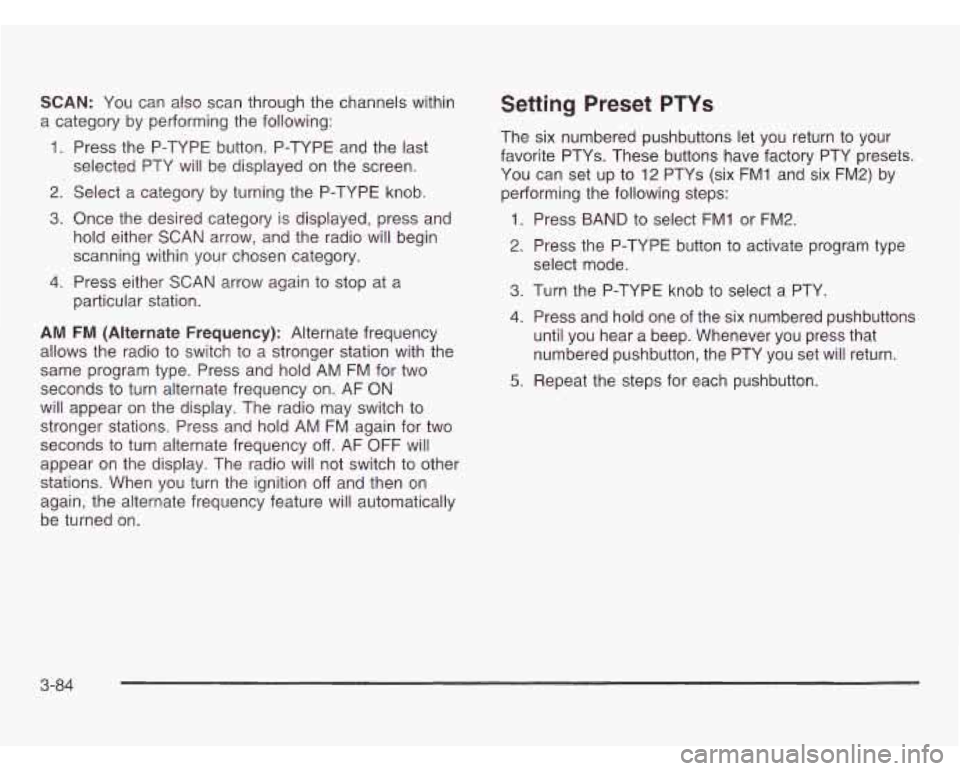
SCAN: You can also scan through the channels within
a category by performing the following:
1. Press the P-TYPE button. P-TYPE and the last
selected PTY will be displayed on the screen.
2. Select a category by turning the P-TYPE knob.
3. Once the desired category is displayed, press and
hold either SCAN arrow, and the radio will begin
scanning within your chosen category.
particular station.
4. Press either SCAN arrow again to stop at a
AM FM (Alternate Frequency): Alternate frequency
allows the radio to switch to a stronger station with the
same program type. Press and hold AM FM for two
seconds to turn alternate frequency
on. AF ON
will appear on the display. The radio may switch to
stronger stations. Press and hold AM FM again for two
seconds to turn alternate frequency
off. AF OFF will
appear on the display. The radio will not switch to other
stations. When you turn the ignition
off and then on
again, the alternate frequency feature will automatically
be turned on.
Setting Preset PTYs
The six numbered pushbuttons let you return to your
favorite PTYs. These buttons have factory PTY presets.
You can set up
to 12 PTYs (six FMI and six FM2) by
performing the following steps:
1. Press BAND to select FMI or FM2.
2. Press the P-TYPE button to activate program type
3. Turn the P-TYPE knob to select a PTY.
select
mode.
4. Press and hold one of the six numbered pushbuttons
until you hear a beep. Whenever you press that
numbered pushbutton, the PTY you set will return.
5. Repeat the steps for each pushbutton
3-84
Page 251 of 466
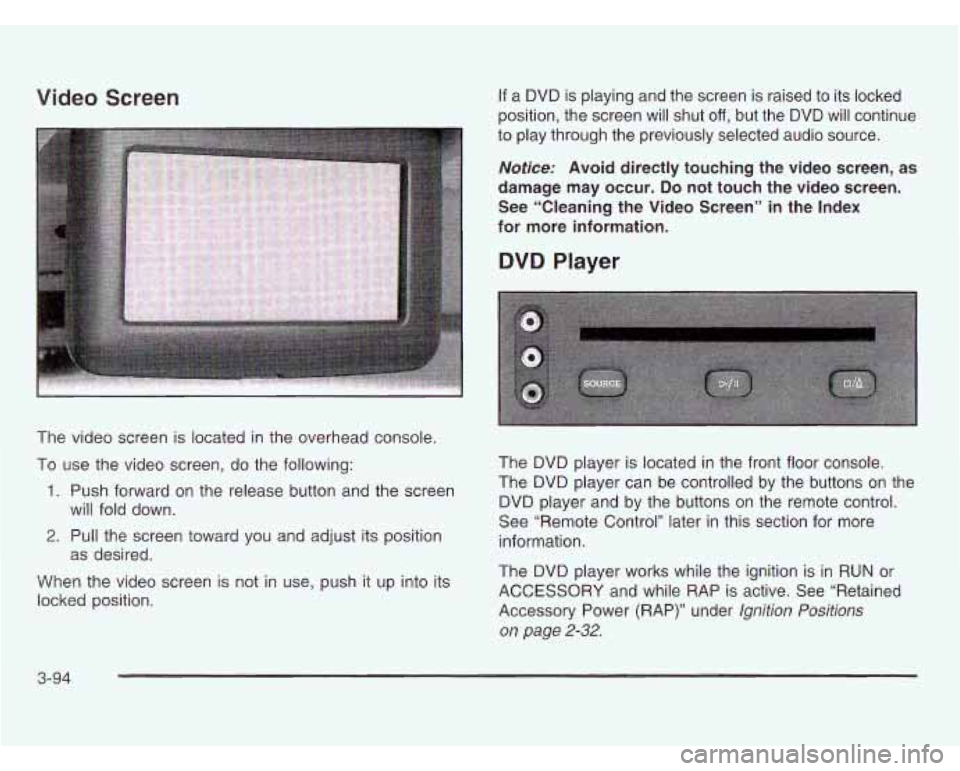
Video Screen
The video screen is located in the overhead console.
To use the video screen, do the following:
1. Push forward on the release button and the screen
2. Pull the screen toward you and adjust its position
When the video screen is not in use, push it up into its
locked position. will fold
down.
as desired.
If a DVD is playing and the screen is raised to its locked
position, the screen will shut
off, but the DVD will continue
to play through the previously selected audio source.
Notice: Avoid directly touching the video screen, as
damage may occur.
Do not touch the video screen.
See “Cleaning the Video Screen” in the Index
for more information.
DVD Player
The DVD player is located in the front floor console.
The DVD player can be controlled by the buttons on the
DVD player and by the buttons on the remote control.
See “Remote Control’’ later in this section for more
information.
The DVD player works while the ignition is in
RUN or
ACCESSORY and while RAP is active. See “Retained
Accessory Power (RAP)” under
Ignition Positions
on page
2-32.
3-94
Page 252 of 466
The entertainment system is only compatible with DVDs
authorized for use in the United States and Canada.
Regular audio CDs can also be played by the DVD
player. Home recorded CDs (CDRs) may not play
in this
DVD player. Try the audio system CD player instead.
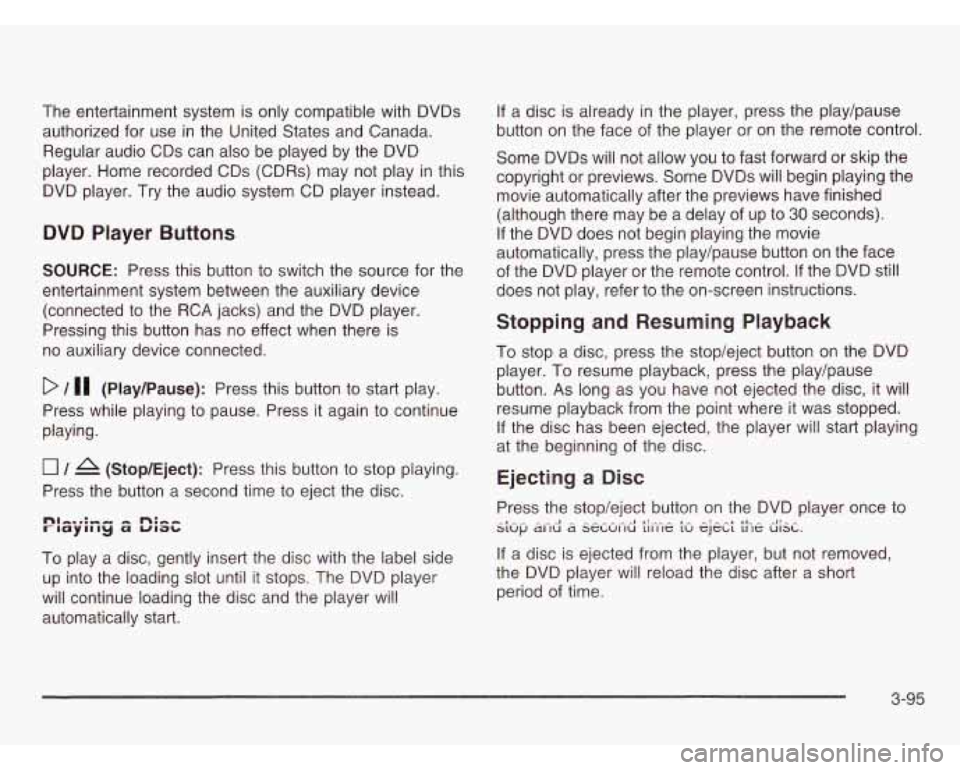
DVD Player Buttons
SOURCE: Press this button to switch the source for the
entertainment system between the auxiliary device
(connected to the RCA jacks) and the DVD player.
Pressing this button has no effect when there is
no auxiliary device connected.
D / 11 (Play/Pause): Press this button to start play.
Press while playing to pause. Press it again to continue
playing.
0 / A (Stop/Eject): Press this button to stop playing.
Press the button a second time to eject the disc.
To play a disc, gently insert the disc with the label side
up into the loading
slot until it stops. The DVD player
will continue loading the disc and the player will
automatically start.
If a disc is already in the player, press the play/pause
button on the face of the player or on the remote control.
Some DVDs will not allow you to fast forward or skip the
copyright or previews. Some DVDs will begin playing the
movie automatically after the previews have finished
(although there may be a delay
of up to 30 seconds).
If the DVD does not begin playing the movie
automatically, press the play/pause button on the face
of the DVD player or the remote control.
If the DVD still
does not play, refer
to the on-screen instructions.
Stopping and Resuming Playback
To stop a disc, press the stop/eject button on the DVD
player. To resume playback, press the play/pause
button. As long as you have not ejected the disc, it will
resume playback from the point where it was stopped.
If the disc has been ejected, the player will start playing
at the beginning of the disc.
Ejecting a Disc
Press the stop/eject button on the DVD player once to
If a disc is ejected from the player, but not removed,
the DVD player will reload the disc after a short
period of time.
_I_ .^ - .^ ^I - - - - - .- -1 I!.-- - I- -: - ^I 11- - -I!- - S1Uf.J dl IU d SeLUI IU 111 IlC LU CJCLL 11 le UISL.
3-95
Page 253 of 466
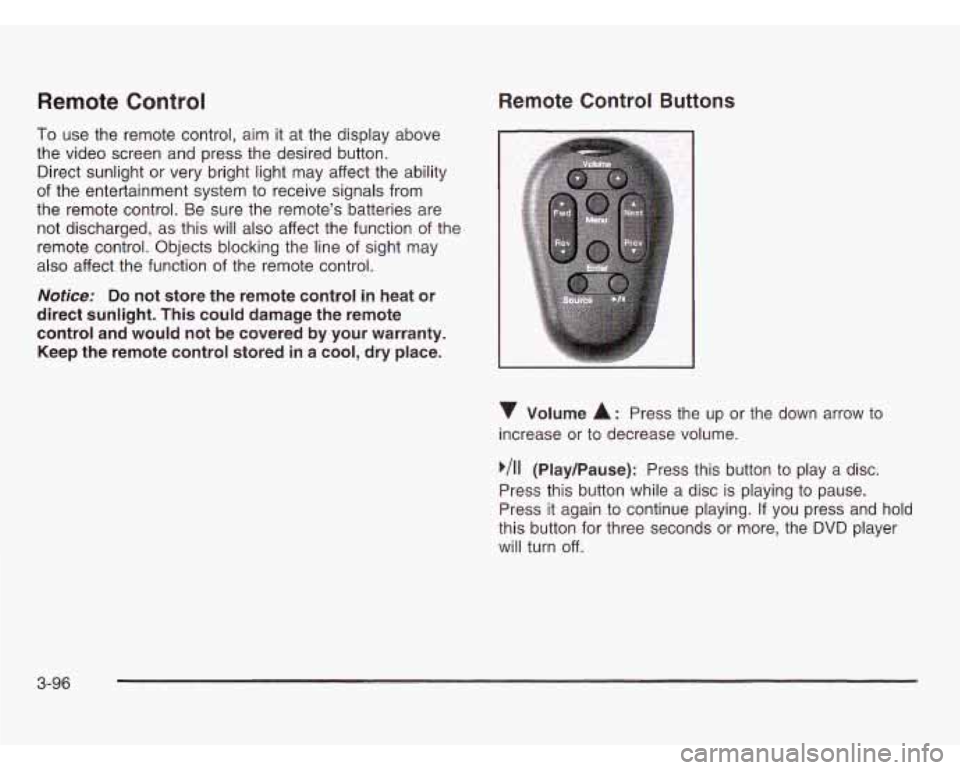
Remote Control
To use the remote control, aim it at the display above
the video screen and press the desired button.
Direct sunlight or very bright light may affect the ability
of the entertainment system to receive signals from
the remote control. Be sure the remote’s batteries are
not discharged, as this will also affect the function of the
remote control. Objects blocking the line of sight may
also affect the function of the remote control.
Notice: Do not store the remote control in heat or
direct sunlight. This could damage the remote
control and would not be covered by your warranty.
Keep the remote control stored in a cool, dry place.
Remote Control Buttons
Volume A: Press the up or the down arrow to
increase or to decrease volume.
,/I1 (Play/Pause): Press this button to play a disc.
Press this button while a disc is playing to pause.
Press it again to continue playing.
If you press and hold
this button for three seconds or more, the DVD player
will turn off.
3-96