key OLDSMOBILE SILHOUETTE 2003 Workshop Manual
[x] Cancel search | Manufacturer: OLDSMOBILE, Model Year: 2003, Model line: SILHOUETTE, Model: OLDSMOBILE SILHOUETTE 2003Pages: 466, PDF Size: 21.55 MB
Page 383 of 466
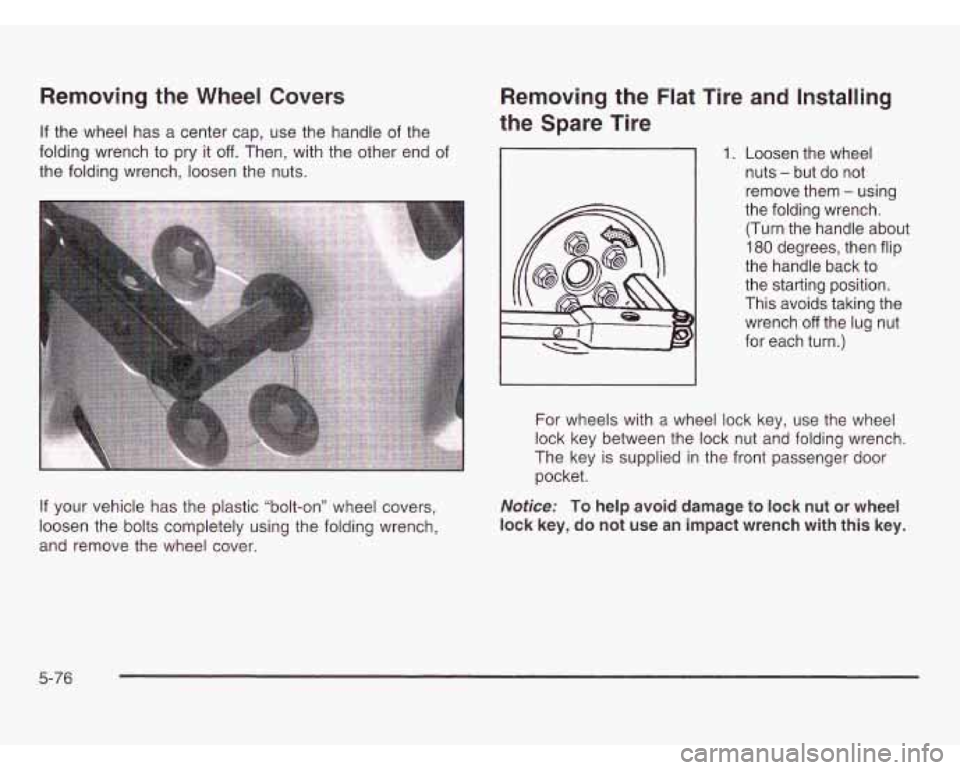
Removing the Wheel Covers
If the wheel has a center cap, use the handle of the
folding wrench to pry
it off. Then, with the other end of
the folding wrench, loosen the nuts.
If your vehicle has the plastic “bolt-on” wheel covers,
loosen the bolts completely using the folding wrench,
and remove the wheel cover.
Removing the Flat Tire and Installing
the Spare Tire
1. Loosen the wheel
nuts
- but do not
remove them
- using
the folding wrench.
(Turn the handle about
180 degrees, then flip
the handle back to
the starting position.
This avoids taking the
wrench
off the lug nut
for each turn.)
For wheels with
a wheel lock key, use the wheel
lock key between the lock nut and folding wrench.
The key is supplied
in the front passenger door
pocket.
Notice: To help avoid damage to lock nut or wheel
lock key, do not
use an impact wrench with this key.
5-76
Page 404 of 466
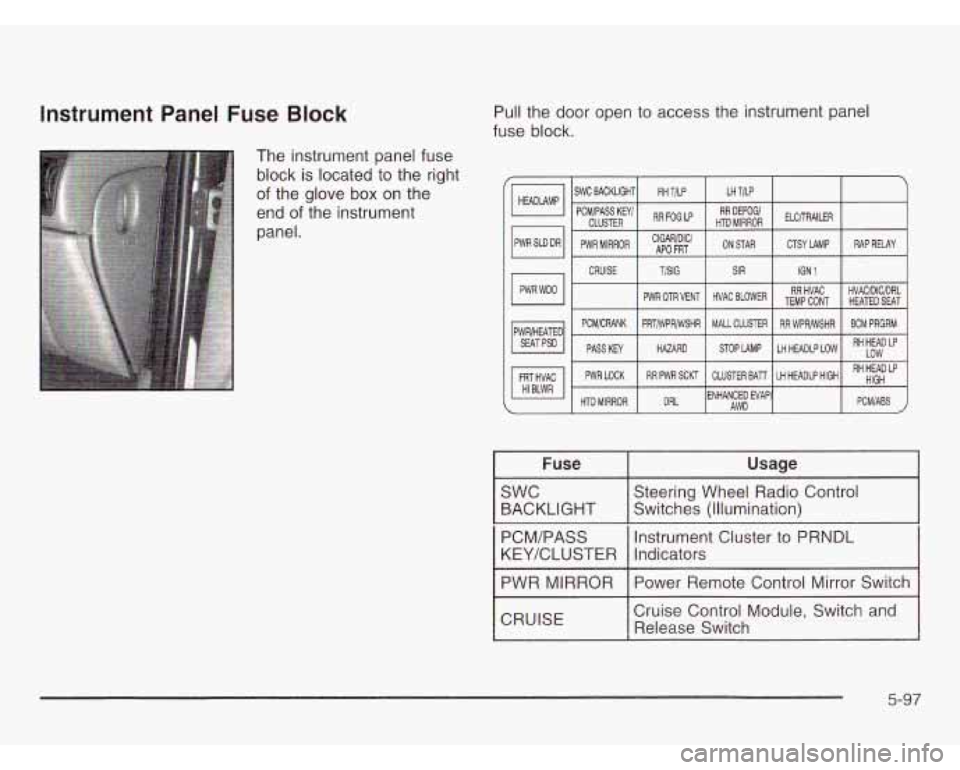
Instrument Panel Fuse Block
The instrument panel fuse
block is located to the right
of the glove box on the
end
of the instrument
panel. Pull the
door open
to access the instrument panel
fuse block.
PCWCRANK FRTMPWSHR MALL CLUSTER RR WPWSHR BCM PRGRM
Low RH HEAD LP
PASSKEY HAZARD STOPLAMP LHHEADLPLOW
I Fuse I Usage I
Steering Wheel Radio Control
I :!ZKLIGHT Switches (Illumination)
PCM/PASS Indicators
KEYKLUSTER Instrument Cluster to PRNDL
I PWR MIRROR I Power Remote
Control Mirror Switch I
I CRUISE I
Cruise Control Module, Switch and
Release Switch
5-97
Page 405 of 466
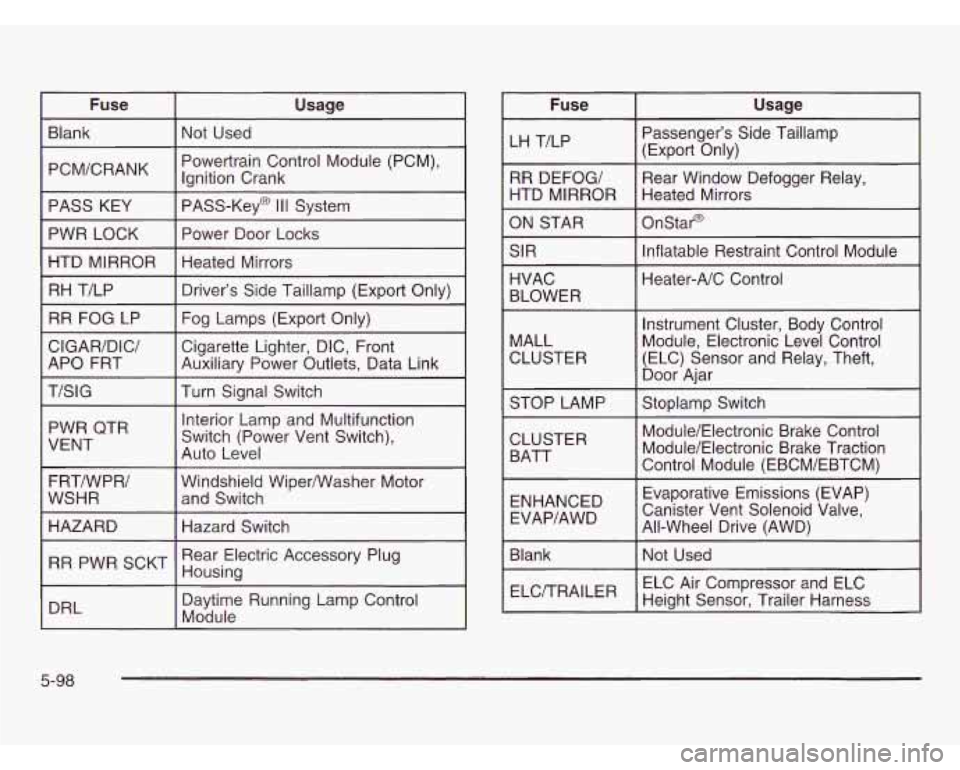
I Fuse I Usage I
Blank I Not Used
I PCM/CRANK I Powertrain Control Module (PCM),
Ignition Crank
I PASS KEY I PASS-Key@ Ill System I
I PWR LOCK I Power Door Locks I
I HTD MIRROR I Heated Mirrors I
I
RH T/LP I Driver’s Side Taillamp (Export Only) I
I
RR FOG LP I Fog Lamps (Export Only) I
CIGAR/DIC/
Auxiliary Power Outlets, Data Link
APO FRT Cigarette
Lighter, DIC, Front
I T/SIG I Turn Signal Switch I
PWR QTR
VENT Interior Lamp
and Multifunction
Switch (Power Vent Switch),
Auto Level
Windshield WiperNVasher Motor
and Switch
I HAZARD I Hazard Switch I
I RR PWR SCKT I Rear Electric Accessory Plug
Housing
I DRL Daytime Running
Lamp Control
Module Fuse
I Usage
LH T/LP
I
Passenger’s Side Taillamp
(Export Only)
RR DEFOG/ Rear Window Defogger Relay,
HTD MIRROR Heated Mirrors
ON STAR onstar@
SIR Inflatable Restraint Control Module HVAC
I Heater-A/C Control
BLOWER
MALL
CLUSTER Instrument Cluster, Body Control
Module, Electronic Level Control
(ELC) Sensor and Relay, Theft,
Door Ajar
STOP LAMP
I Stoplamp Switch
CLUSTER BATT Module/Electronic Brake Control
Module/Electronic Brake Traction
Control Module (EBCM/EBTCM)
Evaporative Emissions (EVAP)
Canister Vent Solenoid Valve,
All-Wheel Drive (AWD)
ENHANCED
Blank Not Used
ELC Air Compressor and ELC
Heiaht Sensor. Trailer Harness
5-98
Page 407 of 466
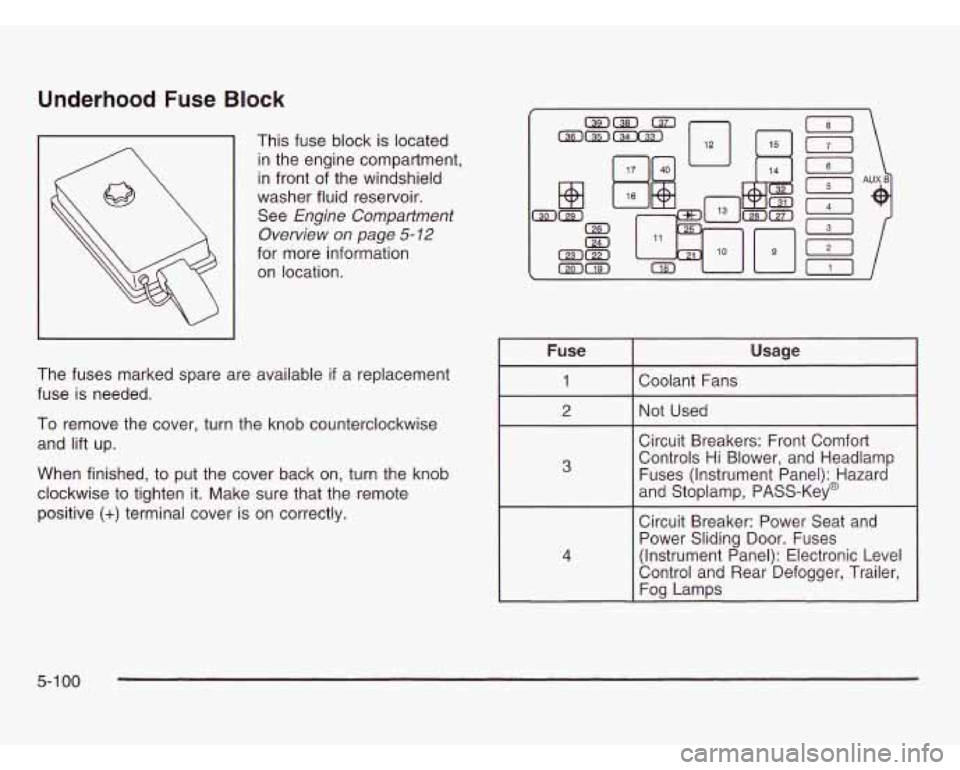
Underhood Fuse Block
This fuse block is located
in the engine compartment,
in front of the windshield
washer fluid reservoir.
See
Engine Compartment
Overview
on page 5-12
for more information
on location.
The fuses marked spare are available
if a replacement
fuse
is needed.
To remove the cover, turn the knob counterclockwise
and lift up.
When finished, to put the cover back on, turn the knob
clockwise to tighten it. Make sure that the remote
positive
(+) terminal cover is on correctly.
(71
[61
[2)
111 Aul
I Fuse
I 2
4
Usage
Coolant Fans
Not Used
Circuit Breakers: Front Comfort
Controls Hi Blower, and Headlamp
Fuses (Instrument Panel): Hazard
and Stoplamp, PASS-Key@
Circuit Breaker: Power Seat and
Power Sliding Door. Fuses
(Instrument Panel): Electronic Level
Control and Rear Defogger, Trailer,
Fog Lamps
5-1 00
Page 424 of 466
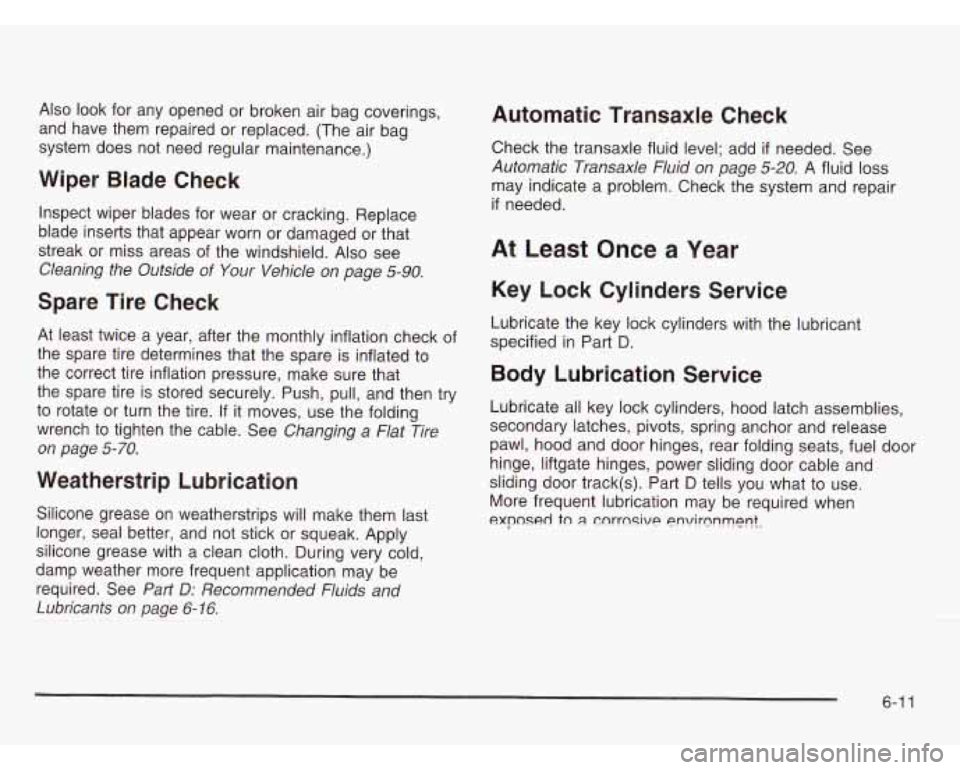
Also look for any opened or broken air bag coverings,
and have them repaired or replaced. (The air bag
system does not need regular maintenance.)
Wiper Blade Check
Inspect wiper blades for wear or cracking. Replace
blade inserts that appear worn or damaged
or that
streak or miss areas of the windshield. Also see
Cleaning the Outside of Your Vehicle on page 5-90.
Spare Tire Check
At least twice a year, after the monthly inflation check of
the spare tire determines that the spare is inflated to
the correct tire inflation pressure, make sure that
the spare tire is stored securely. Push, pull, and then try
to rotate or turn the tire.
If it moves, use the folding
wrench to tighten the cable. See
Changing a Flat Tire
on page
5-70.
Weatherstrip Lubrication
Silicone grease on weatherstrips will make them last
longer, seal better, and not stick or squeak. Apply
silicone grease with a clean cloth. During very cold,
damp weather more frequent application may be
required. See
Part D: Recommended Fluids and
Lubricants on page
6-16.
Automatic Transaxle Check
Check the transaxle fluid level; add if needed. See
Automatic Transaxle Fluid on page 5-20. A fluid loss
may indicate a problem. Check the system and repair
if needed.
At Least Once a Year
Key Lock Cylinders Service
Lubricate the key lock cylinders with the lubricant
specified
in Part D.
Body Lubrication Service
Lubricate all key lock cylinders, hood latch assemblies,
secondary latches, pivots, spring anchor and release
pawl, hood and door hinges, rear folding seats, fuel door
hinge, liftgate hinges, power sliding door cable and
sliding door track(s). Part
D tells you what to use.
More frequent lubrication may be required when
exnosed tn ;I cnrrnsive enyirnnm~nf.
6-1 1
Page 425 of 466
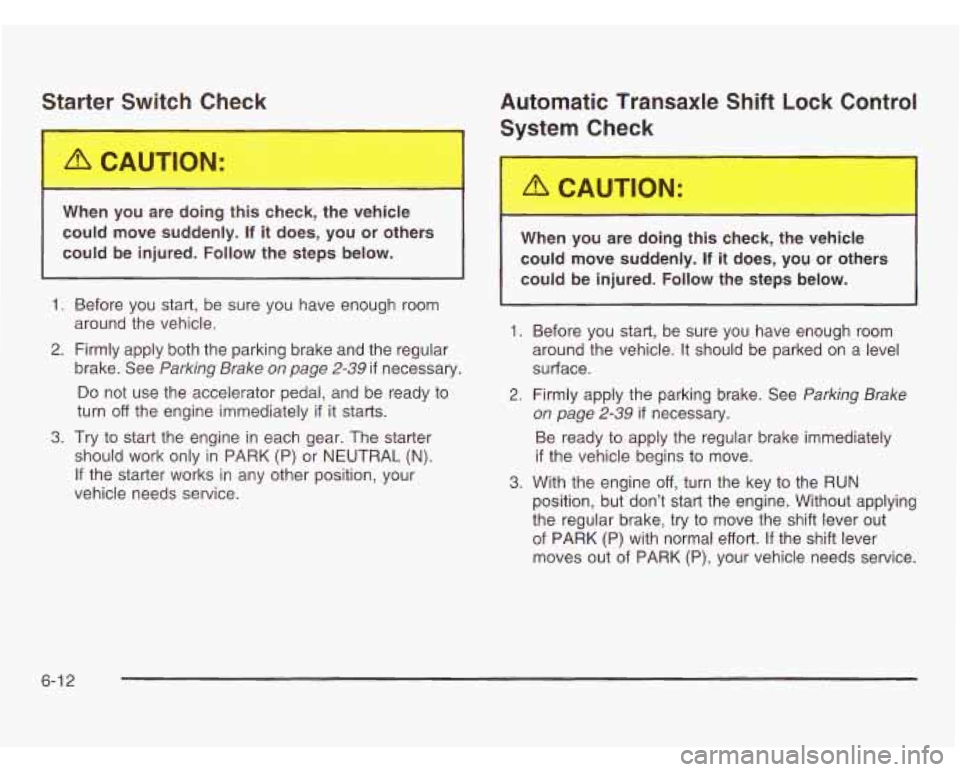
Starter Switch Check Automatic Transaxle Shift Lock Control
System Check
r-
When you are doing this check, the vGIlicle
could move suddenly.
If it does, you or others
could be injured. Follow the steps below.
1. Before you start, be sure you have enough room
around the vehicle.
2. Firmly apply both the parking brake and the regular
brake. See
Parking Brake on page 2-39 if necessary.
Do not use the accelerator pedal, and be ready to
turn
off the engine immediately if it starts.
3. Try to start the engine in each gear. The starter
should work only in PARK (P) or NEUTRAL (N).
If the starter works in any other position, your
vehicle needs service. When
you are doing this check, the vehicle
could move suddenly.
If it does, you or others
could be injured. Follow the steps below.
1.
2.
3.
Before you start, be sure you have enough room
around the vehicle. It should be parked on a level
surface.
Firmly apply the parking brake. See
Parking Brake
on page 2-39
if necessary.
Be ready to apply the regular brake immediately
if the vehicle begins to move.
With the engine
off, turn the key to the RUN
position, but don’t start the engine. Without applying
the regular brake, try to move the shift lever out
of PARK (P) with normal effort. If the shift lever
moves out of PARK (P), your vehicle needs service.
6-1 2
Page 426 of 466
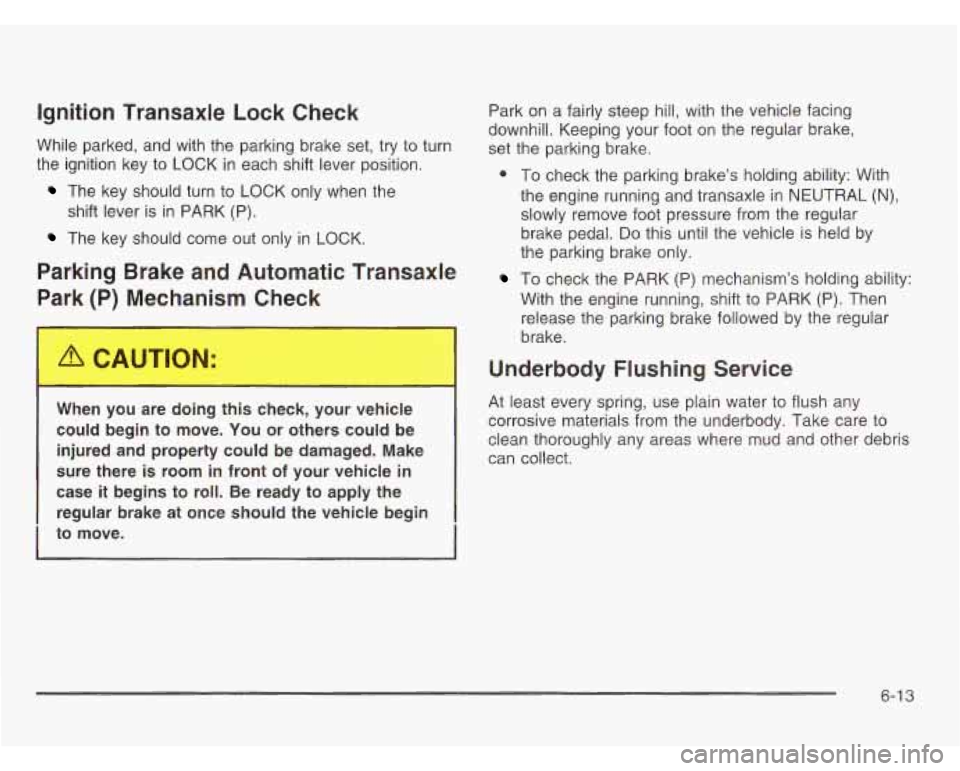
Ignition Transaxle Lock Check
While parked, and with the parking brake set, try to turn
the ignition key to LOCK in each shift lever position.
The key should turn to LOCK only when the
The key should come out only in LOCK.
shift lever
is in PARK (P).
Parking Brake and Automatic Transaxle
Park
(P) Mechanism Che+
When you are doing this check, your vehicle
could begin to move.
You or others could be
injured and property could be damaged. Make
sure there is room in front
of your vehicle in
case it begins to roll. Be ready to apply the
regular brake at once should the vehicle begin
I to move. I
Park on a fairly steep hill, with the vehicle facing
downhill. Keeping your foot on the regular brake,
set the parking brake.
e To check the parking brake’s holding ability: With
the engine running and transaxle
in NEUTRAL (N),
slowly remove foot pressure from the regular
brake pedal.
Do this until the vehicle is held by
the parking brake only.
To check the PARK (P) mechanism’s holding ability:
With the engine running, shift to PARK (P). Then
release the parking brake followed by the regular
brake.
Underbody Flushing Service
At least every spring, use plain water to flush any
corrosive materials from the underbody. Take care to
clean thoroughly any areas where mud and other debris
can collect,
6-1 3
Page 429 of 466
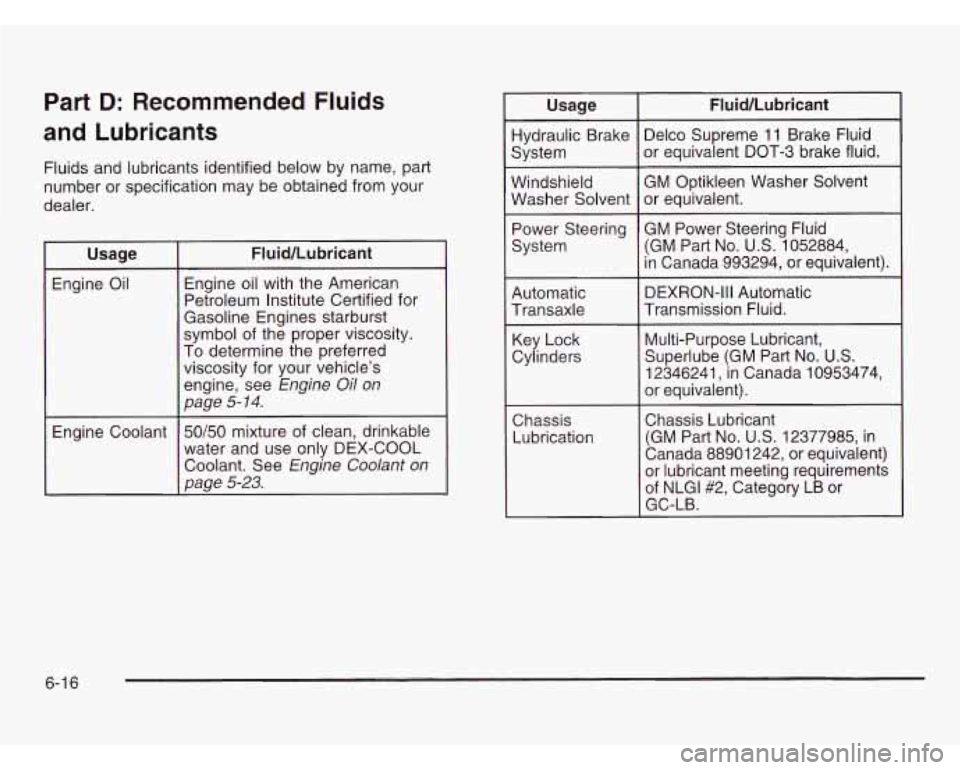
Part D: Recommended Fluids
and Lubricants
Fluids and lubricants identified below by name, part
number or specification may be obtained from your
dealer.
Usage Engine oil with the American
Engine Oil Fluid/Lubricant
Petroleum Institute Certified for
Gasoline Engines starburst
symbol
of the proper viscosity.
To determine the preferred
viscosity for your vehicle’s engine, see
Engine Oil on
page
5- 14.
Engine Coolant 50/50 mixture of clean, drinkable
water and use only DEX-COOL
Coolant. See
Engine Coolant on
page
5-23.
Usage Fluid/Lubricant
Hydraulic Brake Delco Supreme
11 Brake Fluid
System or equivalent DOT-3 brake fluid.
Windshield GM Optikleen Washer Solvent
Washer Solvent or equivalent.
Power Steering GM Power Steering Fluid
System (GM Part
No. US. 1052884,
Automatic DEXRON-Ill Automatic
Transaxle Transmission Fluid.
Key Lock Multi-Purpose Lubricant,
Cylinders Superlube (GM Part No.
U.S.
in Canada 993294, or equivalent).
12346241, in Canada 10953474,
or equivalent).
Chassis Chassis Lubricant
Lubrication (GM Part
No. U.S. 12377985, in
Canada 88901 242, or equivalent)
or lubricant meeting requirements
of NLGl#2, Category LB or
GC-LB.
6-1 6
Page 446 of 466
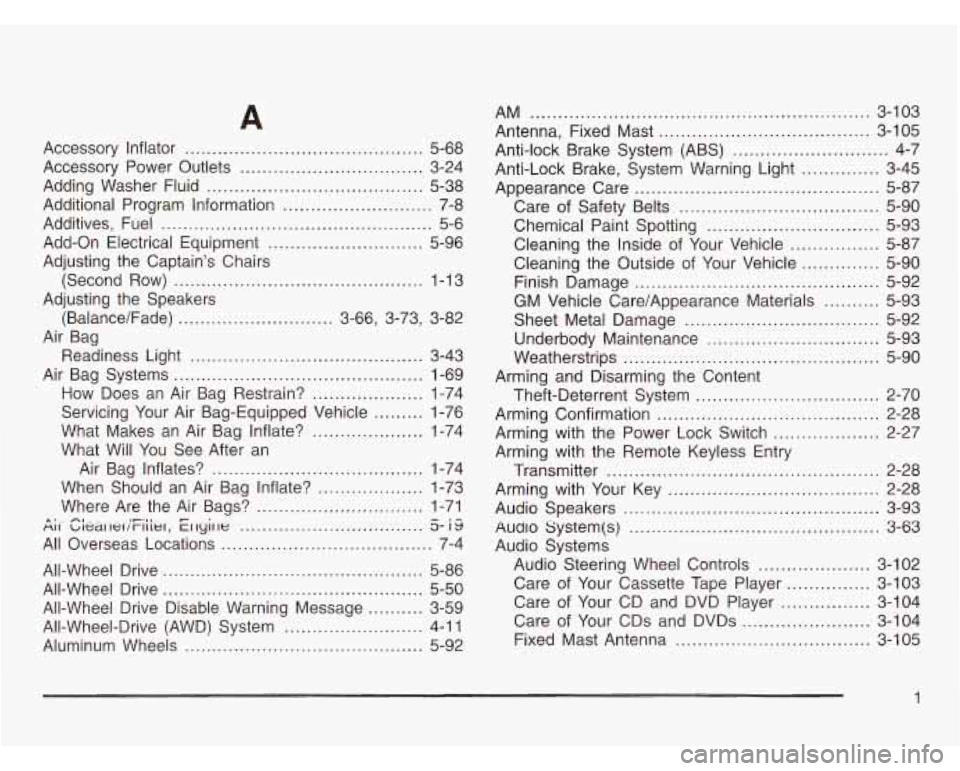
Accessory Inflator ........................................... 5-68
Accessory Power Outlets
................................. 3-24
Adding Washer Fluid
....................................... 5-38
Additional Program Information
........................... 7-8
Additives, Fuel
..................... ,... . ......... 5-6
Add-on Electrical Equipment
................. ... 5-96
Adjusting the Captain's Chairs
(Second Row)
............................................. 1-13
Adjusting the Speakers (Balance/Fade)
............................ 3-66, 3-73, 3-82
Air Bag Readiness Light
.......................................... 3-43
Air Bag Systems
............................................. 1-69
Servicing Your Air Bag-Equipped Vehicle
......... 1-76
What Will You See After an
How Does
ari Air Bag Restrain? .................... 1-74
What Makes an Air Bag Inflate?
.................... 1-74
Air Bag Inflates?
...................................... 1-74
When Should an Air Bag Inflate?
................... 1-73
Where Are the Air Bags?
.............................. 1-71
~II 'clttmIw/t-lller, Eflyirle ................................. 5- IS
All Overseas Locations ....... ........................ 7-4
A: . nr- ~ . . I~.ER
All-Wheel Drive ............................................... 5-86
All-Wheel Drive
............................................... 5-50
All-Wheel Drive Disable Warning Message .......... 3-59
All-Wheel-Drive (AWD) System
......................... 4-1 1
Aluminum Wheels ........................................... 5-92 AM
............................................................. 3-103
Antenna, Fixed Mast
...................................... 3-105
Anti-lock Brake System (ABS)
............................ 4-7
Anti-Lock Brake, System Warning Light
.............. 3-45
Appearance Care
............................................ 5-87
Care
of Safety Belts .................................... 5-90
Cleaning the Inside of Your Vehicle
................ 5-87
Cleaning the Outside of Your Vehicle
.............. 5-90
Finish Damage
............................................ 5-92
Chemical Paint Spotting
............................... 5-93
GM Vehicle Care/Appearance Materials
.......... 5-93
Sheet Metal Damage
................................... 5-92
Underbody Maintenance
............................... 5-93
Weatherstrips
.............................................. 5-90
Theft-Deterrent System
............. ......... 2-70
Arming and Disarming the Content
Arming Confirmation
.................... ............ 2-28
Arming with the Power Lock Switch
... ......... 2-27
Arming with the Remote Keyless Entry
Transmitter
................................................. 2-28
Arming with Your Key
...................................... 2-28
Audio Speakers
.............................................. 3-93
hdl0 System(s) ............................................. 3-63
Audio Systems
Audio Steering Wheel Controls
.................... 3-102
Care of Your Cassette Tape Player
............... 3-103
Care of Your CD and DVD Player
................ 3-104
Care
of Your CDs and DVDs ....................... 3-104
Fixed Mast Antenna
................. ... 3-105
Page 449 of 466
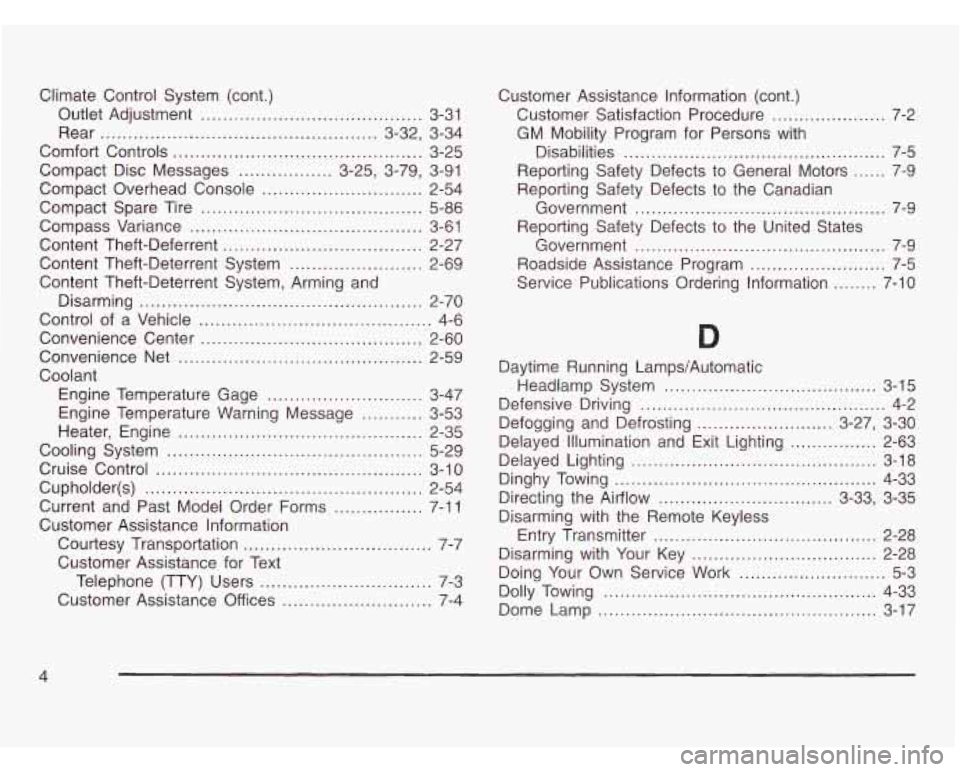
Climate Control System (cont.)
Outlet Adjustment
.................................... 3-31
Rear
.................................................. 3-32, 3-34
Comfort Controls
............................................. 3-25
Compact Disc Messages
................. 3-25, 3-79, 3-91
Compact Overhead Console
............................. 2-54
Compact Spare Tire
........................................ 5-86
Compass Variance
.......................................... 3-61
Content Theft-Deferrent
.................................... 2-27
Content Theft-Deterrent System
........................ 2-69
Content Theft-Deterrent System, Arming and
Disarming
................................................... 2-70
Control of a Vehicle
.......................................... 4-6
Convenience Center
........................................ 2-60
Convenience Net
............................................ 2-59
Coolant Engine Temperature Gage
............................ 3-47
Engine Temperature Warning Message
........... 3-53
Heater, Engine
............................................ 2-35
Cooling System
.............................................. 5-29
Cruise Control
................................................ 3-1 0
Cupholder(s) .................................................. 2-54
Current and Past Model Order Forms
................ 7-1 1
Customer Assistance Information
Courtesy Transportation
.................................. 7-7
Customer Assistance for Text
Telephone (TTY) Users
............................... 7-3
Customer Assistance Offices
........................... 7-4 Customer
Assistance Information (cont.)
Customer Satisfaction Procedure
..................... 7-2
GM Mobility Program for Persons with
Disabilities
................................................ 7-5
Reporting Safety Defects to General Motors
...... 7-9
Reporting Safety Defects to the Canadian
Government
.............................................. 7-9
Reporting Safety Defects to the United States
Government
.............................................. 7-9
Roadside Assistance Program
......................... 7-5
Service Publications Ordering Information ........ 7-10
Daytime Running Lamps/Automatic
Headlamp System
....................................... 3-15
Defensive Driving
............................................. 4-2
Defogging and Defrosting
......................... 3-27, 3-30
Delayed Lighting
............................................. 3-18
Delayed
Illumination and Exit Lighting
................ 2-63
Dinghy Towing
................................................ 4-33
Directing the Airflow
................................ 3-33, 3-35
Disarming with the Remote Keyless
Disarming with Your Key
.................................. 2-28
Doing Your Own Service Work
........................... 5-3
Dolly Towing
.................................................. 4-33
Dome Lamp
................................................... 3-17
Entry Transmitter
..................................... 2-28
4