ESP OPEL AMPERA E 2018.5 Manual user
[x] Cancel search | Manufacturer: OPEL, Model Year: 2018.5, Model line: AMPERA E, Model: OPEL AMPERA E 2018.5Pages: 273, PDF Size: 6.6 MB
Page 71 of 273
Instruments and controls699Warning
The road surface may already be
icy even though the display
indicates a few degrees above
0 °C.
Clock
Date and time are shown in the
Info Display.
Info Display 3 85.
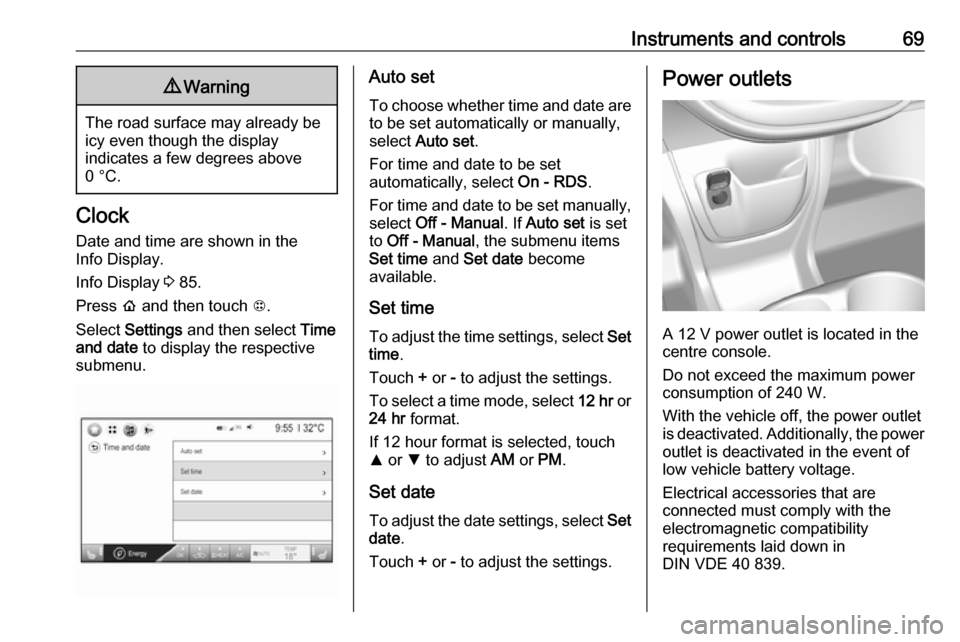
Press p and then touch 1.
Select Settings and then select Time
and date to display the respective
submenu.
Auto set
To choose whether time and date are to be set automatically or manually,
select Auto set .
For time and date to be set
automatically, select On - RDS.
For time and date to be set manually, select Off - Manual . If Auto set is set
to Off - Manual , the submenu items
Set time and Set date become
available.
Set time To adjust the time settings, select Set
time .
Touch + or - to adjust the settings.
To select a time mode, select 12 hr or
24 hr format.
If 12 hour format is selected, touch
R or S to adjust AM or PM .
Set date To adjust the date settings, select Set
date .
Touch + or - to adjust the settings.Power outlets
A 12 V power outlet is located in the
centre console.
Do not exceed the maximum power
consumption of 240 W.
With the vehicle off, the power outlet
is deactivated. Additionally, the power
outlet is deactivated in the event of
low vehicle battery voltage.
Electrical accessories that are
connected must comply with the
electromagnetic compatibility
requirements laid down in
DIN VDE 40 839.
Page 87 of 273
Instruments and controls85Info DisplayThe Info Display can indicate: ● climate control 3 142
● Infotainment system 3 108
● settings for vehicle personalisation 3 91
● power flow information
● programmable charging settings
● energy information
● indication of rear view camera 3 186
● outside temperature 3 68
● indication of parking assist instructions 3 174
Selecting menus and settings
Menus and settings are accessed via the display.
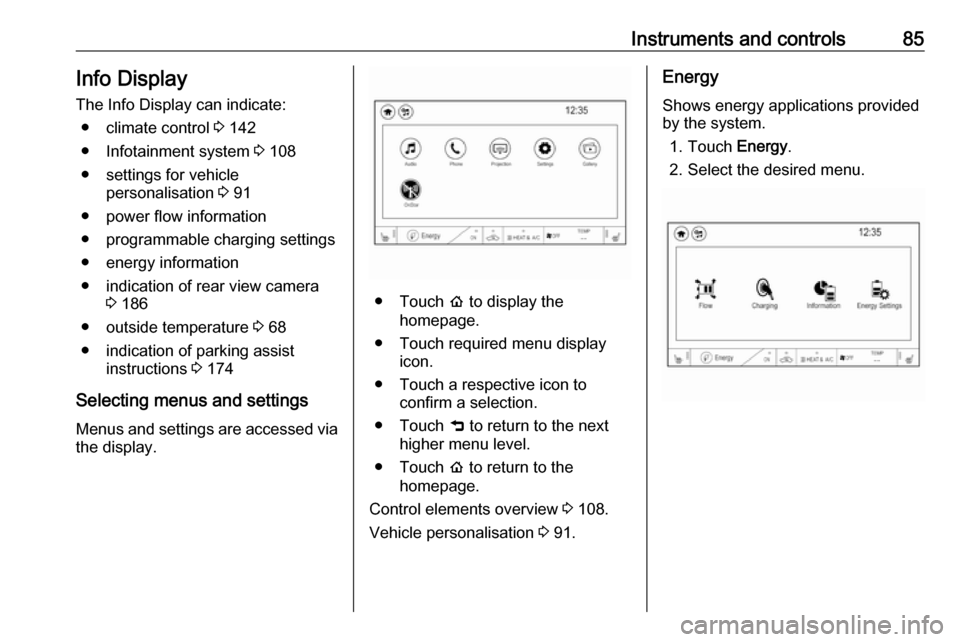
● Touch p to display the
homepage.
● Touch required menu display icon.
● Touch a respective icon to confirm a selection.
● Touch 9 to return to the next
higher menu level.
● Touch p to return to the
homepage.
Control elements overview 3 108.
Vehicle personalisation 3 91.
Energy
Shows energy applications provided
by the system.
1. Touch Energy.
2. Select the desired menu.
Page 93 of 273
Instruments and controls91Vehicle personalisation
The vehicle's behaviour can be
personalised by changing the settings in the Info Display.
Depending on vehicle equipment and
country-specific regulations some of
the functions described below may
not be available.
Some functions are only displayed or
active when the vehicle is on.
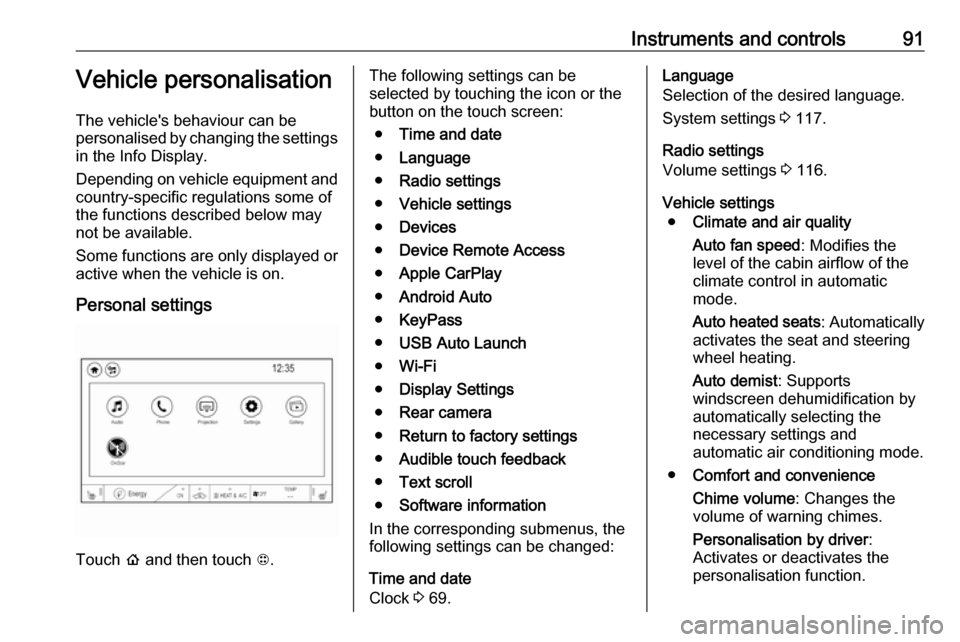
Personal settings
Touch p and then touch 1.
The following settings can be
selected by touching the icon or the
button on the touch screen:
● Time and date
● Language
● Radio settings
● Vehicle settings
● Devices
● Device Remote Access
● Apple CarPlay
● Android Auto
● KeyPass
● USB Auto Launch
● Wi-Fi
● Display Settings
● Rear camera
● Return to factory settings
● Audible touch feedback
● Text scroll
● Software information
In the corresponding submenus, the
following settings can be changed:
Time and date
Clock 3 69.Language
Selection of the desired language.
System settings 3 117.
Radio settings
Volume settings 3 116.
Vehicle settings ● Climate and air quality
Auto fan speed : Modifies the
level of the cabin airflow of the
climate control in automatic
mode.
Auto heated seats : Automatically
activates the seat and steering
wheel heating.
Auto demist : Supports
windscreen dehumidification by
automatically selecting the
necessary settings and
automatic air conditioning mode.
● Comfort and convenience
Chime volume : Changes the
volume of warning chimes.
Personalisation by driver :
Activates or deactivates the
personalisation function.
Page 98 of 273

96Instruments and controls3. Select your vehicle hotspot(SSID) when listed.
4. When prompted, enter the password on your mobile device.
Note
To change the SSID or password,
press Z and talk to an advisor or log
in to your account.
To switch off the Wi-Fi hotspot
functionality, press Z to call an
advisor.
Smartphone app
With the myOpel smartphone app,
some vehicle functions can be
operated remotely.
The following functions are available: ● Lock or unlock vehicle.
● Honk horn or flash lights.
● Operate parking heater.
● Check vehicle battery-related information.
● Check tyre pressure (only with tyre pressure monitoring
system).● Send navigation destination to the vehicle for use with
navigation application via phone
projection.
● Locate vehicle on a map.
● Manage Wi-Fi settings.
To operate these functions, download
the app from App Store ®
or
Google Play™ Store.
Remote control
If desired, use any phone to call an
advisor, who can remotely operate
specific vehicle functions. Find the
respective OnStar phone number on
our country-specific website.
The following functions are available: ● Lock or unlock vehicle.
● Provide information on the vehicle location.
● Honk horn or flash lights.
Stolen vehicle assistance
If the vehicle is stolen, report the theft to the authorities and request OnStar
stolen vehicle assistance. Use anyphone to call an advisor. Find the
respective OnStar phone number on
our country-specific website.
OnStar can provide support in
locating and recovering the vehicle.Theft alert
When the anti-theft alarm system is
triggered, a notification is sent to
OnStar. You are then informed about
this event by text message or email.Restart prevention
By sending remote signals, OnStar can prevent the vehicle from
restarting once it has been turned off.
On-demand diagnostics
At any time e.g. if the vehicle displays
a vehicle message, press Z to
contact an advisor and ask to
complete a real-time diagnostic check to directly determine the issue.
Depending on the results, the advisor
will provide further support.
Diagnostic report
The vehicle automatically transmits
diagnostic data to OnStar which
sends a monthly email report to you
and your preferred workshop.
Page 105 of 273
Lighting103Activate temporary flashing by
holding the stalk just before the
resistance point. Turn lights will flash
until stalk is being released.
To activate three flashes, tap the stalk
briefly without passing the resistance
point.
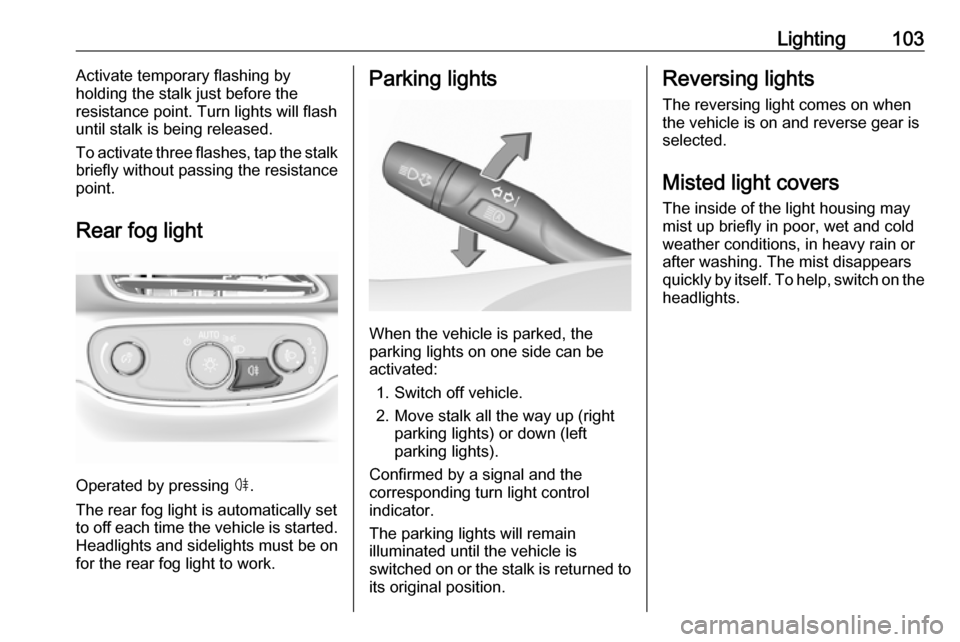
Rear fog light
Operated by pressing ø.
The rear fog light is automatically set
to off each time the vehicle is started.
Headlights and sidelights must be on
for the rear fog light to work.
Parking lights
When the vehicle is parked, the
parking lights on one side can be
activated:
1. Switch off vehicle.
2. Move stalk all the way up (right parking lights) or down (left
parking lights).
Confirmed by a signal and the
corresponding turn light control
indicator.
The parking lights will remain
illuminated until the vehicle is
switched on or the stalk is returned to
its original position.
Reversing lights
The reversing light comes on when
the vehicle is on and reverse gear is
selected.
Misted light covers
The inside of the light housing may
mist up briefly in poor, wet and cold
weather conditions, in heavy rain or after washing. The mist disappears
quickly by itself. To help, switch on the headlights.
Page 114 of 273
112Infotainment system
Audio
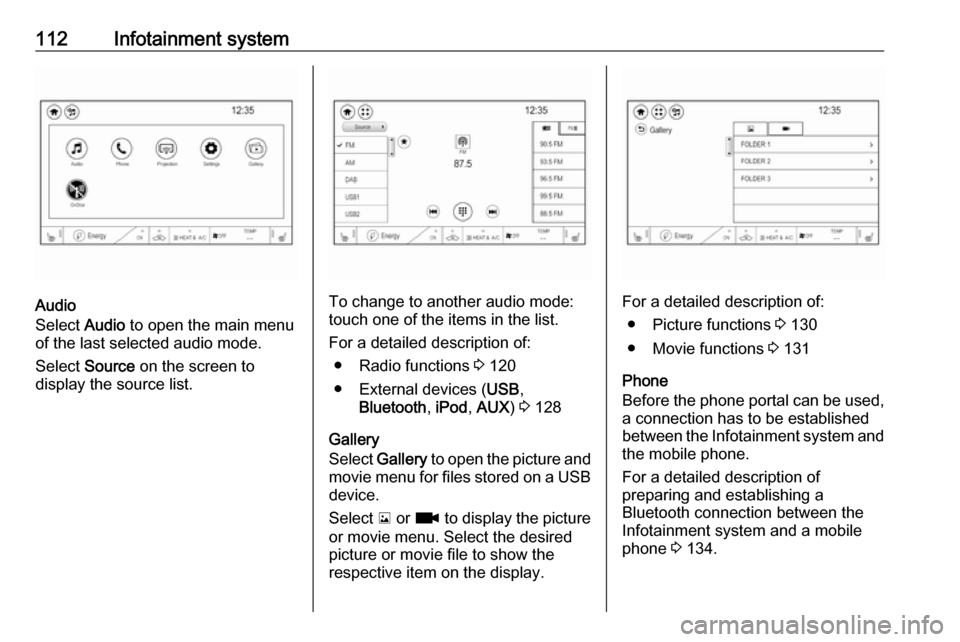
Select Audio to open the main menu
of the last selected audio mode.
Select Source on the screen to
display the source list.To change to another audio mode:
touch one of the items in the list.
For a detailed description of: ● Radio functions 3 120
● External devices ( USB,
Bluetooth , iPod , AUX ) 3 128
Gallery
Select Gallery to open the picture and
movie menu for files stored on a USB device.
Select y or z to display the picture
or movie menu. Select the desired
picture or movie file to show the
respective item on the display.For a detailed description of:
● Picture functions 3 130
● Movie functions 3 131
Phone
Before the phone portal can be used, a connection has to be established
between the Infotainment system and
the mobile phone.
For a detailed description of
preparing and establishing a
Bluetooth connection between the Infotainment system and a mobile
phone 3 134.
Page 115 of 273
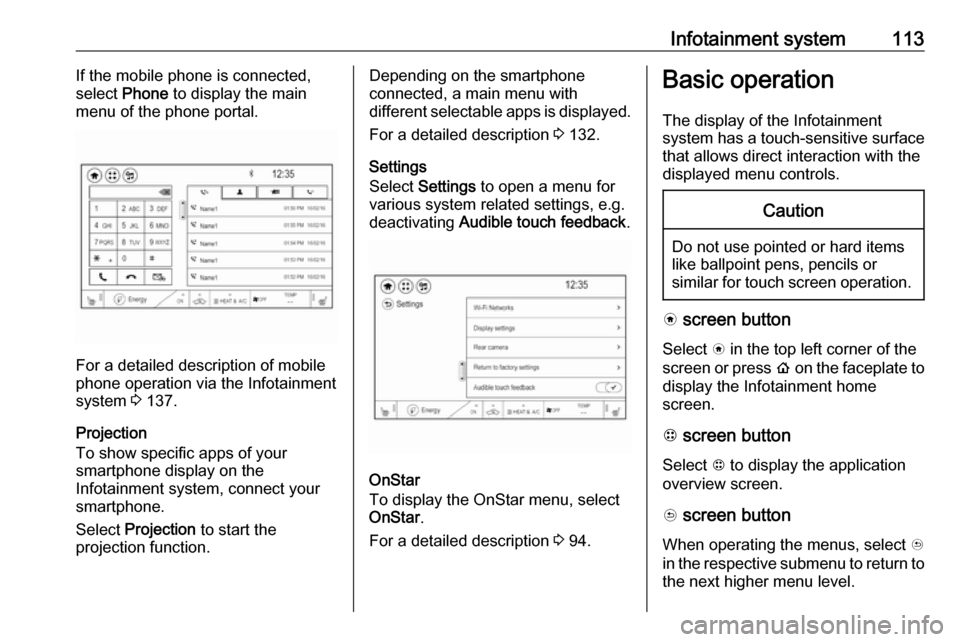
Infotainment system113If the mobile phone is connected,
select Phone to display the main
menu of the phone portal.
For a detailed description of mobile
phone operation via the Infotainment
system 3 137.
Projection
To show specific apps of your
smartphone display on the
Infotainment system, connect your smartphone.
Select Projection to start the
projection function.
Depending on the smartphone
connected, a main menu with
different selectable apps is displayed.
For a detailed description 3 132.
Settings
Select Settings to open a menu for
various system related settings, e.g.
deactivating Audible touch feedback .
OnStar
To display the OnStar menu, select
OnStar .
For a detailed description 3 94.
Basic operation
The display of the Infotainment
system has a touch-sensitive surface
that allows direct interaction with the
displayed menu controls.Caution
Do not use pointed or hard items
like ballpoint pens, pencils or
similar for touch screen operation.
v screen button
Select v in the top left corner of the
screen or press p on the faceplate to
display the Infotainment home
screen.
1 screen button
Select 1 to display the application
overview screen.
u screen button
When operating the menus, select u
in the respective submenu to return to the next higher menu level.
Page 116 of 273
114Infotainment system
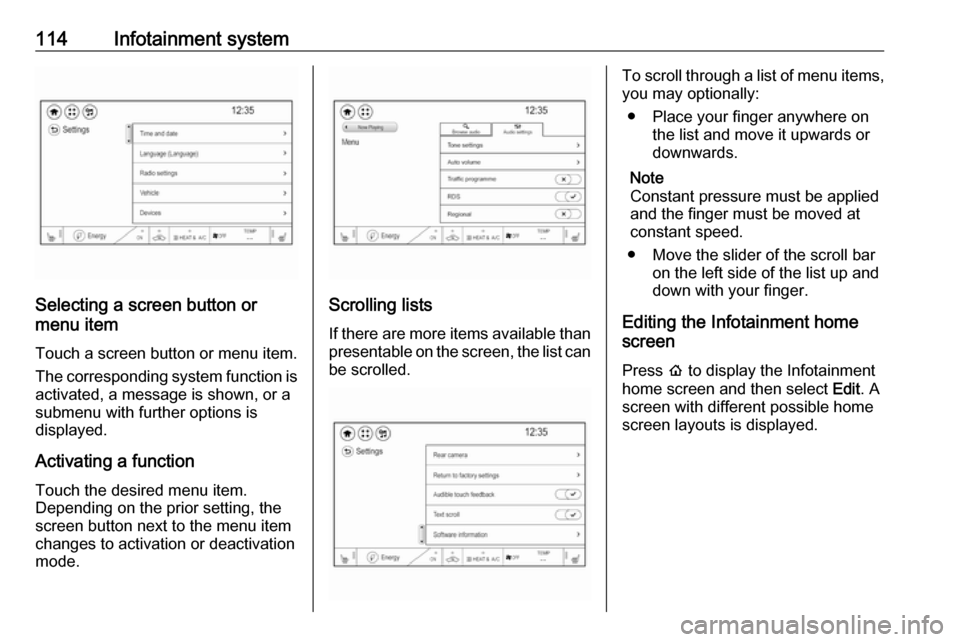
Selecting a screen button or
menu item
Touch a screen button or menu item.
The corresponding system function is activated, a message is shown, or a
submenu with further options is
displayed.
Activating a function Touch the desired menu item.
Depending on the prior setting, the
screen button next to the menu item
changes to activation or deactivation
mode.Scrolling lists
If there are more items available than presentable on the screen, the list can
be scrolled.
To scroll through a list of menu items, you may optionally:
● Place your finger anywhere on the list and move it upwards or
downwards.
Note
Constant pressure must be applied and the finger must be moved at
constant speed.
● Move the slider of the scroll bar on the left side of the list up and
down with your finger.
Editing the Infotainment home
screen
Press p to display the Infotainment
home screen and then select Edit. A
screen with different possible home
screen layouts is displayed.
Page 117 of 273
Infotainment system115
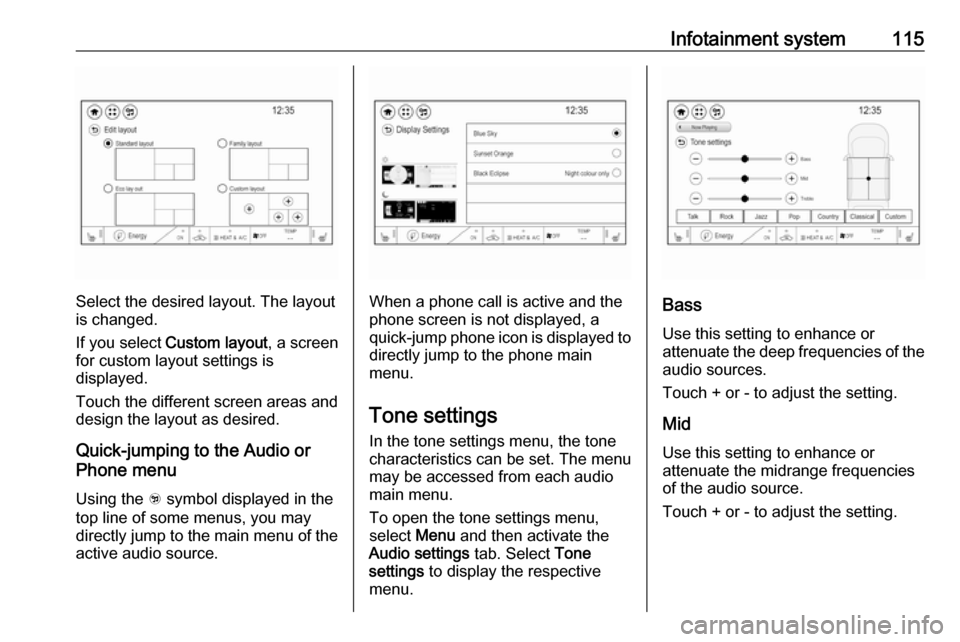
Select the desired layout. The layout
is changed.
If you select Custom layout , a screen
for custom layout settings is
displayed.
Touch the different screen areas and design the layout as desired.
Quick-jumping to the Audio or
Phone menu
Using the w symbol displayed in the
top line of some menus, you may
directly jump to the main menu of the
active audio source.When a phone call is active and the
phone screen is not displayed, a
quick-jump phone icon is displayed to directly jump to the phone main
menu.
Tone settings In the tone settings menu, the tone
characteristics can be set. The menu
may be accessed from each audio
main menu.
To open the tone settings menu,
select Menu and then activate the
Audio settings tab. Select Tone
settings to display the respective
menu.Bass
Use this setting to enhance or
attenuate the deep frequencies of the
audio sources.
Touch + or - to adjust the setting.
Mid
Use this setting to enhance or
attenuate the midrange frequencies
of the audio source.
Touch + or - to adjust the setting.
Page 118 of 273

116Infotainment systemTreble
Use this setting to enhance or
attenuate the high frequencies of the
audio sources.
Touch + or - to adjust the setting.
Balance and fader
Use the illustration at the right side of
the menu to adjust balance and fader.
To define the point in the passenger
compartment where the sound is at its
highest level, touch the
corresponding point in the illustration.
Equaliser mode Use this setting to optimise the tonefor the style of music, e.g. Rock or
Classical .
Activate the desired sound style. If
you choose Custom, you can
manually adjust the tone settings.
BOSE premium audio
If the system is equipped with BOSE
premium audio, only two equaliser
settings are available.Activate Talk if you want the tone
settings to be adjusted automatically. Activate Custom if you want to adjust
the tone settings manually.
Volume settings
Maximum startup volume
Press p and then select 1 in the top
left corner of the screen to display the application overview screen.
Select Settings , Radio settings and
then Maximum start-up volume .
Touch + or - to adjust the setting.
Speed compensated volume The volume can be automatically
adjusted according to the speed
noise level of the vehicle.
Press p and then select 1 in the top
left corner of the screen to display the application overview screen.
Select Audio and then activate the
desired audio source. Select Menu
and activate the Audio settings tab.
Select Auto volume to display the
respective submenu.To adjust the degree of volume
adaptation, select one of the options
in the list.
Off : no enhancement of volume with
increasing vehicle speed.
High : maximum enhancement of
volume with increasing vehicle
speed.
Audible touch feedback function
If the audible touch feedback function
is activated, each touch of a screen
button or menu item is indicated by a
beeping sound.
Press p and then select 1 in the top
left corner of the screen to display the application overview screen.
Select Settings and then scroll
through the list to Audible touch
feedback .