ESP OPEL ASTRA J 2014 Manual user
[x] Cancel search | Manufacturer: OPEL, Model Year: 2014, Model line: ASTRA J, Model: OPEL ASTRA J 2014Pages: 331, PDF Size: 10.13 MB
Page 137 of 331
Instruments and controls135
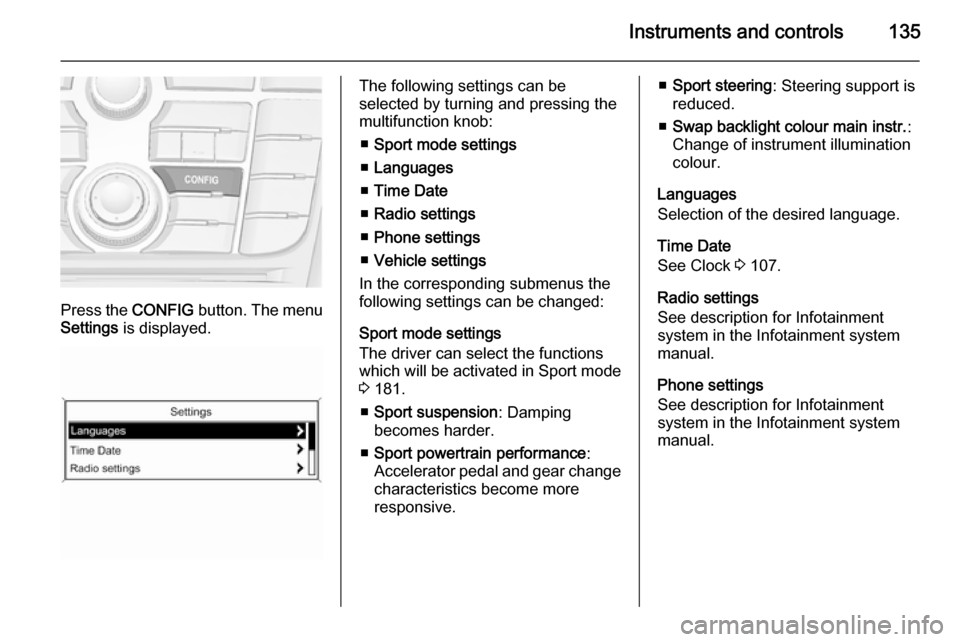
Press the CONFIG button. The menu
Settings is displayed.
The following settings can be
selected by turning and pressing the
multifunction knob:
■ Sport mode settings
■ Languages
■ Time Date
■ Radio settings
■ Phone settings
■ Vehicle settings
In the corresponding submenus the
following settings can be changed:
Sport mode settings
The driver can select the functions
which will be activated in Sport mode
3 181.
■ Sport suspension : Damping
becomes harder.
■ Sport powertrain performance :
Accelerator pedal and gear change
characteristics become more
responsive.■ Sport steering : Steering support is
reduced.
■ Swap backlight colour main instr. :
Change of instrument illumination
colour.
Languages
Selection of the desired language.
Time Date
See Clock 3 107.
Radio settings
See description for Infotainment
system in the Infotainment system
manual.
Phone settings
See description for Infotainment
system in the Infotainment system
manual.
Page 139 of 331
Instruments and controls137
automatic door locking function
while a door is open.
Delayed door lock : Activates or
deactivates the delayed door
locking function.
■ Remote locking, unlocking, starting
Remote unlock feedback : Activates
or deactivates the hazard warning
flasher feedback whilst unlocking.
Remote door unlock : Changes the
configuration to unlock only the driver's door or the whole vehicle
whilst unlocking.
Auto relock doors : Activates or
deactivates the automatic relock
function after unlocking without
opening the vehicle.
■ Restore factory settings
Restore factory settings : Reset all
settings to the default settings.
Personal settings in the
Colour-Info-Display
Navi 600/Navi 900
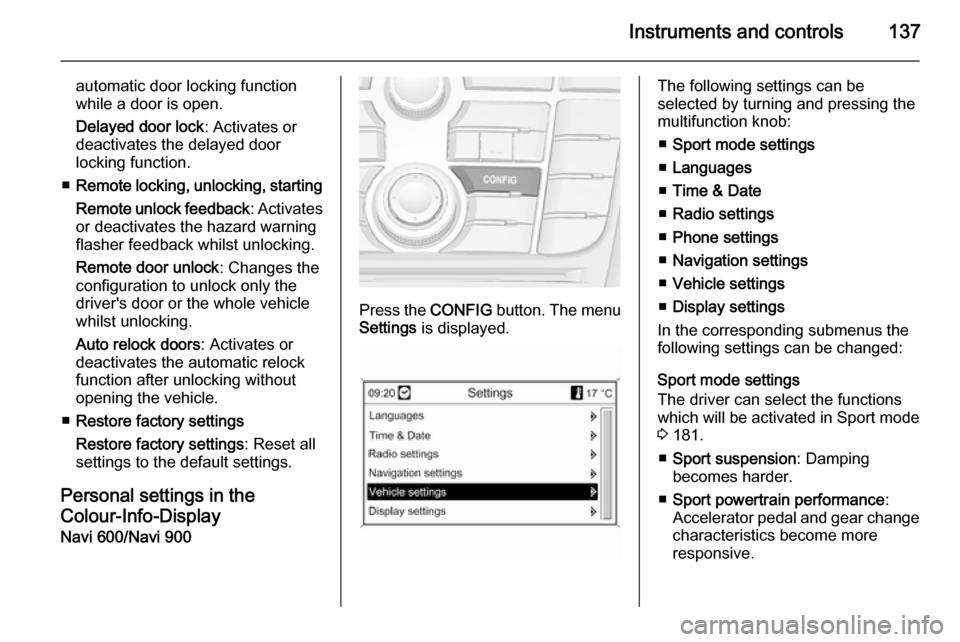
Press the CONFIG button. The menu
Settings is displayed.
The following settings can be
selected by turning and pressing the
multifunction knob:
■ Sport mode settings
■ Languages
■ Time & Date
■ Radio settings
■ Phone settings
■ Navigation settings
■ Vehicle settings
■ Display settings
In the corresponding submenus the
following settings can be changed:
Sport mode settings
The driver can select the functions
which will be activated in Sport mode
3 181.
■ Sport suspension : Damping
becomes harder.
■ Sport powertrain performance :
Accelerator pedal and gear change
characteristics become more
responsive.
Page 142 of 331
140Instruments and controls
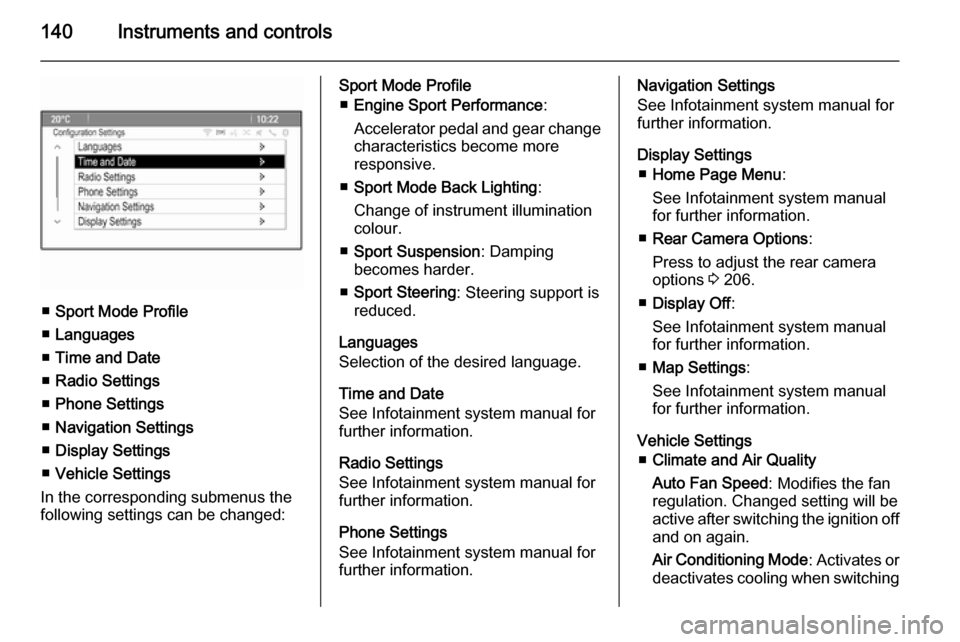
■Sport Mode Profile
■ Languages
■ Time and Date
■ Radio Settings
■ Phone Settings
■ Navigation Settings
■ Display Settings
■ Vehicle Settings
In the corresponding submenus the
following settings can be changed:
Sport Mode Profile
■ Engine Sport Performance :
Accelerator pedal and gear change
characteristics become more
responsive.
■ Sport Mode Back Lighting :
Change of instrument illumination
colour.
■ Sport Suspension : Damping
becomes harder.
■ Sport Steering : Steering support is
reduced.
Languages
Selection of the desired language.
Time and Date
See Infotainment system manual for
further information.
Radio Settings
See Infotainment system manual for
further information.
Phone Settings
See Infotainment system manual for
further information.Navigation Settings
See Infotainment system manual for
further information.
Display Settings ■ Home Page Menu :
See Infotainment system manual
for further information.
■ Rear Camera Options :
Press to adjust the rear camera
options 3 206.
■ Display Off :
See Infotainment system manual
for further information.
■ Map Settings :
See Infotainment system manual
for further information.
Vehicle Settings ■ Climate and Air Quality
Auto Fan Speed : Modifies the fan
regulation. Changed setting will be active after switching the ignition off
and on again.
Air Conditioning Mode : Activates or
deactivates cooling when switching
Page 152 of 331

150Lighting
Light switch in position AUTO:
switching on front fog lights will switch headlights on automatically.
Rear fog lights
Operated with the r button.
Light switch in position AUTO:
switching on rear fog light will switch
headlights on automatically.
Light switch in position 8: rear fog
light can only be switched on with
front fog lights.
The vehicle rear fog light is
deactivated when towing.
Parking lights
When the vehicle is parked, the
parking lights on one side can be
activated:
1. Switch off ignition.
2. Move turn signal lever all the way up (right parking lights) or down
(left parking lights).
Confirmed by a signal and the
corresponding turn signal control
indicator.
Reversing lights
The reversing light comes on when
the ignition is on and reverse gear is
selected.
Misted light covers The inside of the light housing may
mist up briefly in poor, wet and cold weather conditions, in heavy rain or
after washing. The mist disappears
quickly by itself; to help switch on the
headlights.
Page 165 of 331
Climate control163
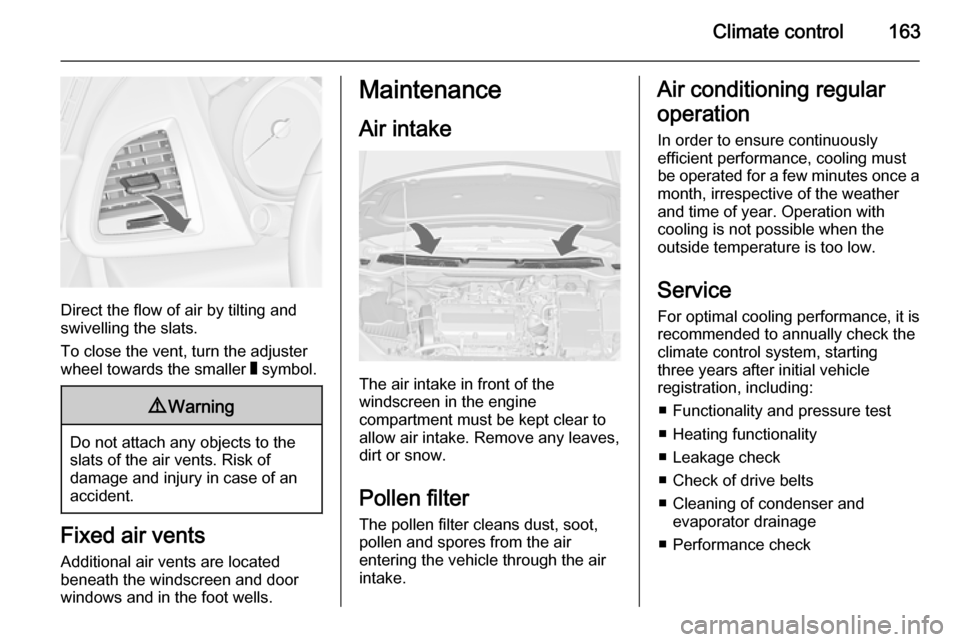
Direct the flow of air by tilting and
swivelling the slats.
To close the vent, turn the adjuster
wheel towards the smaller W symbol.
9 Warning
Do not attach any objects to the
slats of the air vents. Risk of
damage and injury in case of an
accident.
Fixed air vents
Additional air vents are located
beneath the windscreen and door windows and in the foot wells.
Maintenance
Air intake
The air intake in front of the
windscreen in the engine
compartment must be kept clear to
allow air intake. Remove any leaves,
dirt or snow.
Pollen filter
The pollen filter cleans dust, soot,
pollen and spores from the air
entering the vehicle through the air
intake.
Air conditioning regular
operation In order to ensure continuously
efficient performance, cooling must
be operated for a few minutes once a
month, irrespective of the weather
and time of year. Operation with
cooling is not possible when the
outside temperature is too low.
Service
For optimal cooling performance, it is recommended to annually check the
climate control system, starting
three years after initial vehicle
registration, including:
■ Functionality and pressure test■ Heating functionality
■ Leakage check
■ Check of drive belts
■ Cleaning of condenser and evaporator drainage
■ Performance check
Page 168 of 331

166Driving and operating
Do not operate the accelerator pedal.Diesel engine: turn the key to position2 for preheating until control
indicator ! extinguishes.
Turn the key briefly to position 3 and
release: an automatic procedure
operates the starter with a short delay
as long as the engine is running, see
Automatic Starter Control.
Before restarting or to switch off the
engine, turn the key back to position
0 .
During an Autostop, the engine can
be started by depressing the clutch
pedal.Starting the vehicle at low
temperatures
The start of the engine without
additional heaters is possible down to -25 °С for diesel engines and -30 °C
for petrol engines. Required is an engine oil with the correct viscosity,
the correct fuel, performed services
and a sufficiently charged battery.
With temperatures below -30 °C the
automatic transmission need a
warming phase of approx. 5 minutes.
The selector lever must be in position P .
Automatic Starter Control
This function controls the engine
starting procedure. The driver does
not have to hold the key in position 3.
Once applied, the system will go on
starting automatically until the engine
is running. Because of the checking
procedure, the engine starts running
after a short delay.Possible reasons for a non-starting
engine:
■ Clutch pedal not operated (manual transmission)
■ Brake pedal not operated or selector lever not in P or N
(automatic transmission)
■ Timeout occurred
Turbo engine warm-up
Upon start-up, engine available
torque may be limited for a short time, especially when the engine
temperature is cold. The limitation is
to allow the lubrication system to fully
protect the engine.
Overrun cut-off The fuel supply is automatically cut off
during overrun, i.e. when the vehicle
is driven with a gear engaged but accelerator is released.
Page 177 of 331
Driving and operating175Manual transmission
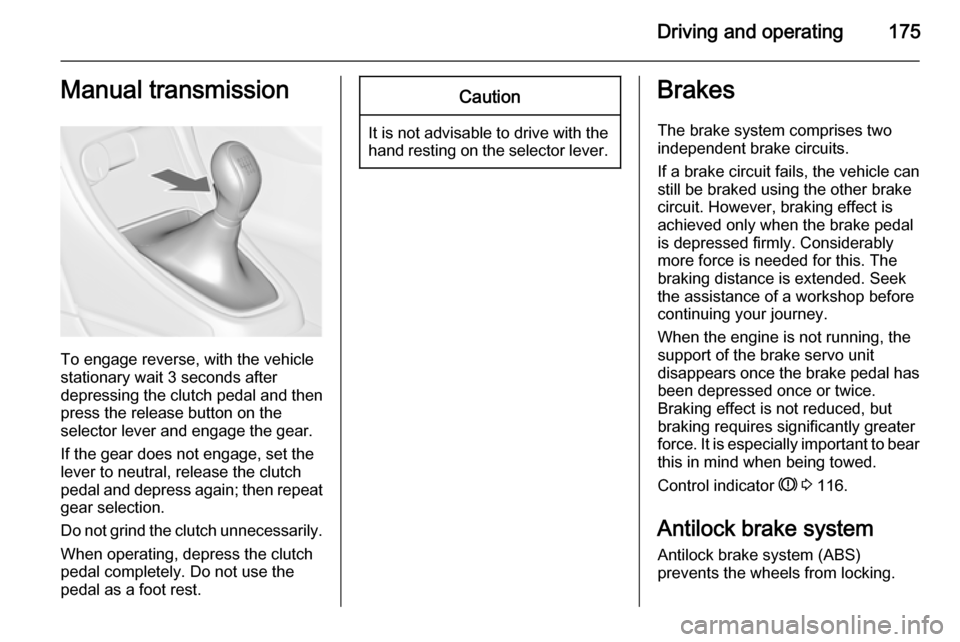
To engage reverse, with the vehicle
stationary wait 3 seconds after
depressing the clutch pedal and then
press the release button on the
selector lever and engage the gear.
If the gear does not engage, set the
lever to neutral, release the clutch
pedal and depress again; then repeat
gear selection.
Do not grind the clutch unnecessarily. When operating, depress the clutchpedal completely. Do not use the
pedal as a foot rest.
Caution
It is not advisable to drive with the hand resting on the selector lever.
Brakes
The brake system comprises two independent brake circuits.
If a brake circuit fails, the vehicle can
still be braked using the other brake
circuit. However, braking effect is
achieved only when the brake pedal
is depressed firmly. Considerably
more force is needed for this. The
braking distance is extended. Seek the assistance of a workshop before
continuing your journey.
When the engine is not running, the
support of the brake servo unit
disappears once the brake pedal has been depressed once or twice.
Braking effect is not reduced, but
braking requires significantly greater
force. It is especially important to bear
this in mind when being towed.
Control indicator R 3 116.
Antilock brake system
Antilock brake system (ABS)
prevents the wheels from locking.
Page 178 of 331

176Driving and operating
ABS starts to regulate brake pressureas soon as a wheel shows a tendency to lock. The vehicle remains
steerable, even during hard braking.
ABS control is made apparent
through a pulse in the brake pedal
and the noise of the regulation
process.
For optimum braking, keep the brake
pedal fully depressed throughout the
braking process, despite the fact that
the pedal is pulsating. Do not reduce
the pressure on the pedal.
After starting off the system performs
a self-test which may be audible.
Control indicator u 3 117.
Adaptive brake light
During full braking, all three brake
lights flash for the duration of ABS
control.Fault9 Warning
If there is a fault in the ABS, the
wheels may be liable to lock due
to braking that is heavier than
normal. The advantages of ABS are no longer available. During
hard braking, the vehicle can no longer be steered and may
swerve.
Have the cause of the fault remedied
by a workshop.
Parking brake
Manual parking brake
Always apply parking brake firmly
without operating the release button,
and apply as firmly as possible on a
downhill or uphill slope.
To release the parking brake, pull the lever up slightly, press the release
button and fully lower the lever.
To reduce the operating forces of the
parking brake, depress the foot brake
at the same time.
Control indicator R 3 116.
Page 182 of 331

180Driving and operating
For a more sporty behaviour ESC and
TC can be deactivated separately:
■ press button b briefly: only Traction
control system is inactive, ESC
remains active, k illuminates
■ hold button b pressed for min.
5 seconds: TC and ESC are
deactivated, k and n illuminate.
Additionally the selected mode is
displayed as status message in the
Driver Information Centre.
If the vehicle comes into threshold
with deactivated ESP, the system will reactivate ESP for the time duration
of the threshold, when the brake pedal is depressed once.
ESC is reactivated by pressing the
b button again. If the TC system was
previously disabled, both TC and
ESC are reactivated.
ESC is also reactivated the next time
the ignition is switched on.Deactivation, OPC version
For very high-performance driving
ESC and TC can be deactivated
separately. The following modes are
selectable:
■ press button b briefly: only Traction
control system is inactive, ESC
remains active, k illuminates
■ press button b twice briefly within
2 seconds: TC is inactive, ESC is
operable without engine power
reduction, k and n illuminate
■ hold button b pressed for min.
5 seconds: TC and ESC are
completely inactive, k and n
illuminate.
Additionally the selected mode is
displayed as status message in the
Driver Information Centre.
On OPC version TC and ESC remain deactivated even if the vehicle comes into threshold with unstable
driveability.
ESC is reactivated by pressing the
b button again. If the TC system was
previously disabled, both TC and
ESC are reactivated.
ESC is also reactivated the next time
the ignition is switched on.
Page 183 of 331
Driving and operating181Interactive driving system
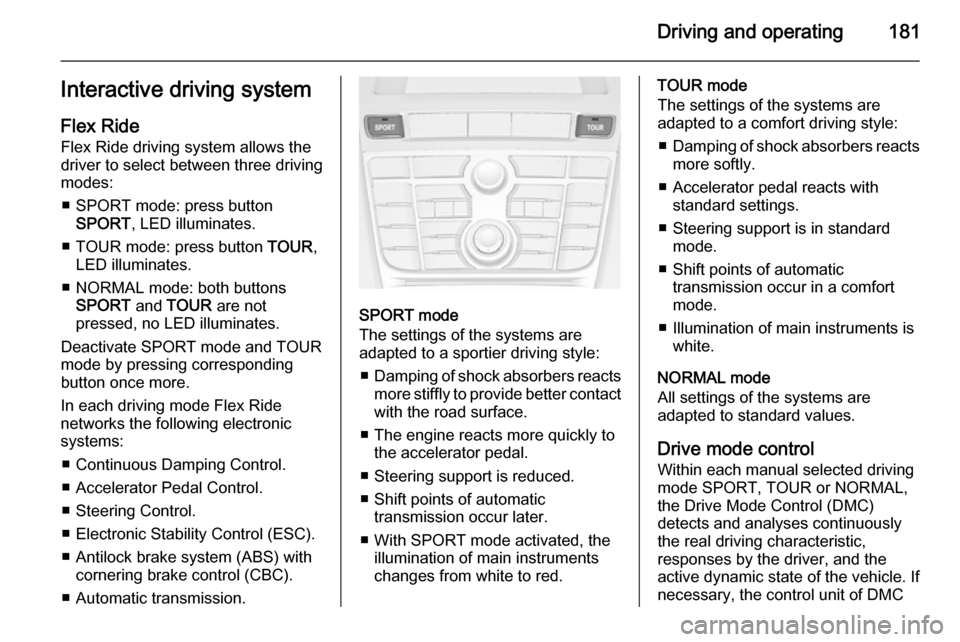
Flex Ride Flex Ride driving system allows the
driver to select between three driving
modes:
■ SPORT mode: press button SPORT , LED illuminates.
■ TOUR mode: press button TOUR,
LED illuminates.
■ NORMAL mode: both buttons SPORT and TOUR are not
pressed, no LED illuminates.
Deactivate SPORT mode and TOUR
mode by pressing corresponding
button once more.
In each driving mode Flex Ride
networks the following electronic systems:
■ Continuous Damping Control.
■ Accelerator Pedal Control.
■ Steering Control.
■ Electronic Stability Control (ESC).
■ Antilock brake system (ABS) with cornering brake control (CBC).
■ Automatic transmission.
SPORT mode
The settings of the systems are
adapted to a sportier driving style:
■ Damping of shock absorbers reacts
more stiffly to provide better contact
with the road surface.
■ The engine reacts more quickly to the accelerator pedal.
■ Steering support is reduced.
■ Shift points of automatic transmission occur later.
■ With SPORT mode activated, the illumination of main instruments
changes from white to red.
TOUR mode
The settings of the systems are
adapted to a comfort driving style:
■ Damping of shock absorbers reacts
more softly.
■ Accelerator pedal reacts with standard settings.
■ Steering support is in standard mode.
■ Shift points of automatic transmission occur in a comfort
mode.
■ Illumination of main instruments is white.
NORMAL mode
All settings of the systems are
adapted to standard values.
Drive mode control
Within each manual selected driving
mode SPORT, TOUR or NORMAL,
the Drive Mode Control (DMC)
detects and analyses continuously
the real driving characteristic,
responses by the driver, and the
active dynamic state of the vehicle. If
necessary, the control unit of DMC