button OPEL ASTRA J 2014 Owner's Guide
[x] Cancel search | Manufacturer: OPEL, Model Year: 2014, Model line: ASTRA J, Model: OPEL ASTRA J 2014Pages: 331, PDF Size: 10.13 MB
Page 39 of 331
Keys, doors and windows37
Initialising the power windowsIf the windows cannot be closed
automatically (e.g. after
disconnecting the vehicle battery), a
warning message or a warning code
is displayed in the Driver Information
Centre.
Vehicle messages 3 128.
Activate the window electronics as
follows:
1. Close doors.
2. Switch on ignition.
3. Pull switch until the window is closed and keep pulling for
additional 2 seconds.
4. Repeat for each window.Heated rear window
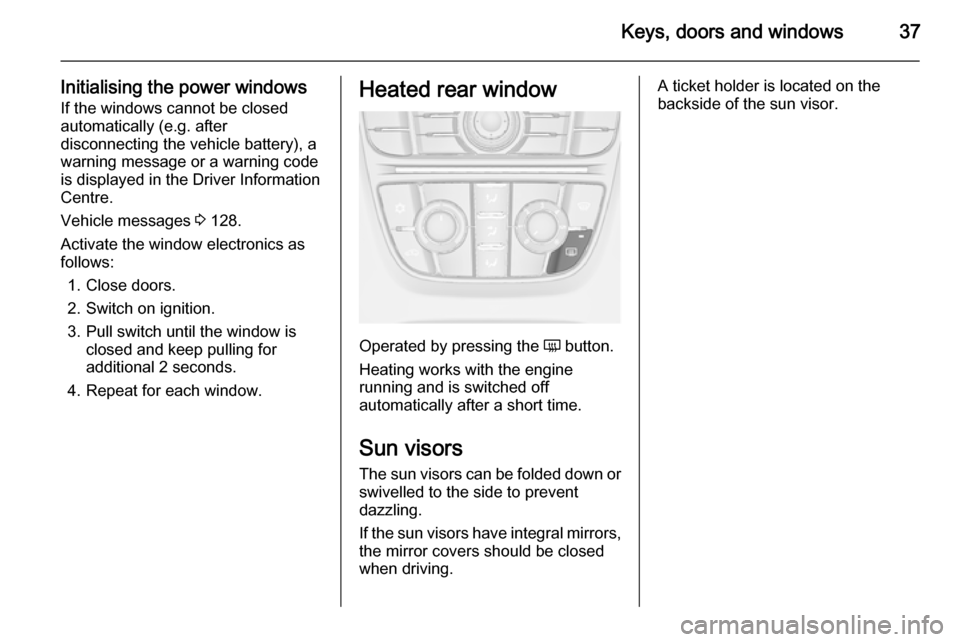
Operated by pressing the Ü button.
Heating works with the engine
running and is switched off
automatically after a short time.
Sun visors The sun visors can be folded down orswivelled to the side to prevent
dazzling.
If the sun visors have integral mirrors, the mirror covers should be closed
when driving.
A ticket holder is located on the
backside of the sun visor.
Page 41 of 331
Keys, doors and windows39
Closing sunroof from outside
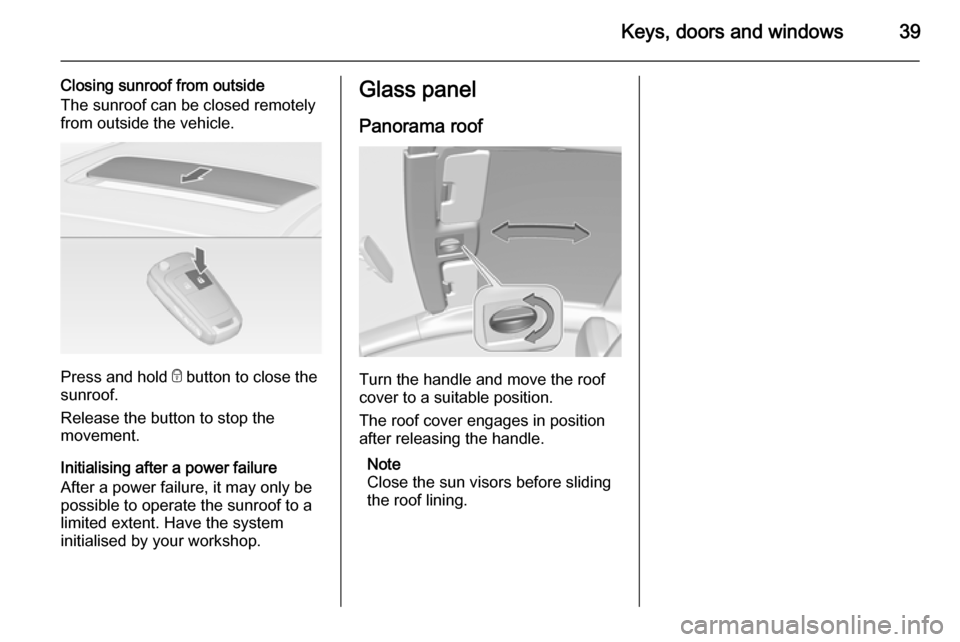
The sunroof can be closed remotely
from outside the vehicle.
Press and hold e button to close the
sunroof.
Release the button to stop the
movement.
Initialising after a power failure
After a power failure, it may only be possible to operate the sunroof to a
limited extent. Have the system
initialised by your workshop.
Glass panel
Panorama roof
Turn the handle and move the roof
cover to a suitable position.
The roof cover engages in position
after releasing the handle.
Note
Close the sun visors before sliding
the roof lining.
Page 42 of 331
40Seats, restraintsSeats, restraintsHead restraints............................ 40
Front seats ................................... 42
Rear seats ................................... 49
Seat belts ..................................... 49
Airbag system .............................. 52
Child restraints ............................. 56Head restraints
Position9 Warning
Only drive with the head restraint
set to the proper position.
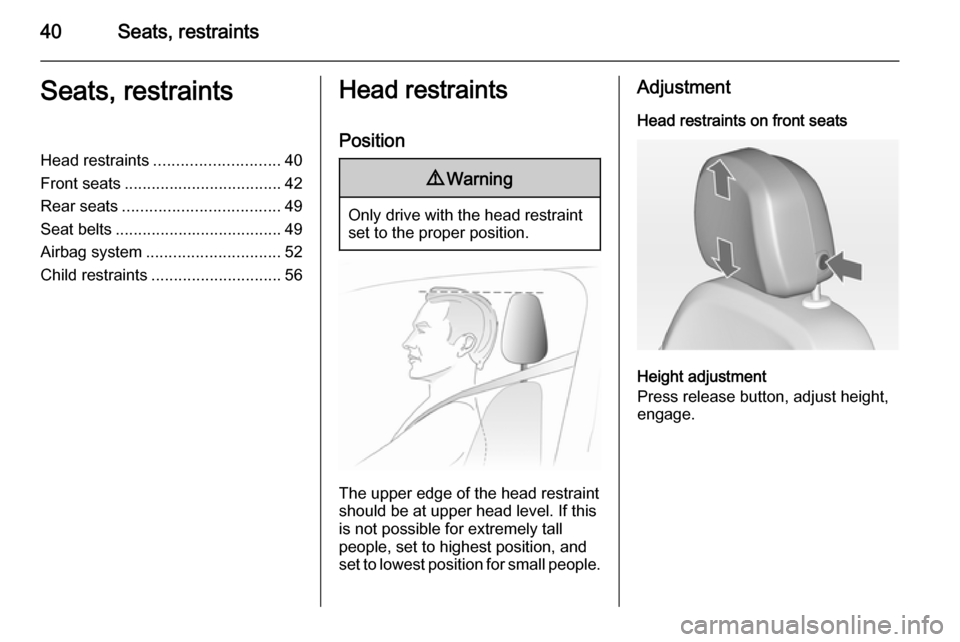
The upper edge of the head restraint
should be at upper head level. If this
is not possible for extremely tall
people, set to highest position, and
set to lowest position for small people.
Adjustment
Head restraints on front seats
Height adjustment
Press release button, adjust height,
engage.
Page 51 of 331
Seats, restraints49Heating
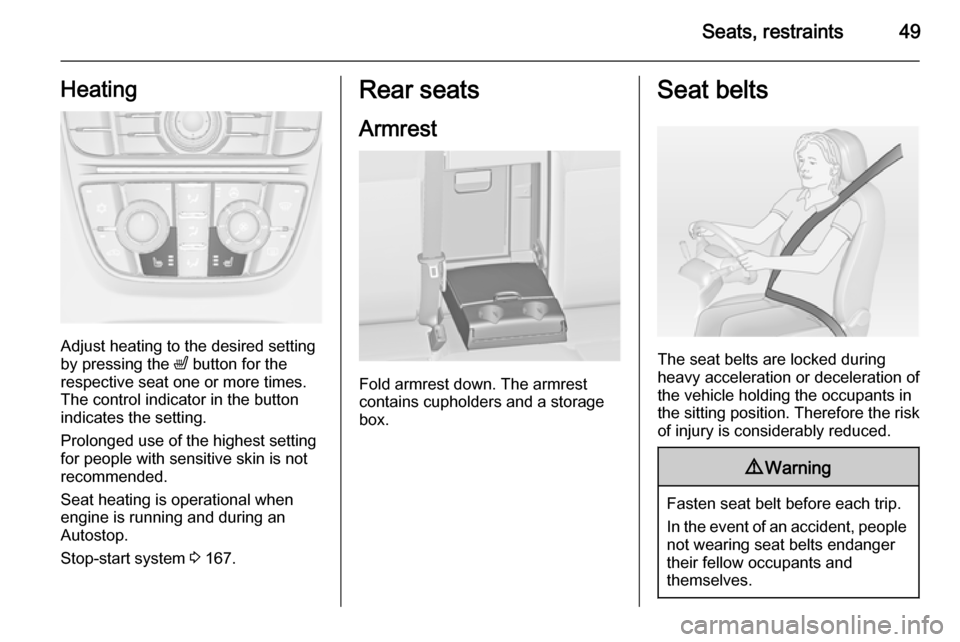
Adjust heating to the desired setting
by pressing the ß button for the
respective seat one or more times.
The control indicator in the button
indicates the setting.
Prolonged use of the highest setting
for people with sensitive skin is not
recommended.
Seat heating is operational when engine is running and during an
Autostop.
Stop-start system 3 167.
Rear seats
Armrest
Fold armrest down. The armrest
contains cupholders and a storage
box.
Seat belts
The seat belts are locked during
heavy acceleration or deceleration of
the vehicle holding the occupants in
the sitting position. Therefore the risk
of injury is considerably reduced.
9 Warning
Fasten seat belt before each trip.
In the event of an accident, people
not wearing seat belts endanger their fellow occupants and
themselves.
Page 53 of 331
Seats, restraints51
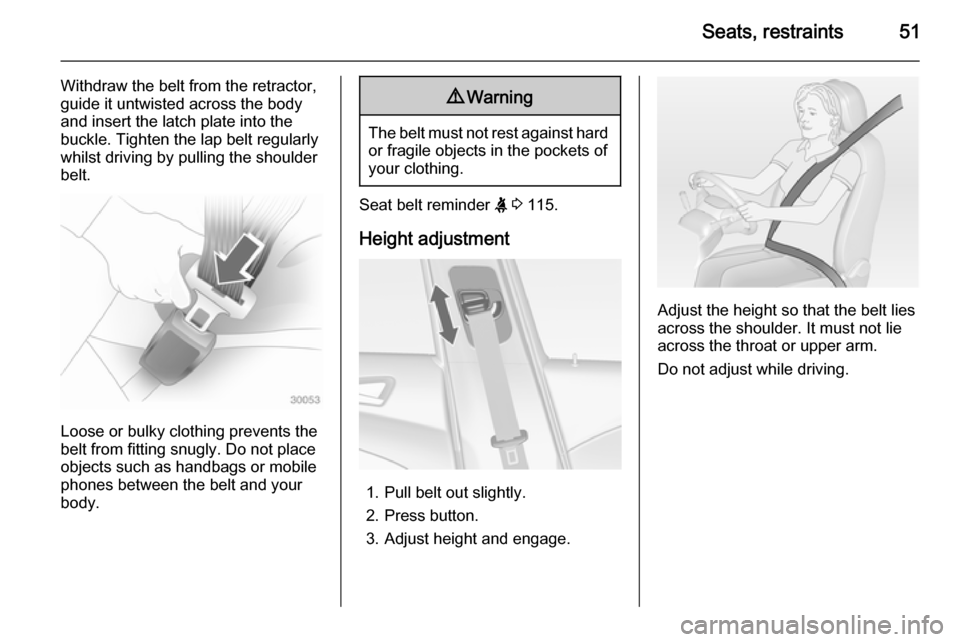
Withdraw the belt from the retractor,
guide it untwisted across the body
and insert the latch plate into the
buckle. Tighten the lap belt regularly
whilst driving by pulling the shoulder
belt.
Loose or bulky clothing prevents the
belt from fitting snugly. Do not place
objects such as handbags or mobile
phones between the belt and your body.
9 Warning
The belt must not rest against hard
or fragile objects in the pockets of
your clothing.
Seat belt reminder X 3 115.
Height adjustment
1. Pull belt out slightly.
2. Press button.
3. Adjust height and engage.
Adjust the height so that the belt lies across the shoulder. It must not lie
across the throat or upper arm.
Do not adjust while driving.
Page 54 of 331
52Seats, restraints
Removing
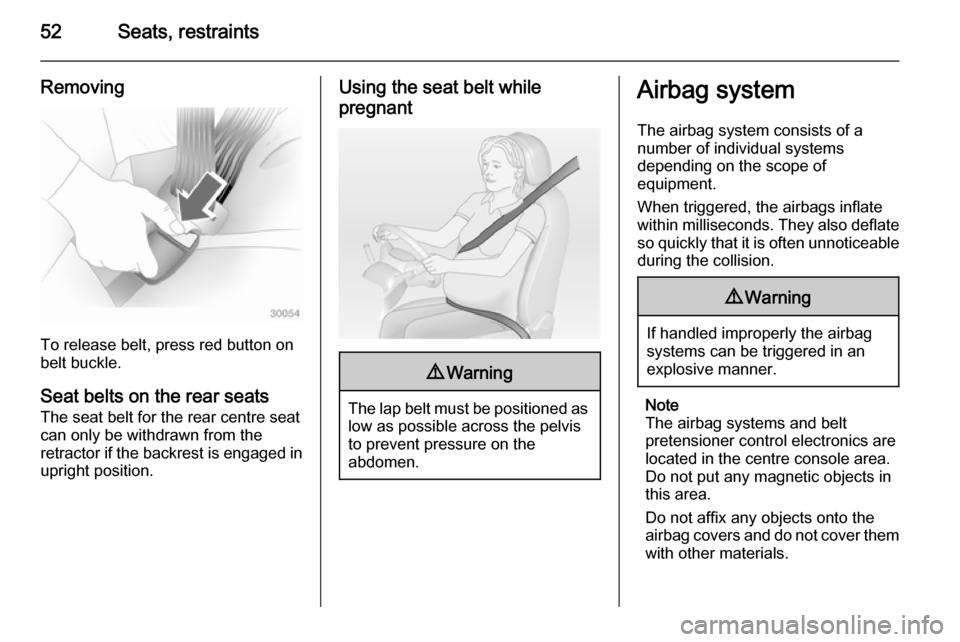
To release belt, press red button on
belt buckle.
Seat belts on the rear seats
The seat belt for the rear centre seat
can only be withdrawn from the
retractor if the backrest is engaged in upright position.
Using the seat belt while
pregnant9 Warning
The lap belt must be positioned as
low as possible across the pelvis
to prevent pressure on the
abdomen.
Airbag system
The airbag system consists of a
number of individual systems
depending on the scope of
equipment.
When triggered, the airbags inflate
within milliseconds. They also deflate
so quickly that it is often unnoticeable
during the collision.9 Warning
If handled improperly the airbag
systems can be triggered in an
explosive manner.
Note
The airbag systems and belt
pretensioner control electronics are
located in the centre console area.
Do not put any magnetic objects in
this area.
Do not affix any objects onto the
airbag covers and do not cover them with other materials.
Page 66 of 331
64StorageUnderseat storage
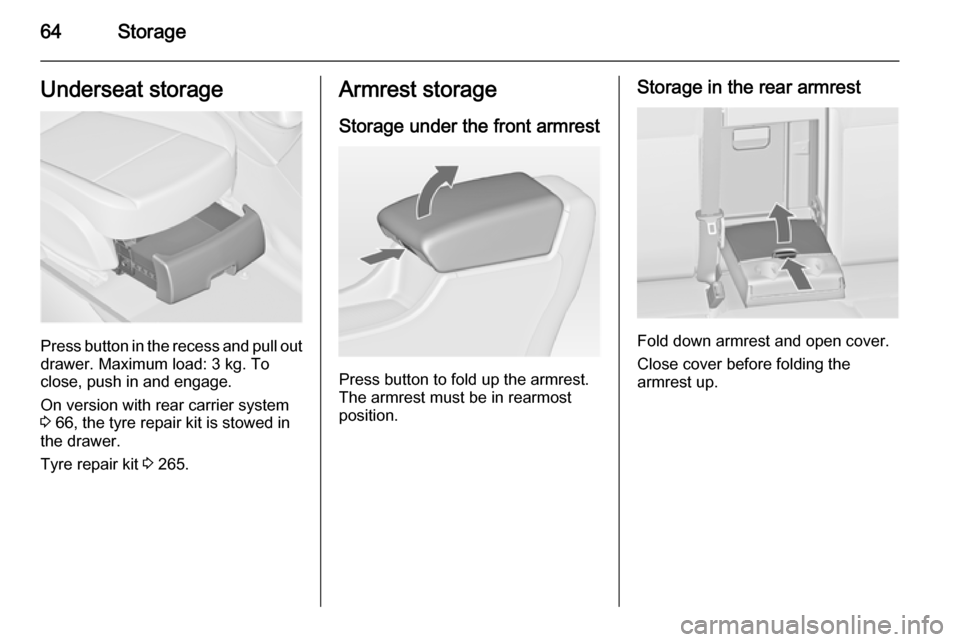
Press button in the recess and pull out
drawer. Maximum load: 3 kg. To
close, push in and engage.
On version with rear carrier system
3 66, the tyre repair kit is stowed in
the drawer.
Tyre repair kit 3 265.
Armrest storage
Storage under the front armrest
Press button to fold up the armrest.
The armrest must be in rearmost
position.
Storage in the rear armrest
Fold down armrest and open cover.
Close cover before folding the
armrest up.
Page 67 of 331
Storage65Centre console storageFront console
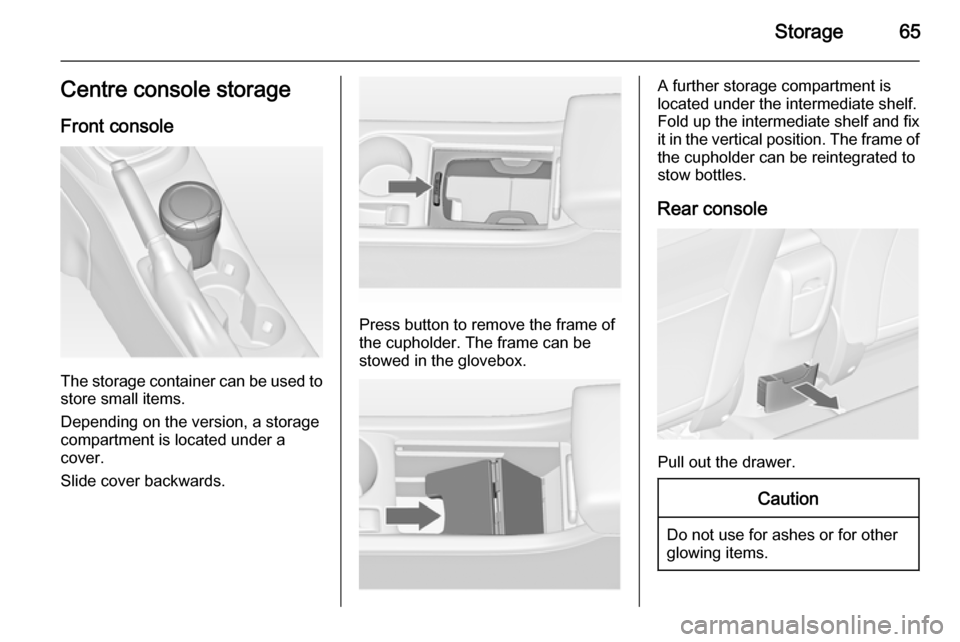
The storage container can be used to
store small items.
Depending on the version, a storage
compartment is located under a
cover.
Slide cover backwards.
Press button to remove the frame of
the cupholder. The frame can be
stowed in the glovebox.
A further storage compartment is
located under the intermediate shelf.
Fold up the intermediate shelf and fix it in the vertical position. The frame of
the cupholder can be reintegrated to
stow bottles.
Rear console
Pull out the drawer.
Caution
Do not use for ashes or for other
glowing items.
Page 84 of 331
82Storage
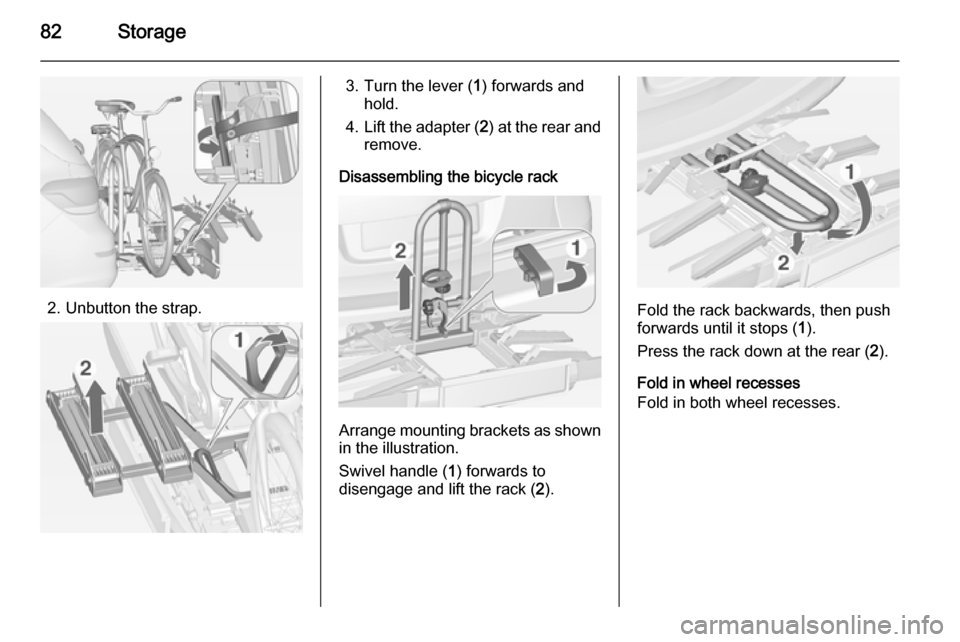
2. Unbutton the strap.
3. Turn the lever (1) forwards and
hold.
4. Lift the adapter ( 2) at the rear and
remove.
Disassembling the bicycle rack
Arrange mounting brackets as shown in the illustration.
Swivel handle ( 1) forwards to
disengage and lift the rack ( 2).
Fold the rack backwards, then push
forwards until it stops ( 1).
Press the rack down at the rear ( 2).
Fold in wheel recesses
Fold in both wheel recesses.
Page 90 of 331

88Storage
The closed cover can be secured
from the side of the load
compartment. Turn the knob 90°:
knob
hori‐
zontal=cover secured from the
side of the passenger
compartmentknob
vertical=cover not secured
Rear storage
3-door hatchback
Press both buttons and fold down
cover.
Maximum load: 0.5 kg.
Load compartment cover Do not place any objects on the cover.
3-door and 5-door hatchback
Removing
Unhook retaining straps from tailgate.