wheel size OPEL ASTRA J 2017 Manual user
[x] Cancel search | Manufacturer: OPEL, Model Year: 2017, Model line: ASTRA J, Model: OPEL ASTRA J 2017Pages: 295, PDF Size: 8.23 MB
Page 202 of 295

200Vehicle careVehicle careGeneral Information...................201
Accessories and vehicle modifications .......................... 201
Vehicle storage ........................201
End-of-life vehicle recovery .....202
Vehicle checks ........................... 202
Performing work ......................202
Bonnet ..................................... 202
Engine oil ................................. 203
Engine coolant ......................... 204
Power steering fluid .................205
Washer fluid ............................ 205
Brakes ..................................... 206
Brake fluid ............................... 206
Vehicle battery ......................... 206
Diesel fuel system bleeding .....208
Wiper blade replacement ........208
Bulb replacement .......................209
Halogen headlights ..................209
Adaptive forward lighting .........212
Fog lights ................................. 213
Front turn signal lights .............215
Tail lights ................................. 217
Side turn signal lights ..............220
Number plate light ...................222Interior lights ............................ 222
Instrument panel illumination ...222
Electrical system ........................223
Fuses ....................................... 223
Engine compartment fuse box . 224
Instrument panel fuse box .......226
Load compartment fuse box ....227
Vehicle tools .............................. 228
Tools ........................................ 228
Wheels and tyres .......................230
Winter tyres ............................. 230
Tyre designations ....................230
Tyre pressure .......................... 230
Tyre pressure monitoring system .................................... 232
Tread depth ............................. 235
Changing tyre and wheel size . 235
Wheel covers ........................... 236
Tyre chains .............................. 236
Tyre repair kit .......................... 236
Wheel changing .......................239
Spare wheel ............................ 243
Jump starting ............................. 247
Towing ....................................... 248
Towing the vehicle ...................248
Towing another vehicle ...........249Appearance care .......................250
Exterior care ............................ 250
Interior care ............................. 253
Page 232 of 295

230Vehicle careWheels and tyres
Tyre condition, wheel condition Drive over edges slowly and at right
angles if possible. Driving over sharp
edges can cause tyre and wheel
damage. Do not trap tyres on the kerb when parking.
Regularly check the wheels for
damage. Seek the assistance of a
workshop in the event of damage or
unusual wear.
Winter tyres
Winter tyres improve driving safety at temperatures below 7 °C and shouldtherefore be fitted on all wheels.
In accordance with country-specific
regulations, affix the speed sticker in
the driver's field of view.4-door notchback
Tyre size 205/65 R16 is only suitable
as a winter tyre.
All engines except A14XER,
B14XER, B14NEL, B14NET,
B14NET LPG, B16XER:Tyre size 215/50 R17 is only suitable
as a winter tyre.
Tyre designations E.g. 215/60 R 16 95 H215:tyre width, mm60:cross-section ratio (tyre height
to tyre width), %R:belt type: RadialRF:type: RunFlat16:wheel diameter, inches95:load index e.g. 95 is equivalent
to 690 kgH:speed code letter
Speed code letter:
Q:up to 160 km/hS:up to 180 km/hT:up to 190 km/hH:up to 210 km/hV:up to 240 km/hW:up to 270 km/h
Choose a tyre appropriate for the
maximum speed of your vehicle.
The maximum speed is achievable at kerb weight with driver (75 kg) plus
125 kg payload. Optional equipment
could reduce the maximum speed of
the vehicle.
Performance 3 265.
Directional tyres
Fit directional tyres such that they roll in the direction of travel. The rolling
direction is indicated by a symbol
(e.g. an arrow) on the sidewall.
Tyre pressure
Check the pressure of cold tyres at
least every 14 days and before any
long journey. Do not forget the spare
wheel. This also applies to vehicles
with tyre pressure monitoring system.
Unscrew the valve cap.
Page 237 of 295

Vehicle care2359. Proceed to the right side frontwheel, and repeat the procedure
in Step 8.
10. Proceed to the right side rear wheel, and repeat the procedure
in Step 8.
11. Proceed to the left side rear wheel, and repeat the procedure
in Step 8. The horn sounds twice
to indicate the sensor
identification code has been
matched to the left side rear tyre,
and the tyre pressure sensor
matching process is no longer
active.
12. Turn off the ignition.
13. Set all four tyres to the recommended air pressure level
as indicated on the tyre pressure
label.
14. Ensure the tyre loading status is set according to the selected
pressure 3 93.
Tread depth
Check tread depth at regular
intervals.Tyres should be replaced for safety
reasons at a tread depth of 2-3 mm
(4 mm for winter tyres).
For safety reasons it is recommended
that the tread depth of the tyres on
one axle should not vary by more than 2 mm.
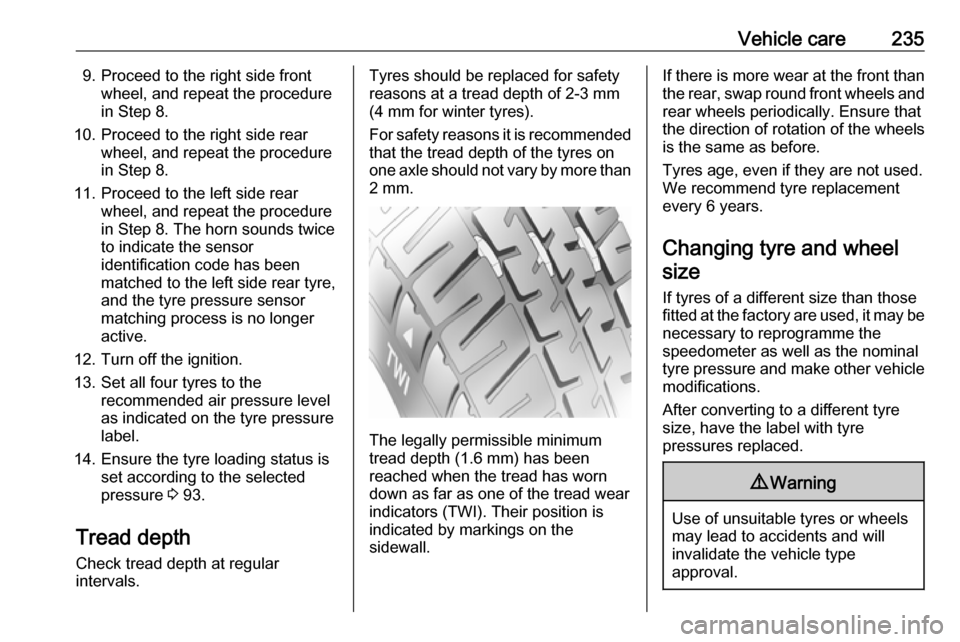
The legally permissible minimum
tread depth (1.6 mm) has been
reached when the tread has worn
down as far as one of the tread wear
indicators (TWI). Their position is
indicated by markings on the
sidewall.
If there is more wear at the front than
the rear, swap round front wheels and rear wheels periodically. Ensure that
the direction of rotation of the wheels
is the same as before.
Tyres age, even if they are not used.
We recommend tyre replacement
every 6 years.
Changing tyre and wheel
size
If tyres of a different size than those
fitted at the factory are used, it may be necessary to reprogramme the
speedometer as well as the nominal
tyre pressure and make other vehicle modifications.
After converting to a different tyre
size, have the label with tyre
pressures replaced.9 Warning
Use of unsuitable tyres or wheels
may lead to accidents and will
invalidate the vehicle type
approval.
Page 238 of 295

236Vehicle careWheel coversWheel covers and tyres that are
factory approved for the respective
vehicle and comply with all of the
relevant wheel and tyre combination
requirements must be used.
If the wheel covers and tyres used are
not factory approved, the tyres must
not have a rim protection ridge.
Wheel covers must not impair brake
cooling.9 Warning
Use of unsuitable tyres or wheel
covers could lead to sudden
pressure loss and thereby
accidents.
Vehicles with steel wheels: When
using locking wheel nuts, do not
attach wheel covers.
Tyre chains
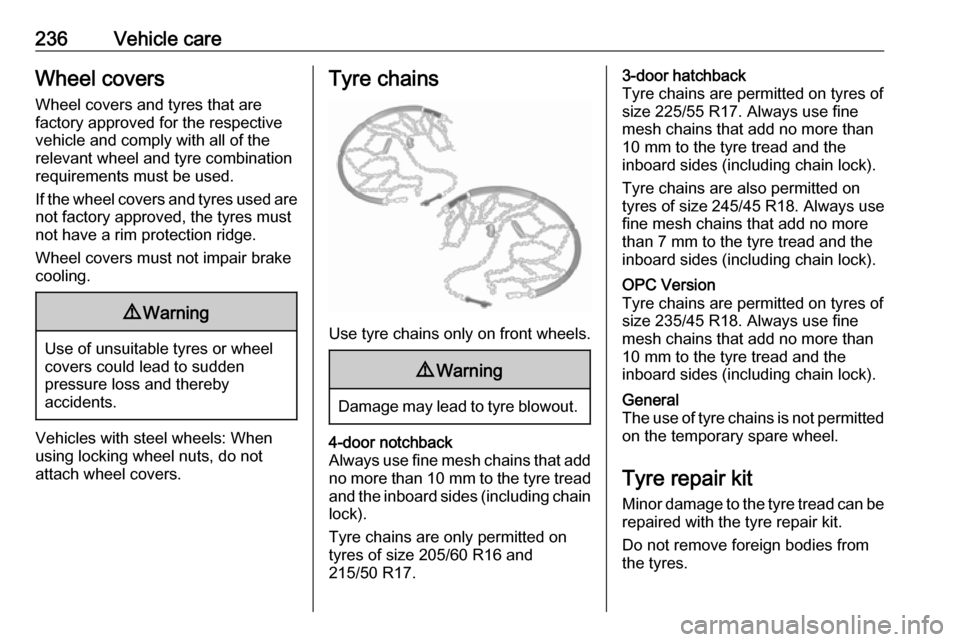
Use tyre chains only on front wheels.
9 Warning
Damage may lead to tyre blowout.
4-door notchback
Always use fine mesh chains that add no more than 10 mm to the tyre tread
and the inboard sides (including chain
lock).
Tyre chains are only permitted on
tyres of size 205/60 R16 and
215/50 R17.3-door hatchback
Tyre chains are permitted on tyres of
size 225/55 R17. Always use fine
mesh chains that add no more than
10 mm to the tyre tread and the
inboard sides (including chain lock).
Tyre chains are also permitted on
tyres of size 245/45 R18. Always use
fine mesh chains that add no more
than 7 mm to the tyre tread and the inboard sides (including chain lock).OPC Version
Tyre chains are permitted on tyres of
size 235/45 R18. Always use fine
mesh chains that add no more than
10 mm to the tyre tread and the
inboard sides (including chain lock).General
The use of tyre chains is not permitted on the temporary spare wheel.
Tyre repair kit
Minor damage to the tyre tread can be
repaired with the tyre repair kit.
Do not remove foreign bodies from
the tyres.
Page 246 of 295

244Vehicle careStowing a damaged full size
wheel in the load compartment,
3-door hatchback
The spare wheel well is not designed for other tyre sizes than the spare
wheel. A damaged full size wheel
must be stowed in the load
compartment and secured with a
strap. Vehicle tools 3 228. To secure
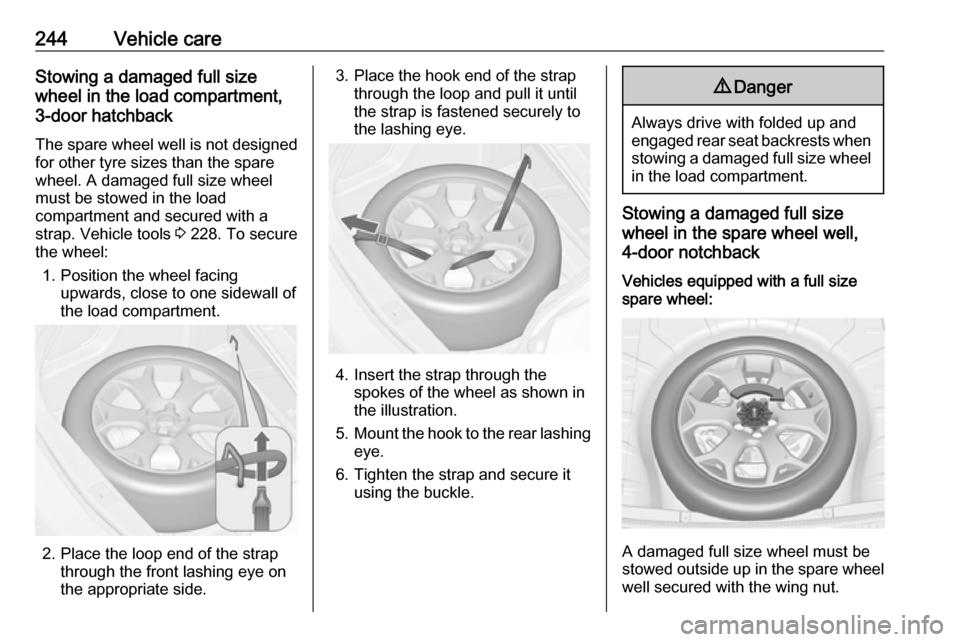
the wheel:
1. Position the wheel facing upwards, close to one sidewall of
the load compartment.
2. Place the loop end of the strap through the front lashing eye on
the appropriate side.
3. Place the hook end of the strap through the loop and pull it until
the strap is fastened securely to
the lashing eye.
4. Insert the strap through the spokes of the wheel as shown in
the illustration.
5. Mount the hook to the rear lashing
eye.
6. Tighten the strap and secure it using the buckle.
9 Danger
Always drive with folded up and
engaged rear seat backrests when stowing a damaged full size wheel
in the load compartment.
Stowing a damaged full size
wheel in the spare wheel well,
4-door notchback
Vehicles equipped with a full size
spare wheel:
A damaged full size wheel must be
stowed outside up in the spare wheel
well secured with the wing nut.
Page 247 of 295

Vehicle care245The floor cover can be placed on the
projecting wheel.Vehicles equipped with a temporary
spare wheel:
Secure a damaged full size wheel
facing upwards with the wing nut in the spare wheel well after exchanging
the thread bolt by an extension bolt,
placed in the tool bag 3 228. To
replace the bolt:
1. Install the hexagon key of the wheel wrench ensuring that it
locates securely on the bolt.
2. Turn the wheel wrench anticlockwise to loosen the bolt.
Remove the bolt.
3. Take the extension bolt from the tool bag 3 228 and screw it in
hand-tight using the hexagon key
of the wheel wrench.
4. Store the tool box and the damaged wheel with the side
facing upwards, in the spare
wheel well and secure it by turning
the wing nut clockwise on the bolt.
The floor cover can be placed on the
projecting wheel.
Replace the extension bolt with the short bolt before placing the
temporary spare wheel in the well
after renewing or repairing the
defective wheel.
Stowing the spare wheel back in
the well after replacing the
damaged wheel
1. Open the floor cover, loosen and remove wing nut.
Only 3-door hatchback: open floor
cover, remove rear storage,
loosen and remove wing nut and
conus.
2. Only 4-door notchback with temporary spare wheel: replace
the extension bolt with the short
bolt by using the hexagon key of
the wheel wrench.
3. Place the tools in the tool box or the tool bag 3 228.
4. Place spare wheel facing upwards, in the wheel well and
secure by tightening the wing nut.
Page 290 of 295

288IndexAAccessories and vehicle modifications .......................... 201
Active Emergency Braking .........173
Active head restraints ...................40
Adaptive cruise control .........92, 162
Adaptive forward lighting ....92,
120, 212
Adjustable air vents ...................137
Airbag and belt tensioners ...........87
Airbag deactivation ................53, 87
Airbag system .............................. 51
Air conditioning regular operation ................................ 138
Air conditioning system .............. 130
Air intake .................................... 137
Air vents...................................... 137
Antilock brake system ................ 151
Antilock brake system (ABS) .......89
Anti-theft alarm system ................29
Anti-theft locking system .............. 29
Appearance care ........................250
Armrest ................................... 47, 48
Armrest storage ........................... 63
Ashtrays ....................................... 80
Automatic anti-dazzle ..................33
Automatic light control ...............117
Automatic locking ........................26
Automatic transmission .............147Autostop..................................... 142
Auxiliary heater ........................... 136
B Battery discharge protection ......128
Battery voltage ........................... 102
Belts.............................................. 48 Bonnet ....................................... 202
Brake and clutch fluid .................255
Brake and clutch system .............88
Brake assist ............................... 154
Brake fluid .................................. 206
Brakes ............................... 151, 206
Breakdown.................................. 248
Bulb replacement ....................... 209
C
Capacities .................................. 270
Car Pass ...................................... 23
Catalytic converter .....................146
Central locking system ................24
Centre console lighting ..............127
Centre console storage ...............64
Changing tyre and wheel size ...235
Charging system .......................... 88
Child locks ................................... 26
Child restraint installation locations ................................... 57
Child restraints.............................. 55
Child restraint systems ................55
Cigarette lighter ........................... 80