windscreen OPEL ASTRA J 2017 Owner's Guide
[x] Cancel search | Manufacturer: OPEL, Model Year: 2017, Model line: ASTRA J, Model: OPEL ASTRA J 2017Pages: 295, PDF Size: 8.23 MB
Page 139 of 295

Climate control137Air vents
Adjustable air vents At least one air vent must be open
while the cooling is on.
To open the vent, turn the adjuster
wheel towards the bigger W symbol.
Adjust the air amount at the vent
outlet by turning the adjuster wheel.
Direct the flow of air by tilting and
swivelling the slats.
To close the vent, turn the adjuster
wheel towards the smaller W symbol.
9 Warning
Do not attach any objects to the
slats of the air vents. Risk of
damage and injury in case of an
accident.
Fixed air vents
Additional air vents are located
beneath the windscreen and door windows and in the foot wells.
Maintenance
Air intake
The air intake in front of the
windscreen in the engine
compartment must be kept clear to
allow air intake. Remove any leaves,
dirt or snow.
Pollen filter The pollen filter cleans dust, soot,
pollen and spores from the air
entering the vehicle through the air
intake.
Page 173 of 295

Driving and operating171SettingsSettings can be changed in the Auto
collision preparation menu in the
vehicle personalisation 3 105.
Forward collision alert based on
front camera system
Forward collision alert uses the front
camera system in the windscreen to
detect a vehicle directly ahead, in
your path, within a distance of approx. 60 metres.
Activation
Forward collision alert operates
automatically above 40 km/h, if it is not deactivated by pressing V, see
below.
Selecting the alert sensitivity
The alert sensitivity can be set to
near, medium or far.
Press V; the current setting is shown
in the Driver Information Centre.
Press V again to change the alert
sensitivity.
Alerting the driver
A green illuminated vehicle ahead
control indicator A illuminates in the
instrument cluster when the system has detected a vehicle in the driving
path.
When the distance to a preceding
moving vehicle gets too small or when
approaching another vehicle too
rapidly and a collision is imminent, the
collision alert symbol pops-up in the
Driver Information Centre.
Simultaneously a warning chime
sounds. Depress the brake pedal, if it is required by the situation.
Page 174 of 295

172Driving and operatingDeactivation
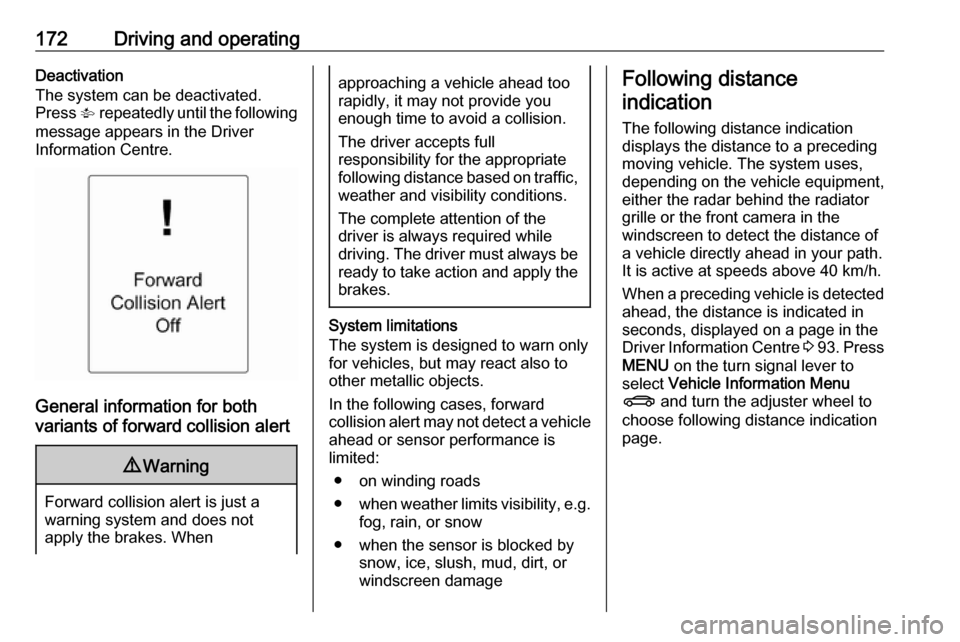
The system can be deactivated.
Press V repeatedly until the following
message appears in the Driver
Information Centre.
General information for both
variants of forward collision alert
9 Warning
Forward collision alert is just a
warning system and does not
apply the brakes. When
approaching a vehicle ahead too
rapidly, it may not provide you
enough time to avoid a collision.
The driver accepts full
responsibility for the appropriate
following distance based on traffic, weather and visibility conditions.
The complete attention of the
driver is always required while
driving. The driver must always be
ready to take action and apply the
brakes.
System limitations
The system is designed to warn only for vehicles, but may react also to
other metallic objects.
In the following cases, forward
collision alert may not detect a vehicle ahead or sensor performance is
limited:
● on winding roads
● when weather limits visibility, e.g.
fog, rain, or snow
● when the sensor is blocked by snow, ice, slush, mud, dirt, or
windscreen damage
Following distance
indication
The following distance indication
displays the distance to a preceding
moving vehicle. The system uses,
depending on the vehicle equipment,
either the radar behind the radiator
grille or the front camera in the
windscreen to detect the distance of
a vehicle directly ahead in your path.
It is active at speeds above 40 km/h.
When a preceding vehicle is detected
ahead, the distance is indicated in
seconds, displayed on a page in the
Driver Information Centre 3 93 . Press
MENU on the turn signal lever to
select Vehicle Information Menu
X and turn the adjuster wheel to
choose following distance indication
page.
Page 188 of 295

186Driving and operatingWhen the Settings page is displayed,select Off to deactivate alert function.
Reactivate by selecting On.
When switching on the ignition, alert function is deactivated.
Pop-up indication is displayed for approx. eight seconds in the Driver
Information Centre.
System reset The content of the traffic sign memory
can be cleared in the Settings menu
of the traffic sign assistant page by
pressing and holding SET/CLR on the
turn signal lever. Upon successful
reset, a chime will sound and the
following symbol is indicated until the next traffic sign is detected.
In some cases, traffic sign assistant is
reset automatically by the system.
Fault
The traffic sign assistant system may
not operate correctly when:
● The area of the windscreen, where the front camera is
located, is not clean.
● Traffic signs are completely or partially covered or difficult to
discern.
● There are adverse environmental
conditions, e.g. heavy rain, snow,direct sunlight or shadows. In this
case No Traffic Sign Detection
due to Weather is indicated in the
Driver Information Centre.
● Traffic signs are incorrectly mounted or damaged.
● Traffic signs do not comply with the Vienna Convention on traffic
signs (Wiener Übereinkommen
über Straßenverkehrszeichen).Caution
The system is intended to help the driver within a defined speed
range to discern certain traffic
signs. Do not ignore traffic signs
which are not displayed by the
system.
The system does not discern any other than the conventional traffic
signs that might give or end a
speed limit.
Do not let this special feature
tempt you into taking risks when
driving.
Always adapt speed to the road
conditions.
Page 189 of 295

Driving and operating187The driver assistance systems donot relieve the driver from full
responsibility for vehicle
operation.
Lane departure warning
The lane departure warning system
observes the lane markings between
which the vehicle is driving via a front camera. The system detects lane
changes and warns the driver in the
event of an unintended lane change
via visual and acoustic signals.
Criteria for the detection of an
unintended lane change are:
● No operation of turn signals.
● No brake pedal operation.
● No active accelerator operation or speeding-up.
● No active steering.
If the driver is active, no warning will
be issued.
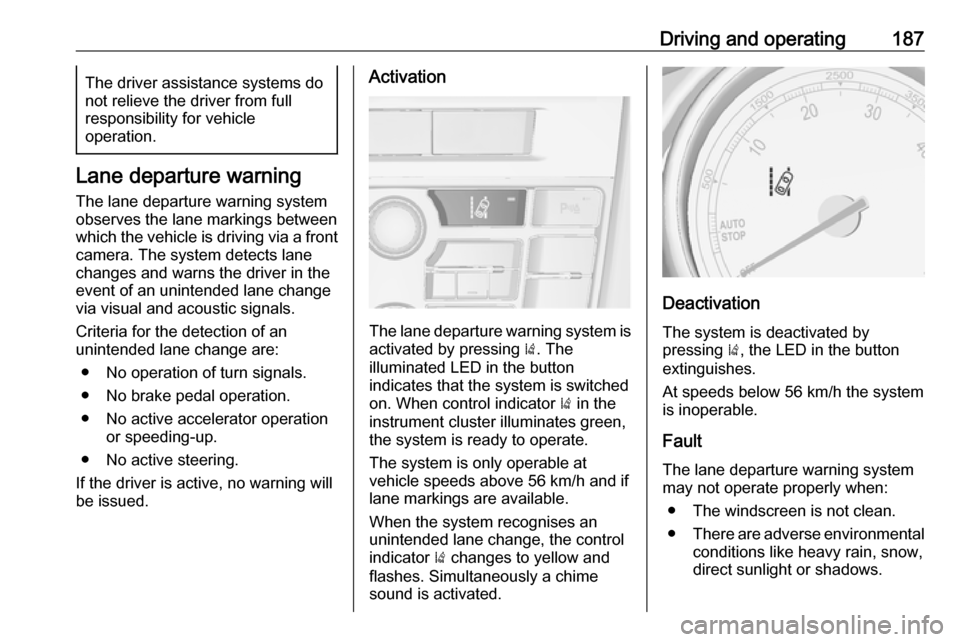
Activation
The lane departure warning system is activated by pressing ). The
illuminated LED in the button
indicates that the system is switched
on. When control indicator ) in the
instrument cluster illuminates green, the system is ready to operate.
The system is only operable at
vehicle speeds above 56 km/h and if lane markings are available.
When the system recognises an
unintended lane change, the control
indicator ) changes to yellow and
flashes. Simultaneously a chime
sound is activated.
Deactivation
The system is deactivated by
pressing ), the LED in the button
extinguishes.
At speeds below 56 km/h the system
is inoperable.
Fault The lane departure warning system
may not operate properly when:
● The windscreen is not clean.
● There are adverse environmental
conditions like heavy rain, snow,
direct sunlight or shadows.
Page 207 of 295

Vehicle care2059Warning
Allow the engine to cool before
opening the cap. Carefully open
the cap, relieving the pressure
slowly.
To top up, use a 1:1 mixture of
approved coolant concentrate mixed
with clean tap water. If no coolant
concentrate is available, use clean
tap water. Install the cap tightly. Have
the coolant concentration checked
and have the cause of the coolant
loss remedied by a workshop.
Power steering fluid
Caution
Extremely small amounts of
contamination can cause steering
system damage and cause it to not work properly. Do not allow
contaminates to contact the fluid
side of the reservoir cap/dipstick or
from entering the reservoir.
Power steering fluid level normally
does not have to be checked. If an
unusual noise sounds during steering or the power steering reacts
unusually, seek the assistance of a workshop.
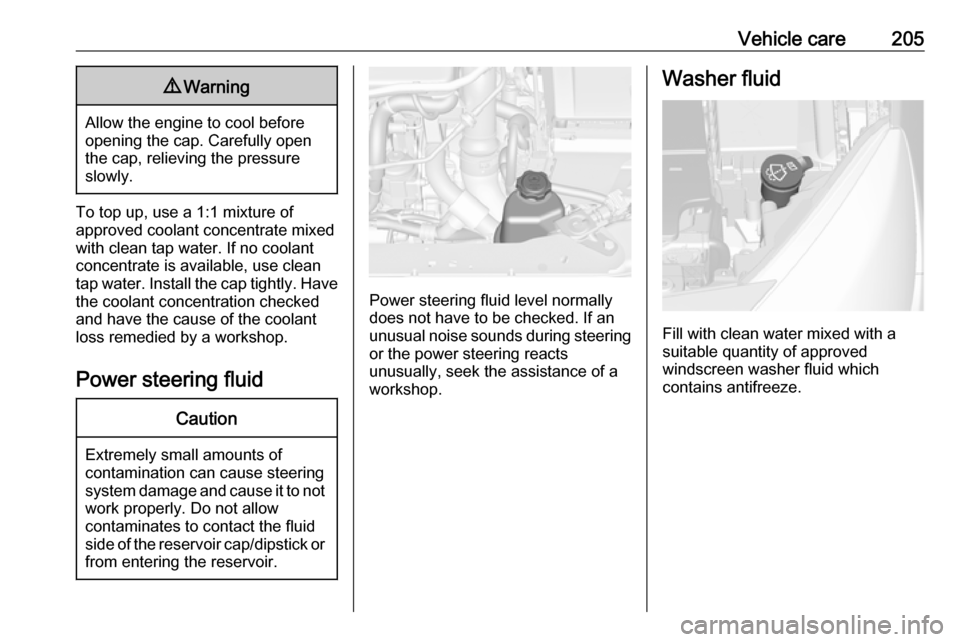
Washer fluid
Fill with clean water mixed with a
suitable quantity of approved
windscreen washer fluid which
contains antifreeze.
Page 227 of 295

Vehicle care225No.Circuit16Starter17Transmission control module18Heated rear window19Front power windows20Rear power windows21Rear electrical centre22Left high beam (Halogen)23Headlamp washer system24Right low beam (Xenon)25Left low beam (Xenon)26Front fog lights27Diesel fuel heating28Start stop system29Electric parking brake30ABS31Adaptive cruise control32AirbagNo.Circuit33Adaptive forward lighting/Auto‐
matic light control34Exhaust gas recirculation35Exterior mirror/Rain sensor36Climate control37Canister vent solenoid38Vacuum pump39Central control module40Windscreen washer/Rear
window washer system41Right high beam (Halogen)42Radiator fan43Windscreen wiper44Windscreen wiper45Radiator fan46–47Horn48Radiator fanNo.Circuit49Fuel pump50Headlamp levelling/Adaptive
forward lighting51Air shutter52Auxiliary heater/Diesel engine53Transmission control module/
Engine control module54Vacuum pump/Instrument
panel cluster/Heating ventila‐
tion/Air conditioning system
After having changed defective fuses,
close the fuse box cover and press
until it engages.
If the fuse box cover is not closed
correctly, malfunction may occur.
Page 251 of 295

Vehicle care249
Screw in the towing eye as far as it will
go until it stops in a horizontal
position.
Attach a tow rope – or better still a tow
rod – to the towing eye.
The towing eye must only be used for towing and not for recovering the
vehicle.
Switch on ignition to release steering
wheel lock and to permit operation of
brake lights, horn and windscreen
wiper.
Transmission in neutral.
Caution
Drive slowly. Do not drive jerkily.
Excessive tractive force can
damage the vehicle.
When the engine is not running,
considerably more force is needed to
brake and steer.
To prevent the entry of exhaust gases from the towing vehicle, switch on the
air recirculation and close the
windows.
Vehicles with automatic transmission: The vehicle must be towed facing
forwards, not faster than 80 km/h nor further than 100 km. In all other cases
and when the transmission is
defective, the front axle must be
raised off the ground.
Seek the assistance of a workshop.
After towing, unscrew the towing eye.
Insert cap at the top and engage
downwards.
Towing another vehicle
Insert a screwdriver in the slot at the
lower bend of the cap. Release the
cap by carefully moving the
screwdriver downwards.
The towing eye is stowed with the
vehicle tools 3 228.
Page 253 of 295

Vehicle care251If using a vehicle wash, comply with
the vehicle wash manufacturer's
instructions. The windscreen wiper and rear window wiper must be
switched off. Remove antenna and
external accessories such as roof
racks etc.
If you wash your vehicle by hand,
make sure that the insides of the
wheel housings are also thoroughly
rinsed out.
Clean edges and folds on opened
doors and the bonnet as well as the
areas they cover.
Clean bright metal mouldings with a
cleaning solution approved for
aluminium to avoid damages.Caution
Always use a cleaning agent with
a pH value of four to nine.
Do not use cleaning agents on hot surfaces.
Have the door hinges of all doors
greased by a workshop.
Do not clean the engine compartment with a steam-jet or high-pressure jet
cleaner.
On vehicles with emblem touchpad:
when cleaning with a high-pressure
jet cleaner ensure a minimum
distance of 30 cm when working
around the tailgate to prevent
unintended unlocking.
Thoroughly rinse and leather-off the
vehicle. Rinse leather frequently. Use
separate leathers for painted and
glass surfaces: remnants of wax on
the windows will impair vision.
Do not use hard objects to remove
spots of tar. Use tar removal spray on
painted surfaces.
Exterior lights
Headlight and other light covers are
made of plastic. Do not use any
abrasive or caustic agents, do not use an ice scraper, and do not clean them
dry.Polishing and waxing
Wax the vehicle regularly (at the
latest when water no longer beads).
Otherwise, the paintwork will dry out.
Polishing is necessary only if the paint
has become dull or if solid deposits
have become attached to it.
Paintwork polish with silicone forms a
protective film, making waxing
unnecessary.
Plastic body parts must not be treated with wax or polishing agents.
Windows and windscreen wiper
blades
Use a soft lint-free cloth or chamois
leather together with window cleaner and insect remover.
When cleaning the rear window from
inside, always wipe in parallel to the
heating element to prevent damage.
For mechanical removal of ice, use a
sharp-edged ice scraper. Press the
scraper firmly against the glass so
that no dirt can get under it and
scratch the glass.
Page 259 of 295

Technical data257Technical dataVehicle identification..................257
Vehicle Identification Number ..257
Identification plate ...................257
Engine identification ................258
Vehicle data ............................... 259
Recommended fluids and lubricants ................................ 259
Engine data ............................. 262
Performance ............................ 265
Vehicle weight ......................... 267
Vehicle dimensions .................269
Capacities ................................ 270
Tyre pressures ........................ 271Vehicle identification
Vehicle IdentificationNumber
The Vehicle Identification Number
may be stamped on the identification plate and on the floor pan, under thefloor covering, visible under a cover.
The Vehicle Identification Number
may be embossed on the instrument
panel, visible through the windscreen,
or in the engine compartment on the
right body panel.
Identification plate
The identification plate is located on
the front left or right door frame.