light OPEL ASTRA K 2020 Infotainment system
[x] Cancel search | Manufacturer: OPEL, Model Year: 2020, Model line: ASTRA K, Model: OPEL ASTRA K 2020Pages: 85, PDF Size: 5.72 MB
Page 47 of 85

Radio47Note
If a waveband-specific station list is
updated, the corresponding
category list is also updated.
A station search is started and a
corresponding message is displayed.
Once the search is finished, the
respective station list is displayed.
Note
The currently received radio station
is indicated by the l symbol next to
the station name.
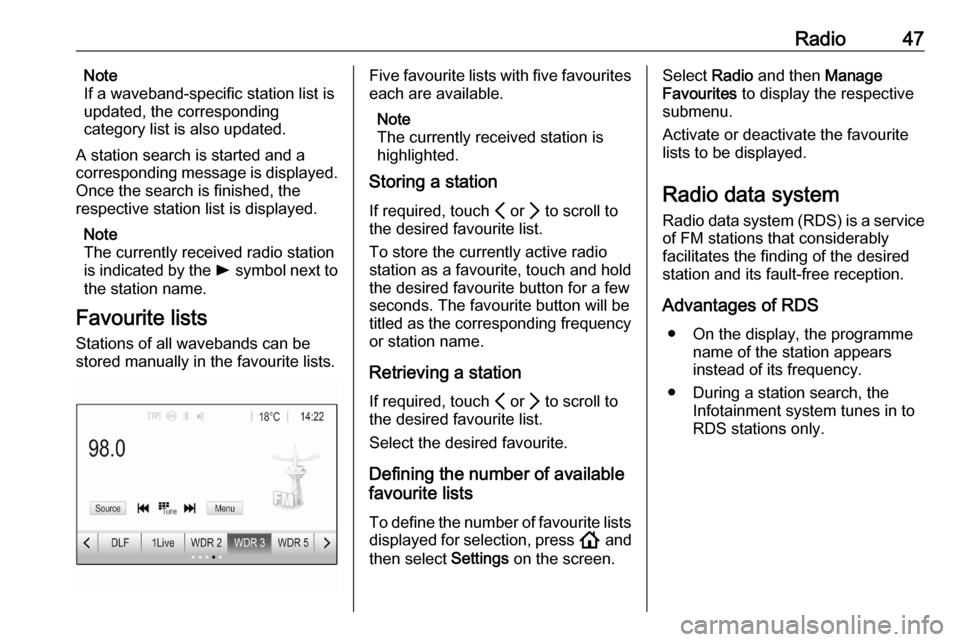
Favourite lists
Stations of all wavebands can be
stored manually in the favourite lists.Five favourite lists with five favourites each are available.
Note
The currently received station is
highlighted.
Storing a station
If required, touch P or Q to scroll to
the desired favourite list.
To store the currently active radio
station as a favourite, touch and hold
the desired favourite button for a few
seconds. The favourite button will be
titled as the corresponding frequency
or station name.
Retrieving a station
If required, touch P or Q to scroll to
the desired favourite list.
Select the desired favourite.
Defining the number of available
favourite lists
To define the number of favourite lists
displayed for selection, press ! and
then select Settings on the screen.Select Radio and then Manage
Favourites to display the respective
submenu.
Activate or deactivate the favourite
lists to be displayed.
Radio data system
Radio data system (RDS) is a service of FM stations that considerably
facilitates the finding of the desired
station and its fault-free reception.
Advantages of RDS ● On the display, the programme name of the station appears
instead of its frequency.
● During a station search, the Infotainment system tunes in to
RDS stations only.
Page 48 of 85

48Radio● The Infotainment system alwaystunes into the best receivable
broadcasting frequency of the set station by means of AF
(alternative frequency).
● Depending on the station that is received, the Infotainment
system displays radio text that
can contain e.g. information on the current programme.
RDS configuration Touch Menu in the FM radio main
menu to open the corresponding
waveband-specific submenu.
Scroll to RDS.
Activate or deactivate RDS.
Traffic Programme Radio traffic service stations are RDS
stations that broadcast traffic news. If the traffic service is switched on, the
currently playing audio source is
interrupted for the duration of the
traffic announcement.Activating the traffic programme
function
Select Menu in the FM radio main
menu to open the corresponding waveband-specific submenu.
Touch the screen button next to
Traffic Programme to activate or
deactivate the function.
Note
In the station list, TP is displayed
next to the stations providing a traffic
programme.
If the radio traffic service is activated, [TP] is shown in the top line of all main
menus. If the current station is not a
radio traffic service station, TP is
greyed-out and a search is started
automatically for the next radio traffic
service station. As soon as a radio
traffic service station is found, TP is
highlighted. If no radio traffic service station is found, TP remains greyed-
out.
If a traffic announcement is broadcast on the respective station, a message
is displayed.To interrupt the announcement and return to the function previously
activated, touch the screen or press
m .
Regionalisation Sometimes RDS stations broadcast
regionally different programmes on
different frequencies.
Select Menu in the FM radio main
menu to open the corresponding
waveband-specific submenu and
scroll to Region
Activate or deactivate Region.
If regionalisation is activated,
alternative frequencies with the same regional programmes are selected
where necessary. If regionalisation is
switched off, alternative frequencies
of the stations are selected without
regard to regional programmes.
Digital audio broadcasting
Digital audio broadcasting (DAB)
broadcasts radio stations digitally.
DAB stations are indicated by the
programme name instead of the
broadcasting frequency.
Page 62 of 85

62Navigation
Depending on the former setting, the
screen button is labelled 3D Head
Up , 2D Head Up or 2D North Up . The
map view changes according to the
screen button.
Select the desired option.
Map colours
Depending on the external lighting
conditions, the colouring of the map
screen (light colours for the day and
dark colours for the night) can be
adapted.
Select % on the map screen to
display the Options menu. Select
Navigation Settings and then Map
colours .
The default setting is Auto. When
Auto is activated, the screen adjusts
automatically.
Alternatively, activate Day (light) or
Night (dark) for an only light or only
dark screen.
Autozoom function
If the autozoom function is activated,
the zoom level changes automatically
when approaching a turning
manoeuvre during active route
guidance. This way, a good overview
of the respective manoeuvre is
always given.
If the autozoom function is
deactivated, the selected zoom level
remains the same during the whole
route guidance process.
To deactivate the function, select %
on the map to display the Options
menu. Select Navigation Settings and
then touch the slider bar next to Auto
Zoom .
Touch the screen button again to
reactivate the function.POI (Points of Interest) icons on the
map
POIs are points of general interest,
e.g. petrol stations or restaurants.
The display of POI categories shown
on the map may be personally
adapted.
Select % on the map to display the
Options menu. Select Navigation
Settings and then Show on map .
Activate the desired POI categories.
Traffic events on the map
Traffic events may be directly
indicated on the map.
To activate the function, select % on
the map to display the Options menu.
Select Traffic on Map . The screen
button changes to activation mode.
To deactivate the function, select
Traffic on Map again.
Time indication
The time indication during active
route guidance may be displayed in two different modes: the remaining
time (until the destination will be
reached) or the arrival time (when the destination will be reached).
Page 75 of 85

Phone75
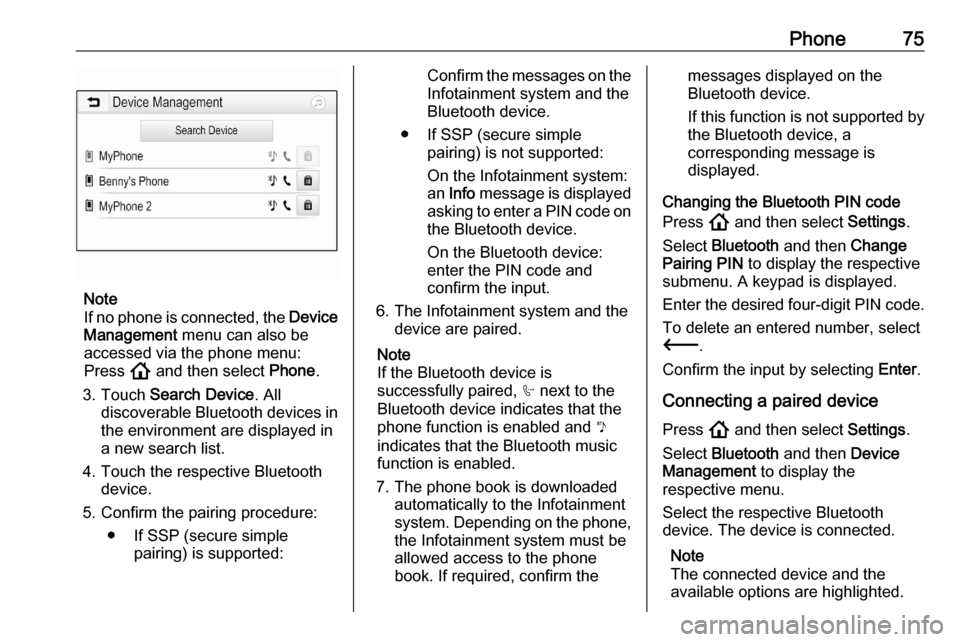
Note
If no phone is connected, the Device
Management menu can also be
accessed via the phone menu:
Press ! and then select Phone.
3. Touch Search Device . All
discoverable Bluetooth devices in
the environment are displayed in a new search list.
4. Touch the respective Bluetooth device.
5. Confirm the pairing procedure: ● If SSP (secure simple pairing) is supported:
Confirm the messages on the
Infotainment system and the
Bluetooth device.
● If SSP (secure simple pairing) is not supported:
On the Infotainment system: an Info message is displayed
asking to enter a PIN code on the Bluetooth device.
On the Bluetooth device:
enter the PIN code and
confirm the input.
6. The Infotainment system and the device are paired.
Note
If the Bluetooth device is
successfully paired, h next to the
Bluetooth device indicates that the
phone function is enabled and y
indicates that the Bluetooth music
function is enabled.
7. The phone book is downloaded automatically to the Infotainment
system. Depending on the phone,
the Infotainment system must be allowed access to the phone
book. If required, confirm themessages displayed on the
Bluetooth device.
If this function is not supported by the Bluetooth device, a
corresponding message is
displayed.
Changing the Bluetooth PIN code
Press ! and then select Settings.
Select Bluetooth and then Change
Pairing PIN to display the respective
submenu. A keypad is displayed.
Enter the desired four-digit PIN code.
To delete an entered number, select
3 .
Confirm the input by selecting Enter.
Connecting a paired device Press ! and then select Settings.
Select Bluetooth and then Device
Management to display the
respective menu.
Select the respective Bluetooth
device. The device is connected.
Note
The connected device and the
available options are highlighted.