open bonnet OPEL ASTRA SALOON 2014 Owners Manual
[x] Cancel search | Manufacturer: OPEL, Model Year: 2014, Model line: ASTRA SALOON, Model: OPEL ASTRA SALOON 2014Pages: 245, PDF Size: 7.12 MB
Page 13 of 245
In brief11
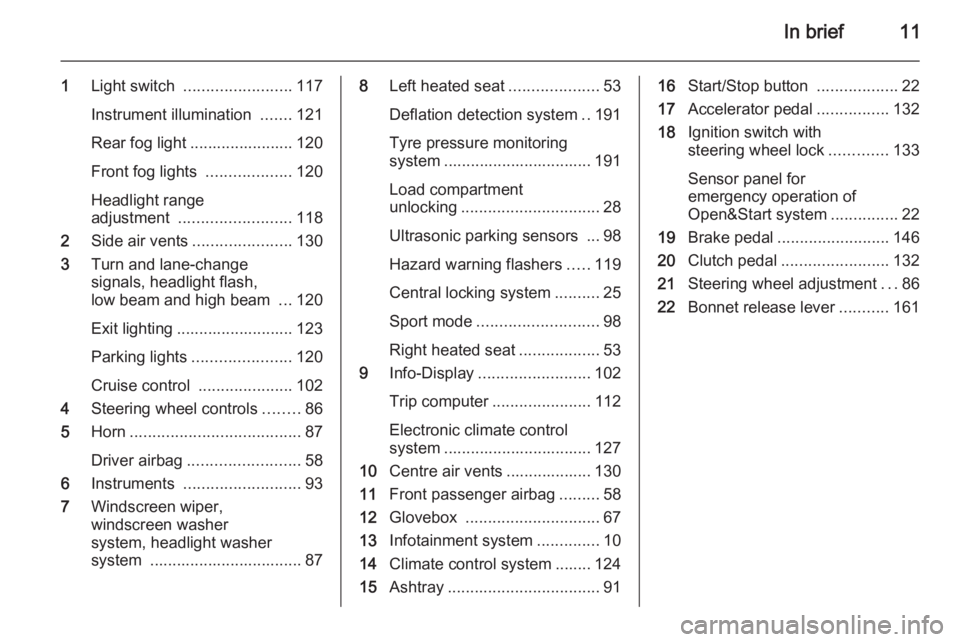
1Light switch ........................ 117
Instrument illumination .......121
Rear fog light ....................... 120
Front fog lights ...................120
Headlight range
adjustment ......................... 118
2 Side air vents ...................... 130
3 Turn and lane-change
signals, headlight flash,
low beam and high beam ...120
Exit lighting .......................... 123
Parking lights ...................... 120
Cruise control .....................102
4 Steering wheel controls ........86
5 Horn ...................................... 87
Driver airbag ......................... 58
6 Instruments .......................... 93
7 Windscreen wiper,
windscreen washer
system, headlight washer
system .................................. 878 Left heated seat ....................53
Deflation detection system ..191
Tyre pressure monitoring
system ................................. 191
Load compartment
unlocking ............................... 28
Ultrasonic parking sensors ... 98
Hazard warning flashers .....119
Central locking system ..........25
Sport mode ........................... 98
Right heated seat ..................53
9 Info-Display ......................... 102
Trip computer ...................... 112
Electronic climate control
system ................................. 127
10 Centre air vents ................... 130
11 Front passenger airbag .........58
12 Glovebox .............................. 67
13 Infotainment system ..............10
14 Climate control system ........ 124
15 Ashtray .................................. 9116Start/Stop button ..................22
17 Accelerator pedal ................132
18 Ignition switch with
steering wheel lock .............133
Sensor panel for
emergency operation of
Open&Start system ...............22
19 Brake pedal ......................... 146
20 Clutch pedal ........................ 132
21 Steering wheel adjustment ...86
22 Bonnet release lever ...........161
Page 33 of 245
Keys, doors and windows31
It monitors:■ Doors, load compartment, bonnet,
■ Passenger compartment,
■ Vehicle inclination, e.g. if it is raised,
■ Ignition.
Unlocking the vehicle deactivates
both systems simultaneously.
Note
Changes to the vehicle interior, such as the use of seat covers, could
impair the function of passenger
compartment monitoring.Activation without monitoring of
passenger compartment and vehicle inclination
Switch off the monitoring of
passenger compartment and vehicle
inclination, when people or animals
are being left in the vehicle, because
of high volume ultrasonic signals,
movements triggering the alarm and
when the vehicle is on a ferry or train.
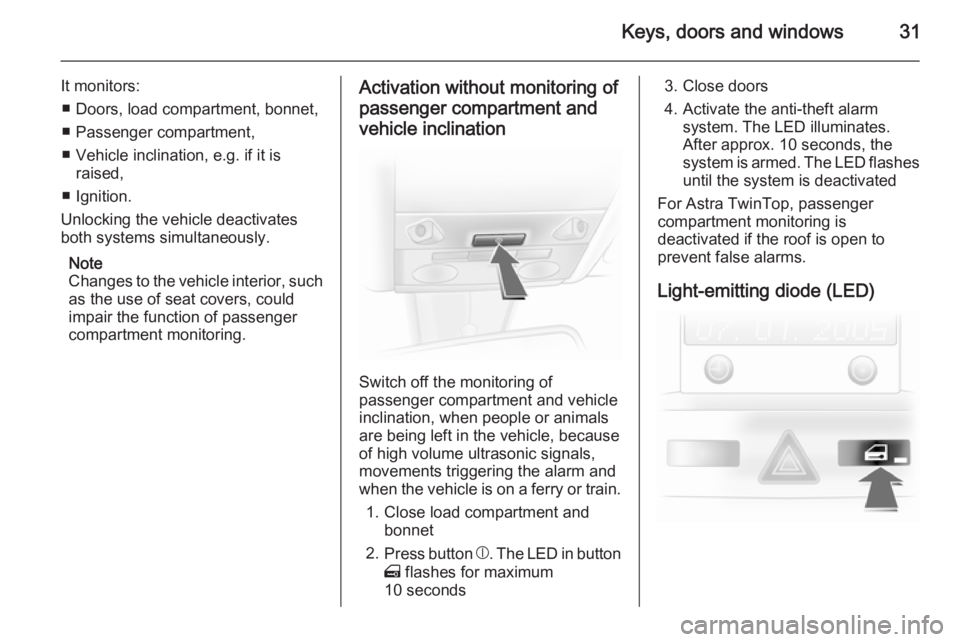
1. Close load compartment and bonnet
2. Press button b. The LED in button
m flashes for maximum
10 seconds
3. Close doors
4. Activate the anti-theft alarm system. The LED illuminates.
After approx. 10 seconds, the
system is armed. The LED flashes until the system is deactivated
For Astra TwinTop, passenger
compartment monitoring is
deactivated if the roof is open to
prevent false alarms.
Light-emitting diode (LED)
Page 34 of 245
32Keys, doors and windows
During the first 10 seconds of anti-
theft alarm system activation:LED
illuminates=Test, ignition delayLED
flashes
quickly=Door, load
compartment or
bonnet open, or
system fault
After the first 10 seconds of anti-theft
alarm system activation:
LED flashes
slowly=System activeLED comes on for
approx. 1 second=Switch off
function
Seek the assistance of a workshop in the event of faults.
Alarm When triggered, the alarm gives off
an acoustic signal (horn) and a visual
signal (hazard warning flashers). The number and duration of which are
stipulated by legislation.
The alarm siren can be silenced by
pressing a button of the radio remote control or by switching on the ignition. The anti-theft alarm system is
deactivated at the same time.
Immobiliser
The system checks whether the
vehicle is allowed to start with the key being used. If the transponder in the
key is recognised, the engine can be
started.
The electronic immobiliser activates
itself automatically after the key has
been removed from the ignition
switch or when the engine is switched
off by pressing the Start/Stop button.
Control indicator A 3 97.
Note
The immobiliser does not lock the
doors. You should always lock the
vehicle after leaving it and switch on the anti-theft alarm system 3 25,
3 30.Exterior mirrors
Convex shape
The convex exterior mirror contains
an aspherical area and reduces blind spots. The shape of the mirror makes objects appear smaller, which will
affect the ability to estimate
distances.
Manual adjustment
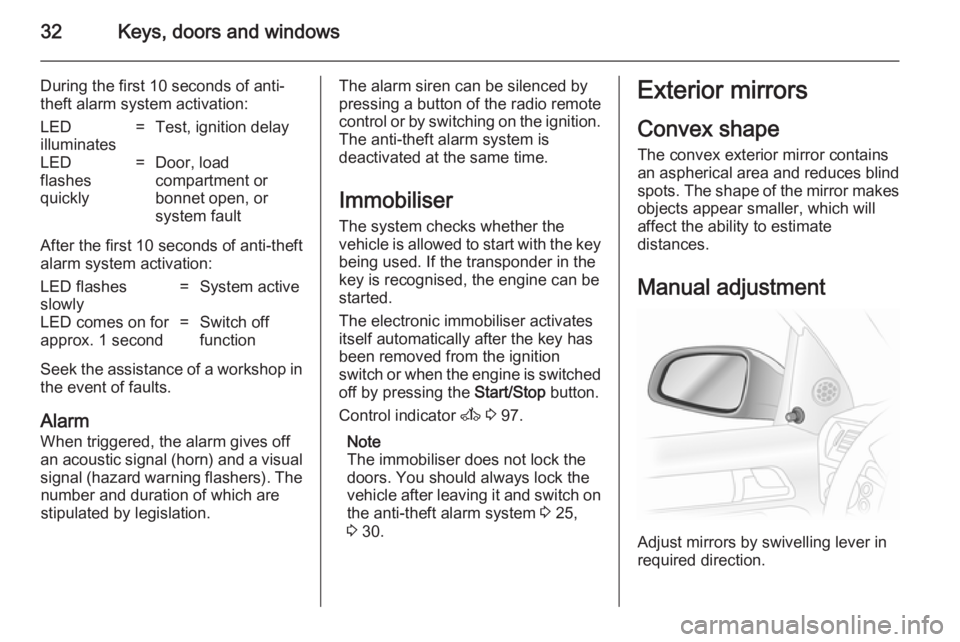
Adjust mirrors by swivelling lever in
required direction.
Page 147 of 245
Driving and operating145
A illuminates in the event of a fault.
Continued driving is possible. Manual
mode cannot be used for shifting.
If F appears in the transmission
display, continued driving is not
possible.
Have the cause of the fault remedied
by a workshop.
Interruption of power
supply
The clutch is not disengaged if there is an interruption of the power supply
when a gear is engaged. The vehicle
cannot move.
If the battery is discharged, start the
vehicle using jump leads 3 200.
If the cause of the fault is not a
discharged battery, seek the
assistance of a workshop.
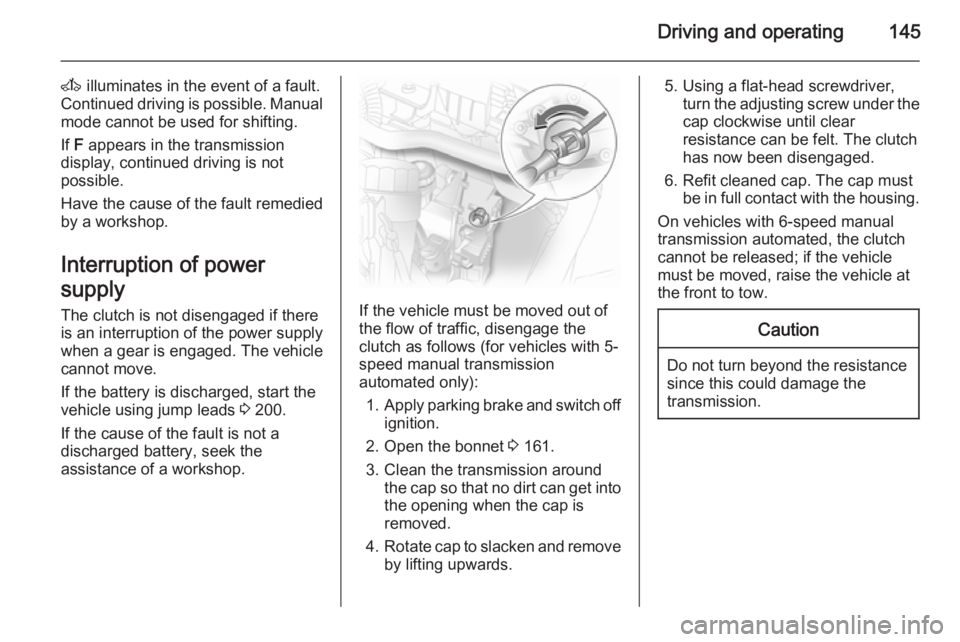
If the vehicle must be moved out of the flow of traffic, disengage the
clutch as follows (for vehicles with 5-
speed manual transmission
automated only):
1. Apply parking brake and switch off
ignition.
2. Open the bonnet 3 161.
3. Clean the transmission around the cap so that no dirt can get intothe opening when the cap is
removed.
4. Rotate cap to slacken and remove
by lifting upwards.
5. Using a flat-head screwdriver, turn the adjusting screw under the
cap clockwise until clear
resistance can be felt. The clutch
has now been disengaged.
6. Refit cleaned cap. The cap must be in full contact with the housing.
On vehicles with 6-speed manual
transmission automated, the clutch cannot be released; if the vehicle
must be moved, raise the vehicle at
the front to tow.Caution
Do not turn beyond the resistance since this could damage the
transmission.
Page 162 of 245
160Vehicle care
■ Open bonnet, close all doors andlock the vehicle.
■ Disconnect the clamp from the negative terminal of the vehicle
battery. Be aware that all systems
are non-operational, e.g. the anti-
theft alarm system.
Putting back into operation The following must be done if the
vehicle is put back into operation:
■ Connect the clamp to the negative terminal of the vehicle battery.
Activate the electronics of the
power windows.
■ Check tyre pressure.
■ Fill up the washer fluid reservoir.
■ Check the engine oil level.
■ Check the coolant level.
■ Fit the number plate if necessary.End-of-life vehicle
recovery
Information about end-of-life vehicle
recovery centres and the recycling of
end-of-life vehicles is available on our website. Only entrust this work to an
authorised recycling centre.Vehicle checks
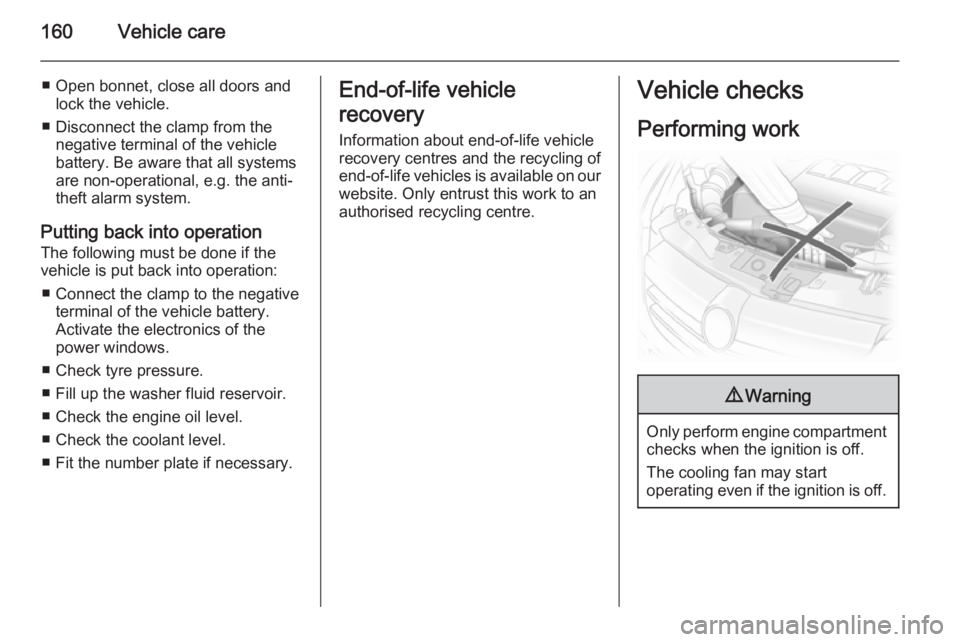
Performing work9 Warning
Only perform engine compartment
checks when the ignition is off.
The cooling fan may start
operating even if the ignition is off.
Page 163 of 245
Vehicle care1619Danger
The ignition system and Xenon
headlights use extremely high
voltage. Do not touch.
The caps for topping up the engine oil, the coolant, the washing fluid and theoil dipstick handle are yellow for ease
of identification.
Bonnet
Opening
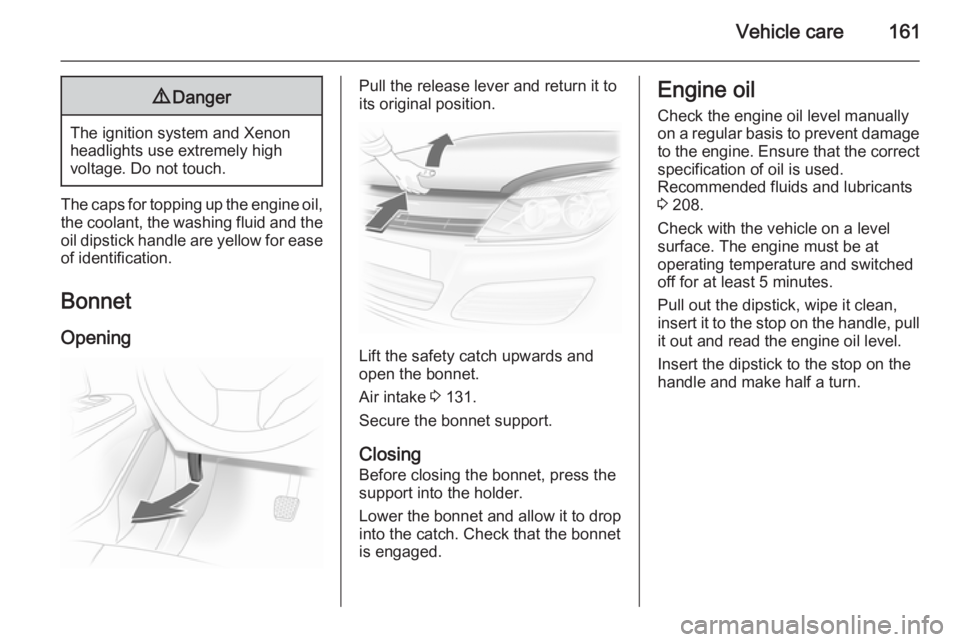
Pull the release lever and return it to
its original position.
Lift the safety catch upwards and
open the bonnet.
Air intake 3 131.
Secure the bonnet support.
Closing Before closing the bonnet, press the
support into the holder.
Lower the bonnet and allow it to drop into the catch. Check that the bonnet
is engaged.
Engine oil
Check the engine oil level manuallyon a regular basis to prevent damage
to the engine. Ensure that the correct specification of oil is used.
Recommended fluids and lubricants
3 208.
Check with the vehicle on a level
surface. The engine must be at
operating temperature and switched
off for at least 5 minutes.
Pull out the dipstick, wipe it clean, insert it to the stop on the handle, pull
it out and read the engine oil level.
Insert the dipstick to the stop on the
handle and make half a turn.
Page 206 of 245
204Vehicle care
If using a car wash, comply with the
car wash manufacturer's instructions. The windscreen wipers and rear
window wiper must be switched off.
Remove antenna and external
accessories such as roof racks etc.
If you wash your vehicle by hand,
make sure that the insides of the
wheel housings are also thoroughly
rinsed out.
Clean edges and folds on opened
doors and the bonnet as well as the
areas they cover.Caution
Always use a cleaning agent with
a pH value of 4 to 9.
Do not use cleaning agents on hot surfaces.
Do not clean the engine compartmentwith a steam-jet or high-pressure jet
cleaner.
Thoroughly rinse and leather-off the vehicle. Rinse leather frequently. Use
separate leathers for painted and
glass surfaces: remnants of wax on
the windows will impair vision.
Do not use hard objects to remove
spots of tar. Use tar removal spray on
painted surfaces.
Exterior lights
Headlight and other light covers are
made of plastic. Do not use any
abrasive or caustic agents, do not use an ice scraper, and do not clean them
dry.
Polishing and waxing Wax the vehicle regularly (at the
latest when water no longer beads).
Otherwise, the paintwork will dry out.
Polishing is necessary only if the paint
has become dull or if solid deposits
have become attached to it.
Paintwork polish with silicone forms a
protective film, making waxing
unnecessary.
Plastic body parts must not be treated with wax or polishing agents.Windows and windscreen wiper
blades
Use a soft lint-free cloth or chamois
leather together with window cleaner and insect remover.
When cleaning the rear window from
inside, always wipe in parallel to the
heating element to prevent damage.
For mechanical removal of ice, use a
sharp-edged ice scraper. Press the
scraper firmly against the glass so
that no dirt can get under it and
scratch the glass.
Clean smearing wiper blades with a
soft cloth and window cleaner.
Sun roof Never clean with solvents or abrasive
agents, fuels, aggressive media
(e.g. paint cleaner, acetone-
containing solutions etc.), acidic or
highly alkaline media or abrasive
pads. Do not apply wax or polishing
agents to the middle part of the sun
roof.