wheel OPEL CASCADA 2019 Manual user
[x] Cancel search | Manufacturer: OPEL, Model Year: 2019, Model line: CASCADA, Model: OPEL CASCADA 2019Pages: 261, PDF Size: 7.94 MB
Page 97 of 261
Instruments and controls95Engine oil pressure
I illuminates red.
Illuminates when the ignition is
switched on and extinguishes shortly
after the engine starts.
Illuminates when the engine is
runningCaution
Engine lubrication may be
interrupted. This may result in
damage to the engine and/or
locking of the drive wheels.
1. Depress clutch.
2. Select neutral gear, set selector lever to N.
3. Move out of the flow of traffic as quickly as possible without
impeding other vehicles.
4. Switch off ignition.
9 Warning
When the engine is off,
considerably more force is needed
to brake and steer. During an
Autostop the brake servo unit will still be operational.
Do not remove key until vehicle is stationary, otherwise the steeringwheel lock could engage
unexpectedly.
Keep engine turned off and let the
vehicle be towed to a workshop.
Low fuel i illuminates or flashes yellow.
Illuminates
Level in fuel tank is too low.
Flashes
Fuel used up. Refuel immediately.
Never run the tank dry.
Catalytic converter 3 144.
Immobiliser
d flashes yellow.
Fault in the immobiliser system. The
engine cannot be started.
Exterior light 8 illuminates green.
The exterior lights are on 3 114.
High beam
C illuminates blue.
Illuminates when high beam is on or
during headlight flash 3 116 , or when
high beam is on with high beam assist
or intelligent light range 3 118.
High beam assist
l illuminates green.
The high beam assist or intelligent light range is activated 3 116,
3 118.
Adaptive forward lighting
f illuminates or flashes yellow.
Page 99 of 261
Instruments and controls97Some of the displayed functions differ
when the vehicle is being driven or at
a standstill. Some functions are only
available when the vehicle is being
driven.
Vehicle personalisation 3 104.
Memorised settings 3 23.
Selecting menus and functions
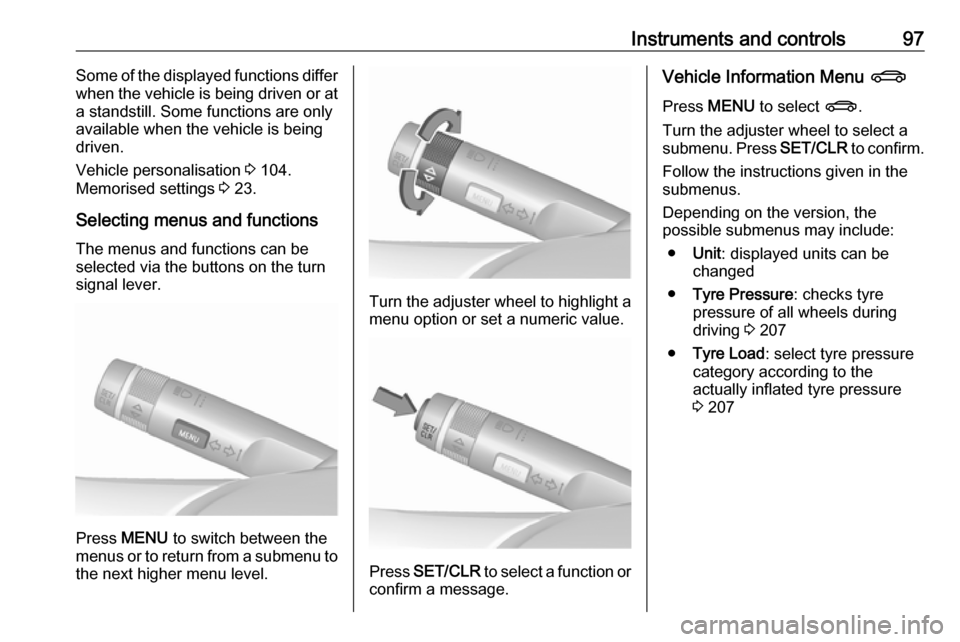
The menus and functions can be
selected via the buttons on the turn
signal lever.
Press MENU to switch between the
menus or to return from a submenu to the next higher menu level.
Turn the adjuster wheel to highlight a
menu option or set a numeric value.
Press SET/CLR to select a function or
confirm a message.
Vehicle Information Menu X
Press MENU to select X.
Turn the adjuster wheel to select a
submenu. Press SET/CLR to confirm.
Follow the instructions given in the
submenus.
Depending on the version, the
possible submenus may include:
● Unit : displayed units can be
changed
● Tyre Pressure : checks tyre
pressure of all wheels during
driving 3 207
● Tyre Load : select tyre pressure
category according to the
actually inflated tyre pressure
3 207
Page 100 of 261
98Instruments and controls
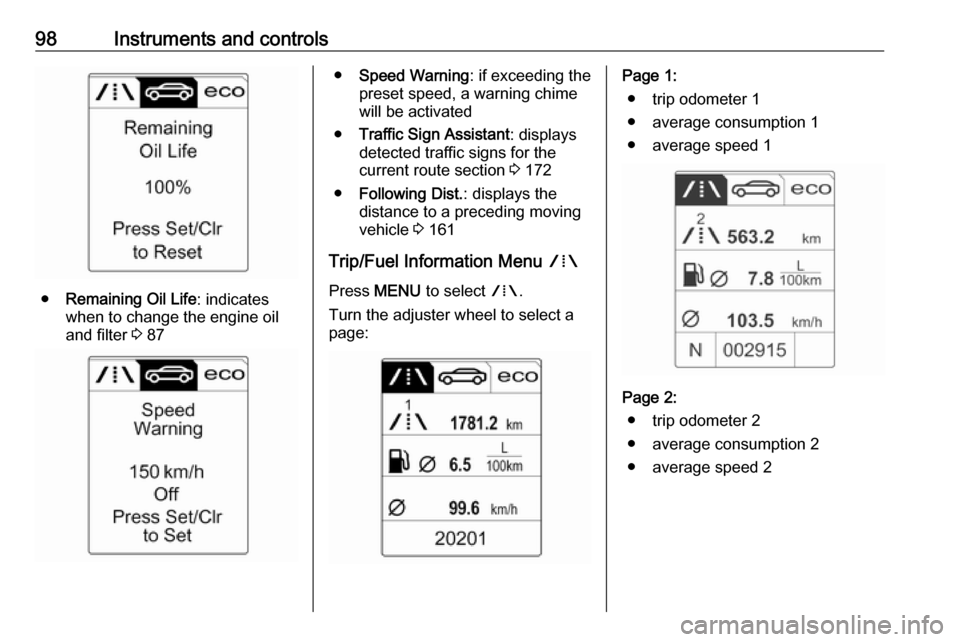
●Remaining Oil Life : indicates
when to change the engine oil and filter 3 87
● Speed Warning : if exceeding the
preset speed, a warning chime will be activated
● Traffic Sign Assistant : displays
detected traffic signs for the
current route section 3 172
● Following Dist. : displays the
distance to a preceding moving
vehicle 3 161
Trip/Fuel Information Menu W
Press MENU to select W.
Turn the adjuster wheel to select a
page:Page 1:
● trip odometer 1
● average consumption 1
● average speed 1
Page 2: ● trip odometer 2
● average consumption 2
● average speed 2
Page 101 of 261
Instruments and controls99
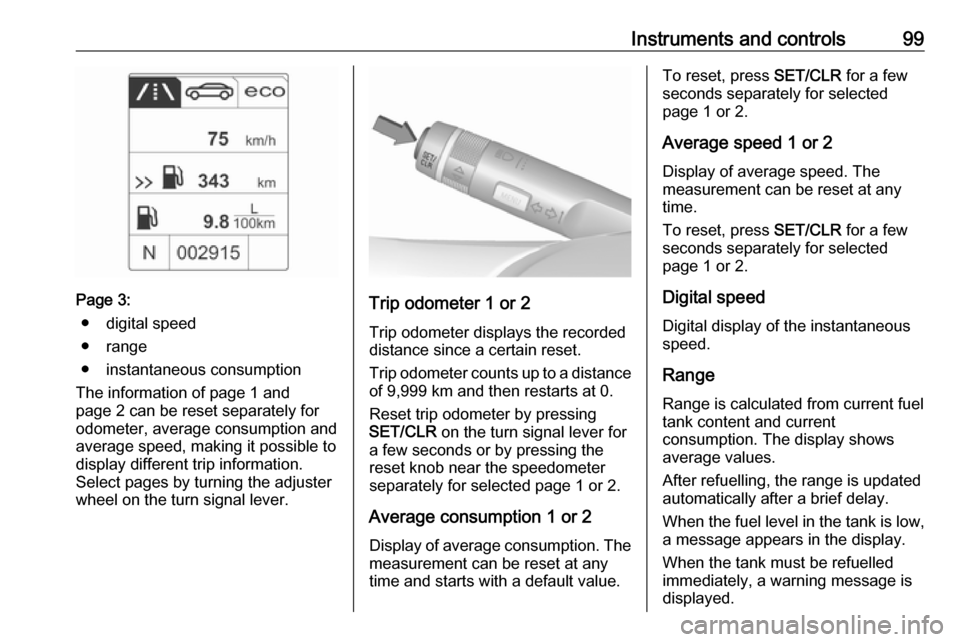
Page 3:● digital speed
● range
● instantaneous consumption
The information of page 1 and
page 2 can be reset separately for odometer, average consumption and
average speed, making it possible to display different trip information.
Select pages by turning the adjuster
wheel on the turn signal lever.Trip odometer 1 or 2
Trip odometer displays the recorded
distance since a certain reset.
Trip odometer counts up to a distance
of 9,999 km and then restarts at 0.
Reset trip odometer by pressing
SET/CLR on the turn signal lever for
a few seconds or by pressing the
reset knob near the speedometer
separately for selected page 1 or 2.
Average consumption 1 or 2
Display of average consumption. The measurement can be reset at any
time and starts with a default value.
To reset, press SET/CLR for a few
seconds separately for selected
page 1 or 2.
Average speed 1 or 2
Display of average speed. The
measurement can be reset at any
time.
To reset, press SET/CLR for a few
seconds separately for selected
page 1 or 2.
Digital speedDigital display of the instantaneous
speed.
Range Range is calculated from current fuel
tank content and current
consumption. The display shows
average values.
After refuelling, the range is updated
automatically after a brief delay.
When the fuel level in the tank is low,
a message appears in the display.
When the tank must be refuelled
immediately, a warning message is
displayed.
Page 102 of 261

100Instruments and controlsAdditionally, the control indicator i
in the fuel gauge illuminates or
flashes 3 95.
Instantaneous consumption
Displays the instantaneous
consumption.
ECO Information Menu s
Press MENU to select s.
Turn the adjuster wheel to select a
page:
● Shift indication : Current gear is
indicated inside an arrow. The
digit above recommends
upshifting for fuel saving
reasons.
Eco index display : The current
fuel consumption is indicated on a segment display. For
economical driving adapt your
driving style to keep the filled
segments within the Eco area.
The more segments are filled, the higher the fuel consumption.
Simultaneously the current
consumption value is indicated.
● Top Consumers : List of top
comfort consumers currently
switched on is displayed in
descending order. Fuel saving
potential is indicated. A switched-
off consumer disappears from
the list and the consumption
value will be updated.
During sporadic driving
conditions, the heated rear
window is activated automatically to increase engine load. In this
event, the heated rear window is
indicated as one of the top
consumers, without activation by
the driver.
● Economy Trend : Displays the
average consumption
development over a distance of
50 km. Filled segments display
the consumption in 5 km steps
Page 105 of 261
Instruments and controls103Vehicle messages
Messages are indicated in the Driver
Information Centre, in some cases
together with a warning chime.
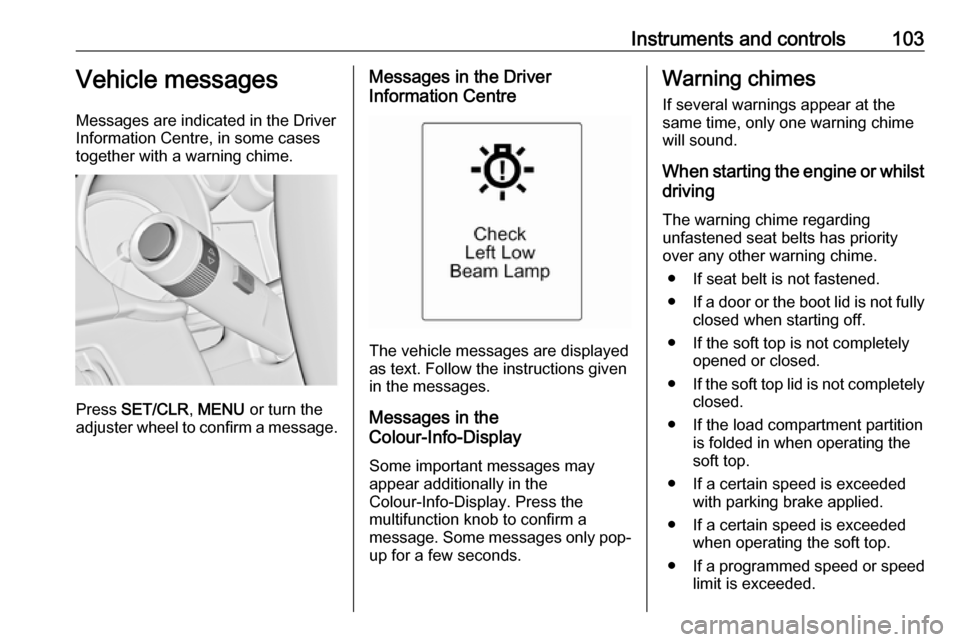
Press SET/CLR , MENU or turn the
adjuster wheel to confirm a message.
Messages in the Driver
Information Centre
The vehicle messages are displayed
as text. Follow the instructions given
in the messages.
Messages in the
Colour-Info-Display
Some important messages may
appear additionally in the
Colour-Info-Display. Press the
multifunction knob to confirm a
message. Some messages only pop- up for a few seconds.
Warning chimes
If several warnings appear at the
same time, only one warning chime
will sound.
When starting the engine or whilst
driving
The warning chime regarding
unfastened seat belts has priority
over any other warning chime.
● If seat belt is not fastened.
● If a door or the boot lid is not fully
closed when starting off.
● If the soft top is not completely opened or closed.
● If the soft top lid is not completely
closed.
● If the load compartment partition is folded in when operating the
soft top.
● If a certain speed is exceeded with parking brake applied.
● If a certain speed is exceeded when operating the soft top.
● If a programmed speed or speed
limit is exceeded.
Page 119 of 261
Lighting117If a headlight flash is activated when
the high beam is on, the high beam assist will be deactivated.
If a headlight flash is activated when the high beam is off, the high beam
assist will remain activated.
The latest setting of the high beam
assist will remain after the ignition is
switched on again.
Headlight flash To activate the headlight flash, pull
lever.Headlight range adjustment
Manual headlight range
adjustment
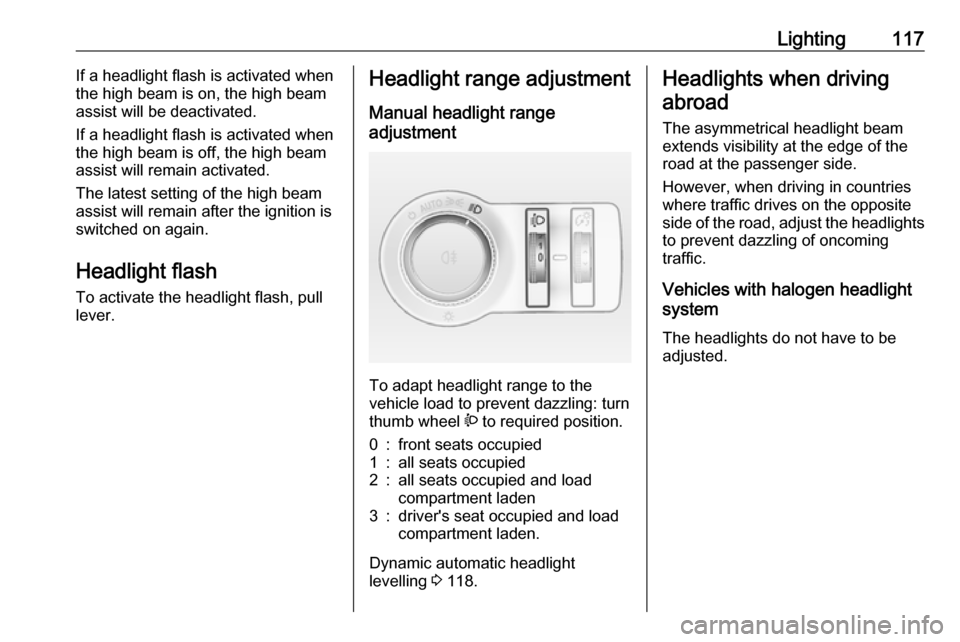
To adapt headlight range to the
vehicle load to prevent dazzling: turn
thumb wheel ? to required position.
0:front seats occupied1:all seats occupied2:all seats occupied and load
compartment laden3:driver's seat occupied and load
compartment laden.
Dynamic automatic headlight
levelling 3 118.
Headlights when driving
abroad
The asymmetrical headlight beam
extends visibility at the edge of the
road at the passenger side.
However, when driving in countries
where traffic drives on the opposite
side of the road, adjust the headlights to prevent dazzling of oncoming
traffic.
Vehicles with halogen headlight
system
The headlights do not have to be adjusted.
Page 121 of 261
Lighting119Country lighting
Activated automatically at a speed
range between approx. 55 and
115 km/h. The beam of light and the
brightness is different between the left and the right side.
Motorway lighting Activated automatically at a speed
above approx. 115 km/h and minimal
steering movements. It switches on
after a delay or directly when the
vehicle is powerfully accelerated. The
light beam is longer and brighter.
Adverse weather lighting
Activated automatically up to a speed
of approx. 70 km/h, when the rain sensor recognizes condensation or
the wiper operates continuously. The
range, distribution and light intensity
is regulated variably depending on visibility.Dynamic curve lighting
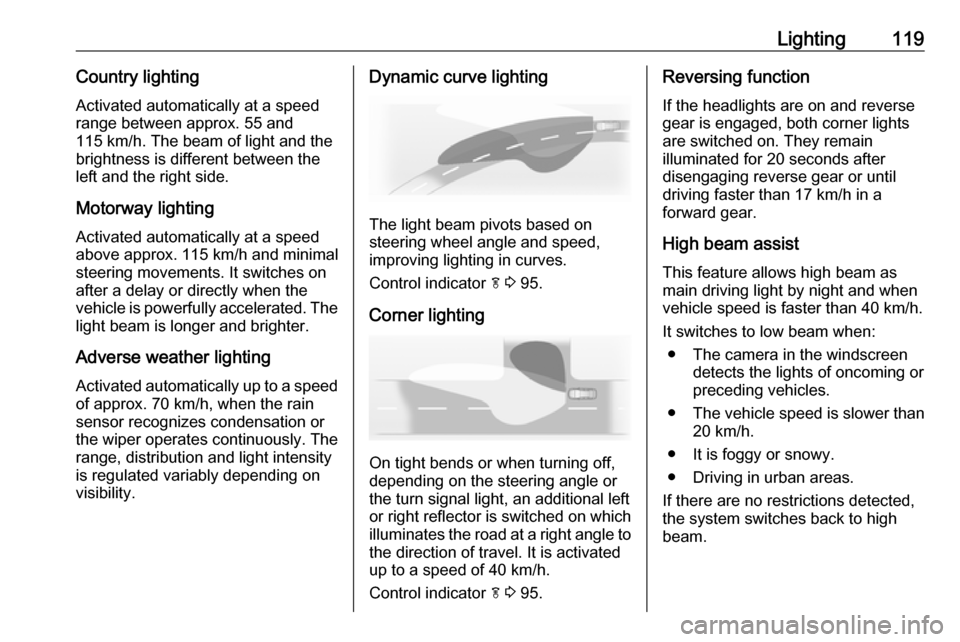
The light beam pivots based on
steering wheel angle and speed,
improving lighting in curves.
Control indicator f 3 95.
Corner lighting
On tight bends or when turning off,
depending on the steering angle or
the turn signal light, an additional left
or right reflector is switched on which illuminates the road at a right angle to
the direction of travel. It is activated
up to a speed of 40 km/h.
Control indicator f 3 95.
Reversing function
If the headlights are on and reverse
gear is engaged, both corner lights
are switched on. They remain
illuminated for 20 seconds after
disengaging reverse gear or until
driving faster than 17 km/h in a
forward gear.
High beam assist This feature allows high beam as
main driving light by night and when
vehicle speed is faster than 40 km/h.
It switches to low beam when: ● The camera in the windscreen detects the lights of oncoming or
preceding vehicles.
● The vehicle speed is slower than
20 km/h.
● It is foggy or snowy.
● Driving in urban areas.
If there are no restrictions detected,
the system switches back to high
beam.
Page 124 of 261
122LightingIn the event of an accident with airbag
deployment the hazard warning
flashers are activated automatically.
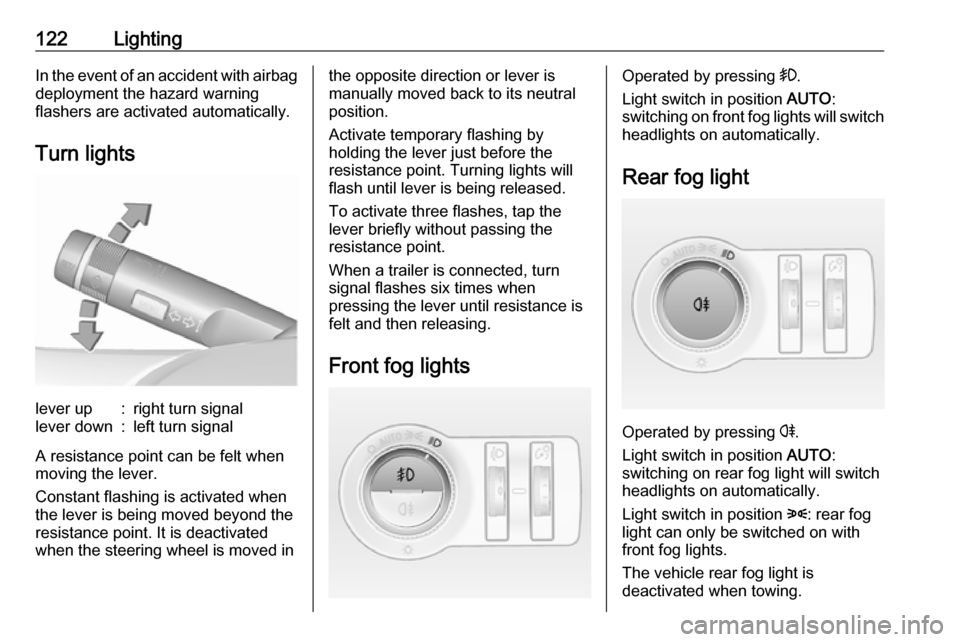
Turn lightslever up:right turn signallever down:left turn signal
A resistance point can be felt when
moving the lever.
Constant flashing is activated when
the lever is being moved beyond the
resistance point. It is deactivated
when the steering wheel is moved in
the opposite direction or lever is
manually moved back to its neutral
position.
Activate temporary flashing by
holding the lever just before the
resistance point. Turning lights will
flash until lever is being released.
To activate three flashes, tap the
lever briefly without passing the
resistance point.
When a trailer is connected, turn
signal flashes six times when
pressing the lever until resistance is
felt and then releasing.
Front fog lightsOperated by pressing >.
Light switch in position AUTO:
switching on front fog lights will switch headlights on automatically.
Rear fog light
Operated by pressing r.
Light switch in position AUTO:
switching on rear fog light will switch
headlights on automatically.
Light switch in position 8: rear fog
light can only be switched on with
front fog lights.
The vehicle rear fog light is
deactivated when towing.
Page 126 of 261
124LightingTurn thumb wheel A and hold until
the desired brightness is obtained.
On vehicles with light sensor, the
brightness can only be adjusted when
the exterior lights are on and the light sensor detects night conditions.
Interior lights
During entry and exit of the vehicle,
the front and rear courtesy lights
automatically switch on and then off
after a delay.
Note
In the event of an accident with
airbag deployment the courtesy
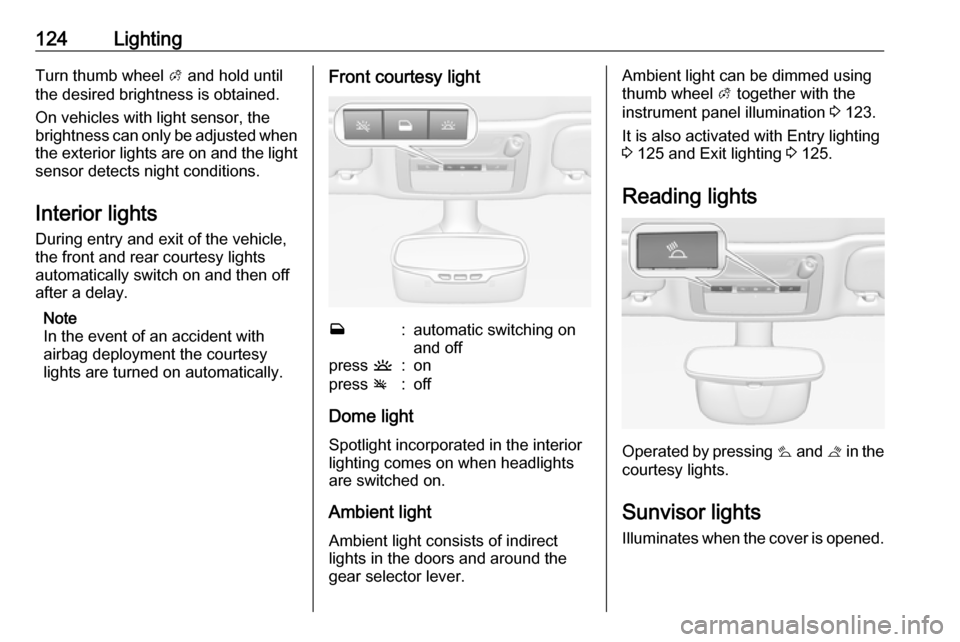
lights are turned on automatically.Front courtesy lightw:automatic switching on
and offpress u:onpress v:off
Dome light
Spotlight incorporated in the interior
lighting comes on when headlights
are switched on.
Ambient light Ambient light consists of indirect
lights in the doors and around the
gear selector lever.
Ambient light can be dimmed using
thumb wheel A together with the
instrument panel illumination 3 123.
It is also activated with Entry lighting
3 125 and Exit lighting 3 125.
Reading lights
Operated by pressing s and t in the
courtesy lights.
Sunvisor lights
Illuminates when the cover is opened.