set clock OPEL CORSA E 2017.5 Manual user
[x] Cancel search | Manufacturer: OPEL, Model Year: 2017.5, Model line: CORSA E, Model: OPEL CORSA E 2017.5Pages: 269, PDF Size: 7.97 MB
Page 82 of 269

80Instruments and controlsIf outside temperature drops to 3 °C,
a warning message is displayed in the
Driver Information Centre.9 Warning
The road surface may already be
icy even though the display
indicates a few degrees above
0 °C.
Clock
Graphic-Info Display Press CONFIG to open the Settings
menu.
Scroll through the list and select the
menu item Time Date to display the
respective submenu.
Note
For a detailed description of menu
operation, refer to the Infotainment
manual.
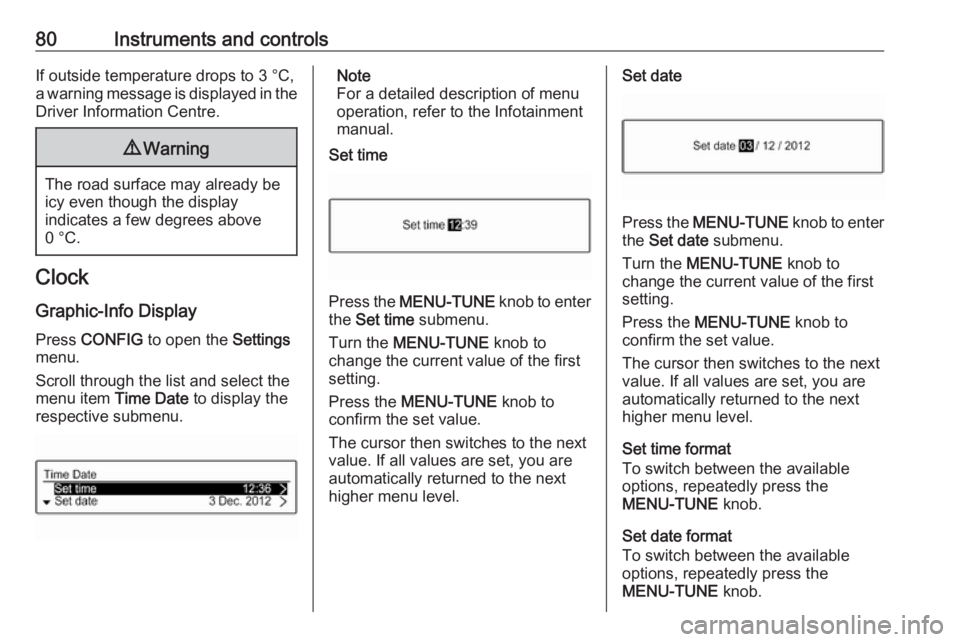
Set time
Press the MENU-TUNE knob to enter
the Set time submenu.
Turn the MENU-TUNE knob to
change the current value of the first setting.
Press the MENU-TUNE knob to
confirm the set value.
The cursor then switches to the next
value. If all values are set, you are
automatically returned to the next
higher menu level.
Set date
Press the MENU-TUNE knob to enter
the Set date submenu.
Turn the MENU-TUNE knob to
change the current value of the first setting.
Press the MENU-TUNE knob to
confirm the set value.
The cursor then switches to the next
value. If all values are set, you are
automatically returned to the next
higher menu level.
Set time format
To switch between the available
options, repeatedly press the
MENU-TUNE knob.
Set date format
To switch between the available
options, repeatedly press the
MENU-TUNE knob.
Page 83 of 269

Instruments and controls81RDS clock synchronization
The RDS signal of most VHF
transmitters automatically sets the
time. RDS time synchronisation can take a few minutes. Some
transmitters do not send a correct
time signal. In such cases, it is
recommended to switch off the
automatic time synchronisation.
To switch between the options On
and Off, repeatedly press the
MENU-TUNE knob.
Colour-Info Display
Press ; and then select the
Settings screen button.
Select Time & date settings to display
the respective submenu.
Note
For a detailed description of menu
operation, refer to the Infotainment
manual.
Set time format
To select the desired time format, tap on the screen buttons 12 h or 24 h .
Set date format
To select the desired date format, tap
on the < and > screen buttons and
choose between the available
options.
Set time and date
To adjust the time and date settings,
tap on the H and I screen buttons.
RDS clock synchronization
The RDS signal of most VHF
transmitters automatically sets the
time. RDS time synchronisation can take a few minutes. Some
transmitters do not send a correct
time signal. In such cases, it is
recommended to switch off the
automatic time synchronisation.
To activate or deactivate RDS clock
synchronization , tap on the screen
buttons On or Off.
Page 118 of 269

116Lightingset to right-hand traffic mode.
Therefore, insert the key in the guide
as shown in the illustration.
Alternatively, a Phillips head
screwdriver size three can be used for
setting.
To reset to left-hand traffic mode, turn
adjuster elements 1
/2 turn clockwise.
Daytime running lights Daytime running light increases
visibility of the vehicle during daylight.
They are switched on automatically
when ignition is on.
Versions with automatic light control
The system switches automatically
between daytime running light and
headlights, depending on the lighting
conditions and information given by
the rain sensor system. Automatic
light control 3 114.Xenon lighting system
Xenon lighting system includes: ● xenon headlights for low and high
beam
● high beam assist
● corner lighting
● reversing function
Xenon headlights Xenon headlights for low and high
beam ensure better visibility under all
conditions.
Operation is the same as for halogen headlights.
Light switch 3 113 , high beam 3 115,
headlight flash 3 115 , headlight range
adjustment 3 115, headlights when
driving abroad 3 115.
Automatic light control 3 114.
High beam assist This feature allows high beam xenon
lights to function as the main driving
light at night and when vehicle speed
exceeds 40 km/h.It switches automatically to low beam when:
● The camera in the windscreen detects the lights of oncoming or
preceding vehicles.
● The vehicle speed drops below 20 km/h.
● It is foggy or snowy.
● Driving in urban areas.
If there are no restrictions detected,
the system switches back to high
beam.
Activation