maintenance OPEL CORSA F 2020 Manual user
[x] Cancel search | Manufacturer: OPEL, Model Year: 2020, Model line: CORSA F, Model: OPEL CORSA F 2020Pages: 229, PDF Size: 21.14 MB
Page 3 of 229

Introduction.................................... 2
In brief ............................................ 6
Keys, doors and windows ..............9
Seats, restraints ........................... 27
Storage ........................................ 47
Instruments and controls .............54
Lighting ........................................ 80
Climate control ............................. 89
Driving and operating ...................98
Vehicle care ............................... 161
Service and maintenance ..........198
Technical data ........................... 203
Customer information ................212
Index .......................................... 222Contents
Page 5 of 229
Introduction3Vehicle specific dataPlease enter your vehicle's data on
the previous page to keep it easily
accessible.
Please refer to the sections "Service
and maintenance", "Technical data",
the vehicle’s identification plate and
national registration documents.
Introduction
Your vehicle is a designed
combination of advanced technology, safety, environmental friendliness
and economy.
This Owner's Manual provides you
with all the necessary information to
enable you to drive your vehicle
safely and efficiently.
Make sure your passengers are
aware of the possible risk of accident
and injury which may result from
improper use of the vehicle.
You must always comply with the
specific laws and regulations of the
country that you are in. These laws
may differ from the information in this Owner's Manual.Disregarding the description given in
this manual may affect your warranty.
When this Owner's Manual refers to a
workshop visit, we recommend your Opel Service Partner.
All Opel Service Partners provide
first-class service at reasonable
prices. Experienced mechanics
trained by Opel work according to
specific Opel instructions.
The customer literature pack should
always be kept ready to hand in the
vehicle.
Using this manual ● This manual describes all options
and features available for this
model. Certain descriptions,
including those for display and
menu functions, may not apply to
your vehicle due to model
variant, country specifications,
special equipment or
accessories.
● The table of contents at the beginning of this manual and
within each section shows where the information is located.● The index will enable you to search for specific information.
● This Owner's Manual depicts left-
hand drive vehicles. Operation is
similar for right-hand drive
vehicles.
● The Owner's Manual uses the engine identifier code. The
corresponding sales designation
and engineering code can be
found in the section "Technical
data".
● Directional data, e.g. left or right, or front or back, always relate to
the direction of travel.
● Displays may not support your specific language.
● Display messages and interior labelling are written in bold
letters.
Page 22 of 229
20Keys, doors and windows3. Leave the vehicle and close thedoors.
4. Activate the anti-theft alarm system.
Indication LED in the ! button flashes if the
anti-theft alarm system is activated.
The hazard warning lights illuminates for a few seconds.
Deactivation Unlocking the vehicle with radio
remote control by pressing a or with
the electronic key deactivates the
anti-theft alarm system.
The system is not deactivated by
unlocking the front door with the key
or with the central locking button in
the passenger compartment.
The hazard warning lights flash for a
few seconds.Alarm
When triggered, the alarm siren
sounds and the hazard warning lights flash simultaneously. The number
and duration of alarm signals are
stipulated by legislation.
The anti-theft alarm can be
deactivated by pressing a or
switching on the ignition.
A triggered alarm, which has not been interrupted by the driver, will be
indicated by the LED in the
button !. The LED will flash quickly
the next time the vehicle is unlocked.
If the battery has been reconnected
(e.g. after maintenance work), wait for 10 minutes to restart the engine.
Fault
If the LED in the button !
illuminates permanently when
switching on the ignition, seek the
assistance of a workshop.
Locking the vehicle without
activation of the anti-theft alarm
Lock the vehicle by locking the front
door with the integral key.Immobiliser
The system is part of the ignition
switch and checks whether the
vehicle is allowed to be started with
the key being used.
The immobiliser is activated
automatically.
Note
Radio Frequency Identification
(RFID) tags may cause interference with the key. Do not have it placednear the key when starting the
vehicle.
Note
The immobiliser does not lock the doors. Always lock the vehicle after
leaving it 3 12.
Switch on the anti-theft alarm
system 3 19.
Emergency operation of electronic
key 3 100.
Page 72 of 229
70Instruments and controlsGear shiftingY with the number of a higher gear
is indicated, when upshifting is
recommended for fuel saving
reasons.
On vehicles with automatic
transmission, the system is only
active in manual mode.
Manual mode 3 112.
Lane keep assist L illuminates or flashes yellow.
Illuminates yellow The system is deactivated or a fault
has been detected.
Flashes yellow The system is correcting the
unintended lane change.
Lane keep assist 3 152.
Electronic Stability Control
and Traction Control system
J illuminates or flashes yellow.Illuminates
A fault in the system is present.
Continued driving is possible. Driving stability, however, may deteriorate
depending on road surface
conditions.
Have the cause of the fault remedied
by a workshop.
After reconnecting the vehicle
battery, (e.g. after maintenance
work), J is illuminated for several
seconds. After this time period, J
extinguishes. This is a normal
procedure, the vehicle does not need
any assistance.
Flashes
The system is actively engaged.
Engine output may be reduced and
the vehicle may be braked
automatically to a small degree.
Electronic Stability Control and
Traction Control system 3 118.
Engine coolant temperature 2 illuminates red.Illuminates when the engine is
running
Stop, switch off engine.Caution
Coolant temperature too high.
Check coolant level immediately
3 165.
If there is sufficient coolant, consult a workshop.
Preheating
z illuminates yellow.
Preheating of diesel engine is
activated. Only activates when
outside temperature is low. Start the
engine when control indicator
extinguishes.
Starting the engine 3 101.
Exhaust filter t illuminates yellow.
The exhaust filter requires cleaning.
Page 80 of 229
78Instruments and controlsParking, lighting, comfort and safety
settings are adjustable.
Multimedia / Multimedia Navi /
Multimedia Navi Pro
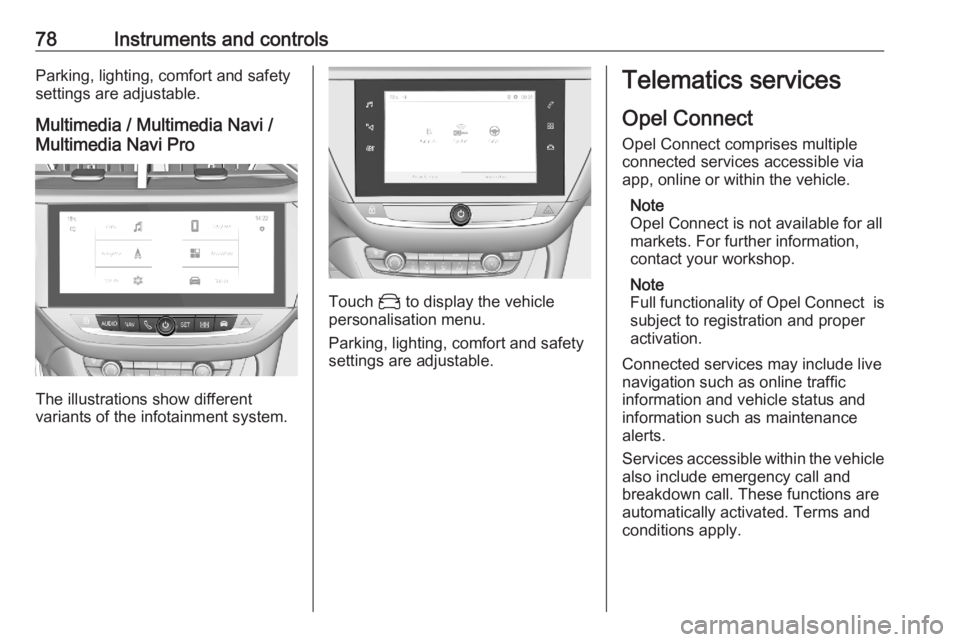
The illustrations show different
variants of the infotainment system.
Touch _ to display the vehicle
personalisation menu.
Parking, lighting, comfort and safety
settings are adjustable.
Telematics services
Opel Connect Opel Connect comprises multiple
connected services accessible via
app, online or within the vehicle.
Note
Opel Connect is not available for all
markets. For further information,
contact your workshop.
Note
Full functionality of Opel Connect is
subject to registration and proper
activation.
Connected services may include live
navigation such as online traffic
information and vehicle status and
information such as maintenance alerts.
Services accessible within the vehicle also include emergency call and
breakdown call. These functions are
automatically activated. Terms and
conditions apply.
Page 91 of 229
Climate control89Climate controlClimate control systems...............89
Heating and ventilation system . 89
Air conditioning system .............90
Electronic climate control system ...................................... 92
Auxiliary heater .......................... 96
Air vents ....................................... 96
Adjustable air vents ...................96
Fixed air vents ........................... 97
Maintenance ................................ 97
Air intake ................................... 97
Air conditioning regular operation .................................. 97
Service ...................................... 97Climate control systems
Heating and ventilation system
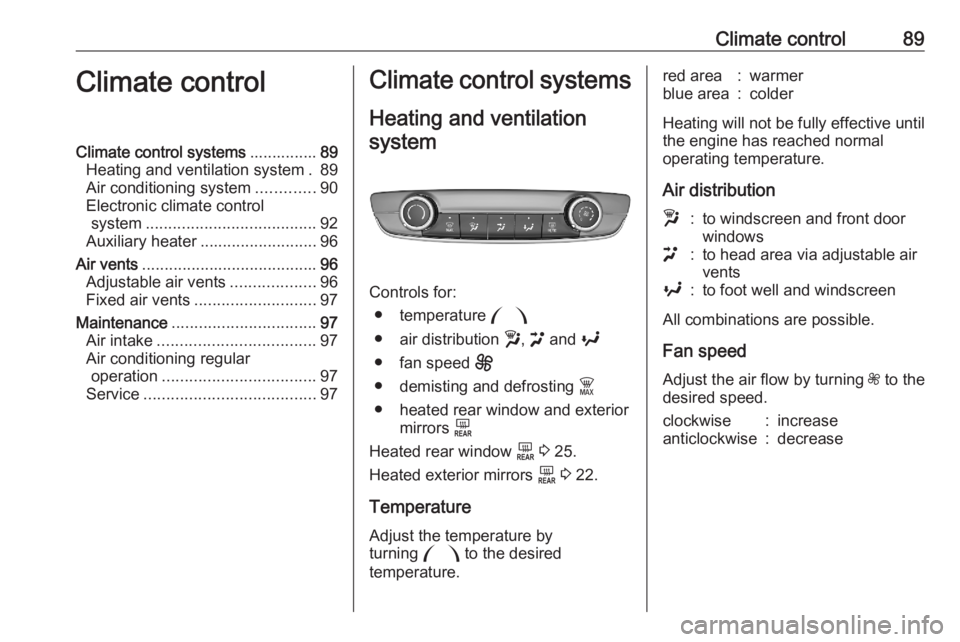
Controls for: ● temperature :
● air distribution w, > and y
● fan speed E
● demisting and defrosting $
● heated rear window and exterior mirrors f
Heated rear window f 3 25.
Heated exterior mirrors f 3 22.
Temperature
Adjust the temperature by
turning : to the desired
temperature.
red area:warmerblue area:colder
Heating will not be fully effective until the engine has reached normal
operating temperature.
Air distribution
w:to windscreen and front door
windows>:to head area via adjustable air
ventsy:to foot well and windscreen
All combinations are possible.
Fan speed
Adjust the air flow by turning Z to the
desired speed.
clockwise:increaseanticlockwise:decrease
Page 99 of 229
Climate control97Fixed air ventsAdditional air vents are located
beneath the windscreen and door windows and in the foot wells.Maintenance
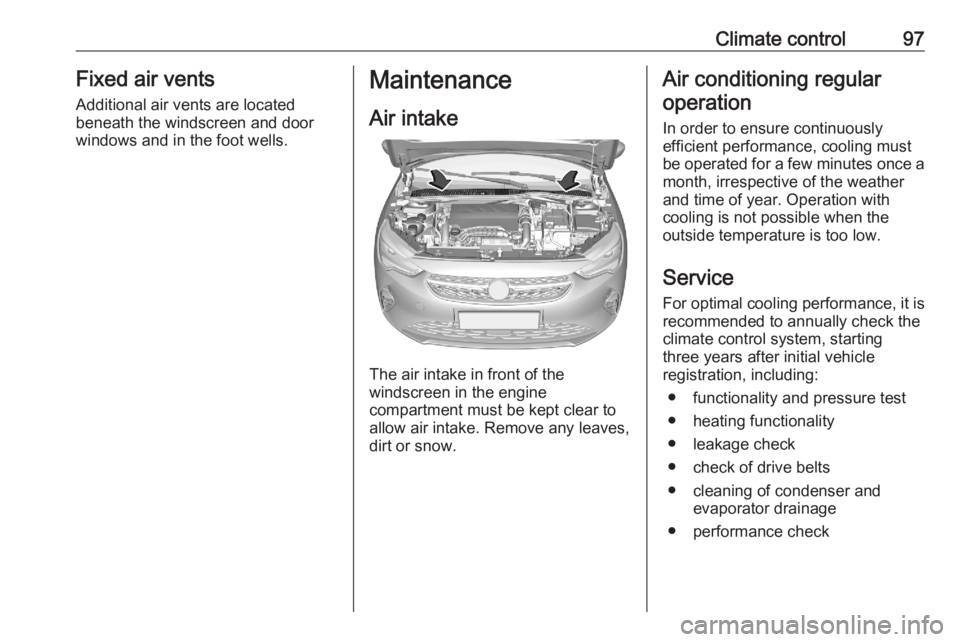
Air intake
The air intake in front of the
windscreen in the engine
compartment must be kept clear to
allow air intake. Remove any leaves,
dirt or snow.
Air conditioning regular
operation
In order to ensure continuously
efficient performance, cooling must
be operated for a few minutes once a
month, irrespective of the weather
and time of year. Operation with
cooling is not possible when the
outside temperature is too low.
Service For optimal cooling performance, it is recommended to annually check the
climate control system, starting
three years after initial vehicle
registration, including:
● functionality and pressure test
● heating functionality
● leakage check
● check of drive belts
● cleaning of condenser and evaporator drainage
● performance check
Page 168 of 229
166Vehicle careCaution
Only washer fluid with a sufficient
antifreeze concentration provides
protection at low temperatures or
a sudden drop in temperature.
Washer fluid 3 201.
Brakes In the event of minimum thickness of
the brake lining, a squealing noise
sounds during braking.
Continued driving is possible but
have the brake lining replaced as
soon as possible.
Once new brake linings are installed,
do not brake unnecessarily hard for
the first few journeys.
Brake fluid
9 Warning
Brake fluid is poisonous and
corrosive. Avoid contact with eyes,
skin, fabrics and painted surfaces.
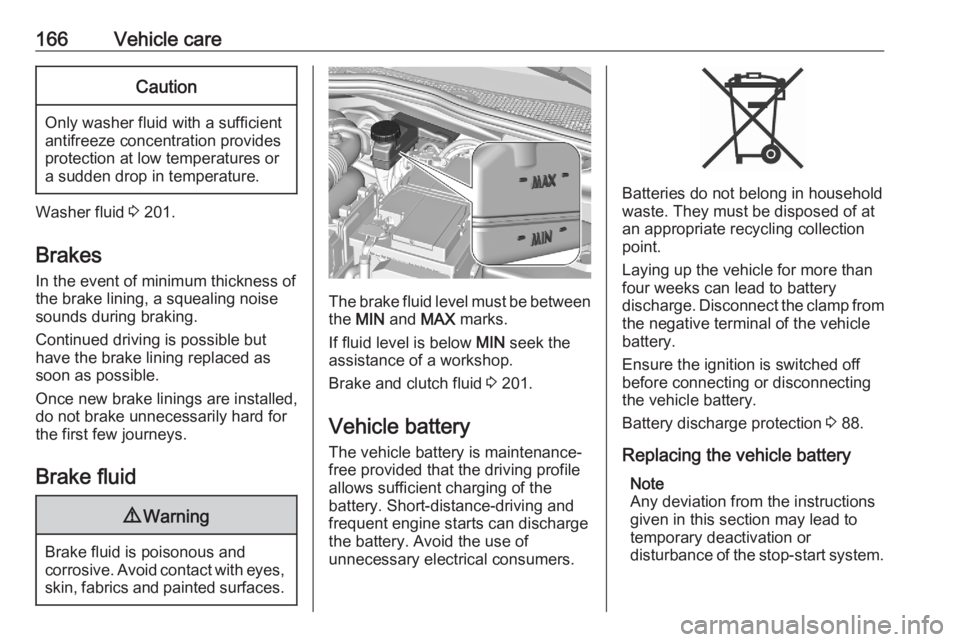
The brake fluid level must be betweenthe MIN and MAX marks.
If fluid level is below MIN seek the
assistance of a workshop.
Brake and clutch fluid 3 201.
Vehicle battery
The vehicle battery is maintenance-
free provided that the driving profile
allows sufficient charging of the
battery. Short-distance-driving and
frequent engine starts can discharge
the battery. Avoid the use of
unnecessary electrical consumers.
Batteries do not belong in household
waste. They must be disposed of at
an appropriate recycling collection
point.
Laying up the vehicle for more than
four weeks can lead to battery
discharge. Disconnect the clamp from the negative terminal of the vehicle
battery.
Ensure the ignition is switched off
before connecting or disconnecting
the vehicle battery.
Battery discharge protection 3 88.
Replacing the vehicle battery Note
Any deviation from the instructions
given in this section may lead to temporary deactivation or
disturbance of the stop-start system.
Page 183 of 229
Vehicle care181After adjusting tyre pressure initialise
system to extinguish the control
indicator and restart system.
If the failure continues to be
displayed, contact a workshop. The
system is inoperable when ABS or
ESC has a malfunction or a
temporary spare wheel is used. Once
the tyre has been refitted, check the
tyre pressure with cold tyres and
initialise the system.Caution
Deflation detection system warns
just about low tyre pressure
condition and does not replace
regular tyre maintenance by the
driver.
System initialisation
After tyre pressure correction or
wheel change, the system must be
initialised to learn new circumference
reference values:
1. Always ensure that all four tyres have correct tyre pressure3 210.
2. Apply parking brake. 3. Initialise the system via the Info Display 3 75.
4. Reset is confirmed by pop-up indication.
After initialisation system
automatically calibrates to new tyre
pressures during driving. After longer
drive the system will adopt and
monitor new pressures.
Always check tyre pressure with cold
tyres.
System has to be reinitialised when: ● Tyre pressure has been changed
● Load condition has been changed
● Wheels have been swapped or exchanged
The system will not warn
instantaneously on a tyre blow out or
a rapid deflation. This is due to
required calculation time.Tread depth
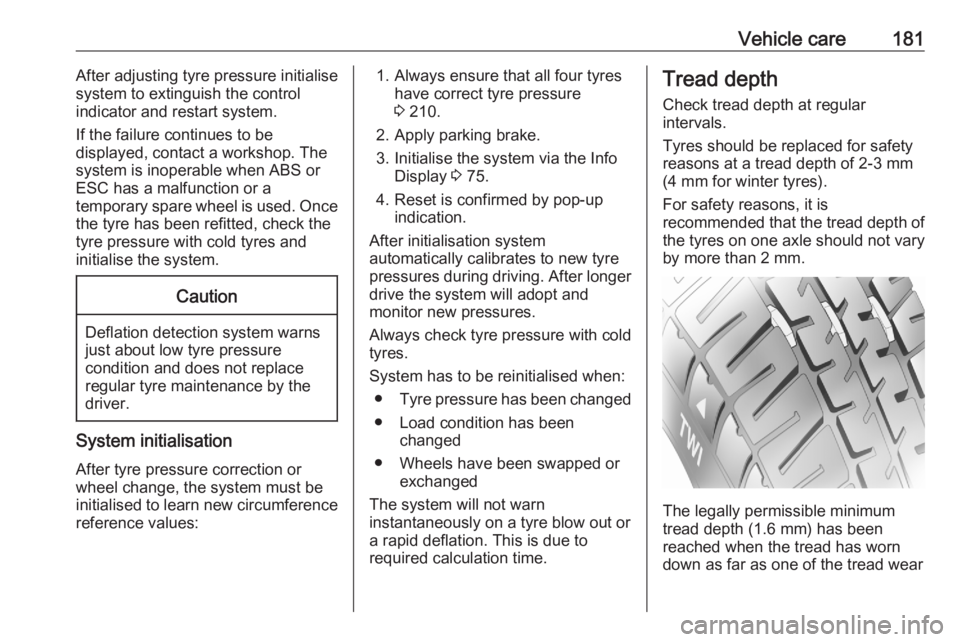
Check tread depth at regular
intervals.
Tyres should be replaced for safety
reasons at a tread depth of 2-3 mm
(4 mm for winter tyres).
For safety reasons, it is
recommended that the tread depth of
the tyres on one axle should not vary
by more than 2 mm.
The legally permissible minimum
tread depth (1.6 mm) has been
reached when the tread has worn
down as far as one of the tread wear
Page 190 of 229
188Vehicle careOnly mount one temporary spare
wheel. The permissible maximum
speed on the label on the temporary
spare wheel is only valid for the
factory-fitted tyre size.
Fitting the spare wheel Make the following preparations and
observe the following information:
● Park the vehicle on a level, firm and non-skid surface. The front
wheels must be in the straight-
ahead position.
● If necessary, place a chock under
the wheel diagonally opposite the wheel to be changed.
● Apply the parking brake and engage first gear, reverse gear or
P .
● Remove the spare wheel.
● Never change more than one wheel at once.
● Use the jack only to change wheels in case of puncture, not
for seasonal winter or summer
tyre change.
● The jack is maintenance-free.● If the ground on which the vehicle
is standing is soft, a solid board
(max. 1 cm thick) should be
placed under the jack.
● Take heavy objects out of the vehicle before jacking up.
● No people or animals may be in the vehicle when it is jacked-up.
● Never crawl under a jacked-up vehicle.
● Do not start the vehicle when it is
raised on the jack.
● Before screwing in the wheel bolts, clean them.9Warning
Do not grease wheel bolts.
9Warning
Ensure to use always the correct
wheel bolts if changing the
wheels. When installing the spare
wheel, the bolts for alloy wheels can also be used.
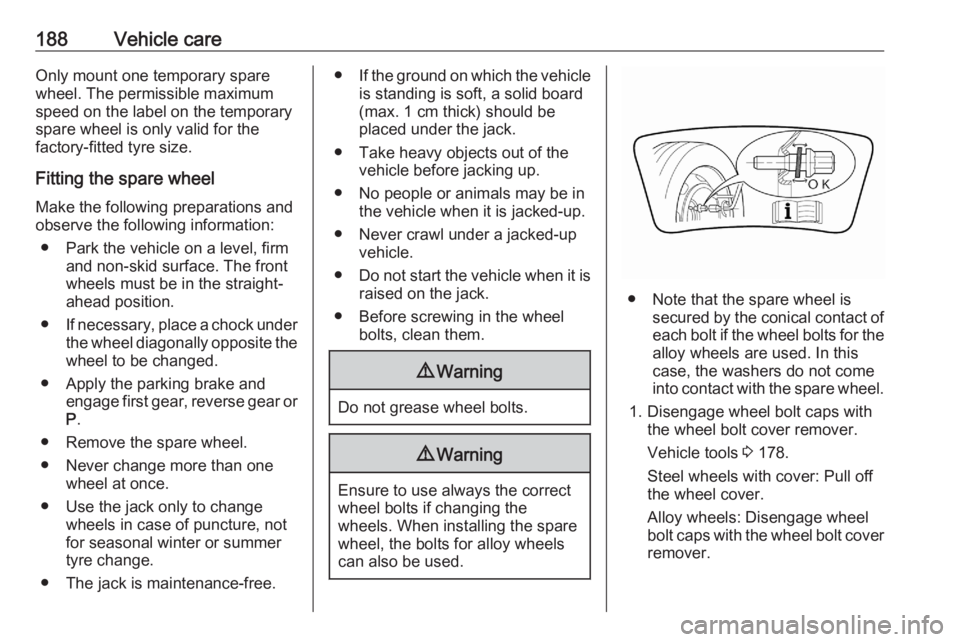
● Note that the spare wheel is secured by the conical contact ofeach bolt if the wheel bolts for the
alloy wheels are used. In this
case, the washers do not come
into contact with the spare wheel.
1. Disengage wheel bolt caps with the wheel bolt cover remover.
Vehicle tools 3 178.
Steel wheels with cover: Pull off
the wheel cover.
Alloy wheels: Disengage wheel
bolt caps with the wheel bolt cover remover.