display OPEL CROSSLAND X 2019 Owner's Guide
[x] Cancel search | Manufacturer: OPEL, Model Year: 2019, Model line: CROSSLAND X, Model: OPEL CROSSLAND X 2019Pages: 263, PDF Size: 8.11 MB
Page 100 of 263
98Instruments and controlsThe Info Displays can indicate:● time 3 77
● outside temperature 3 76
● date 3 77
● Infotainment system, see description in the Infotainment
manual
● indication of rear view camera 3 173
● indication of panoramic view system 3 171
● indication of parking assist instructions 3 161
● navigation, see description in the
Infotainment manual
● vehicle and system messages 3 101
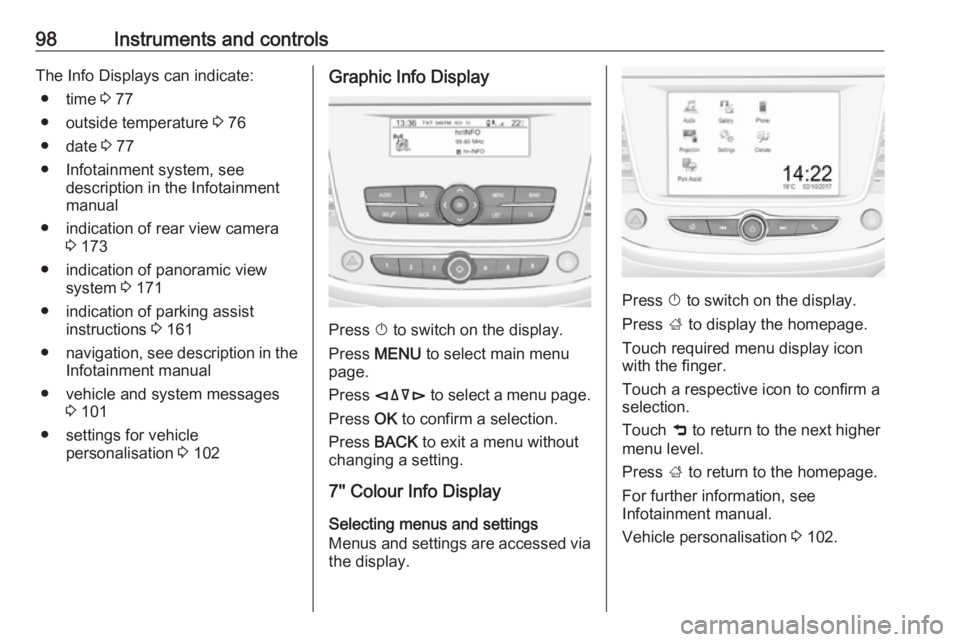
● settings for vehicle personalisation 3 102Graphic Info Display
Press X to switch on the display.
Press MENU to select main menu
page.
Press èäåé to select a menu page.
Press OK to confirm a selection.
Press BACK to exit a menu without
changing a setting.
7'' Colour Info Display
Selecting menus and settings
Menus and settings are accessed via
the display.
Press X to switch on the display.
Press ; to display the homepage.
Touch required menu display icon
with the finger.
Touch a respective icon to confirm a
selection.
Touch 9 to return to the next higher
menu level.
Press ; to return to the homepage.
For further information, see
Infotainment manual.
Vehicle personalisation 3 102.
Page 101 of 263
Instruments and controls998'' Colour Info DisplaySelecting menus and settings
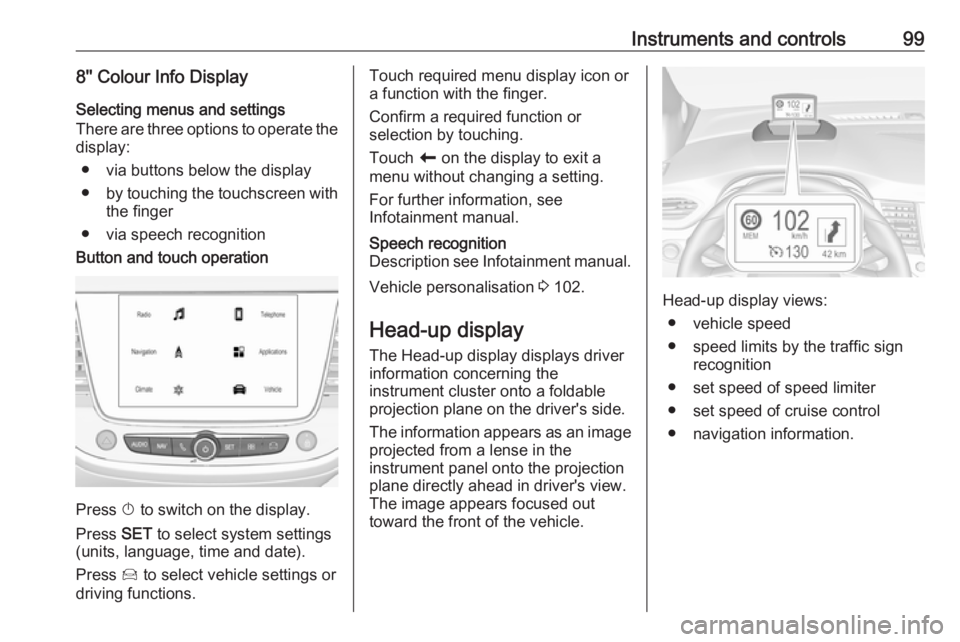
There are three options to operate the
display:
● via buttons below the display
● by touching the touchscreen with
the finger
● via speech recognitionButton and touch operation
Press X to switch on the display.
Press SET to select system settings
(units, language, time and date).
Press Í to select vehicle settings or
driving functions.
Touch required menu display icon or
a function with the finger.
Confirm a required function or
selection by touching.
Touch r on the display to exit a
menu without changing a setting.
For further information, see
Infotainment manual.Speech recognition
Description see Infotainment manual.
Vehicle personalisation 3 102.
Head-up display
The Head-up display displays driver
information concerning the
instrument cluster onto a foldable projection plane on the driver's side.
The information appears as an image
projected from a lense in the
instrument panel onto the projection
plane directly ahead in driver's view.
The image appears focused out
toward the front of the vehicle.Head-up display views:
● vehicle speed
● speed limits by the traffic sign recognition
● set speed of speed limiter
● set speed of cruise control
● navigation information.
Page 102 of 263
100Instruments and controls
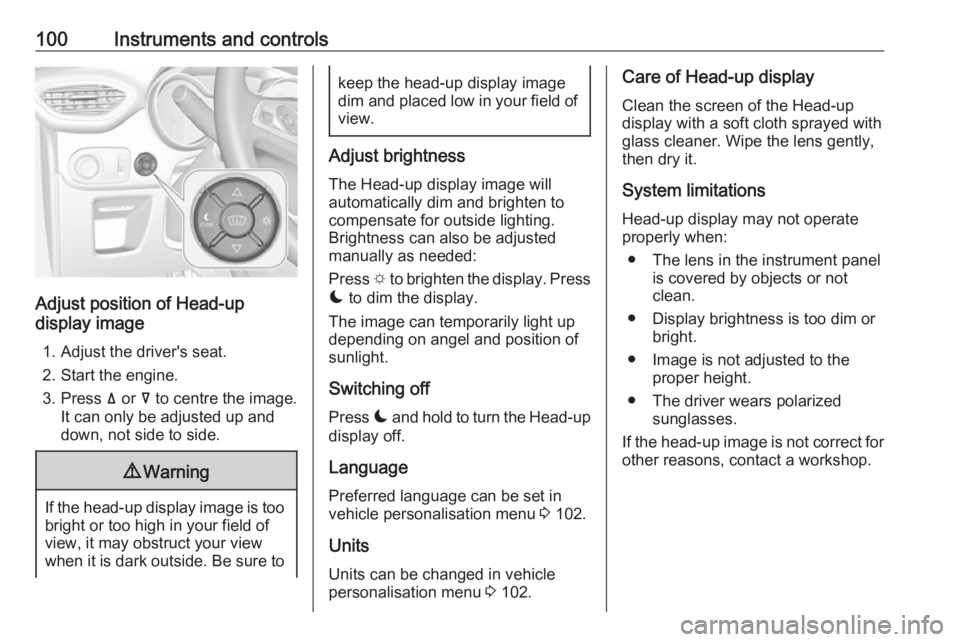
Adjust position of Head-up
display image
1. Adjust the driver's seat.
2. Start the engine.
3. Press ä or å to centre the image.
It can only be adjusted up and
down, not side to side.
9 Warning
If the head-up display image is too
bright or too high in your field of
view, it may obstruct your view
when it is dark outside. Be sure to
keep the head-up display image dim and placed low in your field of
view.
Adjust brightness
The Head-up display image will
automatically dim and brighten to
compensate for outside lighting.
Brightness can also be adjusted
manually as needed:
Press e to brighten the display. Press
æ to dim the display.
The image can temporarily light up
depending on angel and position of
sunlight.
Switching off
Press æ and hold to turn the Head-up
display off.
Language Preferred language can be set in
vehicle personalisation menu 3 102.
Units
Units can be changed in vehicle
personalisation menu 3 102.
Care of Head-up display
Clean the screen of the Head-up
display with a soft cloth sprayed with
glass cleaner. Wipe the lens gently, then dry it.
System limitations Head-up display may not operate
properly when:
● The lens in the instrument panel is covered by objects or not
clean.
● Display brightness is too dim or bright.
● Image is not adjusted to the proper height.
● The driver wears polarized sunglasses.
If the head-up image is not correct for
other reasons, contact a workshop.
Page 103 of 263
Instruments and controls101Vehicle messages
Messages are indicated in the Driver
Information Centre, in some cases
together with a warning chime.
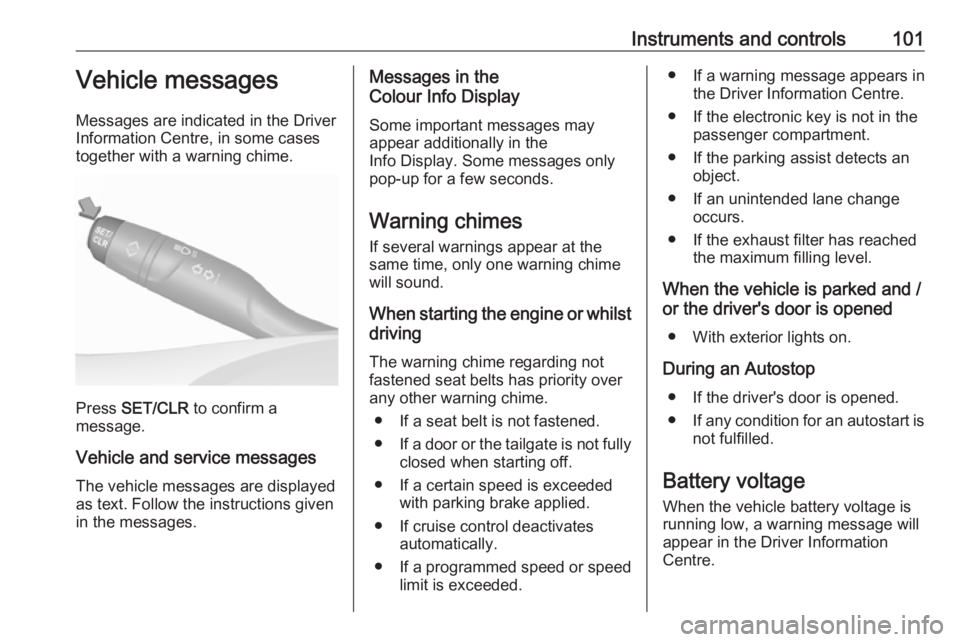
Press SET/CLR to confirm a
message.
Vehicle and service messages The vehicle messages are displayed
as text. Follow the instructions given
in the messages.
Messages in the
Colour Info Display
Some important messages may
appear additionally in the
Info Display. Some messages only
pop-up for a few seconds.
Warning chimes
If several warnings appear at the same time, only one warning chime
will sound.
When starting the engine or whilst driving
The warning chime regarding not
fastened seat belts has priority over
any other warning chime.
● If a seat belt is not fastened.
● If a door or the tailgate is not fully
closed when starting off.
● If a certain speed is exceeded with parking brake applied.
● If cruise control deactivates automatically.
● If a programmed speed or speed
limit is exceeded.● If a warning message appears in the Driver Information Centre.
● If the electronic key is not in the passenger compartment.
● If the parking assist detects an object.
● If an unintended lane change occurs.
● If the exhaust filter has reached the maximum filling level.
When the vehicle is parked and / or the driver's door is opened
● With exterior lights on.
During an Autostop ● If the driver's door is opened.● If any condition for an autostart is
not fulfilled.
Battery voltage
When the vehicle battery voltage is
running low, a warning message will
appear in the Driver Information
Centre.
Page 104 of 263
102Instruments and controlsWhen the vehicle is being driven, the
load reduction function temporarily
deactivates certain functions, such as
the air conditioning, the heated rear
screen, heated steering wheel, etc.
The deactivated functions are
reactivated automatically as soon as
conditions permit.Vehicle personalisation
The vehicle's behaviour can be
personalised by changing the settings in the Info Display.
Depending on vehicle equipment and
country-specific regulations some of
the functions described below may
not be available.
Some functions are only displayed or
active when the engine is running.
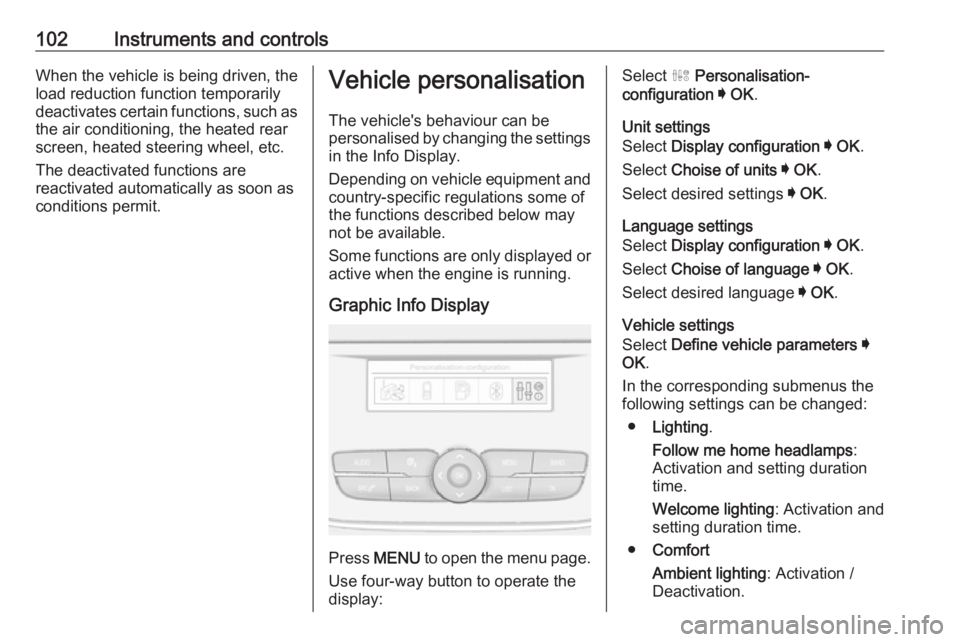
Graphic Info Display
Press MENU to open the menu page.
Use four-way button to operate the
display:
Select ˆ Personalisation-
configuration I OK .
Unit settings
Select Display configuration I OK .
Select Choise of units I OK .
Select desired settings I OK .
Language settings
Select Display configuration I OK .
Select Choise of language I OK .
Select desired language I OK .
Vehicle settings
Select Define vehicle parameters I
OK .
In the corresponding submenus the
following settings can be changed:
● Lighting .
Follow me home headlamps :
Activation and setting duration
time.
Welcome lighting : Activation and
setting duration time.
● Comfort
Ambient lighting : Activation /
Deactivation.
Page 105 of 263
Instruments and controls103Rear wiper in reverse gear:
Activation / Deactivation.
● Vehicle
Unlocking boot only : Activation /
Deactivation.
Plip action : Driver / all doors.
● Driving assistance
Fatigue Detection system :
Activation / Deactivation.
Speed recommendation :
Activation / Deactivation.
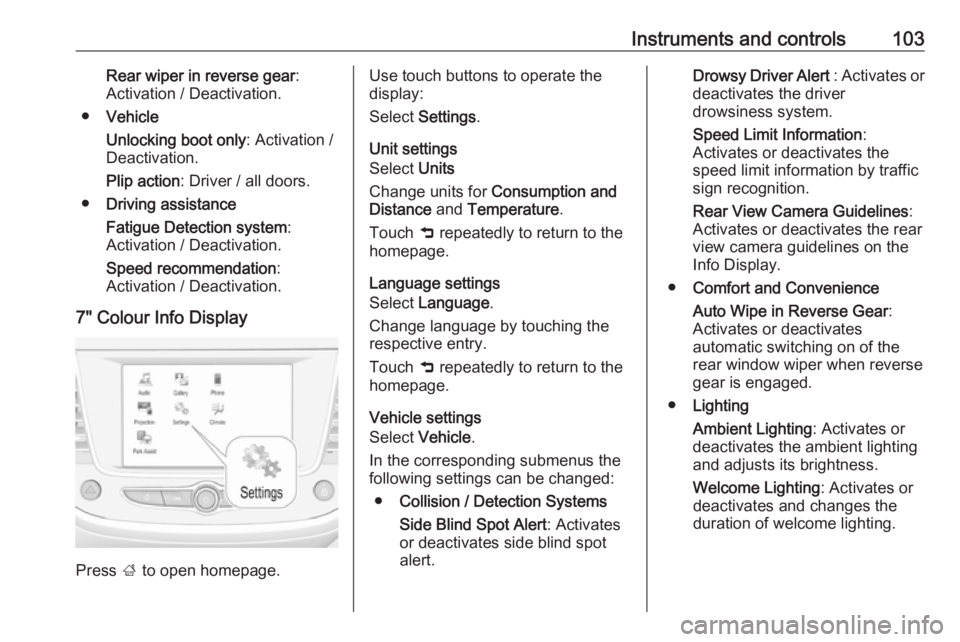
7" Colour Info Display
Press ; to open homepage.
Use touch buttons to operate the
display:
Select Settings .
Unit settings
Select Units
Change units for Consumption and
Distance and Temperature .
Touch 9 repeatedly to return to the
homepage.
Language settings
Select Language .
Change language by touching the respective entry.
Touch 9 repeatedly to return to the
homepage.
Vehicle settings
Select Vehicle .
In the corresponding submenus the
following settings can be changed:
● Collision / Detection Systems
Side Blind Spot Alert : Activates
or deactivates side blind spot
alert.Drowsy Driver Alert : Activates or
deactivates the driver
drowsiness system.
Speed Limit Information :
Activates or deactivates the
speed limit information by traffic sign recognition.
Rear View Camera Guidelines :
Activates or deactivates the rear
view camera guidelines on the
Info Display.
● Comfort and Convenience
Auto Wipe in Reverse Gear :
Activates or deactivates
automatic switching on of the
rear window wiper when reverse
gear is engaged.
● Lighting
Ambient Lighting : Activates or
deactivates the ambient lighting
and adjusts its brightness.
Welcome Lighting : Activates or
deactivates and changes the
duration of welcome lighting.
Page 106 of 263
104Instruments and controlsExit Lighting: Activates or
deactivates and changes the
duration of exit lighting.
● Remote Lock, Unlock, Start
Remote Door Unlock : Changes
the configuration to unlock the driver's door only or all doors
when pressing O on the remote
control.
Unlock boot only : Activates or
deactivates unlocking the tailgate
only when pressing T on the
remote control.
Touch 9 repeatedly to return to the
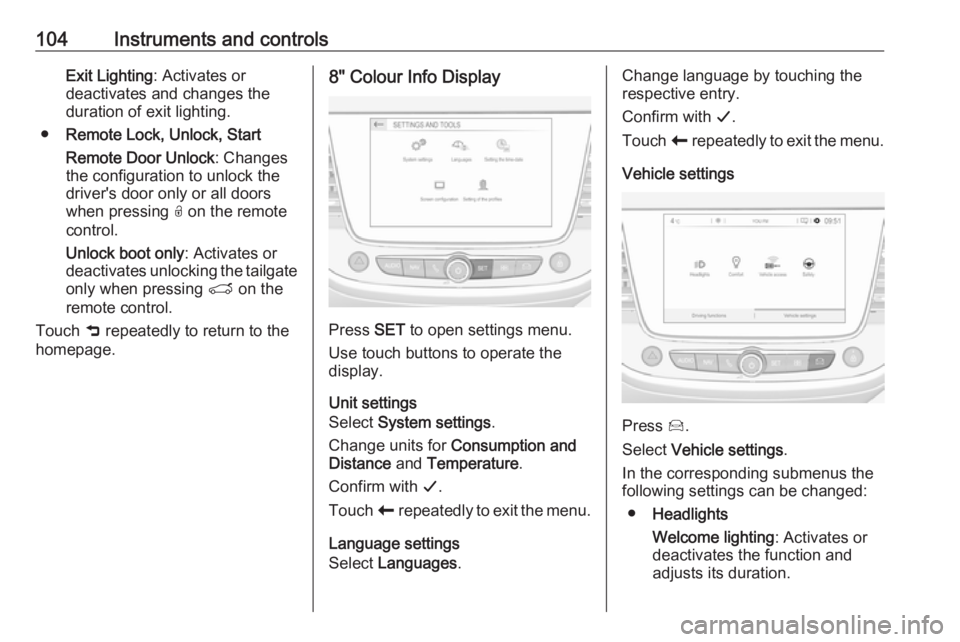
homepage.8" Colour Info Display
Press SET to open settings menu.
Use touch buttons to operate the
display.
Unit settings
Select System settings .
Change units for Consumption and
Distance and Temperature .
Confirm with G.
Touch r repeatedly to exit the menu.
Language settings
Select Languages .
Change language by touching the
respective entry.
Confirm with G.
Touch r repeatedly to exit the menu.
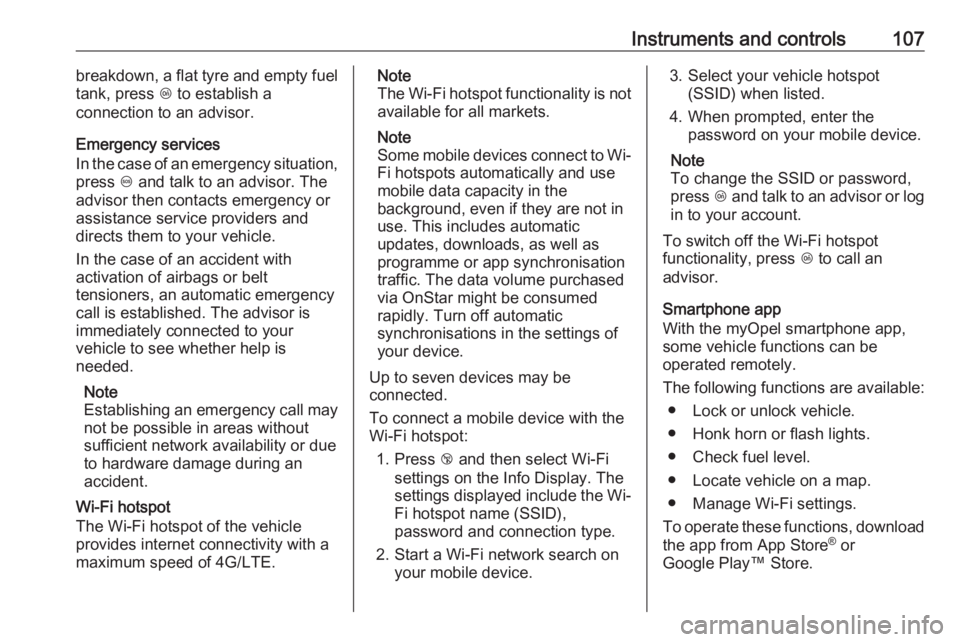
Vehicle settings
Press Í.
Select Vehicle settings .
In the corresponding submenus the
following settings can be changed:
● Headlights
Welcome lighting : Activates or
deactivates the function and
adjusts its duration.
Page 109 of 263
Instruments and controls107breakdown, a flat tyre and empty fuel
tank, press Z to establish a
connection to an advisor.
Emergency services
In the case of an emergency situation,
press [ and talk to an advisor. The
advisor then contacts emergency or
assistance service providers and
directs them to your vehicle.
In the case of an accident with
activation of airbags or belt
tensioners, an automatic emergency
call is established. The advisor is
immediately connected to your
vehicle to see whether help is
needed.
Note
Establishing an emergency call may
not be possible in areas without
sufficient network availability or due
to hardware damage during an
accident.
Wi-Fi hotspot
The Wi-Fi hotspot of the vehicle
provides internet connectivity with a
maximum speed of 4G/LTE.Note
The Wi-Fi hotspot functionality is not available for all markets.
Note
Some mobile devices connect to Wi-
Fi hotspots automatically and use
mobile data capacity in the
background, even if they are not in use. This includes automatic
updates, downloads, as well as
programme or app synchronisation
traffic. The data volume purchased
via OnStar might be consumed
rapidly. Turn off automatic
synchronisations in the settings of
your device.
Up to seven devices may be
connected.
To connect a mobile device with the
Wi-Fi hotspot:
1. Press j and then select Wi-Fi
settings on the Info Display. The
settings displayed include the Wi- Fi hotspot name (SSID),
password and connection type.
2. Start a Wi-Fi network search on your mobile device.3. Select your vehicle hotspot(SSID) when listed.
4. When prompted, enter the password on your mobile device.
Note
To change the SSID or password,
press Z and talk to an advisor or log
in to your account.
To switch off the Wi-Fi hotspot
functionality, press Z to call an
advisor.
Smartphone app
With the myOpel smartphone app,
some vehicle functions can be
operated remotely.
The following functions are available: ● Lock or unlock vehicle.
● Honk horn or flash lights.
● Check fuel level.
● Locate vehicle on a map.
● Manage Wi-Fi settings.
To operate these functions, download the app from App Store ®
or
Google Play™ Store.
Page 110 of 263
108Instruments and controlsRemote control
If desired, use any phone to call an
advisor, who can remotely operate
specific vehicle functions. Find the
respective OnStar phone number on
our country-specific website.
The following functions are available: ● Lock or unlock vehicle.
● Provide information on the vehicle location.
● Honk horn or flash lights.
Stolen vehicle assistance
If the vehicle is stolen, report the theft to the authorities and request OnStar
stolen vehicle assistance. Use any
phone to call an advisor. Find the
respective OnStar phone number on
our country-specific website.
OnStar can provide support in
locating and recovering the vehicle.Theft alert
When the anti-theft alarm system is
triggered, a notification is sent to
OnStar. You are then informed about
this event by text message or email.Restart prevention
By sending remote signals, OnStar
can prevent the vehicle from
restarting once it has been turned off.
On-demand diagnostics
At any time e.g. if the vehicle displays a vehicle message, press Z to
contact an advisor and ask to
complete a real-time diagnostic check
to directly determine the issue.
Depending on the results, the advisor
will provide further support.
Diagnostic report
The vehicle automatically transmits
diagnostic data to OnStar which
sends a monthly email report to you
and your preferred workshop.
Note
The workshop notification function
can be disabled in your account.
The report contains the status of key
operating systems of the vehicle like
engine, transmission, airbags, ABS,
and other major systems. It also
provides information on possiblemaintenance items and tyre pressure (only with tyre pressure monitoring
system).
To look at the information in greater
detail, select the link within the email
and log in to your account.
OnStar settings
OnStar PIN
To have full access to all OnStar
services, a four-digit PIN is required. The PIN has to be personalised when first talking to an advisor.
To change the PIN, press Z to call an
advisor.
Account data
An OnStar subscriber has an account
where all the data is stored. To
request a change of the account
information, press Z and talk to an
advisor or log in to your account.
If the OnStar service is used on
another vehicle, press Z and request
that the account be transferred to the
new vehicle.
Page 111 of 263
Instruments and controls109Note
In any case, if the vehicle is disposed
of, sold or otherwise transferred,
immediately inform OnStar about
the changes and terminate the
OnStar service on this vehicle.
Vehicle location
The vehicle location is transmitted to OnStar when service is requested ortriggered. A message on the Info
Display informs about this
transmission.
To activate or deactivate the
transmission of the vehicle location,
press and hold j until an audio
message is heard.
The deactivation is indicated by the
status light flashing red and green for a short period of time and each time
the vehicle is started.
Note
If the transmission of the vehicle
location is deactivated, some
services are no longer available.
Note
The vehicle location always remains
accessible to OnStar in the case of
an emergency.Find the privacy policy in your
account.
Software updates
OnStar may remotely carry out software updates without further
notice or consent. These updates are
to enhance or maintain safety and
security or the operation of the
vehicle.
These updates may concern privacy
issues. Find the privacy policy in your account.