OPEL GT 2011 Owners Manual
Manufacturer: OPEL, Model Year: 2011, Model line: GT, Model: OPEL GT 2011Pages: 190, PDF Size: 2.46 MB
Page 121 of 190
12 1Dr i vi ng and o pe r ati on
Crui se control
The c ruise c ontrol can store and maintain
s pee ds above approx. 30 k m/h (2 0 mph).
D ev i a t i on s f r o m t h e st o r ed sp ee ds m a y
occur when d riv ing uphill or d ow nhill.
F or sa f e t y r e a so n s, c r u i se c o n t r ol c a n no t
be activate d until the brak e pe dal has
be en o p e r a t ed o n ce .
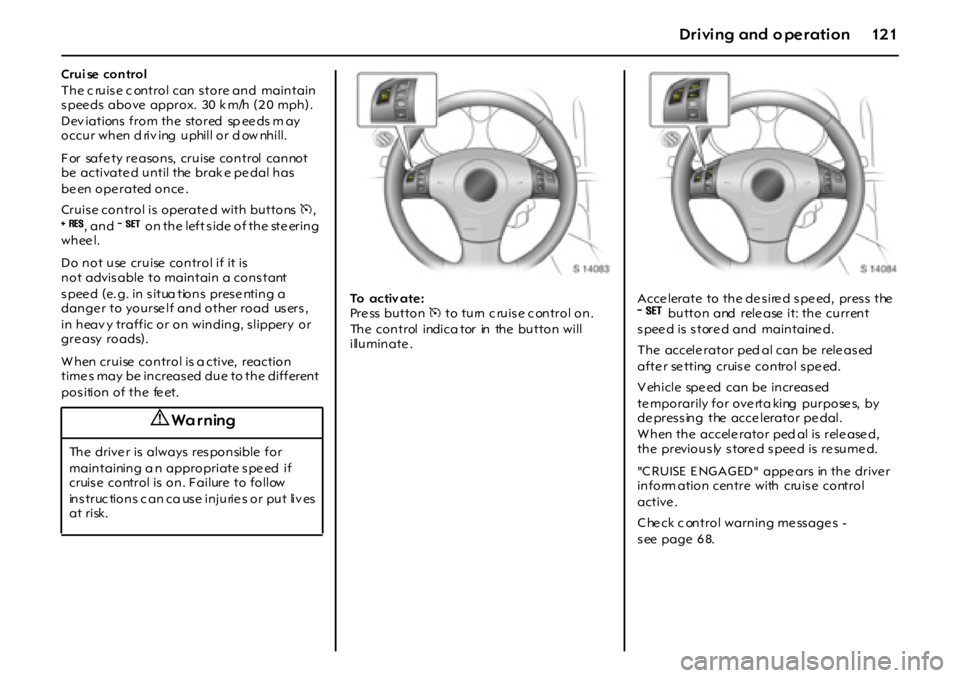
Cruise control is operate d with buttonsm,
8, an d9 on the left side of the steering
whee l.
Do not use cruise control if it is
not advisable to maintain a constant
s p ee d ( e. g . i n s i t ua t io n s p r es e nt i n g a
danger to yourself and other road users,
in heav y traffic or on winding, s lippery or
gre asy roads).
W hen cruise control is a ctive, reaction
time s may be increased due to the different
position of the feet.To activ ate :
Pre ss button m to turn c ruise c ontrol on.
The control indica tor in the button will
illuminate .Acce lerate to the de sire d spe ed, press the
9button and rele ase it: the current
speed is stored and maintained.
The accele rator ped al can be rele ased
afte r se tting cruise control spe ed.
V ehicle spe ed can be increas ed
temporarily for overta king purposes, by
de pres s ing the acce lerator pe dal.
W hen the accele rator ped al is rele ase d,
the previously stored speed is resumed.
"C RUISE E NGAGED" appe ars in the drive r
inform ation centre with cruis e control
active .
C he ck c ontrol warning me ss age s -
s ee page 6 8.
9 Wa r ning
The driver is always responsible for
maintaining a n appropriate s pe ed if
cruis e control is on. F ailure to follow
instructions can cause injuries or put lives
at risk.
Page 122 of 190

1 2 2 D r iv in g an d o p e ra t io n
Incr ease speed :
W i t h c r ui s e c o nt r o l a c t i v e, ho l d d o w n
button
8 or briefly pres s it repe atedly :
s pee d is incre as ed continuous ly or in ste ps
of 1.6 km/h (1 m ph) without using the
acce lerator pe dal.
W hen button
8 is released, the current
speed is stored and m aintained.
Alternative ly, use the acce lerator pe dal to
increase vehicle speed, press button
9
and rele ase it, then rele ase the acce lerator
pe dal.
W hen button
9 and the acce lerator
pe dal are rele ase d, the current s pee d is
s tore d and m ainta ine d.
Decrease speed:
W i t h c r ui s e c o nt r o l a c t i v e, ho l d d o w n
button
9 or brie fly pres s it rep eate dly:
s pee d is reduce d continuous ly or in s teps
of 1.6 km/h (1 m ph).
W hen button
9 is rele ased, the current
speed is stored and m aintained.
To dea ctiv ate :
Switch off cruis e control whe n not nee de d,
to avoid accid ental activa tion.
Pre ss button m: cruise control is s witched
off, the control indicator in the button goe s
out a nd the ve hicle s lowly d ece lerates .
To continue driv ing , de pres s the
accele rator ped al in the us ua l manner.
For re asons of safe ty, c ruise control
deactiv ates under ce rtain driving
conditions . F or exa mple:
zi f t h e veh i c l e ’s sp e ed d r o p s b el o w
approx . 3 0 km/ h (2 0 mph) or
zif the brake peda l is depre ss ed or
zif the clutch p edal is de pres s ed or
zif the Elec tronic S tability Program (E SP)
come s into a ction, to improve driving
s tability and lim it whee l spin.
Deactivating cruise control does not switch
of f t h e sy st e m .
Resumi ng the stored speed:
Brie fly pre ss button
8 at a spe ed above
30 k m /h ( 2 0 m p h ): s p ee d s el e c t ed b ef o r e
cruis e c ontrol was de activated is re sume d.
The value of the stored speed is deleted
w h en c r u i se c o n t r o l ha s b ee n sw i t c h e d o f f
by pre ss ing button m, and when the
ignition is turne d off.
Brake system
The effectiveness of the brakes is an
important factor for traffic sa fe ty.
To improve effectiveness, do not brake
unnecessarily hard for the first 200 k m
(120 mile s) a fte r new brake pads have
be en fitted .
Brake pad wea r must not e xce ed a
s pec ifie d limit. R egular ma inte na nce as
detailed in the chapter "Service,
Maintenance" on pag e 165 is therefore of
the utm os t importance for traffic safe ty.
Hav e w orn b ra ke p ads replace d by a
workshop. Pads which have be en te ste d
a n d a p p r o ved en s ur e o p t i m u m b ra ke
pe rforma nc e.
Brake pad s that hav e worn to their
minimum thickne ss ge nerate a grinding
noise . C ontinued driving is poss ible.
Hav e the brake pads re placed as soon
as pos sible by a works hop.
9 Warning
Disre gard of thes e ins truc tions may lead
to injuries or e ndanger live s .
Page 123 of 190
12 3Dr i vi ng and o pe r ati on
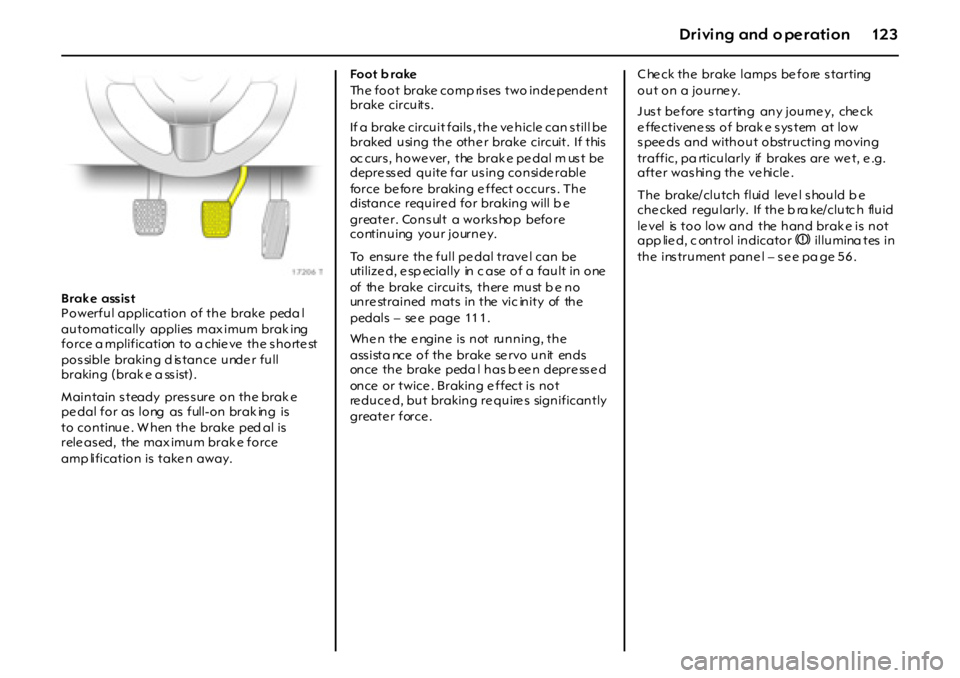
Brak e assist
Powerful application of the brake peda l
automatically applies max imum brak ing
force a mplification to a chie ve the s horte st
pos sible braking d is tance unde r full
braking (brak e a ss ist).
M a i n t a i n s t ea dy p r es s ur e o n t h e br a k e
pe dal for as long as full-on brak ing is
to continue . W hen the brake ped al is
rele as ed, the max imum brak e force
amp lification is take n away.Foot b rake
The foot brake comp rises two independent
brake circuits .
If a brake circuit fails , the ve hicle can s till be
braked using the othe r brake circuit. If this
oc curs , howe ver, the brak e pe dal m us t be
depre ss ed quite far us ing conside rable
force be fore braking e ffect occurs. The
distance require d for braking will b e
greate r. Consult a workshop before
continuing your journey.
To ensure the full pe dal trave l can be
utilize d, e sp ecially in c ase of a fault in one
of the brake circuits, there must be no
unre strained mats in the vic inity of the
pedals – se e page 11 1 .
When the engine is not running, the
a ss i st a nce o f t h e br a ke se r vo u n it en ds
once the brake peda l has b ee n depre ss e d
once or twice . Braking e ffect is not
re duce d, but braking re quire s significantly
greate r force .Check the brake lamps before starting
out on a journey.
Just before starting any journey, check
effectiveness of brak e system at low
s pee ds and without obstructing moving
traffic, pa rticularly if brakes are we t, e .g.
afte r was hing the ve hicle .
The brake/ clutch fluid leve l s hould b e
che cked regularly. If the b ra ke/clutc h fluid
level is too low and the hand brak e is not
app lie d, c ontrol indicatorR illumina tes in
the ins trument pane l – s e e pa ge 5 6 .
Page 124 of 190
1 2 4 D r iv in g an d o p e ra t io n
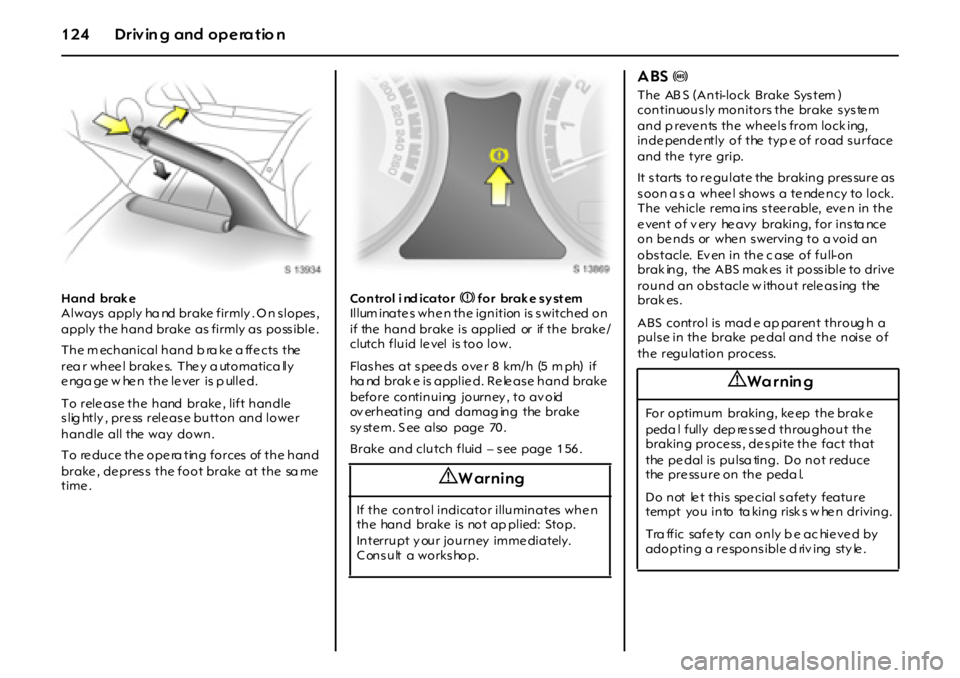
Hand brak e
Always apply ha nd brake firmly . O n s lopes ,
apply the hand brake as firmly as poss ible .
The m echanical hand b ra ke a ffe cts the
rea r wheel brakes. They a utomatica lly
enga ge w hen the lever is p ulled.
To release the hand brake, lift handle
s lig htly , pre ss rele as e button and lowe r
handle all the way down.
T o re du ce t h e o p e ra t in g f o r ces of t h e h a n d
brake , de pres s the foot brake at the sa me
time .Control i nd icator R f o r b r a k e s y st em
Illum inate s whe n the ignition is s witched on
if the hand brake is applied or if the brake/
clutch fluid le vel is too low.
Flas hes at s pee ds ove r 8 km/ h (5 m ph) if
ha nd brak e is applie d. Re le as e hand brake
b ef o r e c o nt i n u i ng j o ur n ey , t o a v o id
ov erheating and damag ing the brake
sy ste m. S ee also page 70 .
Brake and clutch fluid – s ee page 1 56 .
ABS u
T h e AB S ( A n ti-lo ck Brake Sys tem )
continuously monitors the brake system
a n d p r eve n ts t h e w h ee l s f r o m l o ck i ng ,
inde pende ntly of the typ e of road surface
and the tyre grip.
It s tarts to re gulate the braking pres sure as
soon a s a wheel shows a tendency to lock.
T h e veh i cl e r em a i ns s t ee r a bl e, eve n i n t h e
e vent of v ery he avy braking, for ins ta nce
on bends or when swerving to a void an
o bs t acl e. Ev en i n t h e c ase o f f u l l- o n
brak ing, the ABS mak es it poss ible to drive
round an obs tacle w ithout rele as ing the
brak es .
ABS control is mad e ap parent throug h a
puls e in the brake pe dal and the nois e of
the regulation process.
9 Warning
If the control indicator illuminates whe n
the hand brake is not ap plied: Stop.
Interrupt y our journey immediately.
C onsult a workshop.
9 Wa r nin g
For optimum braking, ke ep the brak e
peda l fully dep re s se d throughout the
braking proce ss , de s pite the fact that
the pe dal is pulsa ting. Do not reduce
the pre ssure on the peda l.
Do not le t this spe cial safety feature
tempt you into ta king risk s w he n driving.
Tra ffic safe ty can only b e ac hie ve d by
adopting a re spons ible d riv ing sty le .
Page 125 of 190
12 5Dr i vi ng and o pe r ati on
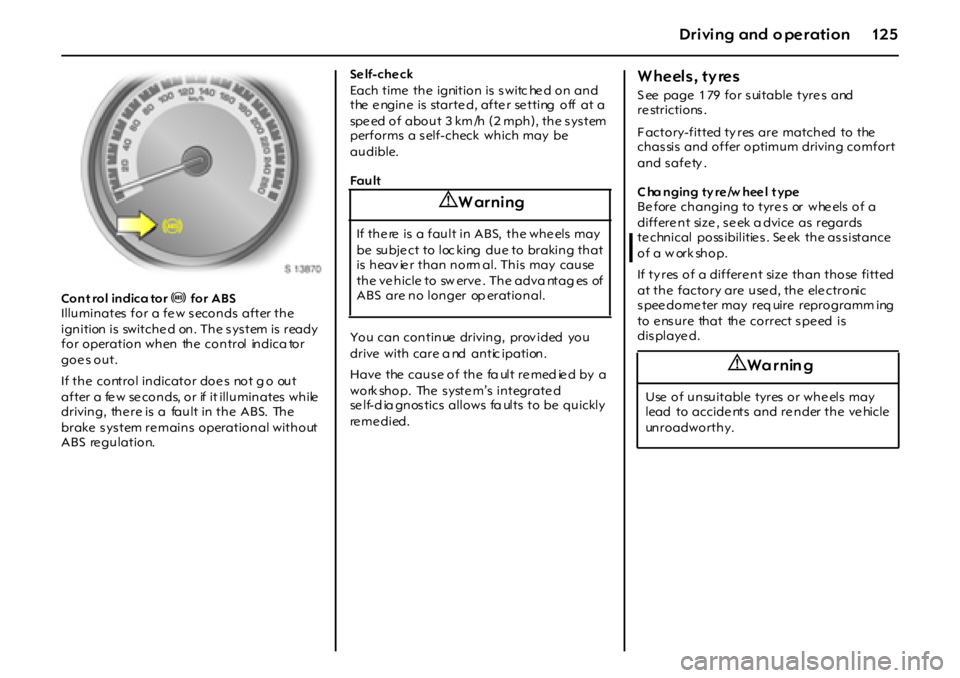
Con t rol in dica tor u for ABS
Illuminates for a few seconds after the
ignition is switche d on. The s ys tem is ready
for operation when the control indica tor
goe s out.
If the control indicator doe s not g o out
after a fe w se conds, or if it illuminates while
driving, there is a fault in the ABS. The
brake system remains operational without
ABS regulation.Se lf-che ck
Each time the ignition is switc he d on and
the e ngine is starte d, afte r se tting off at a
speed of about 3 km /h (2 mph), the system
performs a s elf-check which may be
audible.
Fa u lt
You can continue driving, prov ided you
drive with care a nd antic ipation.
Have the cause of the fa ult re med ie d by a
workshop. The system’s integrated
se lf-d ia gnos tics allows fa ults to be quickly
re m e d i e d .
Wheels, tyres
S ee page 1 79 for s uitable tyre s and
re strictions.
F actory-fitted ty res are matched to the
chas sis and offer optimum driving comfort
and s afe ty .
C ha nging ty re/w heel t ype
Be fore changing to tyre s or whe els of a
differe nt size , s e ek a dvice as regards
te chnical poss ibilitie s . Se ek the as s istance
of a w ork shop.
If ty res of a differe nt size than those fitted
at the factory are used, the electronic
spee dome ter may req uire reprogramm ing
to ensure that the correct speed is
dis playe d.
9 Warning
If the re is a fault in ABS, the whe els may
be subje ct to loc king due to braking that
is heav ie r than norm al. This may cause
t h e ve h i cl e t o sw er ve . T h e a dva nt a g es of
A B S a r e n o l o n g er op er a t i o n a l .
9 Wa r nin g
Use of unsuitable tyres or wheels may
lead to accide nts and re nder the ve hicle
unroadworthy.
Page 126 of 190
1 2 6 D r iv in g an d o p e ra t io n
F itting ne w tyre s
Please fit tyre s in pairs. Se ts would be eve n
be tte r. Re place tyre s w ith:
zth e s a m e si z e ,
zthe same design,
zthe s ame make ,
zthe same tre ad pattern on one ax le.
F it direc tional tyres such that the y roll in the
direc tion of trave l. The rolling d ire ction is
indicated by a s ymbol (e .g. a n arrow) on
the s ide wall.
Tyre s fitte d opposing the rolling direction
(e. g. whe n a tyre is chang ed) s hould be
refitted a s s oon as poss ible. This is the only
way to obtain full bene fit from the de sign
properties of the tyre.
O bse rve legal re quireme nts w he n
disposing of ty res.Some brands of tyres have a b eade d
edge for alloy whe els to protect against
damage . If a whee l trim is use d on s tee l
whee ls with be ade d-edg e ty re s, the
following proce dure mus t be followe d:
zW hee l trims and ty res that are a pproved
for the re spe ctive ve hicle and c om ply
with all of the rele vant whee l and tyre
combination re quireme nts mus t b e use d.
zIf the whe el trims and ty re s use d are not
approve d, the tyre s must not have a
be ade d ed ge.
Ty re pre ssure
Ch eck t yr e p r es su r e s w he n co l d, a t l ea s t
eve ry 1 4 days and prior to any long
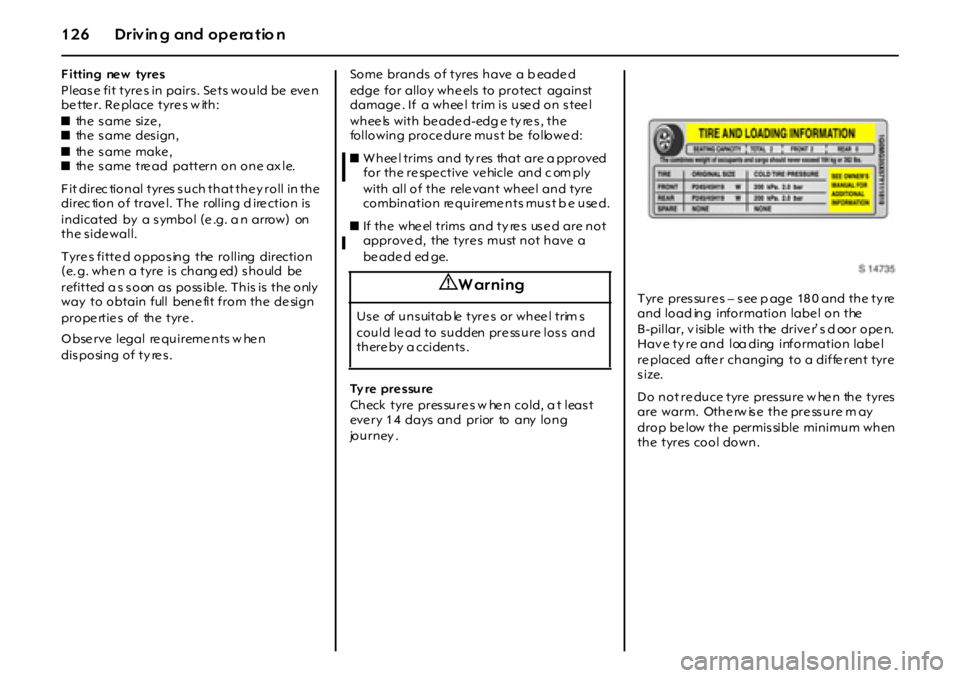
journey .Tyre pres sure s – s ee p age 18 0 and the ty re
and load ing information labe l on the
B-pillar, v isible with the drive r’ s d oor ope n.
Hav e ty re and loa ding information labe l
re placed afte r changing to a diffe rent tyre
size.
Do not re duce tyre pressure w he n the tyres
are warm. Otherw ise the pressure m ay
drop be low the permis sible minimum when
the tyres cool down.
9 Warning
Use of unsuitab le tyre s or whee l trim s
could le ad to s udden pre ss ure los s and
there by a ccidents .
Page 127 of 190
12 7Dr i vi ng and o pe r ati on
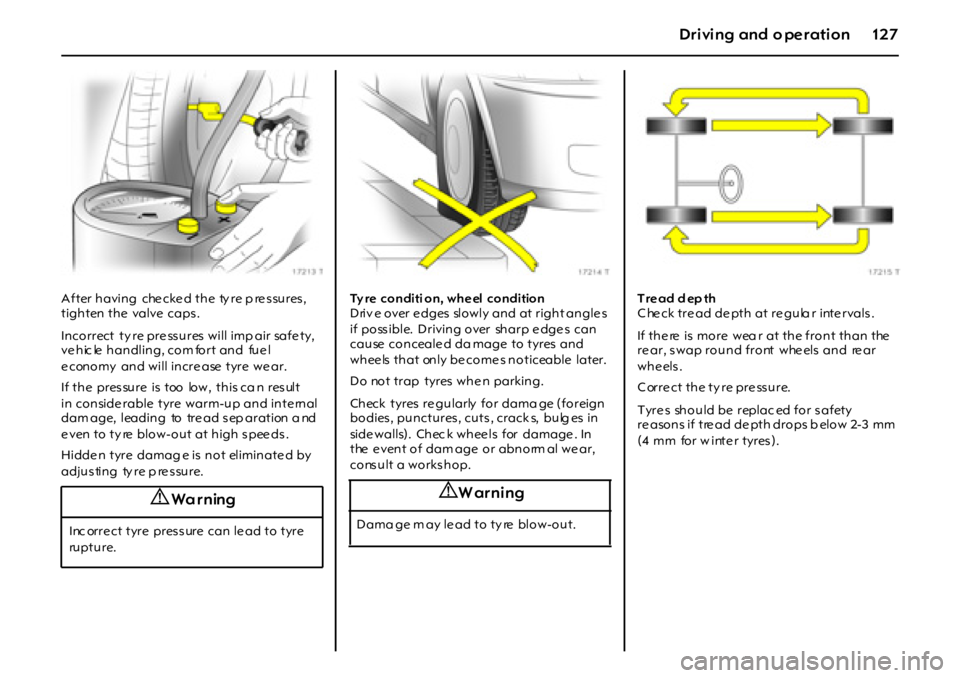
After having che cke d the ty re p re ssures,
tighten the valve caps.
Incorrect ty re pre ssures will imp air safe ty,
vehic le handling, com fort and fuel
e conomy and will incre ase tyre we ar.
If the pressure is too low, this ca n result
in conside rable tyre warm-up and inte rnal
dam age, leading to tre ad s ep aration a nd
e ven to ty re blo w-o u t at h igh s pee ds .
Hidde n tyre damag e is not eliminate d by
adjus ting ty re p re s sure.Ty re conditi on, wheel condition
Driv e over e dges slowly and at right angle s
if poss ible. Driving over sharp e dge s can
cause conceale d da mage to tyres and
whee ls that only be come s noticeable later.
Do not trap tyres whe n parking.
Check tyres re gularly for dama ge (foreign
bo dies , pu n ctu res , cu ts , crack s, bu lg es in
side walls). Chec k whee ls for damage . In
the e vent of dam age or abnorm al we ar,
cons ult a works hop.Tread depth
C he ck tre ad de pth at re gula r inte rvals .
If the re is more wea r at the front than the
re ar, s wap round front whe els and re ar
whe els.
C orre ct the ty re pre ssure.
Tyre s should be replac ed for safety
re asons if tre ad de pth drops b elow 2-3 mm
(4 mm for w inte r tyres).
9 Wa r ning
Inc orre ct tyre pressure can le ad to tyre
ru p t u r e .
9 Warning
Dama ge m ay le ad to ty re blow-out.
Page 128 of 190
1 2 8 D r iv in g an d o p e ra t io n
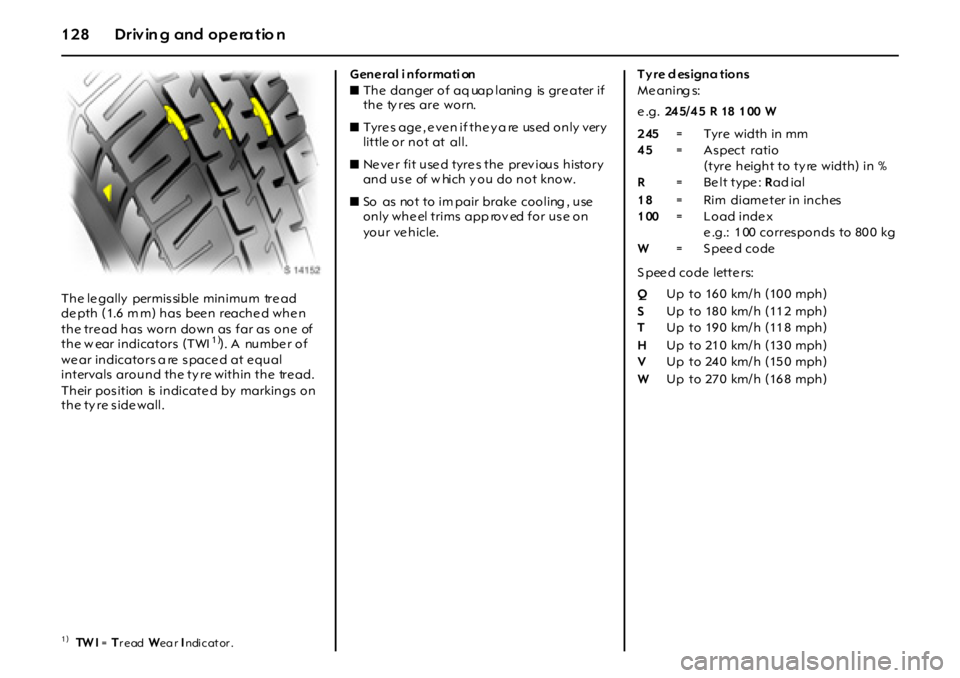
The le gally permis sible minimum tre ad
de pth (1.6 m m) has bee n reache d whe n
the tre ad has worn down as far as one of
the w ear indicators (TWI
1)). A numbe r of
we ar indicators a re s pace d at e qual
intervals around the ty re within the tre ad.
Their pos ition is indicate d by markings on
the ty re side wall. Gene ral i nformati on
zThe danger of aq uap laning is gre ater if
the ty res are worn.
zTyres age, even if they a re used only very
little or not at all.
zNever fit used tyres the prev ious history
and use of w hich y ou do not know.
zSo as not to im pair brake cooling , use
only whe el trims app rov ed for us e on
your vehicle. Tyre d esigna tions
Me aning s:
e.g. 24 5/ 4 5 R 18 1 00 W
S pee d code lette rs:
1)TW I = Tread Wea r Indi c at or .
245=Tyre width in mm
45= Aspect ratio
(tyre height to ty re width) in %
R= Be lt type : Rad ial
18= Rim diame ter in inches
100= L oad inde x
e.g.: 100 corresponds to 800 kg
W=Speed code
QUp to 160 km/h (100 mph)
SUp to 180 km/h (112 mph)
TUp to 190 km/h (118 mph)
HUp to 210 km/h (130 mph)
VUp to 240 km/h (150 mph)
WUp to 270 km/h (168 mph)
Page 129 of 190
12 9Dr i vi ng and o pe r ati on
Winter tyres 3
F or note s on fitting new tyres –
s ee page 1 26 .
Se e page 17 9 for res tric tions .
W i nt e r t yr e s i m p r o ve sa f e ty a t
t em p er a t u r es be l o w 7 °C a n d s ho u l d
therefore be fitted on all the wheels.
T h e d es i g n o f su m m er t yr e s m ea ns t h ey
have limited qualitie s for winte r driving.
If the maxim um perm issible speed for the
winter ty re s is le ss than that of the ve hicle,
a notice ind icating the ma ximum
pe rmissible spe ed for the tyre s must be
affixe d within the drive r’s field of v is ion
1).
W hee l t rims
If t h e w h ee l t r i m s a n d t yr e s u s ed a r e n o t
approve d, m ake sure that the ty res do not
have a be ade d e dge – s ee page 1 26 .Ty r e c h a i n s 3
Restric tions and furthe r inform ation -
se e p age 17 9 .
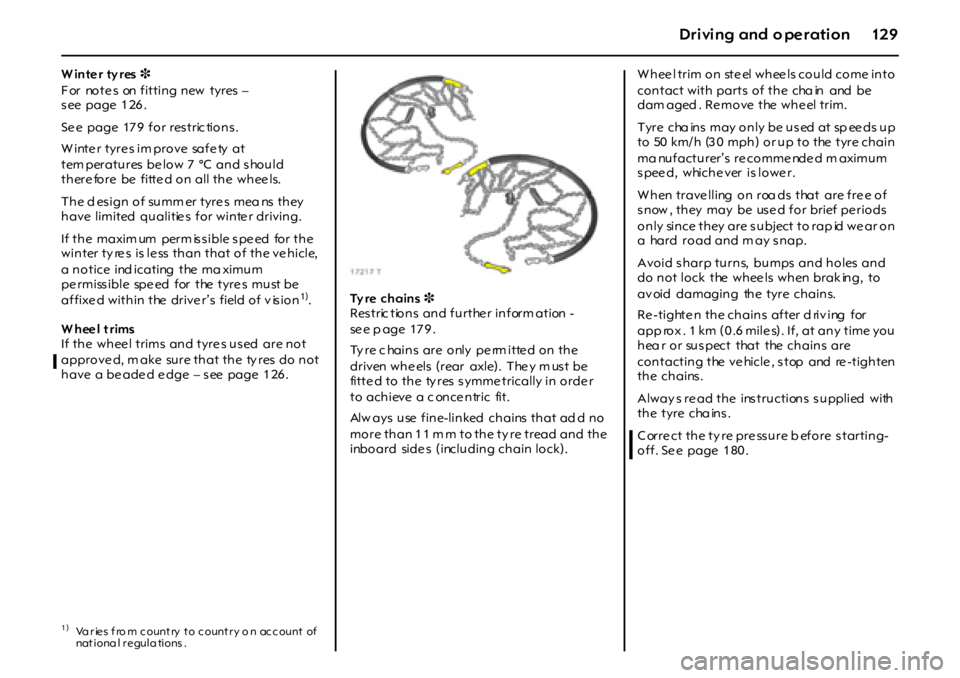
Ty re c hains are only pe rm itte d on the
driven whe els (rear axle). The y m us t be
fitte d to the ty res symme trically in orde r
to achieve a c once ntric fit.
Alw ays use fine-linked chains that ad d no
more than 11 m m to the ty re tread and the
inboard side s (including chain lock).W hee l trim on ste el whee ls could come into
contact with parts of the cha in and be
dam aged . Re move the whe el trim.
T yr e cha in s may o n ly be u s ed at sp ee ds u p
to 50 km/h (30 mph) or up to the tyre chain
ma nufacturer’s re comme nde d m aximum
s pee d, whiche ver is lowe r.
W hen trave lling on roa ds that are fre e of
s now , they may be us e d for brief pe riods
only since they are subject to rap id we ar on
a hard road and m ay s nap.
Avoid s harp turns, bumps and holes and
do not lock the whee ls when brak ing, to
av oid damaging the tyre chains.
Re -tighte n the chains after d riv ing for
app rox . 1 km (0 .6 mile s). If, at any time you
hea r or suspect that the chains are
contacting the vehicle, stop and re-tighten
the chains.
Alway s re ad the ins tructions s upplied with
the tyre cha ins.
C orre ct the ty re pre ssure b efore starting-
off. Se e page 1 80 .
1)Va r ies f ro m c ount ry t o c ount r y o n ac c ount of
nat i ona l r egul a ti ons .
Page 130 of 190
130 Self-help, vehicle care
Self-help, vehicle care
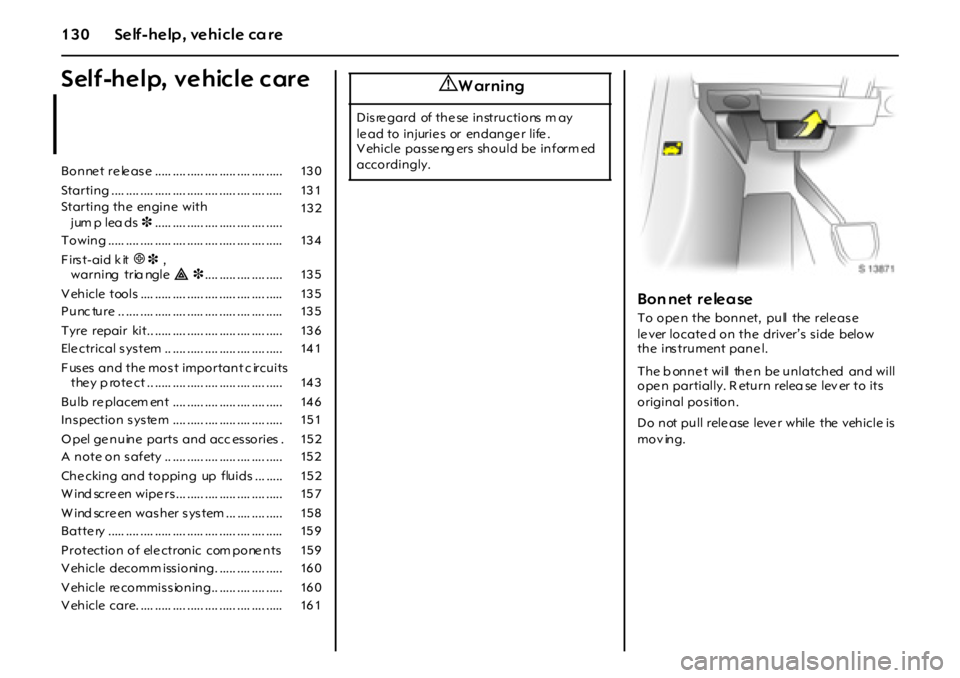
Bon net relea se
To ope n the bonnet, pull the rele ase
le ver locate d on the driver’s s ide below
the instrument pane l.
The b onnet will then be unlatched and will
ope n partially. R eturn relea se lev er to its
original pos ition.
Do not pull rele ase leve r while the vehicle is
mov ing. Bo n ne t re le as e ..... .... ..... .... ..... .... .... ..... 13 0
Startin g .... .... .... ..... .... ..... .... ..... .... .... ..... 13 1
Starting the engine with
jum p lea ds3..... .... ..... .... ..... .... .... ..... 13 2
T o win g ..... .... .... ..... .... ..... .... ..... .... .... ..... 13 4
First-aid kit+3,
warning tria ngle¨3.... ..... .... .... ..... 13 5
V eh icle too ls .... ..... .... ..... .... ..... .... .... ..... 13 5
P u nc tu re .. .... .... ..... .... ..... .... ..... .... .... ..... 13 5
T yre repair kit.. ..... .... ..... .... ..... .... .... ..... 13 6
Ele ctrical s ys tem .. .... ..... .... ..... .... .... ..... 14 1
Fuses and the most important c ircuits
the y p ro te ct .. ..... .... ..... .... ..... .... .... ..... 14 3
Bu lb re placem en t .... ..... .... ..... .... .... ..... 14 6
In s pectio n s ys te m .... ..... .... ..... .... .... ..... 15 1
O pel ge nuine parts and acc es sories . 15 2
A n o te o n s af ety .. .... ..... .... ..... .... .... ..... 15 2
Ch e ckin g an d to ppin g up f lu ids ... ..... 15 2
W ind scre en wipe rs ... ..... .... ..... .... .... ..... 15 7
W ind scre en was h er s ys tem ... .... .... ..... 15 8
Batte ry ..... .... .... ..... .... ..... .... ..... .... .... ..... 15 9
Protection of electronic com ponents 159
V eh icle deco mm iss io nin g. ..... .... .... ..... 16 0
V eh icle re co mmis s io n in g.. ..... .... .... ..... 16 0
V eh icle care. .... ..... .... ..... .... ..... .... .... ..... 16 1
9 Warning
Disregard of these instructions m ay
le ad to injurie s or endange r life .
V eh i c l e p a s se ng er s sh o u l d b e i n f or m ed
accordingly.