set clock OPEL INSIGNIA BREAK 2017.5 Manual user
[x] Cancel search | Manufacturer: OPEL, Model Year: 2017.5, Model line: INSIGNIA BREAK, Model: OPEL INSIGNIA BREAK 2017.5Pages: 303, PDF Size: 8.46 MB
Page 85 of 303

Instruments and controls83Activation or deactivation of this
function can be changed in the menu Settings in the Info-Display.
Vehicle personalisation 3 117.
Rear window washer
Push lever.
Washer fluid is sprayed onto the rear
window and the wiper wipes a few
times.
The rear window washer system is
deactivated when the fluid level is
low.
Washer fluid 3 234.
Outside temperature
A drop in temperature is indicated
immediately and a rise in temperature
after a time delay.
Illustration shows an example.
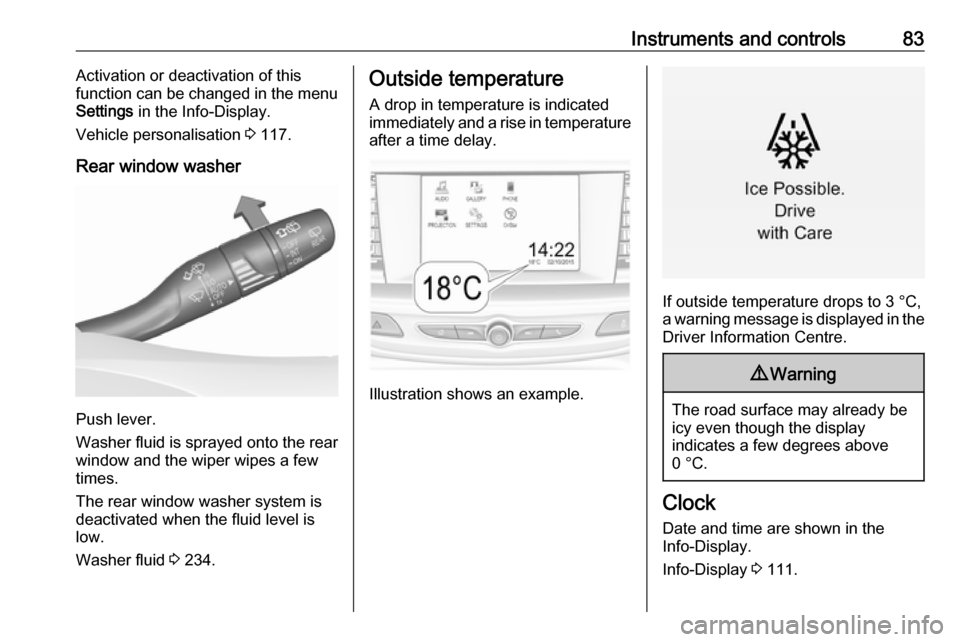
If outside temperature drops to 3 °C,
a warning message is displayed in the Driver Information Centre.
9 Warning
The road surface may already be
icy even though the display
indicates a few degrees above
0 °C.
Clock
Date and time are shown in the
Info-Display.
Info-Display 3 111.
Page 87 of 303

Instruments and controls85Note
If date information is automatically
provided, this menu item is not
available.
Select Auto Set at the bottom of the
screen. Activate either On - RDS or
Off - Manual .
If Off - Manual is selected, adjust the
date by touching n or o.
Clock display
Select Clock Display to enter the
respective submenu.
To turn off the digital clock display in
the menus, select Off.Power outlets
A 12 Volt power outlet is located in the
centre console.
Do not exceed the maximum power
consumption of 120 watts.
With ignition off, the power outlet is
deactivated. Additionally, the power outlet is deactivated in the event of
low vehicle battery voltage.
Electrical accessories that are
connected must comply with the
electromagnetic compatibility
requirements laid down in
DIN VDE 40 839.
Do not connect any current-delivering accessories, e.g. electrical charging
devices or batteries.
Do not damage the outlets by using
unsuitable plugs.
Stop-start system 3 157.
USB charging port
An USB port for charging devices is
located below the foldable armrest.
The USB port has also a data
connection to the Infotainment
system.
Page 260 of 303

258Vehicle careType 2: remove screw plug from
the compressor and from the
sealant bottle. Screw the bottle on the compressor without removing
the tinfoil from the bottle.
3. Set the compressor near the tyre in such a way that the sealant
bottle is upright.
4. Unscrew valve cap from defective
tyre.
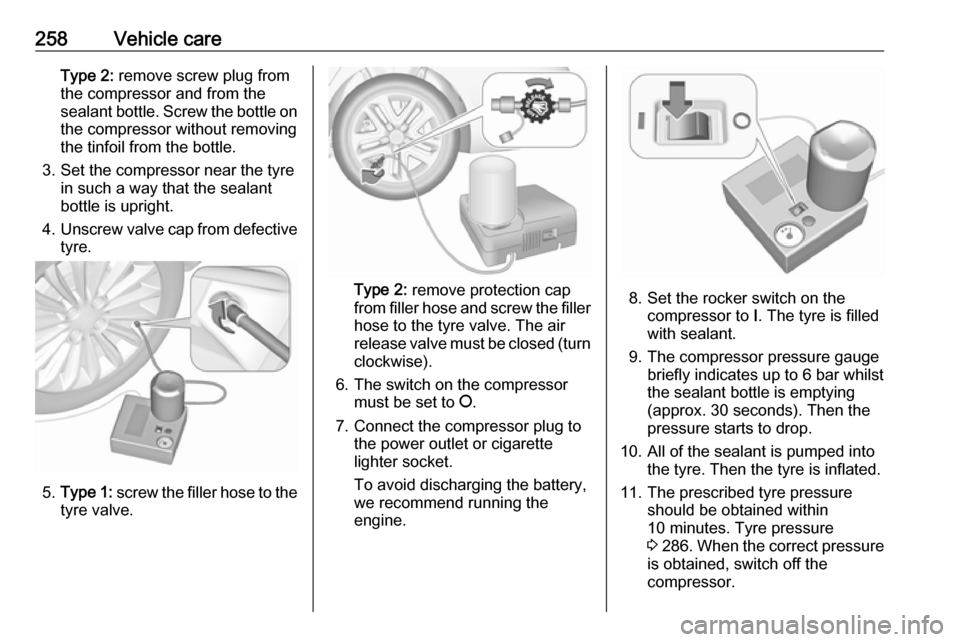
5. Type 1: screw the filler hose to the
tyre valve.
Type 2: remove protection cap
from filler hose and screw the filler
hose to the tyre valve. The air
release valve must be closed (turn clockwise).
6. The switch on the compressor must be set to J.
7. Connect the compressor plug to the power outlet or cigarette
lighter socket.
To avoid discharging the battery, we recommend running the
engine.8. Set the rocker switch on the compressor to I. The tyre is filled
with sealant.
9. The compressor pressure gauge briefly indicates up to 6 bar whilstthe sealant bottle is emptying
(approx. 30 seconds). Then the
pressure starts to drop.
10. All of the sealant is pumped into the tyre. Then the tyre is inflated.
11. The prescribed tyre pressure should be obtained within
10 minutes. Tyre pressure
3 286 . When the correct pressure
is obtained, switch off the
compressor.