headlights OPEL INSIGNIA BREAK 2018 Manual user
[x] Cancel search | Manufacturer: OPEL, Model Year: 2018, Model line: INSIGNIA BREAK, Model: OPEL INSIGNIA BREAK 2018Pages: 323, PDF Size: 9.37 MB
Page 142 of 323

140LightingParticular LEDs, based on steeringangle and speed, are additionally
triggered to improve lighting in
curves. This function is activated at
speeds from 40 km/h to 70 km/h and
reacts to steering angle.
Corner light
When turning off, depending on the
steering angle and the turn signal light, particular LEDs are triggered
which illuminate the direction of
travel. It is activated up to a speed of
40 km/h.
Reverse parking function
To assist driver's orientation when
parking, both corner lights and
reversing light illuminate when
headlights are on and reverse gear is
engaged. They remain illuminated for
a short time after disengaging reverse gear or until driving faster than
7 km/h in a forward gear.
High beam assist This feature allows the high beam to
function as main driving light at night.
The camera in the windscreen
detects the lights of oncoming or
preceding vehicles. Each LED on
right or left side can be triggered or
faded out particularly according to the
traffic situation. This gives the best
light distribution without dazzling
other road users. Once activated,
high beam assist remains active and
switches high beam on and off
depending on surrounding
conditions. The latest setting of the
high beam assist will remain after the ignition is switched on again.
High beam assist includes a special
motorway mode. When driving faster
than 115 km/h on motorways, the light
beam becomes smaller to avoid
dazzling of oncoming traffic. When
following vehicles ahead or passing,
mirror dazzling for these vehicles is
reduced.
Activation
Indicator lever with MENU button
Page 144 of 323

142LightingDynamic automatic headlight
levelling
To prevent oncoming traffic from
being dazzled, headlight levelling is
automatically adjusted based on
inclination information measured by
front and rear axle, acceleration or
deceleration and vehicle speed.
Headlights when driving abroad
3 138.
Fault in LED headlight system
When the system detects a failure in
the LED headlight system, it selects a preset position to avoid dazzling of
oncoming traffic. A warning is
displayed in the Driver Information
Centre.
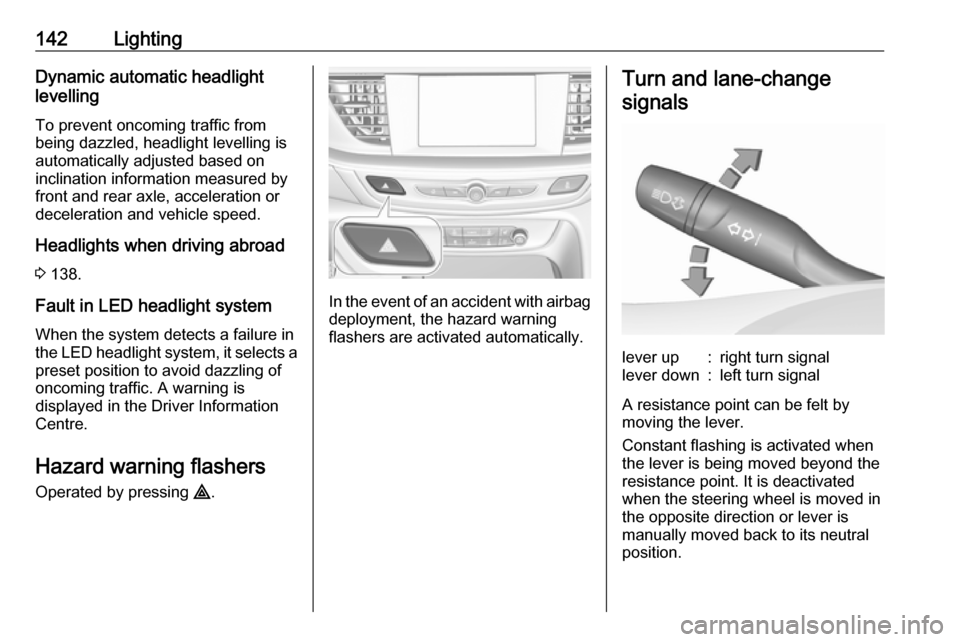
Hazard warning flashers
Operated by pressing ¨.
In the event of an accident with airbag
deployment, the hazard warning
flashers are activated automatically.
Turn and lane-change
signalslever up:right turn signallever down:left turn signal
A resistance point can be felt bymoving the lever.
Constant flashing is activated when
the lever is being moved beyond the
resistance point. It is deactivated
when the steering wheel is moved in
the opposite direction or lever is
manually moved back to its neutral
position.
Page 145 of 323

Lighting143Activate temporary flashing by
holding the lever just before the
resistance point. Turning lights will
flash until lever is being released.
To activate three flashes, tap the
lever briefly without passing the
resistance point. With a trailer
connected, the turn signal flashes
six times and tone frequency
changes.
Front fog lights
Operated by pressing >.
Light switch in position AUTO:
switching on front fog lights will switch headlights on automatically.
Rear fog light
Operated by pressing ø.
Light switch in position AUTO:
switching on rear fog light will switch
headlights on automatically.
Light switch in position 8: rear fog
light can only be switched on with
front fog lights.
The vehicle rear fog light is
deactivated when towing a trailer or a
plug is connected with the socket, e.
g. when a bicycle carrier is used.
Parking lights
When the vehicle is parked, the
parking lights on one side can be
activated:
1. Switch off ignition.
2. Move turn signal lever all the way up (right parking lights) or down
(left parking lights).
Confirmed by a signal and the
corresponding turn signal control
indicator.
Page 146 of 323

144LightingReversing lights
The reversing light comes on when
the ignition is on and reverse gear is
selected.
Misted light covers
The inside of the light housing may
mist up briefly in poor, wet and cold weather conditions, in heavy rain or
after washing. The mist disappears
quickly by itself; to help switch on the
headlights.Interior lighting
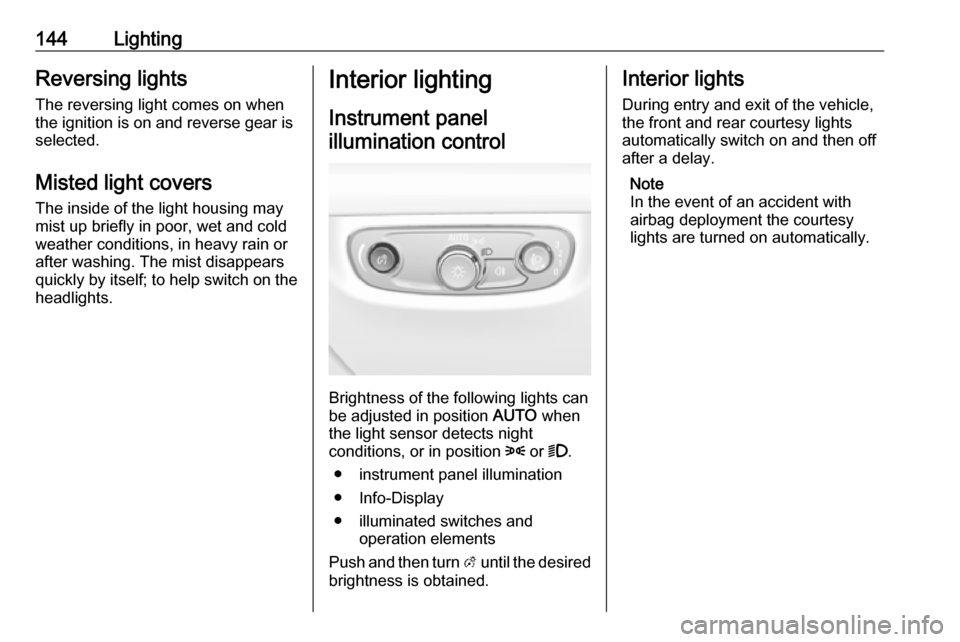
Instrument panelillumination control
Brightness of the following lights can
be adjusted in position AUTO when
the light sensor detects night
conditions, or in position 8 or 9.
● instrument panel illumination
● Info-Display
● illuminated switches and operation elements
Push and then turn A until the desired
brightness is obtained.
Interior lights
During entry and exit of the vehicle,
the front and rear courtesy lights
automatically switch on and then off
after a delay.
Note
In the event of an accident with
airbag deployment the courtesy
lights are turned on automatically.
Page 148 of 323

146LightingIllustration shows rear reading light.Sunvisor lights
Illuminates when the cover is opened.Lighting features
Centre console lighting Spotlight incorporated in the interior
lighting comes on when headlights
are switched on.
Entry lighting Welcome lighting
The following lights are switched on
for a short time by unlocking the
vehicle with the electronic key:
● headlights
● puddle lights in both outside mirrors
● tail lights
● number plate lights
● instrument panel light
● interior lights
Some functions are only operable
when it is dark outside to facilitate
locating the vehicle.
The lighting switches off immediately
when the ignition is switched on.
Starting off 3 18.This function can be activated or
deactivated in the vehicle
personalisation.
Select the relevant setting in Settings,
I Vehicle in the Info-Display.
Info-Display 3 120.
Vehicle personalisation 3 126.
The settings can be saved for the key
being used 3 22.
The following lights will additionally
switch on when the driver's door is
opened:
● illumination of some switches
● Driver Information Centre
● door pocket lights
Exit lighting The following lights will switch on
when the ignition is switched off:
● interior lights
● instrument panel light
● puddle lights in both outside mirrors
Page 149 of 323

Lighting147They will switch off automatically after
a delay. This function works only in
the dark. Theatre lighting is activated
if the driver's door is opened during
this time.
Path lighting
Headlights, tail lights and number
plate lights illuminate the surrounding area for an adjustable time after
leaving the vehicle.
ActivatingHalogen headlights
1. Switch off the ignition.
2. Open the driver's door.
3. Pull the turn signal lever.
4. Close the driver's door.
If the driver's door is not closed, the
lights switch off after two minutes.
Exit lighting is switched off
immediately if the turn signal lever is pulled while the driver's door is open.LED headlights
Path lighting is activated, when the
ignistion is switched off and the
driver's door is opened.
This function can be activated or
deactivated in the vehicle
personalisation.
Select the relevant setting in Settings,
I Vehicle in the Info-Display.
Info-Display 3 120.
Vehicle personalisation 3 126.
The settings can be saved for the key being used 3 22.
Battery discharge protection
Vehicle battery state of charge
function
The function guarantees longest
vehicle battery life via a generator
with controllable power output and
optimised power distribution.
To prevent discharge of the vehicle
battery when driving, the following
systems are reduced automatically in
two stages and finally switched off:
● auxiliary heater
● heated rear and front window
● heated steering wheel
● heated mirrors
● heated seats
● fan
In the second stage, a message
which confirms the activation of the
vehicle battery discharge protection
will be displayed in the Driver
Information Centre.
Page 223 of 323

Driving and operating221System limitationsCaution
For optimal operation of the
system, it is important to keep the
lenses of the cameras in the front
grille, the housings of outside
mirrors and in the tailgate between the number plate lights always
clean. Rinse the lenses with water and wipe with a soft cloth.
Do not clean the lenses with a
steam-jet or high-pressure jet
cleaner.
The panoramic view system may not
operate properly when:
● The surrounding is dark.
● The sun or the beam of headlights is shining directly into
the camera lenses.
● During nighttime driving.
● Weather limits visibility, such as fog, rain, or snow.
● The camera lenses are blocked by snow, ice, slush, mud, dirt.
● The vehicle is towing a trailer.
● The vehicle had an accident.
● There are extreme temperature changes.
Rear view camera The rear view camera assists the
driver when reversing by displaying a
view of the area behind the vehicle.
The view of the camera is displayed
in the Info-Display.9 Warning
The rear view camera does not
replace driver vision. Note that
objects that are outside the
camera's field of view and the
parking assist sensors, e.g. below
the bumper or underneath the
vehicle, are not displayed.
Do not reverse or park the vehicle
using only the rear view camera.
Always check the surrounding of
the vehicle before driving.
Activation
Rear view camera is automatically
activated when reverse gear is
engaged.
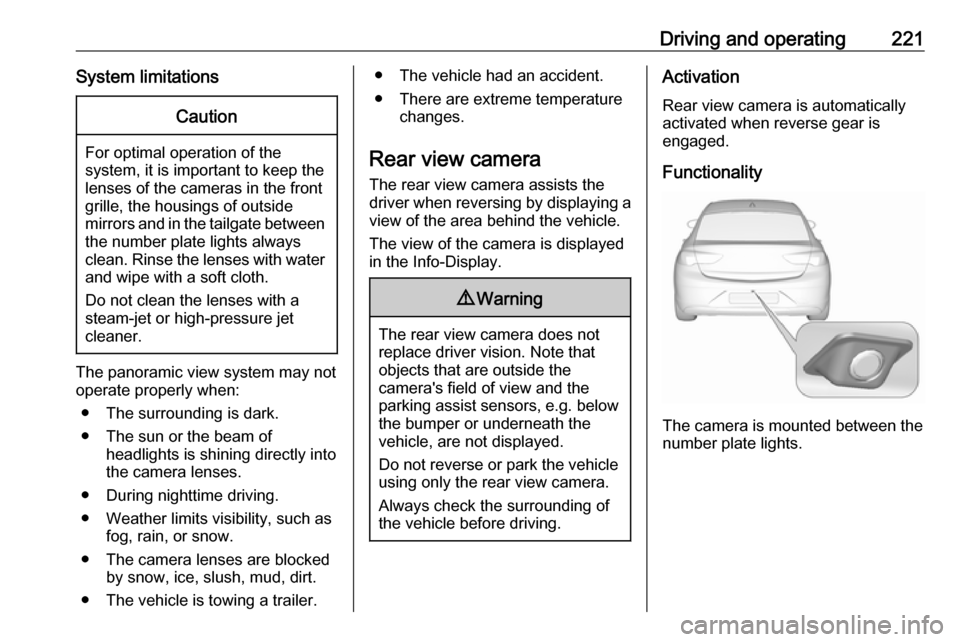
Functionality
The camera is mounted between the
number plate lights.
Page 225 of 323

Driving and operating223changed in the Settings menu in the
Info-Display. Select the relevant
setting in Settings, I Rear Camera .
Info-Display 3 120.
Vehicle personalisation 3 126.
System limitations The rear view camera may not
operate properly when:
● The surrounding is dark.
● The sun or the beam of headlights is shining directly into
the camera lenses.
● During nighttime driving.
● Weather limits visibility, such as fog, rain, or snow.
● The camera lenses are blocked by snow, ice, slush, mud, dirt.Clean the lense, rinse with water,
and wipe with a soft cloth.
● The vehicle is towing a trailer.
● The vehicle had a rear end accident.
● There are extreme temperature changes.Fault messages are displayed with a
9 on the top line of the Info-Display.
Rear cross traffic alert
Additional to the rear view camera
3 221 , rear cross traffic alert warns of
cross traffic from left or right side
when driving rearwards. When cross
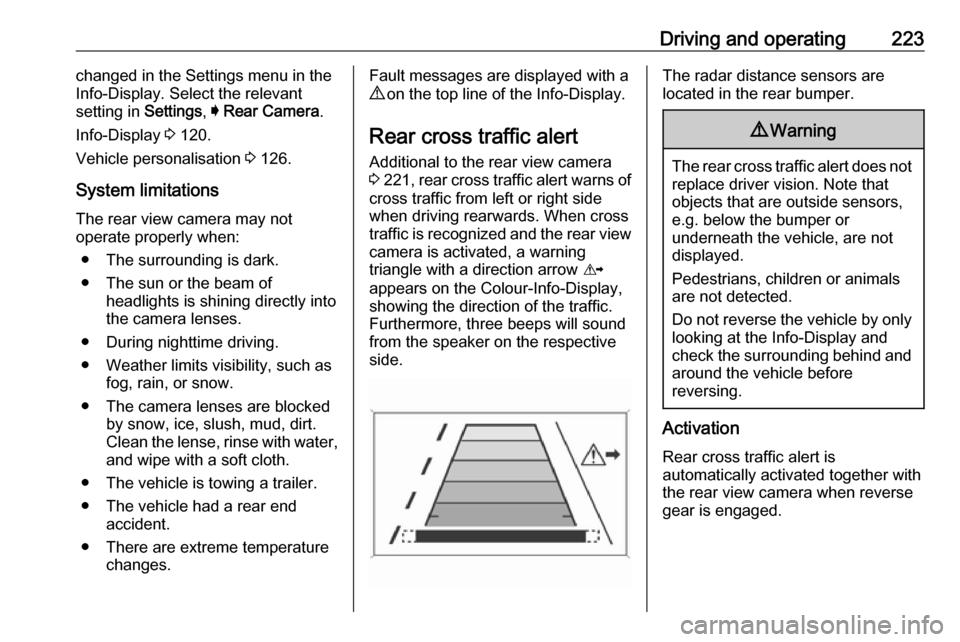
traffic is recognized and the rear view camera is activated, a warning
triangle with a direction arrow K
appears on the Colour-Info-Display,
showing the direction of the traffic.
Furthermore, three beeps will sound
from the speaker on the respective
side.The radar distance sensors are
located in the rear bumper.9 Warning
The rear cross traffic alert does not
replace driver vision. Note that
objects that are outside sensors,
e.g. below the bumper or
underneath the vehicle, are not
displayed.
Pedestrians, children or animals
are not detected.
Do not reverse the vehicle by only
looking at the Info-Display and
check the surrounding behind and
around the vehicle before
reversing.
Activation
Rear cross traffic alert is
automatically activated together with
the rear view camera when reverse
gear is engaged.
Page 240 of 323

238Vehicle careVehicle careGeneral Information...................238
Accessories and vehicle modifications .......................... 238
Vehicle storage ........................239
End-of-life vehicle recovery .....239
Vehicle checks ........................... 240
Performing work ......................240
Bonnet ..................................... 240
Engine oil ................................. 241
Engine coolant ......................... 242
Washer fluid ............................ 243
Brakes ..................................... 243
Brake fluid ............................... 243
Vehicle battery ......................... 244
Diesel fuel system bleeding .....245
Wiper blade replacement ........245
Bulb replacement .......................246
Halogen headlights ..................246
LED headlights ........................ 248
Fog lights ................................. 248
Tail lights ................................. 250
Side turn signal lights ..............255
Number plate light ...................256
Interior lights ............................ 256
Instrument panel illumination ...256Electrical system ........................256
Fuses ....................................... 256
Engine compartment fuse box . 257
Instrument panel fuse box .......260
Vehicle tools .............................. 261
Tools ........................................ 261
Wheels and tyres .......................262
Winter tyres ............................. 262
Tyre designations ....................263
Tyre pressure .......................... 263
Tyre pressure monitoring system .................................... 264
Tread depth ............................. 266
Changing tyre and wheel size . 267
Wheel covers ........................... 267
Tyre chains .............................. 267
Tyre repair kit .......................... 268
Wheel changing .......................272
Spare wheel ............................ 275
Jump starting ............................. 277
Towing ....................................... 278
Towing the vehicle ...................278
Towing another vehicle ...........279
Appearance care .......................280
Exterior care ............................ 280
Interior care ............................. 282General Information
Accessories and vehiclemodifications
We recommend the use of genuine
parts and accessories and factory approved parts specific for your
vehicle type. We cannot assess or guarantee reliability of other products
- even if they have a regulatory or
otherwise granted approval.
Any modification, conversion or other changes made to standard vehicle
specifications (including, without
limitation, software modifications,
modifications of the electronic control
units) may invalidate the warranty
offered by Opel. Furthermore, such
changes may impact fuel
consumption, CO 2 emissions and
other emissions of the vehicle and
cause the vehicle to no longer
conform to the operating permit,
impacting the validity of your vehicle
registration.
Page 248 of 323

246Vehicle careWiper blade on the rear window
Grand Sport
Lift the wiper arm until it stays in the
raised position, press button to
disengage the wiper blade and
remove.
Attach the wiper blade slightly angled
to the wiper arm and push until it
engages.
Lower wiper arm carefully.
Sports Tourer, Country Tourer
Lift wiper arm. Disengage wiper blade as shown in illustration and remove.
Attach the wiper blade slightly angled
to the wiper arm and push until it
engages.
Lower wiper arm carefully.
Bulb replacement
Switch off the ignition and switch off
the relevant switch or close the doors.
Only hold a new bulb at the base. Do not touch the bulb glass with bare
hands.
Use only the same bulb type for
replacement.
Replace headlight bulbs from within
the engine compartment.
Bulb check
After a bulb replacement switch on
the ignition, operate and check the
lights.
Halogen headlights Halogen headlights with separate
bulbs for low beam and high beam.