change language OPEL INSIGNIA BREAK 2019 Manual user
[x] Cancel search | Manufacturer: OPEL, Model Year: 2019, Model line: INSIGNIA BREAK, Model: OPEL INSIGNIA BREAK 2019Pages: 347, PDF Size: 9.79 MB
Page 124 of 347

122Instruments and controlsAdjust position of head-up display
image
1. Adjust the driver's seat.
2. Start the engine.
3. Press down or lift up button . to
centre the image. It can only be
adjusted up and down, not side to
side.9 Warning
If the head-up display image is too
bright or too high in your field of
view, it may obstruct your view
when it is dark outside. Be sure to keep the head-up display imagedim and placed low in your field of
view.
Adjust brightness
The head-up display image will
automatically dim and brighten to compensate for outside lighting.
Brightness can also be adjusted
manually as needed:
Lift up & and hold to brighten the
display. Press down and hold to dim
the display.
The image can temporarily light up
depending on angel and position of
sunlight.
Adjust rotation Select Options /% in the Driver
Information Center main menu.
Select submenu page
Head-Up Display . Press é on the
steering wheel to open adjustment dialogue. Press ä or å to turn
projection clockwise or counter- clockwise. Press è to leave
adjustment dialogue.
Switching off
Hold down & to turn the head-up
display off.
Language Preferred language can be set in
vehicle personalisation menu 3 124.
Units
Units can be changed in the settings
menu of the Driver Information Centre 3 112.Care of head-up display
Clean the inside of the windscreen as needed to remove any dirt or film that
could reduce the sharpness or clarity
of the head-up image.
Clean the head-up display lens in the
instrument panel with a soft cloth
sprayed with glass cleaner. Wipe the
lens gently, then dry it.
System limitations
Head-up display may not operate
properly when:
● The lens in the instrument panel is covered by objects or
windscreen and lens are not
clean.
● Display brightness is too dim or bright.
● Image is not adjusted to the proper height.
● The driver wears polarised sunglasses.
If the head-up image is not correct for other reasons, contact a workshop.
Page 127 of 347

Instruments and controls125
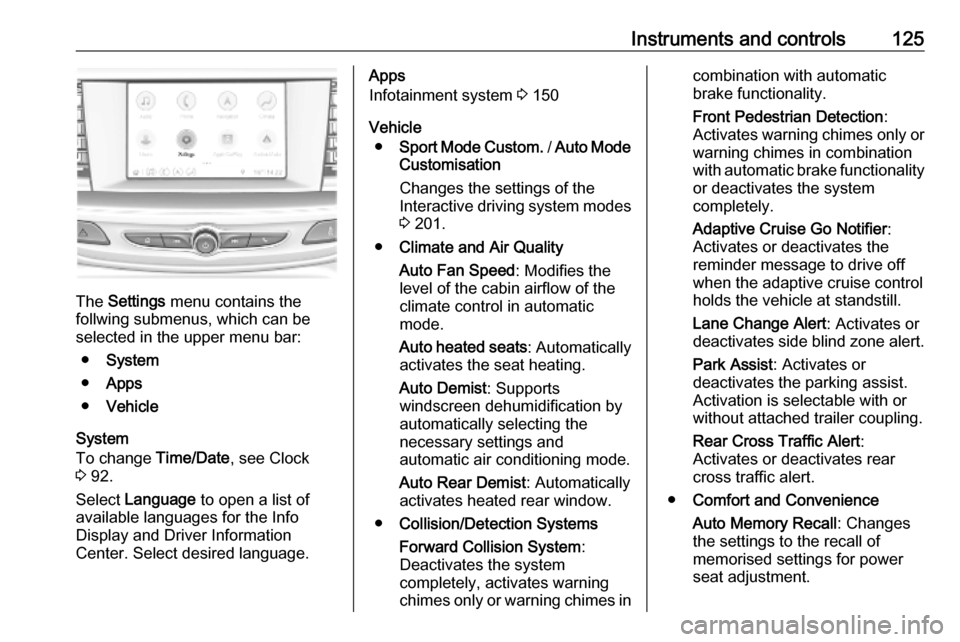
The Settings menu contains the
follwing submenus, which can be
selected in the upper menu bar:
● System
● Apps
● Vehicle
System
To change Time/Date, see Clock
3 92.
Select Language to open a list of
available languages for the Info
Display and Driver Information
Center. Select desired language.
Apps
Infotainment system 3 150
Vehicle ● Sport Mode Custom. / Auto Mode
Customisation
Changes the settings of the
Interactive driving system modes 3 201.
● Climate and Air Quality
Auto Fan Speed : Modifies the
level of the cabin airflow of the
climate control in automatic
mode.
Auto heated seats : Automatically
activates the seat heating.
Auto Demist : Supports
windscreen dehumidification by
automatically selecting the
necessary settings and
automatic air conditioning mode.
Auto Rear Demist : Automatically
activates heated rear window.
● Collision/Detection Systems
Forward Collision System :
Deactivates the system
completely, activates warning chimes only or warning chimes incombination with automatic
brake functionality.
Front Pedestrian Detection :
Activates warning chimes only or warning chimes in combination
with automatic brake functionality
or deactivates the system
completely.
Adaptive Cruise Go Notifier :
Activates or deactivates the reminder message to drive off
when the adaptive cruise control
holds the vehicle at standstill.
Lane Change Alert : Activates or
deactivates side blind zone alert.
Park Assist : Activates or
deactivates the parking assist.
Activation is selectable with or
without attached trailer coupling.
Rear Cross Traffic Alert :
Activates or deactivates rear
cross traffic alert.
● Comfort and Convenience
Auto Memory Recall : Changes
the settings to the recall of
memorised settings for power
seat adjustment.
Page 154 of 347

152Infotainment systemReturning to the homescreen
To return to the homescreen,
touch ;.
Wi-Fi connection
The Infotainment system can be
connected to a Wi-Fi network, e.g. the hotspot of a mobile phone, or activate
an own Wi-Fi hotspot if OnStar is
available.
Connecting to a Wi-Fi network
To connect to a Wi-Fi network, go to
the homescreen and select Settings.
Then go to the System tab and select
Wi-Fi Networks .
A list of all available Wi-Fi networks is displayed. After choosing a Wi-Fi
network, it might be necessary to log
in by entering a corresponding
password on the Info Display. In this
case, a corresponding window will
pop up.Activating the Wi-Fi hotspot
If OnStar is available, a Wi-Fi hotspot
can be activated. There are two ways
to go to the Wi-Fi hotspot menu:
● Go to the homescreen and select
the Wi-Fi Hotspot icon.
● Go to the homescreen and select
Settings . Then go to the System
tab and select Wi-Fi Hotspot.
In the Wi-Fi Hotspot menu, the Wi-Fi
hotspot can be activated or deactivated and the name and the
password of the Wi-Fi hotspot can be changed. Also the connected devicesare indicated.
System settings To go to the system settings menu, go
to the homescreen and select
Settings . The settings are divided into
System and Apps .
The following settings can be
changed under System:
● Time/Date
● Language
● Phones : Display connected / not
connected phones or add a
phone.● Wi-Fi Networks : Connect to an
available Wi-Fi network.
● Wi-Fi Hotspot : Activate /
deactivate Wi-Fi services and display name, password and
connected devices.
● Display : Select display mode,
calibrate touchscreen and turn
display off.
● Privacy : Activate / deactivate
location services and data
services.
● Sounds : Set maximum startup
volume, activate / deactivate audio cues and audible touch
feedback.
● Voice : Set prompt lenght, audio
feedback speed and activate /
deactivate tutorial mode.
● Favourites : Manage favourites
and set number of audio
favourites.
● About : Display information about
open soure software and device registration.