lock OPEL KARL 2019 Infotainment system
[x] Cancel search | Manufacturer: OPEL, Model Year: 2019, Model line: KARL, Model: OPEL KARL 2019Pages: 111, PDF Size: 2.25 MB
Page 19 of 111

Basic operation19
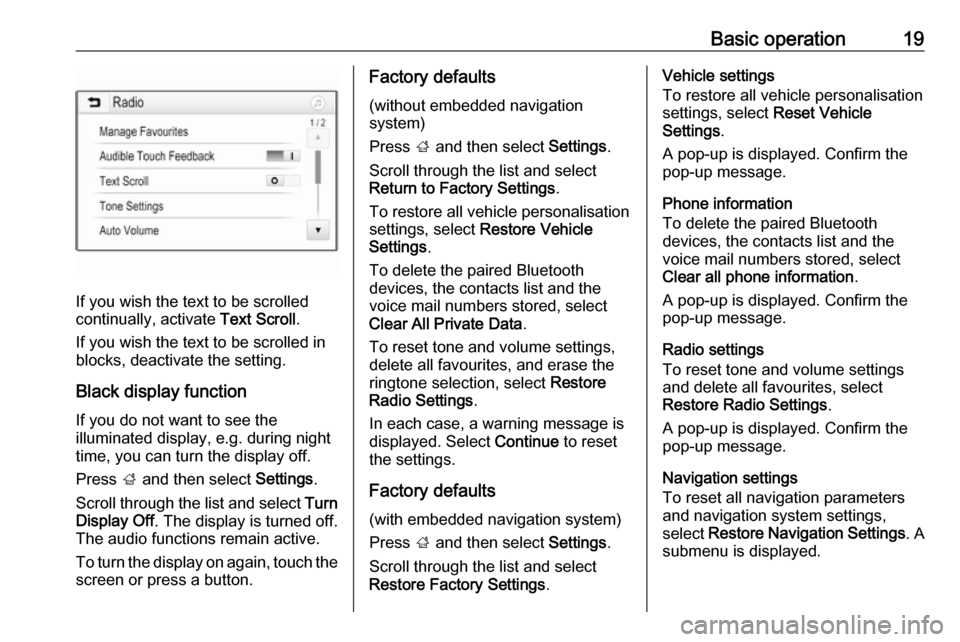
If you wish the text to be scrolled
continually, activate Text Scroll.
If you wish the text to be scrolled in
blocks, deactivate the setting.
Black display function
If you do not want to see the
illuminated display, e.g. during night
time, you can turn the display off.
Press ; and then select Settings.
Scroll through the list and select Turn
Display Off . The display is turned off.
The audio functions remain active.
To turn the display on again, touch the
screen or press a button.
Factory defaults
(without embedded navigation
system)
Press ; and then select Settings.
Scroll through the list and select Return to Factory Settings .
To restore all vehicle personalisation
settings, select Restore Vehicle
Settings .
To delete the paired Bluetooth
devices, the contacts list and the
voice mail numbers stored, select
Clear All Private Data .
To reset tone and volume settings,
delete all favourites, and erase the
ringtone selection, select Restore
Radio Settings .
In each case, a warning message is
displayed. Select Continue to reset
the settings.
Factory defaults (with embedded navigation system)
Press ; and then select Settings.
Scroll through the list and select Restore Factory Settings .Vehicle settings
To restore all vehicle personalisation settings, select Reset Vehicle
Settings .
A pop-up is displayed. Confirm the
pop-up message.
Phone information
To delete the paired Bluetooth
devices, the contacts list and the
voice mail numbers stored, select Clear all phone information .
A pop-up is displayed. Confirm the pop-up message.
Radio settings
To reset tone and volume settings
and delete all favourites, select
Restore Radio Settings .
A pop-up is displayed. Confirm the
pop-up message.
Navigation settings
To reset all navigation parameters
and navigation system settings,
select Restore Navigation Settings . A
submenu is displayed.
Page 31 of 111

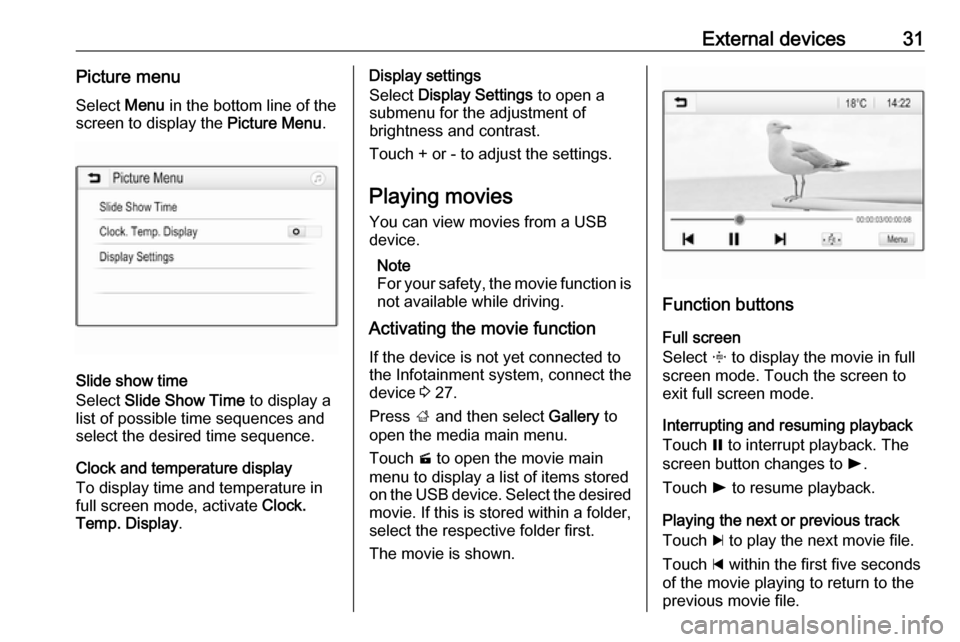
External devices31Picture menuSelect Menu in the bottom line of the
screen to display the Picture Menu.
Slide show time
Select Slide Show Time to display a
list of possible time sequences and select the desired time sequence.
Clock and temperature display
To display time and temperature in
full screen mode, activate Clock.
Temp. Display .
Display settings
Select Display Settings to open a
submenu for the adjustment of
brightness and contrast.
Touch + or - to adjust the settings.
Playing movies
You can view movies from a USB device.
Note
For your safety, the movie function is
not available while driving.
Activating the movie function
If the device is not yet connected to
the Infotainment system, connect the
device 3 27.
Press ; and then select Gallery to
open the media main menu.
Touch m to open the movie main
menu to display a list of items stored on the USB device. Select the desired
movie. If this is stored within a folder, select the respective folder first.
The movie is shown.
Function buttons
Full screen
Select x to display the movie in full
screen mode. Touch the screen to
exit full screen mode.
Interrupting and resuming playback
Touch = to interrupt playback. The
screen button changes to l.
Touch l to resume playback.
Playing the next or previous track
Touch c to play the next movie file.
Touch d within the first five seconds
of the movie playing to return to the
previous movie file.
Page 32 of 111

32External devicesReturning to the beginning of the
current movie
Touch d after five seconds of the
movie playing.
Fast forwarding and rewinding
Touch and hold d or c. Release to
return to normal playback mode.
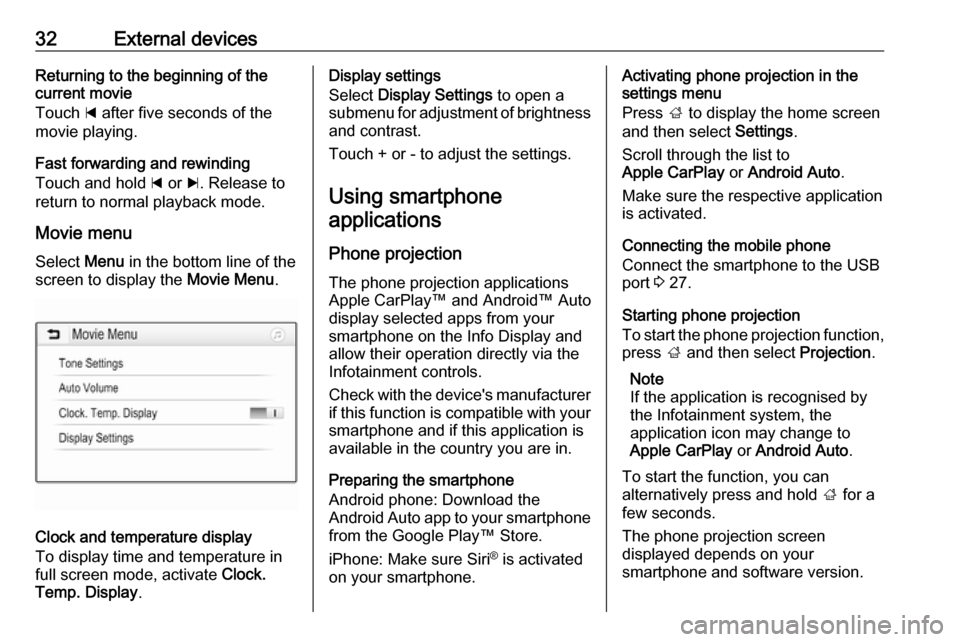
Movie menu Select Menu in the bottom line of the
screen to display the Movie Menu.
Clock and temperature display
To display time and temperature in
full screen mode, activate Clock.
Temp. Display .
Display settings
Select Display Settings to open a
submenu for adjustment of brightness and contrast.
Touch + or - to adjust the settings.
Using smartphone applications
Phone projection The phone projection applications
Apple CarPlay™ and Android™ Auto
display selected apps from your
smartphone on the Info Display and
allow their operation directly via the
Infotainment controls.
Check with the device's manufacturer
if this function is compatible with your smartphone and if this application is
available in the country you are in.
Preparing the smartphone
Android phone: Download the
Android Auto app to your smartphone
from the Google Play™ Store.
iPhone: Make sure Siri ®
is activated
on your smartphone.Activating phone projection in the
settings menu
Press ; to display the home screen
and then select Settings.
Scroll through the list to
Apple CarPlay or Android Auto .
Make sure the respective application
is activated.
Connecting the mobile phone
Connect the smartphone to the USB
port 3 27.
Starting phone projection
To start the phone projection function,
press ; and then select Projection.
Note
If the application is recognised by
the Infotainment system, the
application icon may change to
Apple CarPlay or Android Auto .
To start the function, you can
alternatively press and hold ; for a
few seconds.
The phone projection screen
displayed depends on your
smartphone and software version.
Page 90 of 111

90Basic operationSelect Time and Date .
Set Time
Select Set Time to enter the
respective submenu.
Select Auto Set at the bottom of the
screen. Activate either On - RDS or
Off (Manual) .
If Off (Manual) is selected, adjust
hours and minutes.
Repeatedly select 12-24 HR at the
bottom of the screen to choose a time mode.
If the 12-hour mode is selected, a
third column for AM and PM selection
is displayed. Select the desired
option.
Set Date
Select Set Date to enter the
respective submenu.
Select Auto Set at the bottom of the
screen. Activate either On - RDS or
Off (Manual) .
If Off (Manual) is selected, adjust the
date settings.Language
Press MENU to open the respective
audio menu.
Select Settings , scroll through the list
and select Vehicle Settings .
Select Languages .
Scroll through the list and select the
desired language.
Restore Factory Settings
Press MENU to open the respective
audio menu.
Select Settings , scroll through the list
and select Vehicle Settings .
Select Restore Factory Settings to
enter the respective submenu.
Select the desired option and confirm the message.
Software Information The Software Information menu
contains specific information on the
software.
Press MENU to open the respective
audio menu.Select Settings , scroll through the list
and select Vehicle Settings .
Select Software Information .
Valet mode
If valet mode is activated, all vehicle
displays are locked and no changes
may be performed within the system.
Note
Vehicle-related messages remain
enabled.
Locking the system
Press MENU to open the respective
audio menu.
Select Settings , scroll through the list
and select Vehicle Settings .
Select Valet Mode . A keypad is
displayed.
Enter a four-digit code and select
Enter . The keypad is redisplayed.
To confirm the first input, reenter the
four-digit code and select Lock. The
system is locked.
Unlocking the system
Turn the Infotainment system on. A
keypad is displayed.
Page 91 of 111

Basic operation91Enter the respective four-digit code
and select Unlock. The system is
unlocked.
Forgotten PIN code
To reset the PIN code to the default
setting, contact your workshop.
Page 110 of 111

110Infotainment system..................86
Menu ......................................... 88
Phone ...................................... 104
USB ........................................... 99
USB .............................................. 97
V Valet mode Locking ...................................... 89
Unlocking .................................. 89
Voice recognition ........................100
Volume Auto volume control ..................89
Maximum startup volume ..........89
Mute function............................. 86
Setting the volume ....................86
Speed compensated volume ....89
Volume limitation at high
temperatures ............................. 86
Volume settings ............................ 89
W
Waveband selection .....................92