OPEL MERIVA 2009 Owners Manual
Manufacturer: OPEL, Model Year: 2009, Model line: MERIVA, Model: OPEL MERIVA 2009Pages: 248, PDF Size: 4.46 MB
Page 151 of 248
145
Driving and operation
Picture no: 18535s.tif
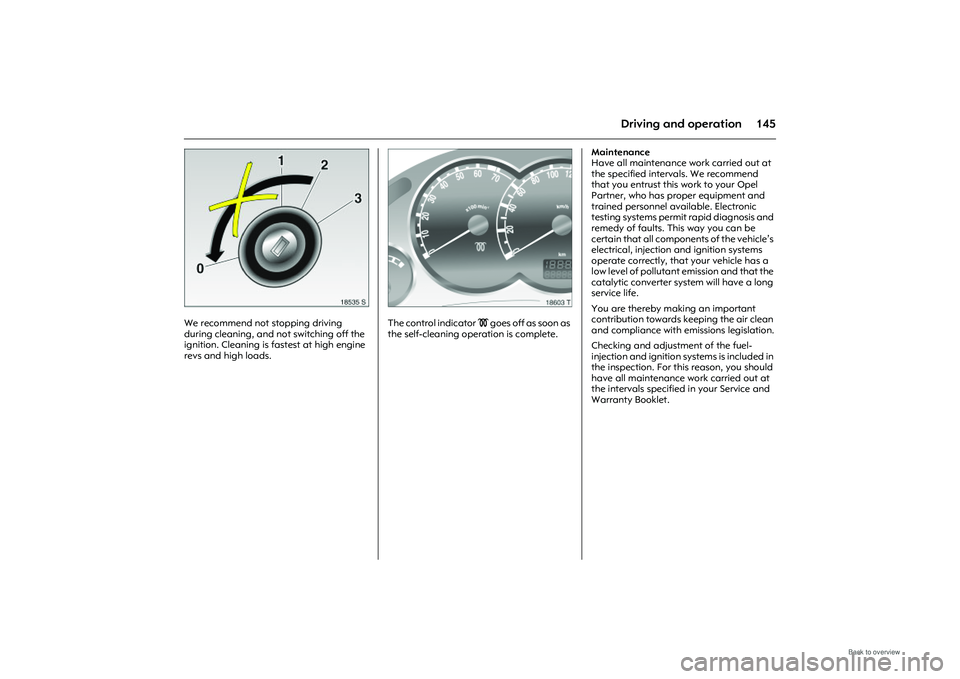
We recommend not stopping driving
during cleaning, and not switching off the
ignition. Cleaning is fa stest at high engine
revs and high loads.
Picture no: 18603s.tif
The control indicator
! goes off as soon as
the self-cleaning operation is complete. Maintenance
Have all maintenance work carried out at
the specified intervals. We recommend
that you entrust this work to your Opel
Partner, who has proper equipment and
trained personnel available. Electronic
testing systems permit rapid diagnosis and
remedy of faults. This way you can be
certain that all components of the vehicle’s
electrical, injection and ignition systems
operate correctly, that your vehicle has a
low level of pollutant emission and that the
catalytic converter system will have a long
service life.
You are thereby making an important
contribution towards keeping the air clean
and compliance with emissions legislation.
Checking and adjustment of the fuel-
injection and ignition systems is included in
the inspection. For this reason, you should
have all maintenance work carried out at
the intervals specified in your Service and
Warranty Booklet.
Page 152 of 248
146 Driving and operationDrive Control SystemsElectronic Stability Program (ESP®
Plus
) 3
ESP®
Plus
improves driving stability when
necessary in any driving situation
regardless of the type of road surface or
tyre grip. It also prevents the drive wheels
from spinning. As soon as the vehicle starts to swerve
(understeer/oversteer), engine output is
reduced and the wheels are braked
individually. This considerably improves
the driving stability of the vehicle on
slippery road surfaces.
ESP®
Plus
is ready for operation as soon as
the ignition is switched on and control
indicator v goes out.
When ESP®
Plus
comes into action, v
flashes. The vehicle is now in a critical situation;
ESP®
Plus
allows you to keep control of the
vehicle and reminds you to match your
speed to the road conditions.
9 Warning
Do not let this special safety feature
tempt you into taking risks when driving.
ESP®
Plus
does not negate the laws of
physics.
Adapt speed to the road conditions.
Page 153 of 248
147
Driving and operation
Control indicator
v
The warning light lights up for a few
seconds when ignition is switched on. Once
it goes out, the system is ready for
operation.
Flashing during driving:
This shows the system has come into
action. The engine output may be reduced
(the sound of the engine changes) and the
vehicle may be braked automatically to a
small degree.
Picture no: 17892s.tif
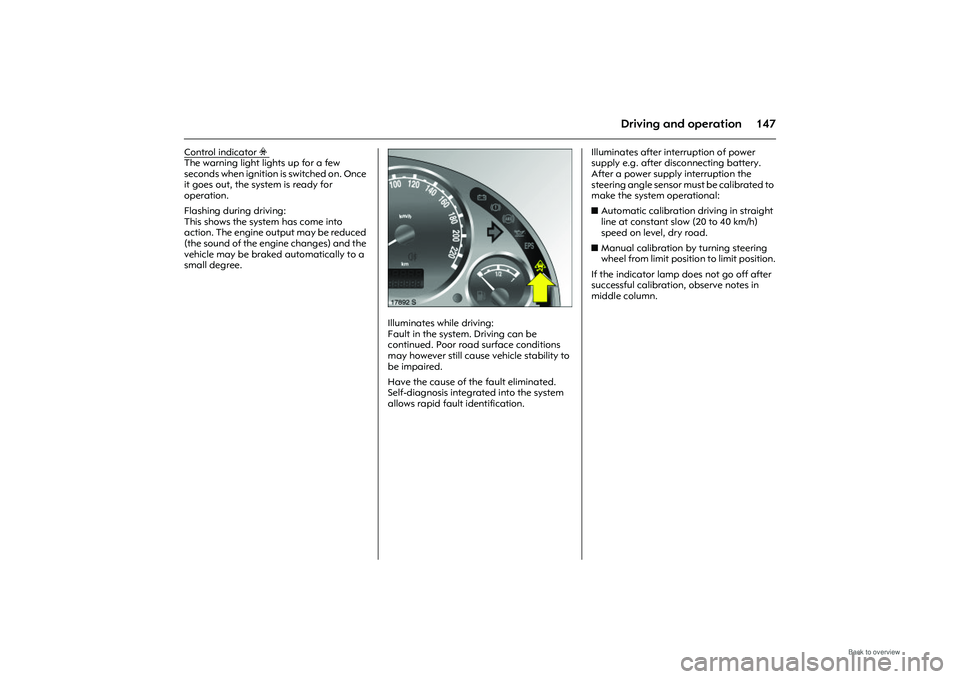
Illuminates while driving:
Fault in the system. Driving can be
continued. Poor road surface conditions
may however still cause vehicle stability to
be impaired.
Have the cause of the fault eliminated.
Self-diagnosis integrated into the system
allows rapid fault identification. Illuminates after interruption of power
supply e.g. after disconnecting battery.
After a power supply interruption the
steering angle sensor must be calibrated to
make the system operational:
z
Automatic calibration driving in straight
line at constant slow (20 to 40 km/h)
speed on level, dry road.
z Manual calibration by turning steering
wheel from limit position to limit position.
If the indicator lamp does not go off after
successful calibration , observe notes in
middle column.
Page 154 of 248
148 Driving and operationCruise control 3
Cruise control can store and maintain
speeds of approx. 30 to 200 km/h.
Deviation from the stored speed is possible
on uphill or downhill inclines.
For safety reasons the cruise control
cannot be activated until the foot brake
has been operated once.
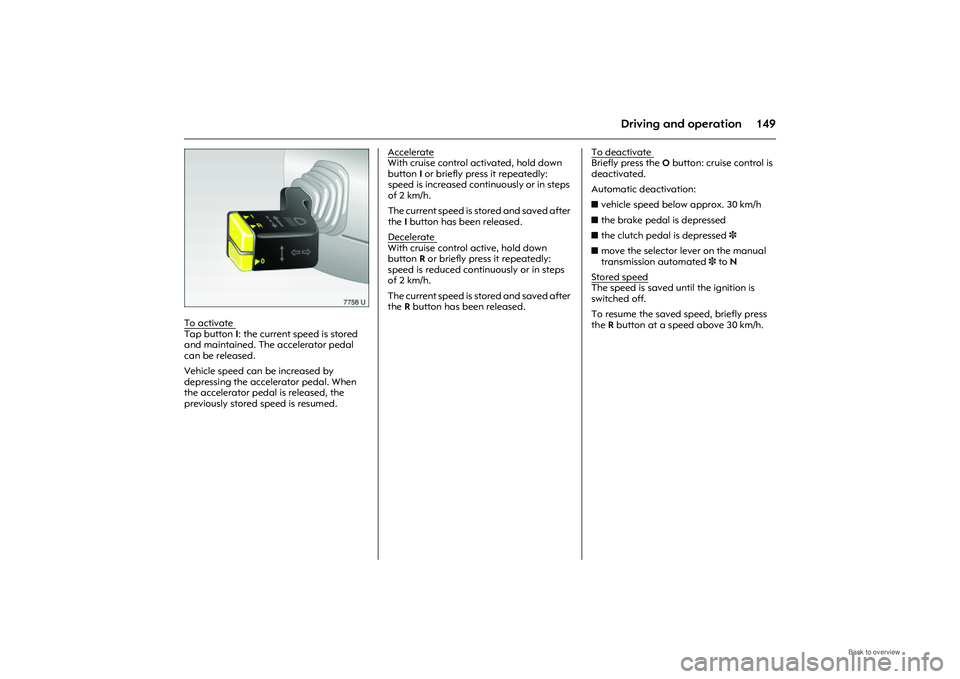
The cruise control is operated with the
buttons I, R and O on the turn signal lever.
Do not use the cruise control if it is not
advisable to maintain a constant speed
(e.g. in situations presenting a danger to
yourself and other road users, in heavy
traffic or on winding, slippery or greasy
roads). For manual transmission automated
3,
engage cruise control in automatic mode
only.
Picture no: 17893s.tif
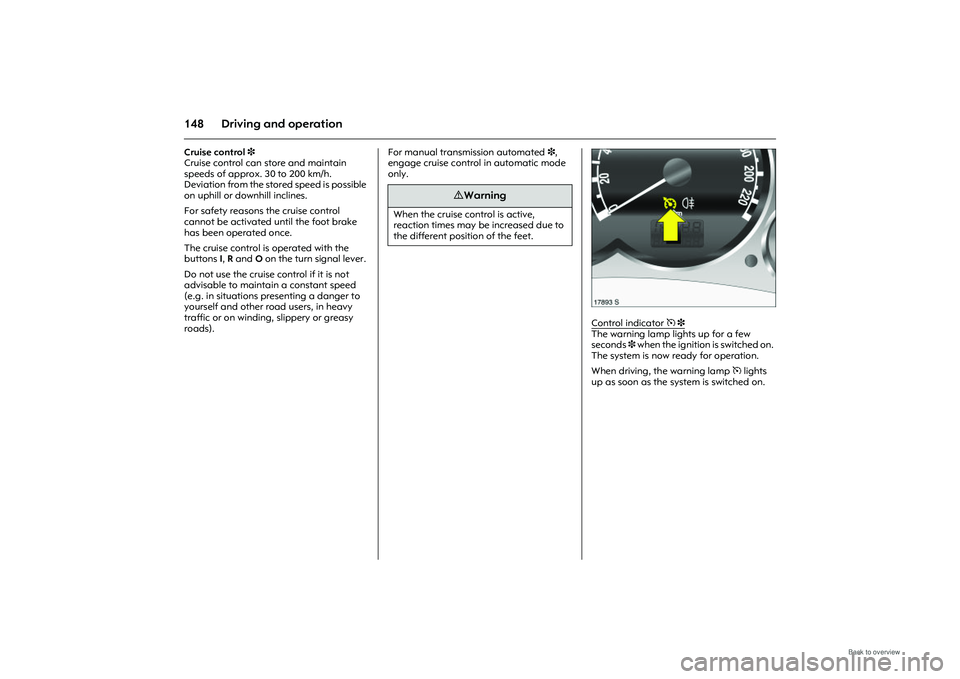
Control indicator
m 3
The warning lamp lights up for a few
seconds 3 when the ignition is switched on.
The system is now ready for operation.
When driving, th e warning lamp m lights
up as soon as the sy stem is switched on.
9 Warning
When the cruise control is active,
reaction times may be increased due to
the different position of the feet.
Page 155 of 248
149
Driving and operation
Picture no: 7758u.tif
To activate Tap button I: the current speed is stored
and maintained. The accelerator pedal
can be released.
Vehicle speed can be increased by
depressing the accelerator pedal. When
the accelerator pedal is released, the
previously stored speed is resumed. Accelerate
With cruise control activated, hold down
button I or briefly press it repeatedly:
speed is increased continuously or in steps
of 2 km/h.
The current speed is stored and saved after
the I button has been released.
Decelerate
With cruise control active, hold down
button R or briefly press it repeatedly:
speed is reduced continuously or in steps
of 2 km/h.
The current speed is stored and saved after
the R button has been released. To deactivate
Briefly press the
O button: cruise control is
deactivated.
Automatic deactivation:
z vehicle speed below approx. 30 km/h
z the brake pedal is depressed
z the clutch pedal is depressed 3
z move the selector lever on the manual
transmission automated 3 to N
Stored speed
The speed is saved until the ignition is
switched off.
To resume the saved speed, briefly press
the R button at a speed above 30 km/h.
Page 156 of 248
150 Driving and operationUltrasonic parking sensors 3
Park pilot makes reverse parking easier by
measuring the distance between the back
of the vehicle and obstacles to the rear. It is
the driver, however, who maintains full
responsibility for parking.
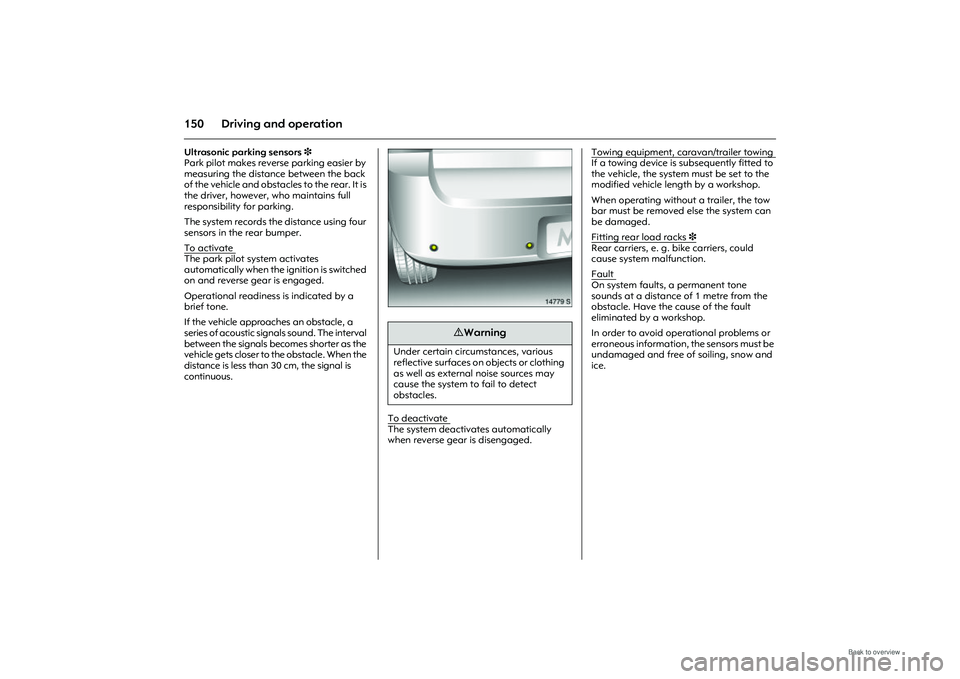
The system records the distance using four
sensors in the rear bumper.
To activate The park pilot system activates
automatically when the ignition is switched
on and reverse gear is engaged.
Operational readiness is indicated by a
brief tone.
If the vehicle approaches an obstacle, a
series of acoustic signals sound. The interval
between the signals be comes shorter as the
vehicle gets closer to the obstacle. When the
distance is less than 30 cm, the signal is
continuous.
Picture no: 14779s.tif
To deactivate The system deactivates automatically
when reverse gear is disengaged. Towing equipment, caravan/trailer towing
If a towing device is subsequently fitted to
the vehicle, the system must be set to the
modified vehicle length by a workshop.
When operating without a trailer, the tow
bar must be removed else the system can
be damaged.
Fitting rear load racks
3
Rear carriers, e. g. bike carriers, could
cause system malfunction.
Fault
On system faults, a permanent tone
sounds at a distance of 1 metre from the
obstacle. Have the cause of the fault
eliminated by a workshop.
In order to avoid operational problems or
erroneous information, the sensors must be
undamaged and free of soiling, snow and
ice.
9 Warning
Under certain circumstances, various
reflective surfaces on objects or clothing
as well as external noise sources may
cause the system to fail to detect
obstacles.
Page 157 of 248
151
Driving and operation
Picture no: 14722s.tif
Hydraulic brake system The brake system comprises two
independent brake circuits.
If a brake circuit fails, the vehicle can still be
braked using the other brake circuit.
However, the brake pedal must be
depressed a considerable way before any
braking effect occurs, and much more
force is required. The braking distance is
longer. Contact a workshop for assistance
before continuing to drive. To ensure that full
pedal travel can be
utilised, especially in case of a fault in one
of the brake circuits, there must be no mats
in the vicinity of the pedals 3136.
When the engine is not running, the
support of the brake servo unit disappears
once the brake pedal has been depressed
once or twice. Braking effect is not
reduced, but braking requires significantly
greater force. This is especially important
to bear in mind when towing.
The brake fluid level should be checked
regularly. If the brake fluid level is too low
and the hand brake is not applied, control
indicator R on the instrument panel
illuminates 385.
Picture no: 17894s.tif
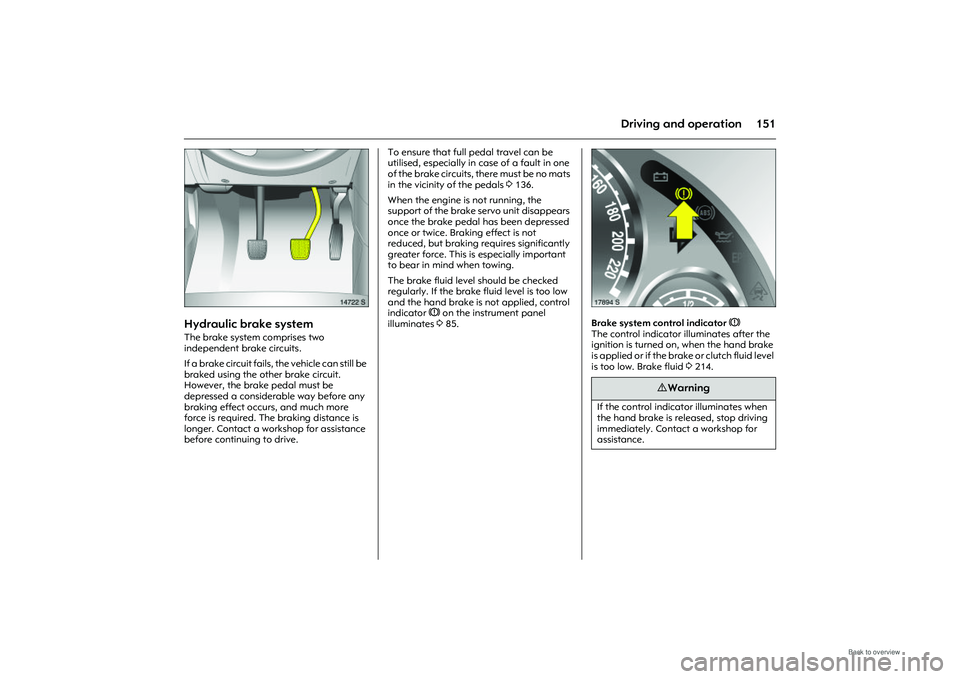
Brake system control indicator R
The control indicator illuminates after the
ignition is turned on, when the hand brake
is applied or if the brake or clutch fluid level
is too low. Brake fluid 3214.
9 Warning
If the control indicator illuminates when
the hand brake is released, stop driving
immediately. Contact a workshop for
assistance.
Page 158 of 248
152 Driving and operationFor vehicles with manual transmission
automated 3, the control indicator flashes
for a few seconds when the ignition is
turned off when the hand brake is not
applied. Anti-lock brake system (ABS
u)
ABS prevents the wheels from locking.
ABS starts to regulate brake pressure as
soon as a wheel shows a tendency to lock.
The vehicle remains steerable, even during
hard braking.
ABS control is made apparent though a
pulse in the brake pedal and the noise of
the regulation process.
For optimum braking, keep the brake
pedal fully depresse d throughout the
braking process, despite the fact that the
pedal is pulsating. Do not reduce the
pressure on the pedal.
Picture no: 17895s.tif
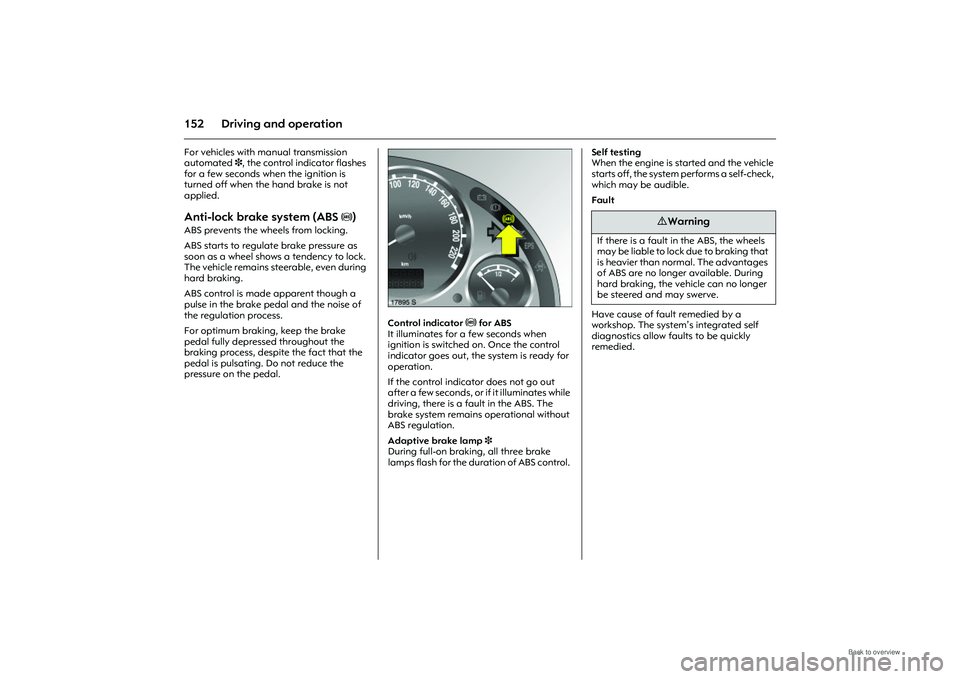
Control indicator u for ABS
It illuminates for a few seconds when
ignition is switched on. Once the control
indicator goes out, the system is ready for
operation.
If the control indica tor does not go out
after a few seconds, or if it illuminates while
driving, there is a fault in the ABS. The
brake system remains operational without
ABS regulation.
Adaptive brake lamp 3
During full-on braking, all three brake
lamps flash for the duration of ABS control. Self testing
When the engine is started and the vehicle
starts off, the system performs a self-check,
which may be audible.
Fault
Have cause of fault remedied by a
workshop. The system’s integrated self
diagnostics allow faults to be quickly
remedied.
9 Warning
If there is a fault in the ABS, the wheels
may be liable to lock due to braking that
is heavier than normal. The advantages
of ABS are no longer available. During
hard braking, the vehicle can no longer
be steered and may swerve.
Page 159 of 248
153
Driving and operation
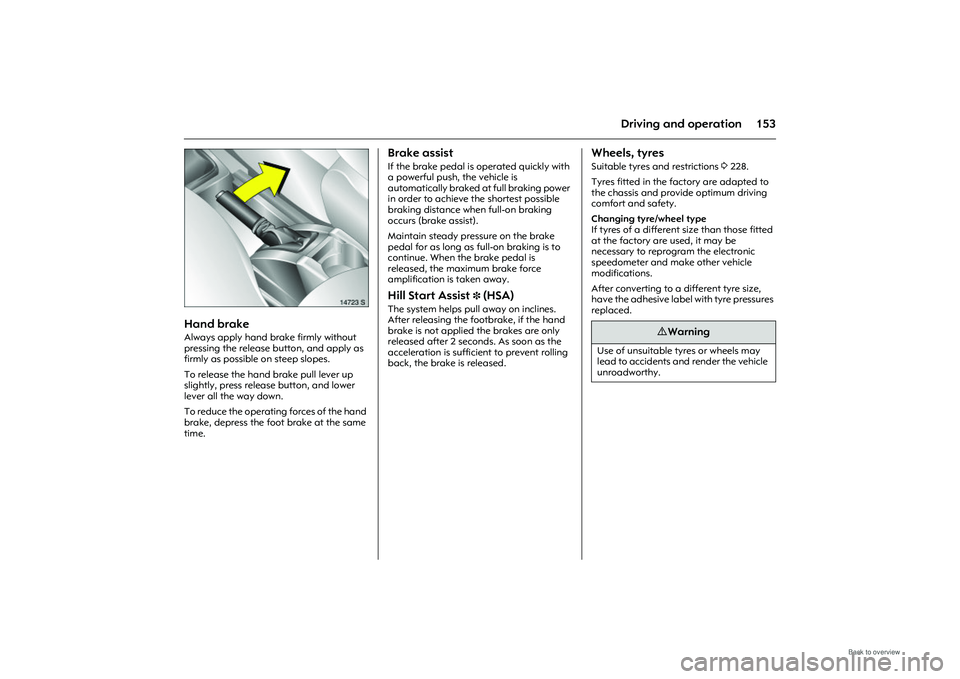
Picture no: 14723s.tif
Hand brake Always apply hand brake firmly without
pressing the release button, and apply as
firmly as possible on steep slopes.
To release the hand brake pull lever up
slightly, press release button, and lower
lever all the way down.
To reduce the operating forces of the hand
brake, depress the foot brake at the same
time.
Brake assist If the brake pedal is operated quickly with
a powerful push, the vehicle is
automatically braked at full braking power
in order to achieve the shortest possible
braking distance when full-on braking
occurs (brake assist).
Maintain steady pressure on the brake
pedal for as long as full-on braking is to
continue. When the brake pedal is
released, the maximum brake force
amplification is taken away. Hill Start Assist
3 (HSA)
The system helps pull away on inclines.
After releasing the footbrake, if the hand
brake is not applied the brakes are only
released after 2 seconds. As soon as the
acceleration is sufficient to prevent rolling
back, the brake is released.
Wheels, tyresSuitable tyres and restrictions 3 228.
Tyres fitted in the factory are adapted to
the chassis and provide optimum driving
comfort and safety.
Changing tyre/wheel type
If tyres of a different size than those fitted
at the factory are used, it may be
necessary to reprogram the electronic
speedometer and make other vehicle
modifications.
After converting to a different tyre size,
have the adhesive label with tyre pressures
replaced.
9 Warning
Use of unsuitable tyres or wheels may
lead to accidents and render the vehicle
unroadworthy.
Page 160 of 248
154 Driving and operationFitting new tyres
Fit tyres in pairs or in sets, which is even
better. Ensure that tyres on one axle are
zthe same size
z the same design
z the same make
z and have the same tread pattern
Fit directional tyres such that they roll in the
direction of travel. The rolling direction is
indicated by a symbol (e.g. an arrow) on
the sidewall.
Tyres fitted opposing the rolling direction
(such as when changing a tyre) should be
refitted as soon as possible. This is the only
way to benefit fully from the design
properties of the tyre.
Pay attention to legal requirements when
disposing of tyres.
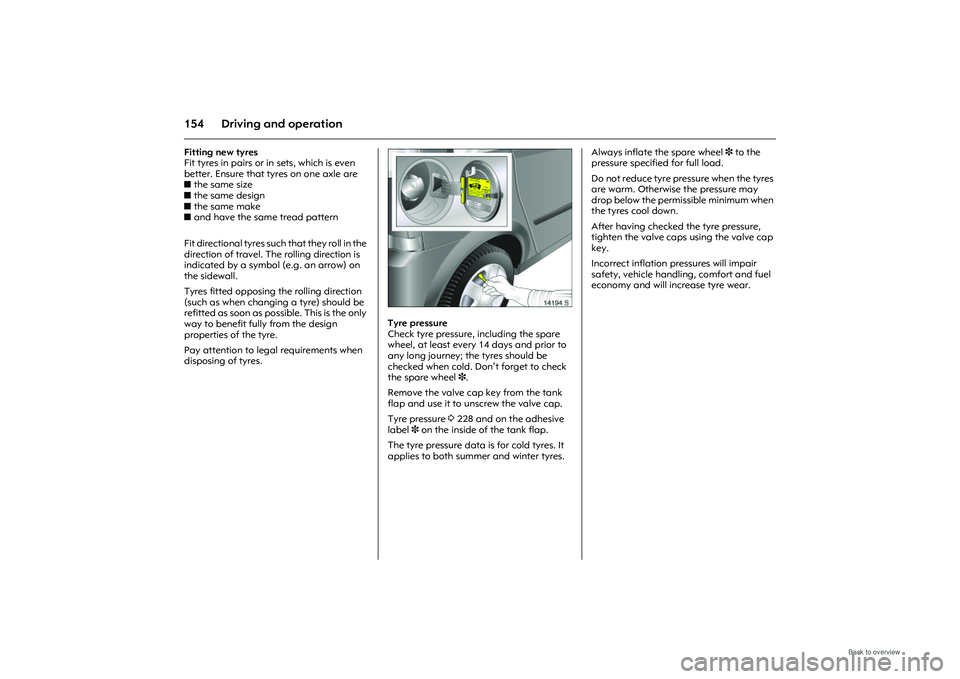
Picture no: 14194s.tif
Tyre pressure
Check tyre pressure, including the spare
wheel, at least every 14 days and prior to
any long journey; the tyres should be
checked when cold. Do n’t forget to check
the spare wheel 3.
Remove the valve cap key from the tank
flap and use it to unscrew the valve cap.
Tyre pressure 3228 and on the adhesive
label 3 on the inside of the tank flap.
The tyre pressure data is for cold tyres. It
applies to both summer and winter tyres. Always inflate the spare wheel
3 to the
pressure specified for full load.
Do not reduce tyre pressure when the tyres
are warm. Otherwise the pressure may
drop below the permissible minimum when
the tyres cool down.
After having checked the tyre pressure,
tighten the valve caps using the valve cap
key.
Incorrect inflation pressures will impair
safety, vehicle handling, comfort and fuel
economy and will increase tyre wear.