buttons OPEL MOKKA X 2019 Manual user
[x] Cancel search | Manufacturer: OPEL, Model Year: 2019, Model line: MOKKA X, Model: OPEL MOKKA X 2019Pages: 253, PDF Size: 6.86 MB
Page 132 of 253

130Climate controlTemperature preselection
Temperatures can be set to the
desired value.
If the minimum temperature is set, the climate control system runs at
maximum cooling.
If the maximum temperature is set,
the climate control system runs at maximum heating.
Note
If the temperature is to be reduced
for climate comfort reasons, an
Autostop may be inhibited or the
engine will restart automatically
when cooling is switched on.
Stop-start system 3 139.
The temperature can be adjusted
separately for driver and front
passenger side.
Demisting and defrosting the
windows V
● Press V.
● Temperature and air distribution are set automatically and the fan
runs at high speed.● Switch on heated rear window Ü.
● To return to previous mode: press V, to return to automatic
mode: press AUTO.
Note
If V is pressed while the engine is
running, an Autostop will be inhibited
until V is pressed again.
If l is pressed with the fan switched
on and the engine running, an
Autostop will be inhibited until l is
pressed again or until the fan is
switched off.
If V is pressed while the engine is
in an Autostop, the engine will restart automatically.
If l is pressed with the fan switched
on while the engine is in an
Autostop, the engine will restart
automatically.
Stop-start system 3 139.Manual settings
Climate control system settings can
be changed by activating the buttons
and rotary knobs as follows.
Changing a setting will deactivate the automatic mode.
Fan speed Z
The selected fan speed is indicated
with x and a number in the display. If
the fan is switched off, the air
conditioning is also deactivated.
To return to automatic mode: Press
AUTO .
Air distribution l,
M ,
K
Press appropriate button for desired
adjustment. The LED in the button
illuminates to indicate activation.l:to windscreen and front door
windows (air conditioning is
activated in the background to
help prevent windows from
fogging)M:to head areaK:to foot well and windscreen
Combination of settings are possible.
Page 139 of 253

Driving and operating137display No Remote Detected or
Replace Battery in Remote Key when
you try to start the vehicle.
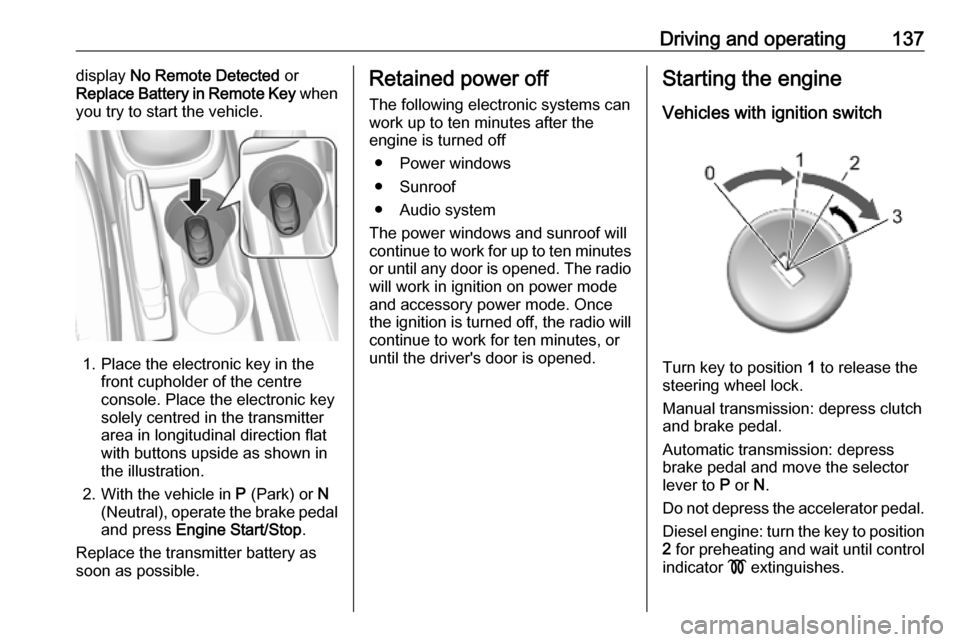
1. Place the electronic key in the front cupholder of the centreconsole. Place the electronic key
solely centred in the transmitter
area in longitudinal direction flat
with buttons upside as shown in
the illustration.
2. With the vehicle in P (Park) or N
(Neutral), operate the brake pedal
and press Engine Start/Stop .
Replace the transmitter battery as
soon as possible.
Retained power off
The following electronic systems can
work up to ten minutes after the
engine is turned off
● Power windows
● Sunroof
● Audio system
The power windows and sunroof will
continue to work for up to ten minutes or until any door is opened. The radio
will work in ignition on power mode
and accessory power mode. Once
the ignition is turned off, the radio will
continue to work for ten minutes, or
until the driver's door is opened.Starting the engine
Vehicles with ignition switch
Turn key to position 1 to release the
steering wheel lock.
Manual transmission: depress clutch and brake pedal.
Automatic transmission: depress
brake pedal and move the selector
lever to P or N.
Do not depress the accelerator pedal. Diesel engine: turn the key to position2 for preheating and wait until control
indicator ! extinguishes.
Page 166 of 253

164Driving and operating
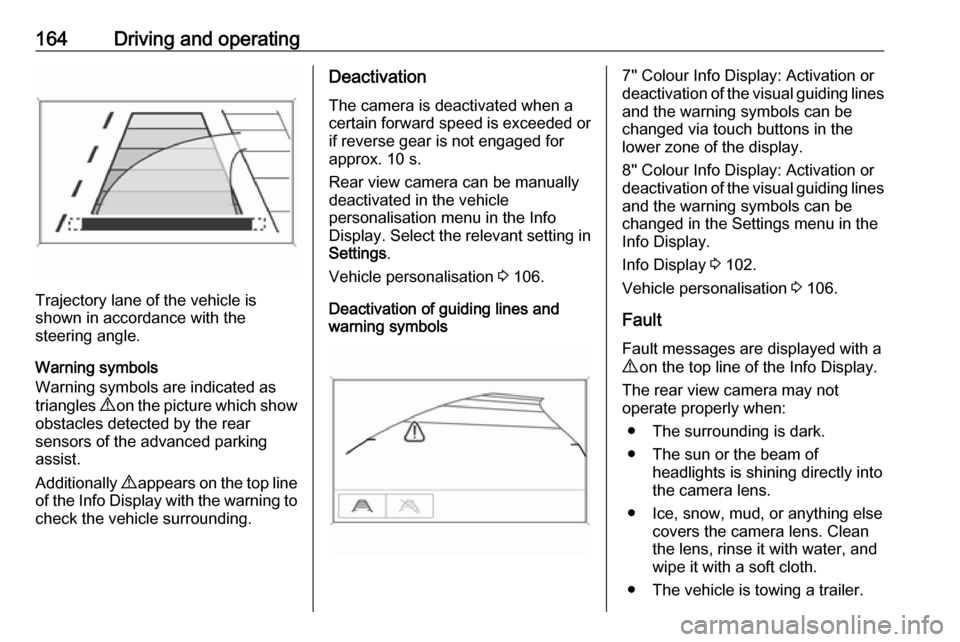
Trajectory lane of the vehicle is
shown in accordance with the
steering angle.
Warning symbols
Warning symbols are indicated as
triangles 9 on the picture which show
obstacles detected by the rear
sensors of the advanced parking
assist.
Additionally 9 appears on the top line
of the Info Display with the warning to
check the vehicle surrounding.
Deactivation
The camera is deactivated when acertain forward speed is exceeded or
if reverse gear is not engaged for
approx. 10 s.
Rear view camera can be manually
deactivated in the vehicle
personalisation menu in the Info
Display. Select the relevant setting in
Settings .
Vehicle personalisation 3 106.
Deactivation of guiding lines and
warning symbols7'' Colour Info Display: Activation or
deactivation of the visual guiding lines and the warning symbols can be
changed via touch buttons in the
lower zone of the display.
8'' Colour Info Display: Activation or
deactivation of the visual guiding lines
and the warning symbols can be
changed in the Settings menu in the
Info Display.
Info Display 3 102.
Vehicle personalisation 3 106.
Fault
Fault messages are displayed with a 9 on the top line of the Info Display.
The rear view camera may not
operate properly when:
● The surrounding is dark.
● The sun or the beam of headlights is shining directly into
the camera lens.
● Ice, snow, mud, or anything else covers the camera lens. Clean
the lens, rinse it with water, and
wipe it with a soft cloth.
● The vehicle is towing a trailer.