sensor OPEL MOVANO_B 2017 Manual user
[x] Cancel search | Manufacturer: OPEL, Model Year: 2017, Model line: MOVANO_B, Model: OPEL MOVANO_B 2017Pages: 255, PDF Size: 6.12 MB
Page 18 of 255
16In briefWasher and wiper systems
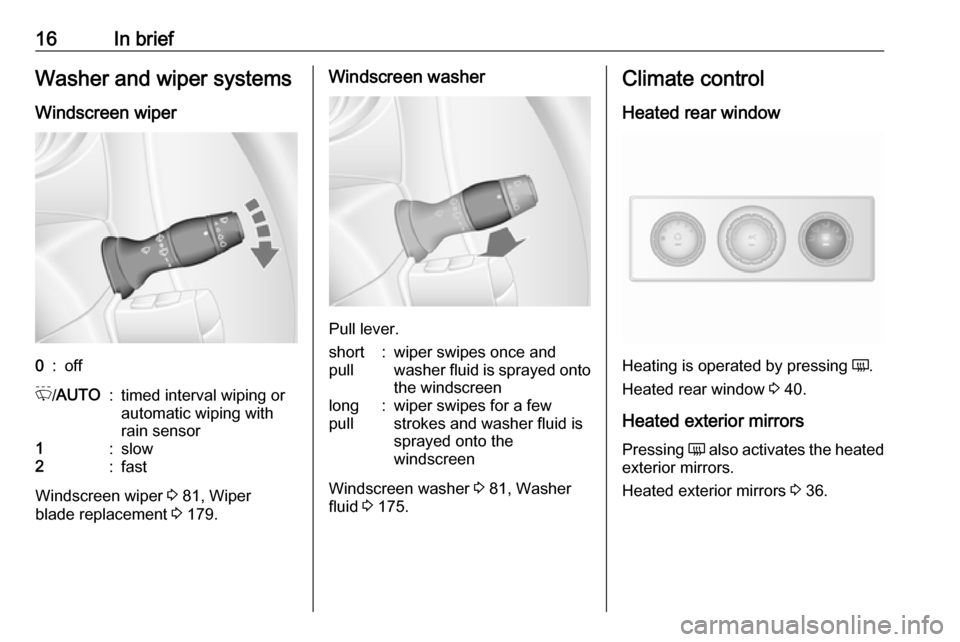
Windscreen wiper0:offP /AUTO:timed interval wiping or
automatic wiping with
rain sensor1:slow2:fast
Windscreen wiper 3 81, Wiper
blade replacement 3 179.
Windscreen washer
Pull lever.
short
pull:wiper swipes once and
washer fluid is sprayed onto
the windscreenlong
pull:wiper swipes for a few strokes and washer fluid is
sprayed onto the
windscreen
Windscreen washer 3 81, Washer
fluid 3 175.
Climate control
Heated rear window
Heating is operated by pressing Ü.
Heated rear window 3 40.
Heated exterior mirrors
Pressing Ü also activates the heated
exterior mirrors.
Heated exterior mirrors 3 36.
Page 39 of 255
Keys, doors and windows37Interior mirrors
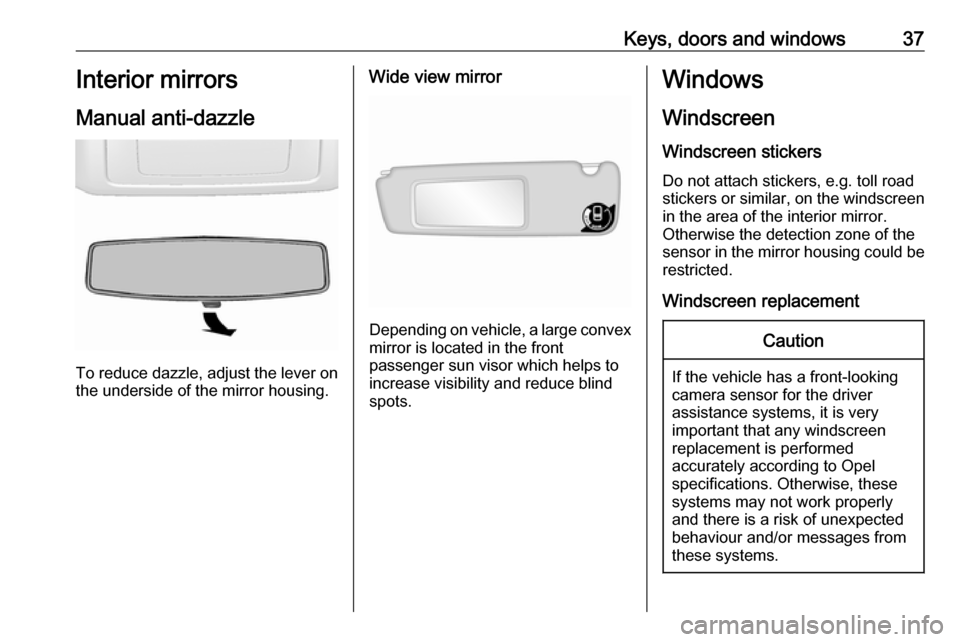
Manual anti-dazzle
To reduce dazzle, adjust the lever on the underside of the mirror housing.
Wide view mirror
Depending on vehicle, a large convex
mirror is located in the front
passenger sun visor which helps to
increase visibility and reduce blind
spots.
Windows
Windscreen
Windscreen stickers
Do not attach stickers, e.g. toll road
stickers or similar, on the windscreen
in the area of the interior mirror.
Otherwise the detection zone of the
sensor in the mirror housing could be restricted.
Windscreen replacementCaution
If the vehicle has a front-looking
camera sensor for the driver
assistance systems, it is very
important that any windscreen
replacement is performed
accurately according to Opel
specifications. Otherwise, these
systems may not work properly
and there is a risk of unexpected
behaviour and/or messages from
these systems.
Page 83 of 255
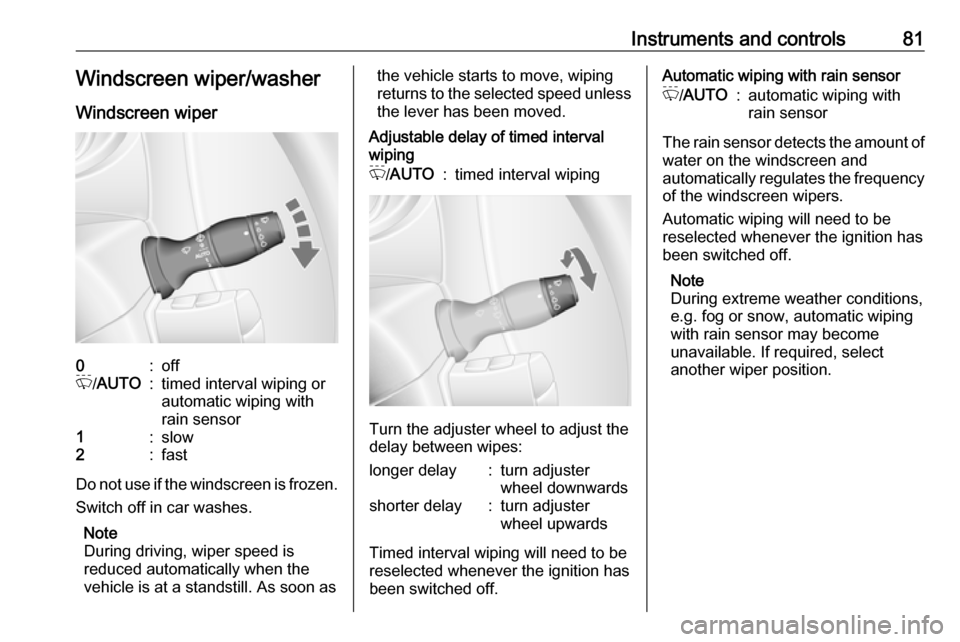
Instruments and controls81Windscreen wiper/washerWindscreen wiper0:offP /AUTO:timed interval wiping or
automatic wiping with
rain sensor1:slow2:fast
Do not use if the windscreen is frozen.
Switch off in car washes.
Note
During driving, wiper speed is
reduced automatically when the
vehicle is at a standstill. As soon as
the vehicle starts to move, wiping
returns to the selected speed unless the lever has been moved.
Adjustable delay of timed interval
wipingP /AUTO:timed interval wiping
Turn the adjuster wheel to adjust the
delay between wipes:
longer delay:turn adjuster
wheel downwardsshorter delay:turn adjuster
wheel upwards
Timed interval wiping will need to be
reselected whenever the ignition has
been switched off.
Automatic wiping with rain sensorP /AUTO:automatic wiping with
rain sensor
The rain sensor detects the amount of water on the windscreen and
automatically regulates the frequency
of the windscreen wipers.
Automatic wiping will need to be
reselected whenever the ignition has
been switched off.
Note
During extreme weather conditions,
e.g. fog or snow, automatic wiping
with rain sensor may become
unavailable. If required, select
another wiper position.
Page 84 of 255
82Instruments and controlsAdjustable sensitivity of the rain
sensor
Turn the adjuster wheel to adjust the
sensitivity:
low sensitivity:turn adjuster
wheel downwardshigh sensitivity:turn adjuster
wheel upwards
Keep the sensor free from dust, dirt
and ice.
Windscreen washer
Pull lever. Washer fluid is sprayed
onto the windscreen.short pull:wiper swipes oncelong pull:wiper swipes for a few
strokes
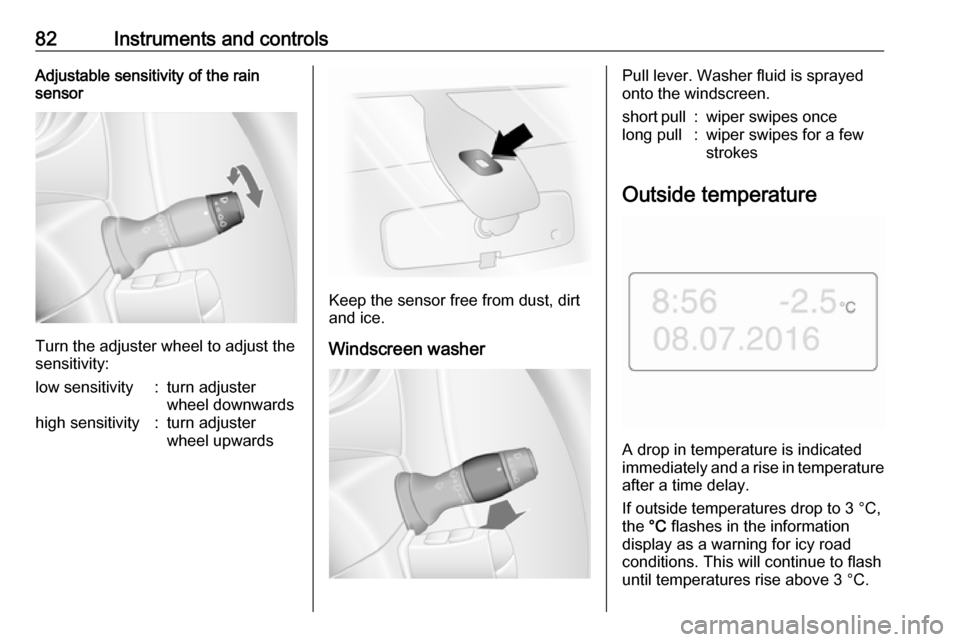
Outside temperature
A drop in temperature is indicated
immediately and a rise in temperature
after a time delay.
If outside temperatures drop to 3 °C, the °C flashes in the information
display as a warning for icy road
conditions. This will continue to flash until temperatures rise above 3 °C.
Page 98 of 255
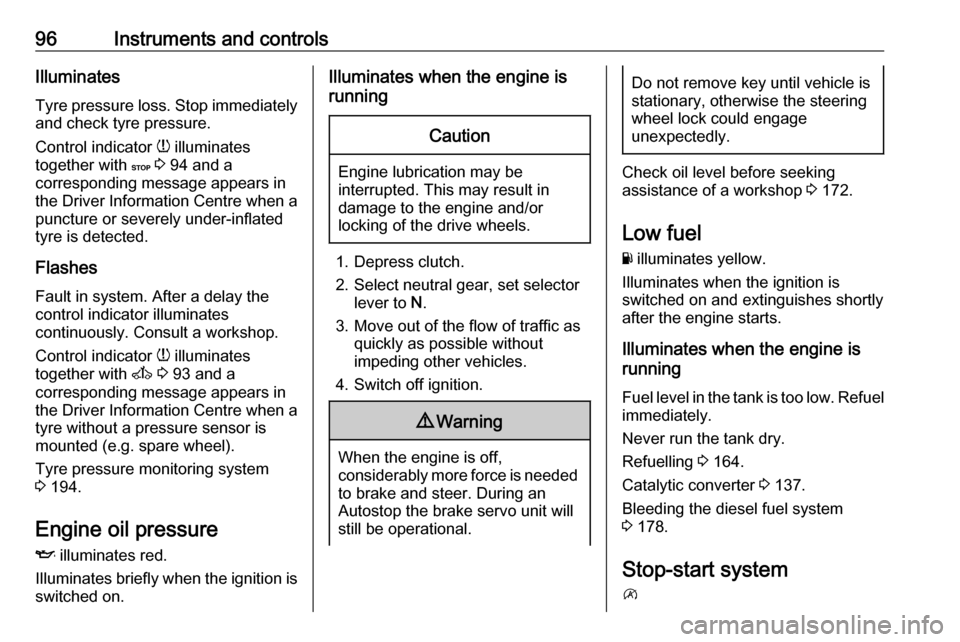
96Instruments and controlsIlluminates
Tyre pressure loss. Stop immediately
and check tyre pressure.
Control indicator w illuminates
together with C 3 94 and a
corresponding message appears in
the Driver Information Centre when a puncture or severely under-inflated
tyre is detected.
Flashes
Fault in system. After a delay the
control indicator illuminates
continuously. Consult a workshop.
Control indicator w illuminates
together with A 3 93 and a
corresponding message appears in
the Driver Information Centre when a
tyre without a pressure sensor is
mounted (e.g. spare wheel).
Tyre pressure monitoring system
3 194.
Engine oil pressure
I illuminates red.
Illuminates briefly when the ignition is
switched on.Illuminates when the engine is
runningCaution
Engine lubrication may be
interrupted. This may result in
damage to the engine and/or
locking of the drive wheels.
1. Depress clutch.
2. Select neutral gear, set selector lever to N.
3. Move out of the flow of traffic as quickly as possible without
impeding other vehicles.
4. Switch off ignition.
9 Warning
When the engine is off,
considerably more force is needed
to brake and steer. During an
Autostop the brake servo unit will still be operational.
Do not remove key until vehicle is
stationary, otherwise the steeringwheel lock could engage
unexpectedly.
Check oil level before seeking
assistance of a workshop 3 172.
Low fuel
Y illuminates yellow.
Illuminates when the ignition is
switched on and extinguishes shortly
after the engine starts.
Illuminates when the engine is
running
Fuel level in the tank is too low. Refuel
immediately.
Never run the tank dry.
Refuelling 3 164.
Catalytic converter 3 137.
Bleeding the diesel fuel system
3 178.
Stop-start system
\
Page 116 of 255
114Climate controlDemisting and defrosting the
windows
● Switch cooling A/C on.
● Set temperature control to warmest level.
● Set fan speed to highest level.
● Set air distribution control to V.
● Switch on heated rear window Ü.
● Open side air vents as required and direct them towards doorwindows.
● For simultaneous warming of the
foot well, set air distribution
control to J.
Note
If V is pressed while the engine is
running, an Autostop will be inhibited
until V is pressed again.
If V is pressed while the engine is
in an Autostop, the engine will restart automatically.
Stop-start system 3 132.Electronic climate control
system
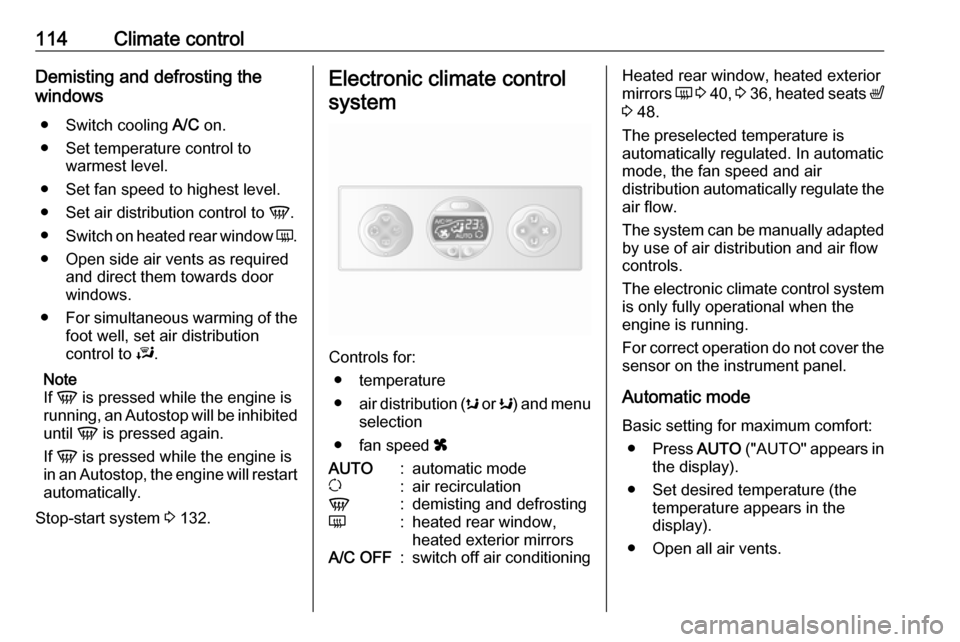
Controls for: ● temperature
● air distribution ( s or K) and menu
selection
● fan speed x
AUTO:automatic modeu:air recirculationV:demisting and defrostingÜ:heated rear window,
heated exterior mirrorsA/C OFF:switch off air conditioningHeated rear window, heated exterior
mirrors Ü 3 40 , 3 36 , heated seats ß
3 48.
The preselected temperature is
automatically regulated. In automatic
mode, the fan speed and air
distribution automatically regulate the
air flow.
The system can be manually adapted by use of air distribution and air flow
controls.
The electronic climate control system
is only fully operational when the
engine is running.
For correct operation do not cover the
sensor on the instrument panel.
Automatic mode
Basic setting for maximum comfort: ● Press AUTO ("AUTO" appears in
the display).
● Set desired temperature (the temperature appears in the
display).
● Open all air vents.
Page 125 of 255

Climate control123To temporarily adjust the heating
duration, adjust with q or r and
confirm. The value can be set from
ten to 120 minutes. Due to the power
consumption, note the heating
duration.
To switch off, select Y in the menu bar
again and confirm.
Ventilation x
Select x in the menu bar and confirm.
The ventilation duration can be
accepted or adjusted. The duration
shown is accepted without
confirmation.
To switch off, select x in the menu bar
again and confirm.
Programming P
Up to three preset departure times can be programmed, either during
one day or over one week.
● Select P in the menu bar and
confirm.
● Select desired preset memory number 1, 2 or 3 and confirm.
● Select day and confirm.
● Select hour and confirm.● Select minutes and confirm.
● Select Y or x and confirm.
● If necessary, adjust the runtime duration prior to departure and
confirm.
The next preset memory number to
be activated is underlined and the
weekday is displayed. Repeat the
procedure to programme the other
preset memory numbers.
Pressing X during the procedure will
exit without storing programme
adjustments.
To delete a preset departure time,
follow the steps for programming until
heating symbol Y flashes. Press q
or r until oFF appears in the display
and confirm.
Heating stops automatically
five minutes after the programmed
departure time.
Note
The remote control system features a temperature sensor which
calculates the runtime according to the ambient temperature and thedesired heating level (ECO or
HIGH). The system startsautomatically between five and
60 minutes prior to the programmed
departure time.
Set weekday, time and heating
duration Ö
If the vehicle battery is disconnected
or its voltage is too low, the unit will
need to be reset.
● Select Ö and confirm.
● Select weekday and confirm.
● Change hours and confirm.
● Change minutes and confirm. ● Change the default heating duration and confirm.
Heating level Y
The preferred heating level for
programmed departure times can be set to either ECO or HIGH.
Select Y and confirm. ECO or HIGH
flashes in the display. Adjust using
q or r and confirm.
Operation (Type D)
Heating Y or Ventilation x
Select the operating mode Y or x, if
necessary.
Page 134 of 255
132Driving and operatingStop-start systemThe stop-start system helps to save
fuel and to reduce the exhaust
emission. When conditions allow, it
switches off the engine as soon as the
vehicle is at a low speed or at a
standstill, e.g. at a traffic light or in a
traffic jam. It starts the engine
automatically as soon as the clutch is
depressed. A vehicle battery sensor
ensures that an Autostop is only
performed if the vehicle battery is
sufficiently charged for a restart.
Activation
The stop-start system is available as soon as the engine is started, the
vehicle starts-off and the conditions
as stated below in this section are
fulfilled.Deactivation
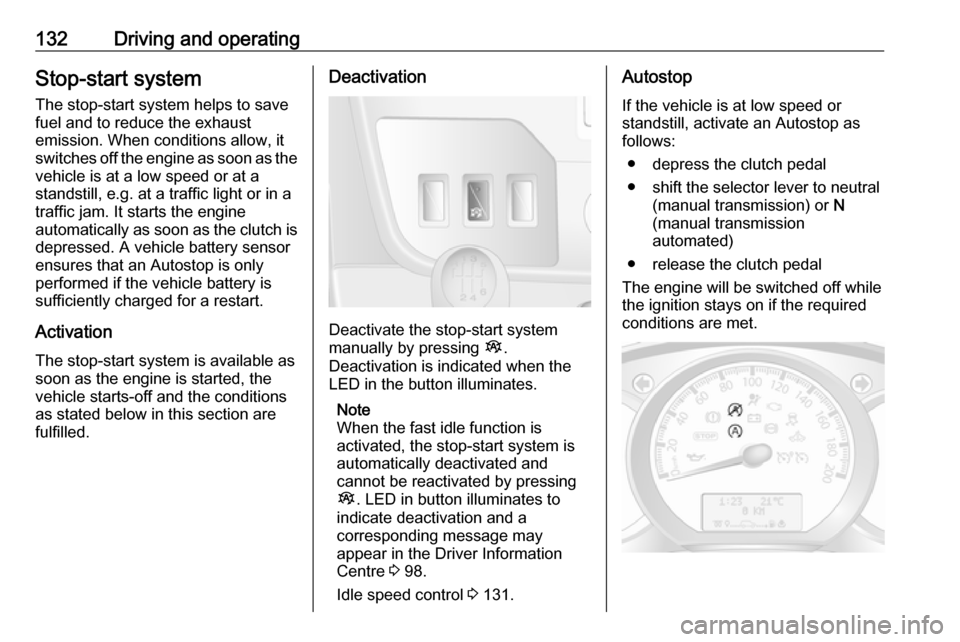
Deactivate the stop-start system
manually by pressing Î.
Deactivation is indicated when the
LED in the button illuminates.
Note
When the fast idle function is
activated, the stop-start system is
automatically deactivated and
cannot be reactivated by pressing
Î . LED in button illuminates to
indicate deactivation and a
corresponding message may
appear in the Driver Information
Centre 3 98.
Idle speed control 3 131.
Autostop
If the vehicle is at low speed or
standstill, activate an Autostop as
follows:
● depress the clutch pedal
● shift the selector lever to neutral (manual transmission) or N
(manual transmission
automated)
● release the clutch pedal
The engine will be switched off while
the ignition stays on if the required conditions are met.
Page 160 of 255
158Driving and operatingSpeed limiter
Maximum speed limiter In accordance with local or national
regulations, the vehicle may be
equipped with a fixed maximum
speed limiter that cannot be disabled.
If equipped, a warning label indicating the fixed maximum speed limit (90 to
130 km/h) is located on the
instrument panel.
Deviations from the maximum speed
limit may occur briefly when driving
downhill, for physical reasons.
A warning buzzer may sound for
ten seconds if the vehicle briefly
exceeds the set limit.
Vehicles also equipped with cruise
control speed limiter: the maximum
speed cannot be exceeded by
depressing the accelerator pedal
firmly beyond the point of resistance.
Cruise control speed limiter 3 154.Parking assist9 Warning
It is the driver who bears full
responsibility for the parking
manoeuvre.
Always check the surrounding
area while reversing and using the rear parking assist system.
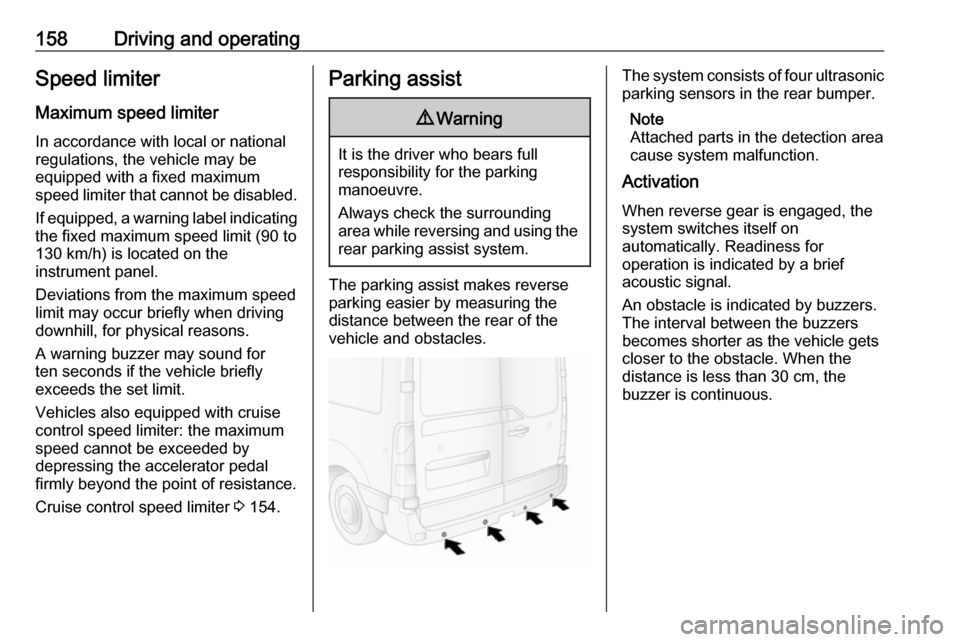
The parking assist makes reverse
parking easier by measuring the
distance between the rear of the
vehicle and obstacles.
The system consists of four ultrasonic parking sensors in the rear bumper.
Note
Attached parts in the detection area
cause system malfunction.
Activation
When reverse gear is engaged, the
system switches itself on
automatically. Readiness for
operation is indicated by a brief
acoustic signal.
An obstacle is indicated by buzzers.
The interval between the buzzers
becomes shorter as the vehicle gets
closer to the obstacle. When the
distance is less than 30 cm, the buzzer is continuous.
Page 162 of 255
160Driving and operatingCaution
Performance of the sensors can
be reduced when sensors are
covered, e.g. by ice or snow.
Performance of the parking assist
system can be reduced due to
heavy loading.
Special conditions apply if there
are taller vehicles involved (e.g.
off-road vehicles, mini vans,
vans). Object identification in the
upper part of these vehicles
cannot be guaranteed.
Objects with a very small reflection
cross-section, e.g. objects of
narrow size or soft materials, may
not be detected by the system.
The parking assist system will not
detect objects which are out of the detection range of the sensors.
Rear view camera
The rear view camera assists the
driver when reversing by displaying a view of the area behind the vehicle in
either the interior mirror or the
Infotainment system display screen.
9 Warning
The rear view camera does not
replace driver vision. Note that
objects that are outside the
camera's field of view, e.g. below
the bumper or underneath the
vehicle, are not displayed.
Do not reverse the vehicle by only looking at the display and checkthe surrounding area behind and
around the vehicle before
reversing.
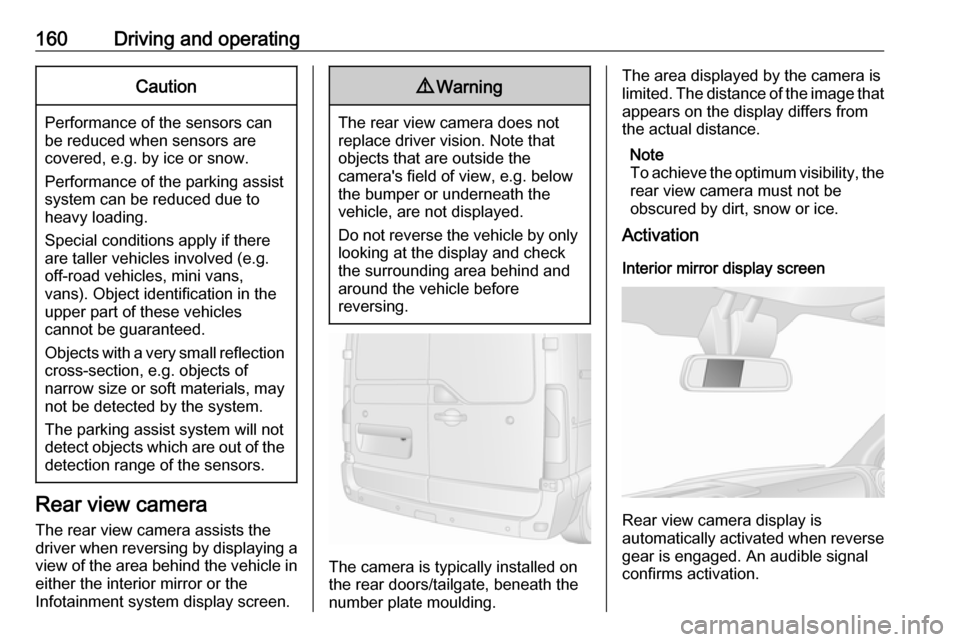
The camera is typically installed on
the rear doors/tailgate, beneath the
number plate moulding.
The area displayed by the camera is
limited. The distance of the image that
appears on the display differs from
the actual distance.
Note
To achieve the optimum visibility, the rear view camera must not be
obscured by dirt, snow or ice.
Activation
Interior mirror display screen
Rear view camera display is
automatically activated when reverse
gear is engaged. An audible signal
confirms activation.