tow OPEL MOVANO_B 2017 Owner's Manual
[x] Cancel search | Manufacturer: OPEL, Model Year: 2017, Model line: MOVANO_B, Model: OPEL MOVANO_B 2017Pages: 255, PDF Size: 6.12 MB
Page 19 of 255
In brief17Demisting and defrosting the
windows
Climate control system
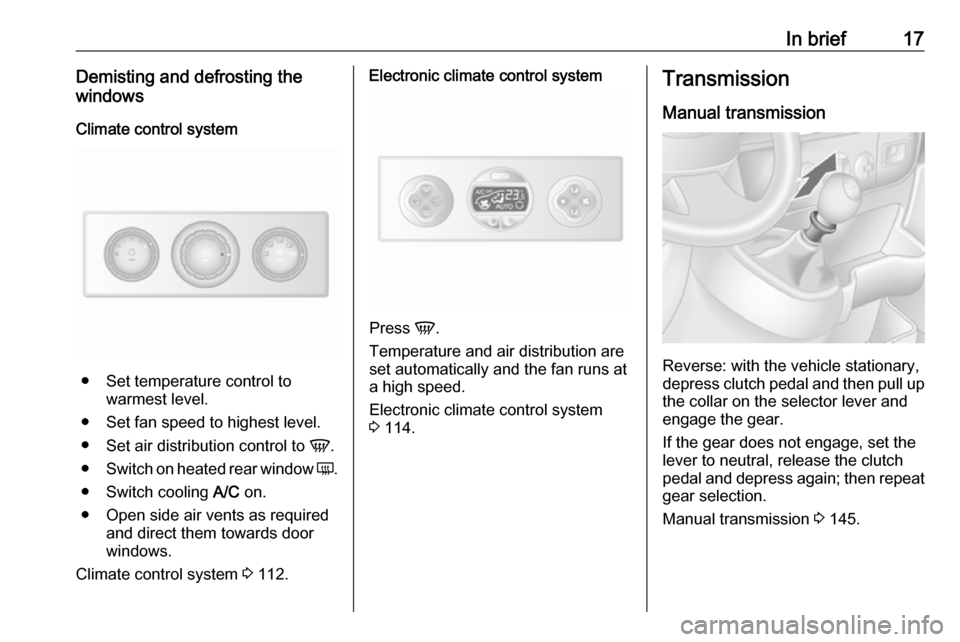
● Set temperature control to warmest level.
● Set fan speed to highest level.
● Set air distribution control to V.
● Switch on heated rear window Ü.
● Switch cooling A/C on.
● Open side air vents as required and direct them towards door
windows.
Climate control system 3 112.
Electronic climate control system
Press V.
Temperature and air distribution are
set automatically and the fan runs at
a high speed.
Electronic climate control system 3 114.
Transmission
Manual transmission
Reverse: with the vehicle stationary,
depress clutch pedal and then pull up
the collar on the selector lever and
engage the gear.
If the gear does not engage, set the
lever to neutral, release the clutch
pedal and depress again; then repeat gear selection.
Manual transmission 3 145.
Page 21 of 255
In brief19Stop-start system
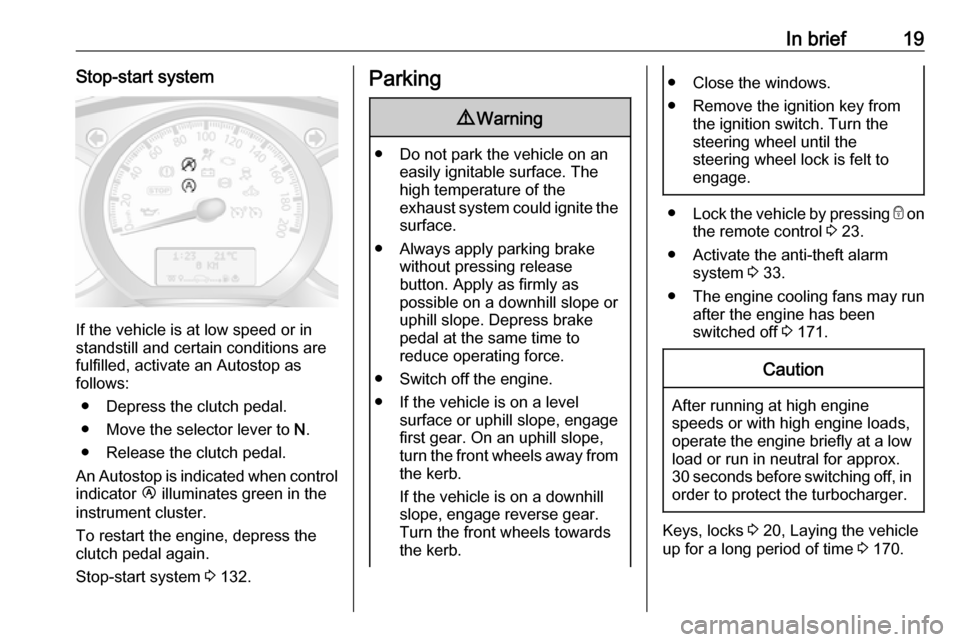
If the vehicle is at low speed or in
standstill and certain conditions are
fulfilled, activate an Autostop as
follows:
● Depress the clutch pedal.
● Move the selector lever to N.
● Release the clutch pedal.
An Autostop is indicated when control indicator Ï illuminates green in the
instrument cluster.
To restart the engine, depress the
clutch pedal again.
Stop-start system 3 132.
Parking9 Warning
● Do not park the vehicle on an
easily ignitable surface. The
high temperature of the
exhaust system could ignite the
surface.
● Always apply parking brake without pressing release
button. Apply as firmly as
possible on a downhill slope or
uphill slope. Depress brake
pedal at the same time to
reduce operating force.
● Switch off the engine.
● If the vehicle is on a level surface or uphill slope, engage
first gear. On an uphill slope,
turn the front wheels away from
the kerb.
If the vehicle is on a downhill
slope, engage reverse gear.
Turn the front wheels towards the kerb.
● Close the windows.
● Remove the ignition key from the ignition switch. Turn the
steering wheel until the
steering wheel lock is felt to
engage.
● Lock the vehicle by pressing e on
the remote control 3 23.
● Activate the anti-theft alarm system 3 33.
● The engine cooling fans may run
after the engine has been
switched off 3 171.
Caution
After running at high engine
speeds or with high engine loads,
operate the engine briefly at a low load or run in neutral for approx.30 seconds before switching off, in
order to protect the turbocharger.
Keys, locks 3 20, Laying the vehicle
up for a long period of time 3 170.
Page 29 of 255
Keys, doors and windows27
Activation
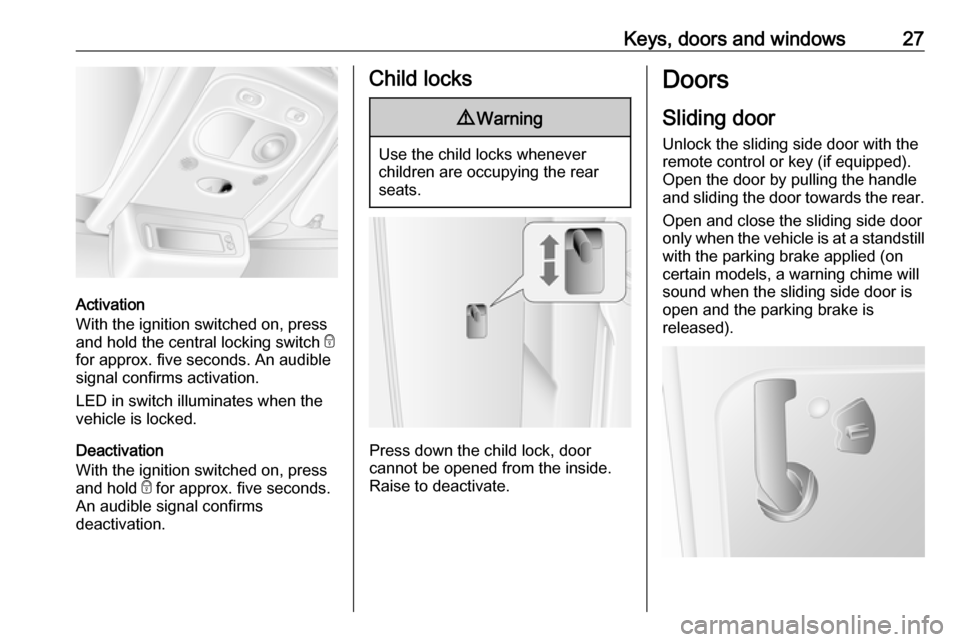
With the ignition switched on, press
and hold the central locking switch e
for approx. five seconds. An audible
signal confirms activation.
LED in switch illuminates when the
vehicle is locked.
Deactivation
With the ignition switched on, press and hold e for approx. five seconds.
An audible signal confirms
deactivation.
Child locks9 Warning
Use the child locks whenever
children are occupying the rear
seats.
Press down the child lock, door
cannot be opened from the inside.
Raise to deactivate.
Doors
Sliding door
Unlock the sliding side door with the remote control or key (if equipped).
Open the door by pulling the handle
and sliding the door towards the rear.
Open and close the sliding side door
only when the vehicle is at a standstill with the parking brake applied (on
certain models, a warning chime will
sound when the sliding side door is
open and the parking brake is
released).
Page 45 of 255
Seats, restraints43Depending on version, head
restraints can also be tilted forwards
or backwards. Push or pull the lower
part of the head restraint to adjust.
Note
Approved accessories may only be
attached to the front passenger seat
head restraint if the seat is not in use.
Removal
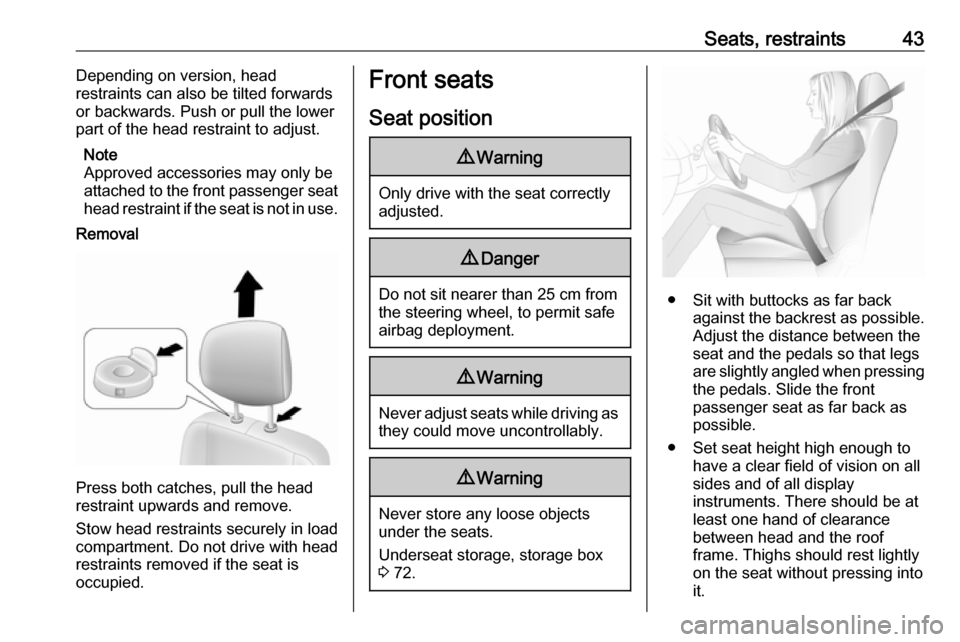
Press both catches, pull the head
restraint upwards and remove.
Stow head restraints securely in load
compartment. Do not drive with head
restraints removed if the seat is
occupied.
Front seats
Seat position9 Warning
Only drive with the seat correctly
adjusted.
9 Danger
Do not sit nearer than 25 cm from
the steering wheel, to permit safe
airbag deployment.
9 Warning
Never adjust seats while driving as
they could move uncontrollably.
9 Warning
Never store any loose objects
under the seats.
Underseat storage, storage box 3 72.
● Sit with buttocks as far back
against the backrest as possible.
Adjust the distance between the
seat and the pedals so that legs
are slightly angled when pressing
the pedals. Slide the front
passenger seat as far back as
possible.
● Set seat height high enough to have a clear field of vision on allsides and of all display
instruments. There should be at
least one hand of clearance
between head and the roof
frame. Thighs should rest lightly on the seat without pressing into
it.
Page 51 of 255
Seats, restraints49Rear seats
Rear seat access
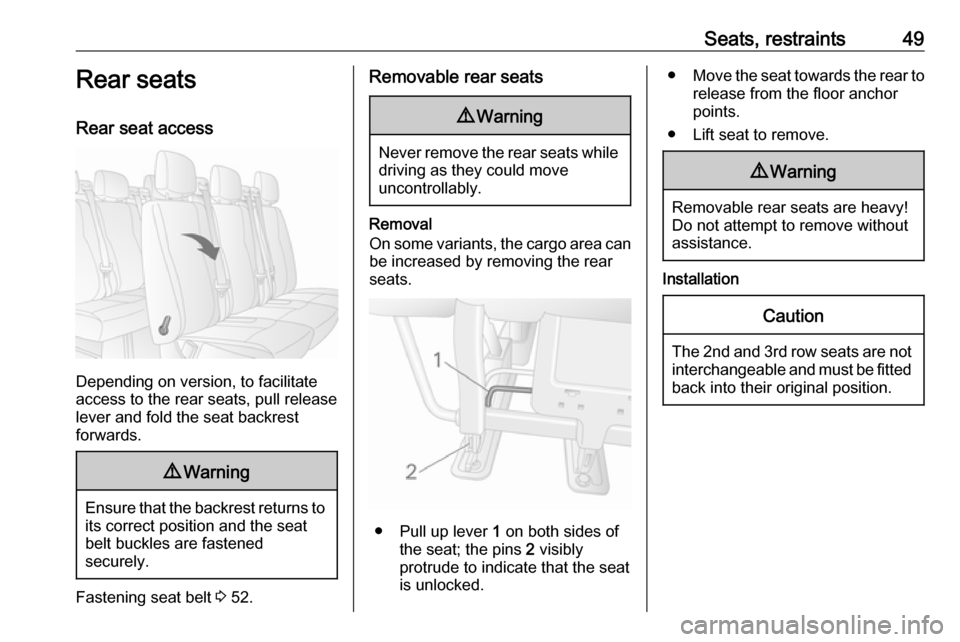
Depending on version, to facilitate
access to the rear seats, pull release lever and fold the seat backrest
forwards.
9 Warning
Ensure that the backrest returns to
its correct position and the seat
belt buckles are fastened
securely.
Fastening seat belt 3 52.
Removable rear seats9 Warning
Never remove the rear seats while
driving as they could move
uncontrollably.
Removal
On some variants, the cargo area can be increased by removing the rear
seats.
● Pull up lever 1 on both sides of
the seat; the pins 2 visibly
protrude to indicate that the seat
is unlocked.
● Move the seat towards the rear to
release from the floor anchor
points.
● Lift seat to remove.9 Warning
Removable rear seats are heavy!
Do not attempt to remove without assistance.
Installation
Caution
The 2nd and 3rd row seats are not
interchangeable and must be fitted
back into their original position.
Page 52 of 255
50Seats, restraints
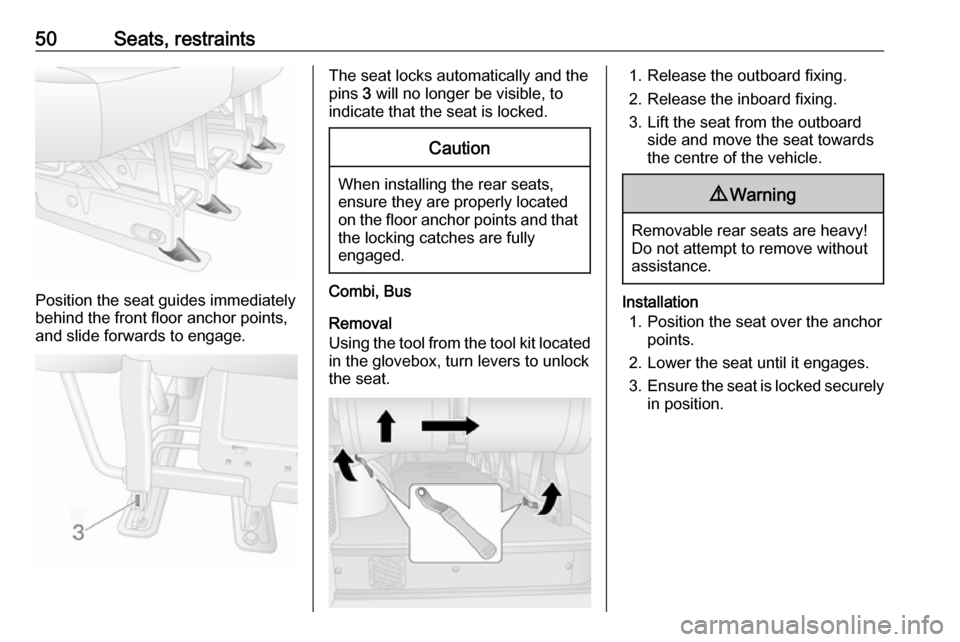
Position the seat guides immediately
behind the front floor anchor points,
and slide forwards to engage.
The seat locks automatically and the
pins 3 will no longer be visible, to
indicate that the seat is locked.Caution
When installing the rear seats, ensure they are properly located
on the floor anchor points and that the locking catches are fully
engaged.
Combi, Bus
Removal
Using the tool from the tool kit located
in the glovebox, turn levers to unlock
the seat.
1. Release the outboard fixing.
2. Release the inboard fixing.
3. Lift the seat from the outboard side and move the seat towards
the centre of the vehicle.9 Warning
Removable rear seats are heavy!
Do not attempt to remove without assistance.
Installation
1. Position the seat over the anchor points.
2. Lower the seat until it engages.
3. Ensure the seat is locked securely
in position.
Page 58 of 255

56Seats, restraintsNO: Bakovervendt
barnesikringsutstyr må ALDRI brukes på et sete med AKTIV
KOLLISJONSPUTE foran, da det kan
føre til at BARNET utsettes for
LIVSFARE og fare for ALVORLIGE
SKADER.
PT: NUNCA use um sistema de
retenção para crianças voltado para
trás num banco protegido com um AIRBAG ACTIVO na frente do
mesmo, poderá ocorrer a PERDA DE VIDA ou FERIMENTOS GRAVES na
CRIANÇA.
IT: Non usare mai un sistema di
sicurezza per bambini rivolto
all'indietro su un sedile protetto da
AIRBAG ATTIVO di fronte ad esso:
pericolo di MORTE o LESIONI
GRAVI per il BAMBINO!
EL: ΠΟΤΕ μη χρησιμοποιείτε παιδικό
κάθισμα ασφαλείας με φορά προς τα πίσω σε κάθισμα που προστατεύεται
από μετωπικό ΕΝΕΡΓΟ ΑΕΡΟΣΑΚΟ,
διότι το παιδί μπορεί να υποστεί
ΘΑΝΑΣΙΜΟ ή ΣΟΒΑΡΟ
ΤΡΑΥΜΑΤΙΣΜΟ.PL: NIE WOLNO montować fotelika
dziecięcego zwróconego tyłem do
kierunku jazdy na fotelu, przed
którym znajduje się WŁĄCZONA
PODUSZKA POWIETRZNA.
Niezastosowanie się do tego
zalecenia może być przyczyną
ŚMIERCI lub POWAŻNYCH
OBRAŻEŃ u DZIECKA.
TR: Arkaya bakan bir çocuk emniyet
sistemini KESİNLİKLE önünde bir
AKTİF HAVA YASTIĞI ile
korunmakta olan bir koltukta
kullanmayınız. ÇOCUK ÖLEBİLİR
veya AĞIR ŞEKİLDE
YARALANABİLİR.
UK: НІКОЛИ не використовуйте
систему безпеки для дітей, що
встановлюється обличчям назад,
на сидінні з УВІМКНЕНОЮ
ПОДУШКОЮ БЕЗПЕКИ, інакше це
може призвести до СМЕРТІ чи
СЕРЙОЗНОГО ТРАВМУВАННЯ
ДИТИНИ.
HU: SOHA ne használjon hátrafelé
néző biztonsági gyerekülést előlről
AKTÍV LÉGZSÁKKAL védett ülésen,
mert a GYERMEK HALÁLÁT vagy
KOMOLY SÉRÜLÉSÉT okozhatja.HR: NIKADA nemojte koristiti sustav
zadržavanja za djecu okrenut prema
natrag na sjedalu s AKTIVNIM
ZRAČNIM JASTUKOM ispred njega,
to bi moglo dovesti do SMRTI ili
OZBILJNJIH OZLJEDA za DIJETE.
SL: NIKOLI ne nameščajte otroškega
varnostnega sedeža, obrnjenega v
nasprotni smeri vožnje, na sedež z
AKTIVNO ČELNO ZRAČNO
BLAZINO, saj pri tem obstaja
nevarnost RESNIH ali SMRTNIH
POŠKODB za OTROKA.
SR: NIKADA ne koristiti bezbednosni
sistem za decu u kome su deca
okrenuta unazad na sedištu sa
AKTIVNIM VAZDUŠNIM
JASTUKOM ispred sedišta zato što DETE može da NASTRADA ili da se
TEŠKO POVREDI.
MK: НИКОГАШ не користете детско
седиште свртено наназад на
седиште заштитено со АКТИВНО
ВОЗДУШНО ПЕРНИЧЕ пред него,
затоа што детето може ДА ЗАГИНЕ
или да биде ТЕШКО ПОВРЕДЕНО.
BG: НИКОГА не използвайте
детска седалка, гледаща назад,
върху седалка, която е защитена
Page 72 of 255
70StorageStorageStorage compartments................70
Instrument panel storage ...........70
Glovebox ................................... 71
Cupholders ................................ 71
Front storage ............................. 71
Overhead console .....................71
Underseat storage .....................72
Overcab storage ........................72
Load compartment .......................73
Lashing eyes ............................. 73
Cargo management system ......73
Safety net .................................. 76
Load compartment grille ............76
Warning triangle ........................76
First aid kit ................................. 76
Fire extinguisher ........................77
Roof rack system .........................77
Roof rack ................................... 77
Loading information .....................78Storage compartments9Warning
Do not store heavy or sharp
objects in the storage
compartments. Otherwise vehicle
occupants could be injured by
objects being thrown around in the
event of hard braking, a sudden
change in direction or an accident.
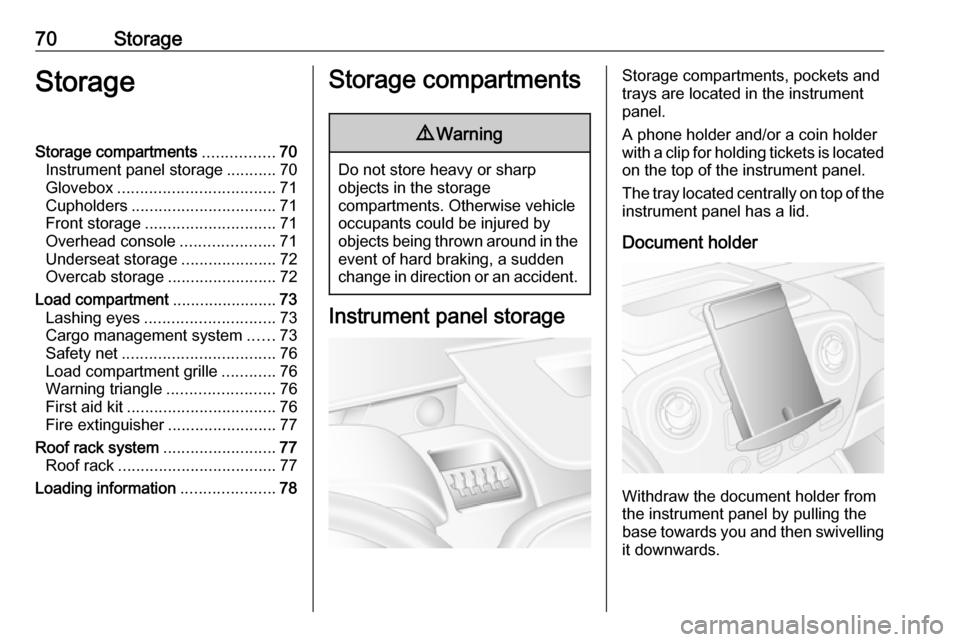
Instrument panel storage
Storage compartments, pockets and
trays are located in the instrument
panel.
A phone holder and/or a coin holder
with a clip for holding tickets is located on the top of the instrument panel.
The tray located centrally on top of the instrument panel has a lid.
Document holder
Withdraw the document holder from
the instrument panel by pulling the
base towards you and then swivelling it downwards.
Page 73 of 255
Storage71To fold away, raise the base until the
document holder is horizontal, then push fully in.
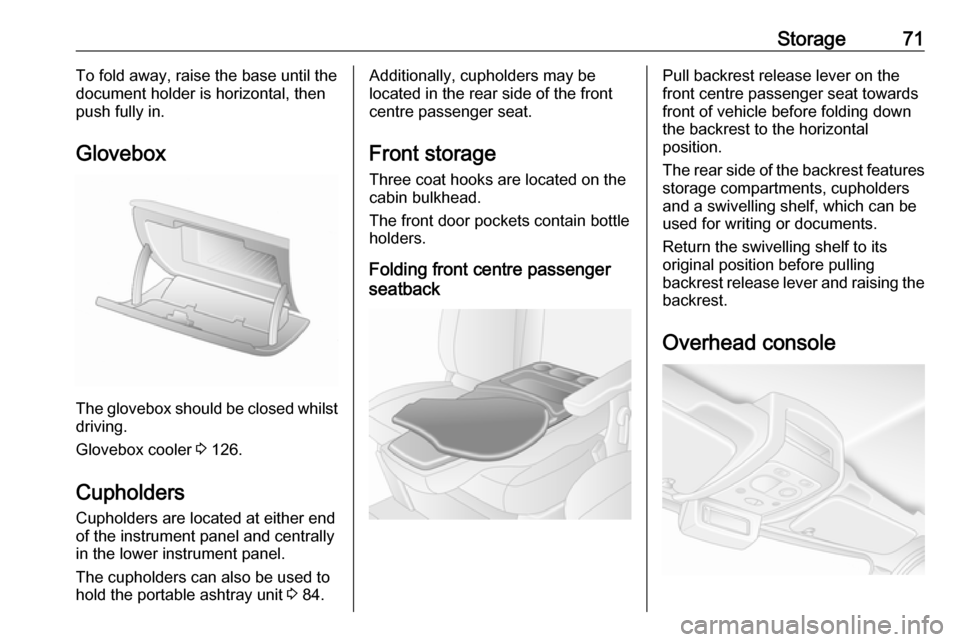
Glovebox
The glovebox should be closed whilst driving.
Glovebox cooler 3 126.
Cupholders Cupholders are located at either end
of the instrument panel and centrally
in the lower instrument panel.
The cupholders can also be used to
hold the portable ashtray unit 3 84.
Additionally, cupholders may be
located in the rear side of the front
centre passenger seat.
Front storage
Three coat hooks are located on the
cabin bulkhead.
The front door pockets contain bottle
holders.
Folding front centre passenger
seatbackPull backrest release lever on the
front centre passenger seat towards
front of vehicle before folding down
the backrest to the horizontal
position.
The rear side of the backrest features storage compartments, cupholders
and a swivelling shelf, which can be
used for writing or documents.
Return the swivelling shelf to its
original position before pulling
backrest release lever and raising the
backrest.
Overhead console
Page 75 of 255
Storage73Load compartment9Warning
Always make sure that the load in
the vehicle is securely stowed.
Otherwise objects can be thrown
around inside the vehicle and
cause personal injury or damage
to the load or vehicle.
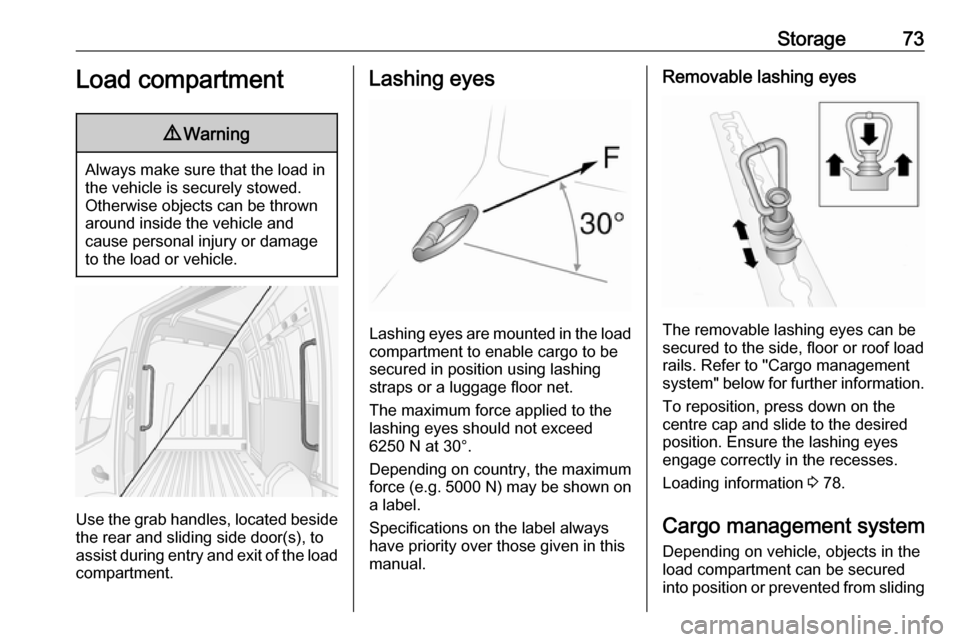
Use the grab handles, located beside
the rear and sliding side door(s), to
assist during entry and exit of the load compartment.
Lashing eyes
Lashing eyes are mounted in the load
compartment to enable cargo to be secured in position using lashing
straps or a luggage floor net.
The maximum force applied to the
lashing eyes should not exceed
6250 N at 30°.
Depending on country, the maximum
force (e.g. 5000 N ) may be shown on
a label.
Specifications on the label always
have priority over those given in this
manual.
Removable lashing eyes
The removable lashing eyes can be
secured to the side, floor or roof load rails. Refer to "Cargo management
system" below for further information.
To reposition, press down on the
centre cap and slide to the desired
position. Ensure the lashing eyes
engage correctly in the recesses.
Loading information 3 78.
Cargo management system
Depending on vehicle, objects in the load compartment can be secured
into position or prevented from sliding