instrument panel OPEL MOVANO_B 2020 Owner's Manual
[x] Cancel search | Manufacturer: OPEL, Model Year: 2020, Model line: MOVANO_B, Model: OPEL MOVANO_B 2020Pages: 353, PDF Size: 9.4 MB
Page 13 of 353
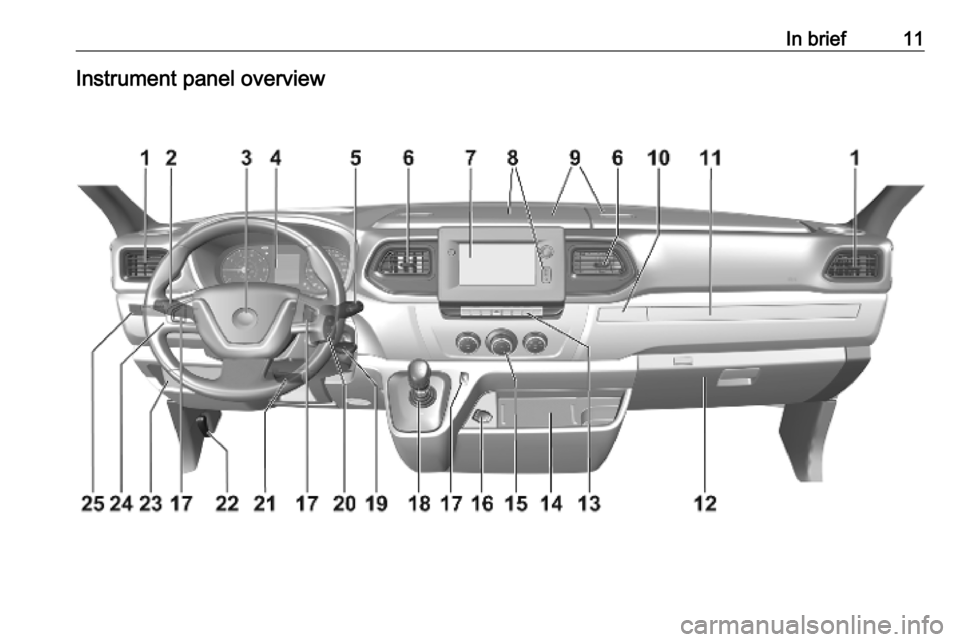
In brief11Instrument panel overview
Page 32 of 353
30Keys, doors and windowsDoors
Sliding door
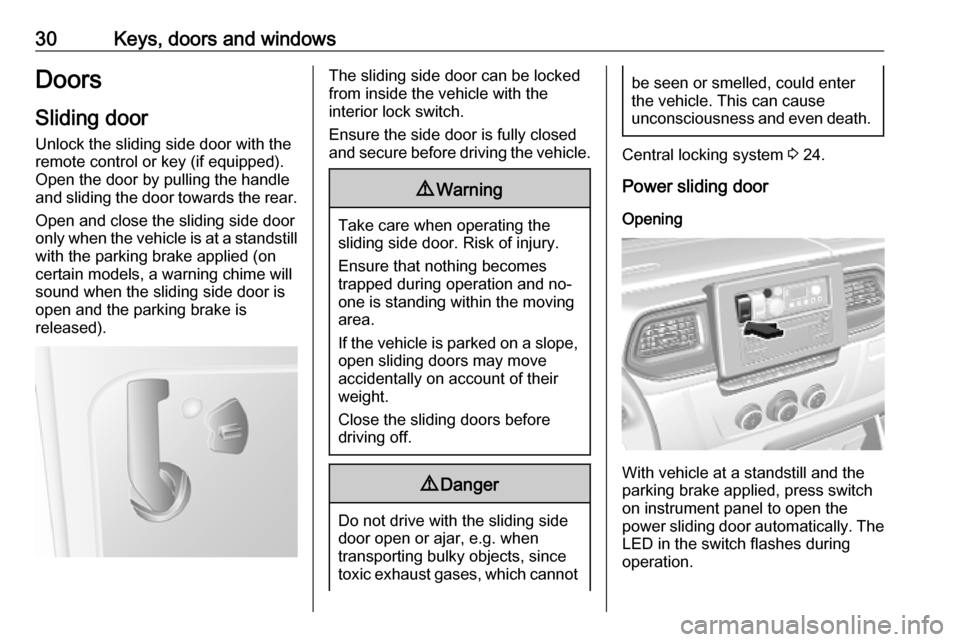
Unlock the sliding side door with the remote control or key (if equipped).
Open the door by pulling the handle
and sliding the door towards the rear.
Open and close the sliding side door
only when the vehicle is at a standstill with the parking brake applied (on
certain models, a warning chime will
sound when the sliding side door is
open and the parking brake is
released).The sliding side door can be locked
from inside the vehicle with the
interior lock switch.
Ensure the side door is fully closed
and secure before driving the vehicle.9 Warning
Take care when operating the
sliding side door. Risk of injury.
Ensure that nothing becomes
trapped during operation and no-
one is standing within the moving
area.
If the vehicle is parked on a slope,
open sliding doors may move
accidentally on account of their
weight.
Close the sliding doors before
driving off.
9 Danger
Do not drive with the sliding side
door open or ajar, e.g. when
transporting bulky objects, since
toxic exhaust gases, which cannot
be seen or smelled, could enter
the vehicle. This can cause
unconsciousness and even death.
Central locking system 3 24.
Power sliding door
Opening
With vehicle at a standstill and the
parking brake applied, press switch
on instrument panel to open the
power sliding door automatically. The
LED in the switch flashes during
operation.
Page 34 of 353
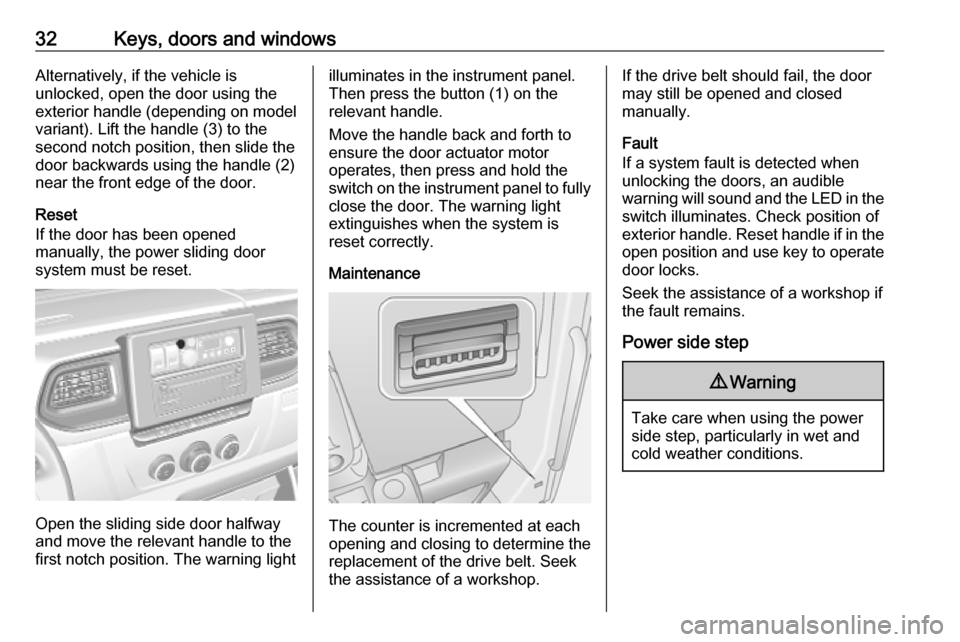
32Keys, doors and windowsAlternatively, if the vehicle is
unlocked, open the door using the
exterior handle (depending on model variant). Lift the handle (3) to the
second notch position, then slide the
door backwards using the handle (2)
near the front edge of the door.
Reset
If the door has been opened
manually, the power sliding door
system must be reset.
Open the sliding side door halfway
and move the relevant handle to the
first notch position. The warning light
illuminates in the instrument panel.
Then press the button (1) on the relevant handle.
Move the handle back and forth to
ensure the door actuator motor
operates, then press and hold the
switch on the instrument panel to fully
close the door. The warning light
extinguishes when the system is
reset correctly.
Maintenance
The counter is incremented at each
opening and closing to determine the
replacement of the drive belt. Seek
the assistance of a workshop.
If the drive belt should fail, the door may still be opened and closed
manually.
Fault
If a system fault is detected when
unlocking the doors, an audible
warning will sound and the LED in the switch illuminates. Check position of
exterior handle. Reset handle if in the
open position and use key to operate door locks.
Seek the assistance of a workshop if
the fault remains.
Power side step9 Warning
Take care when using the power
side step, particularly in wet and
cold weather conditions.
Page 57 of 353
Seats, restraints553. Lift the seat from the rear.
4. Pull the seat towards the centre of
the vehicle to release the seat
completely from its anchor points.Installation
Note
Make sure that the anchor points are
clean before installing the seat. They should be free from grit or any other
item which may prevent the seat
from locking securely.
1. Position the seat over the anchor points.
2. Lower the seat until it audibly engages in the anchor points.
3. Ensure the seat is locked securely
in position by trying to move the
seat back and forth and from left
to right.
Repeat installation procedure if
necessary.
Consult a workshop if the seat cannot
be locked securely in position.Seat belts
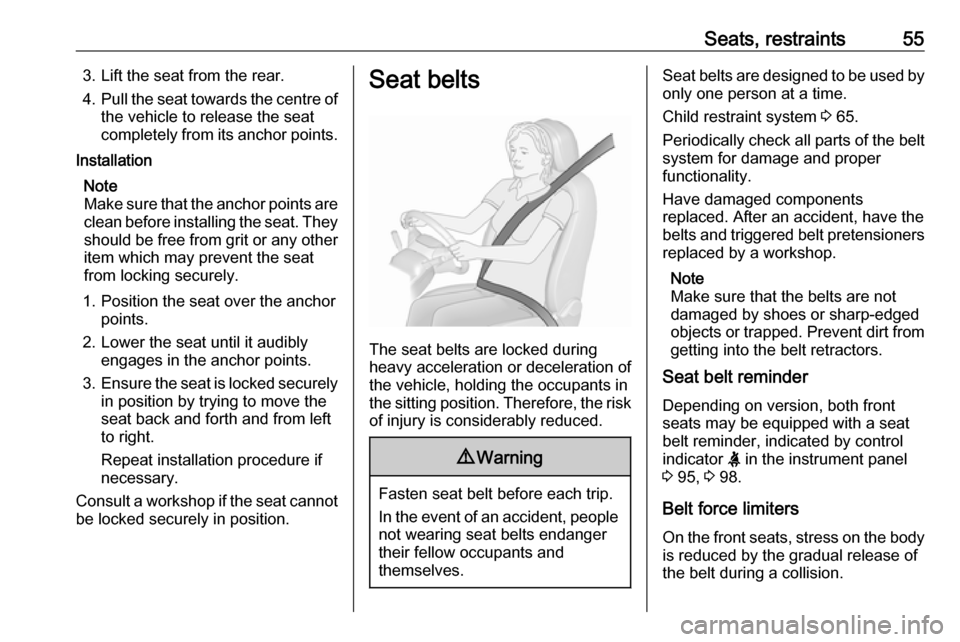
The seat belts are locked during
heavy acceleration or deceleration of
the vehicle, holding the occupants in
the sitting position. Therefore, the risk of injury is considerably reduced.
9 Warning
Fasten seat belt before each trip.
In the event of an accident, people
not wearing seat belts endanger their fellow occupants and
themselves.
Seat belts are designed to be used by only one person at a time.
Child restraint system 3 65.
Periodically check all parts of the belt
system for damage and proper
functionality.
Have damaged components
replaced. After an accident, have the
belts and triggered belt pretensioners replaced by a workshop.
Note
Make sure that the belts are not
damaged by shoes or sharp-edged
objects or trapped. Prevent dirt from
getting into the belt retractors.
Seat belt reminder
Depending on version, both front
seats may be equipped with a seat
belt reminder, indicated by control
indicator X in the instrument panel
3 95, 3 98.
Belt force limiters
On the front seats, stress on the body is reduced by the gradual release of
the belt during a collision.
Page 61 of 353
Seats, restraints599Warning
The lap belt must be positioned as
low as possible across the pelvis
to prevent pressure on the
abdomen.
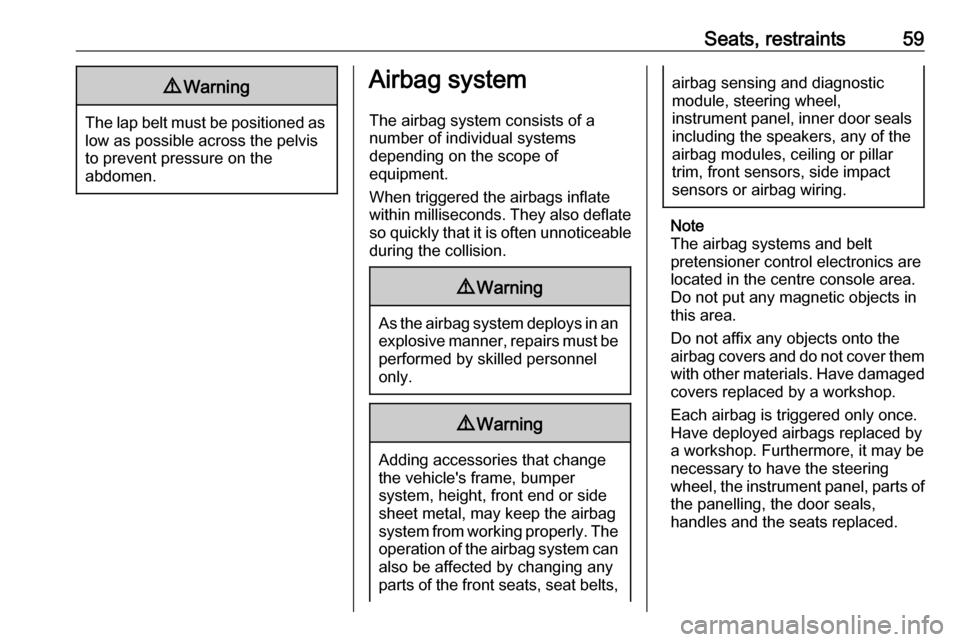
Airbag system
The airbag system consists of a
number of individual systems
depending on the scope of
equipment.
When triggered the airbags inflate
within milliseconds. They also deflate
so quickly that it is often unnoticeable
during the collision.9 Warning
As the airbag system deploys in an
explosive manner, repairs must be
performed by skilled personnel
only.
9 Warning
Adding accessories that change
the vehicle's frame, bumper
system, height, front end or side
sheet metal, may keep the airbag
system from working properly. The operation of the airbag system can
also be affected by changing any
parts of the front seats, seat belts,
airbag sensing and diagnostic
module, steering wheel,
instrument panel, inner door seals including the speakers, any of the
airbag modules, ceiling or pillar
trim, front sensors, side impact
sensors or airbag wiring.
Note
The airbag systems and belt
pretensioner control electronics are
located in the centre console area.
Do not put any magnetic objects in
this area.
Do not affix any objects onto the
airbag covers and do not cover them with other materials. Have damagedcovers replaced by a workshop.
Each airbag is triggered only once.
Have deployed airbags replaced by
a workshop. Furthermore, it may be
necessary to have the steering
wheel, the instrument panel, parts of
the panelling, the door seals,
handles and the seats replaced.
Page 64 of 353
62Seats, restraintsRO: Nu utilizaţi NICIODATĂ un scaun
pentru copil îndreptat spre partea din
spate a maşinii pe un scaun protejat
de un AIRBAG ACTIV în faţa sa;
acest lucru poate duce la DECESUL
sau VĂTĂMAREA GRAVĂ a
COPILULUI.
CS: NIKDY nepoužívejte dětský
zádržný systém instalovaný proti
směru jízdy na sedadle, které je
chráněno před sedadlem AKTIVNÍM
AIRBAGEM. Mohlo by dojít k
VÁŽNÉMU PORANĚNÍ nebo ÚMRTÍ
DÍTĚTE.
SK: NIKDY nepoužívajte detskú
sedačku otočenú vzad na sedadle
chránenom AKTÍVNYM AIRBAGOM,
pretože môže dôjsť k SMRTI alebo
VÁŽNYM ZRANENIAM DIEŤAŤA.
LT: JOKIU BŪDU nemontuokite atgal
atgręžtos vaiko tvirtinimo sistemos
sėdynėje, prieš kurią įrengta AKTYVI
ORO PAGALVĖ, nes VAIKAS GALI
ŽŪTI arba RIMTAI SUSIŽALOTI.
LV: NEKĀDĀ GADĪJUMĀ
neizmantojiet uz aizmuguri vērstu bērnu sēdeklīti sēdvietā, kas tiek
aizsargāta ar tās priekšā uzstādītuAKTĪVU DROŠĪBAS SPILVENU, jo pretējā gadījumā BĒRNS var gūt
SMAGAS TRAUMAS vai IET BOJĀ.
ET: ÄRGE kasutage tahapoole
suunatud lapseturvaistet istmel, mille
ees on AKTIIVSE TURVAPADJAGA
kaitstud iste, sest see võib
põhjustada LAPSE SURMA või
TÕSISE VIGASTUSE.
MT: QATT tuża trażżin għat-tfal li
jħares lejn in-naħa ta’ wara fuq sit
protett b’AIRBAG ATTIV quddiemu; dan jista’ jikkawża l-MEWT jew
ĠRIEĦI SERJI lit-TFAL.
GA: Ná húsáid srian sábháilteachta
linbh cúil RIAMH ar shuíochán a
bhfuil mála aeir ag feidhmiú os a
chomhair. Tá baol BÁIS nó GORTÚ
DONA don PHÁISTE ag baint leis.
Beyond the warning required by
ECE R94.02, for safety reasons a
forward-facing child restraint system
must only be used subject to the
instructions and restrictions in the
table 3 67.
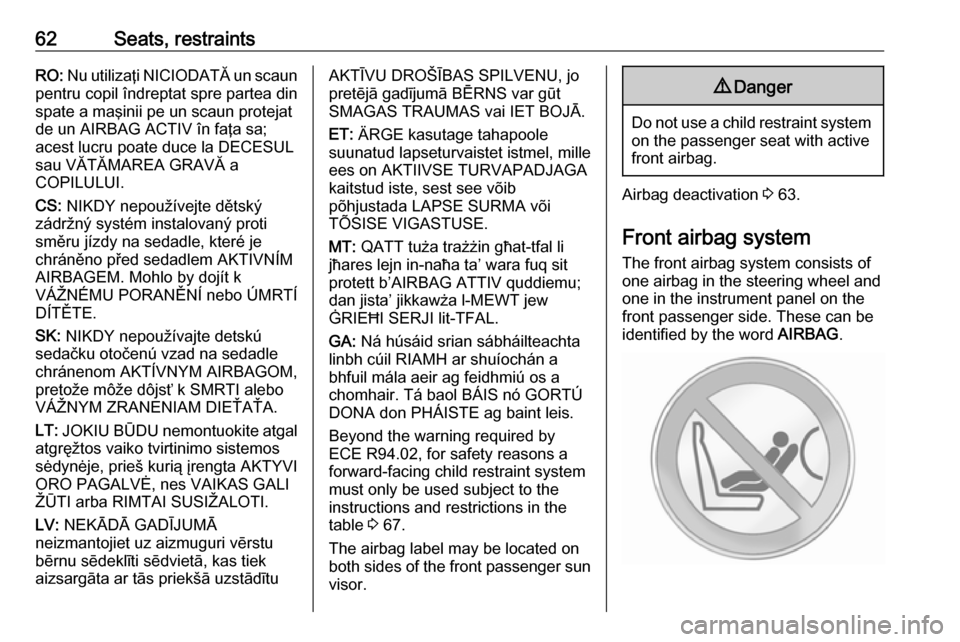
The airbag label may be located on
both sides of the front passenger sun
visor.9 Danger
Do not use a child restraint system
on the passenger seat with active
front airbag.
Airbag deactivation 3 63.
Front airbag system
The front airbag system consists of
one airbag in the steering wheel and
one in the instrument panel on the
front passenger side. These can be
identified by the word AIRBAG.
Page 65 of 353
Seats, restraints63Additionally there is a warning labelon the side of the instrument panel,
visible when the front passenger door
is open.
The front airbag system is triggered in
the event of an accident of a certain
severity. The ignition must be
switched on.
The inflated airbags cushion the
impact, thereby reducing the risk of
injury to the upper body and head of
the front seat occupants
considerably.9 Warning
Optimum protection is only
provided when the seat is in the
proper position.
Seat position 3 46.
Keep the area in which the airbag
inflates clear of obstructions.
Fasten the seat belt correctly and
engage securely. Only then is the
airbag able to protect.
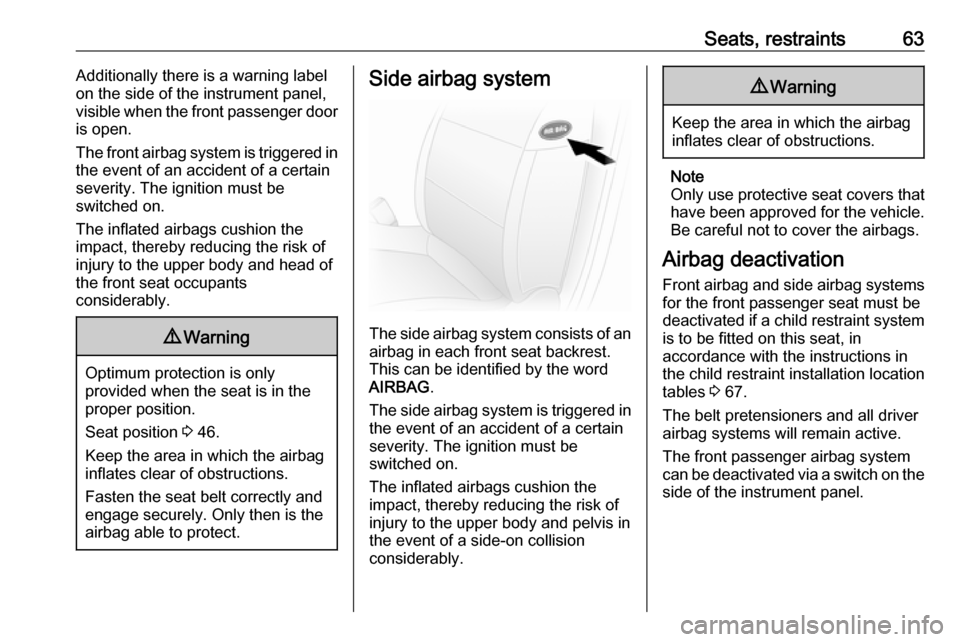
Side airbag system
The side airbag system consists of an
airbag in each front seat backrest.
This can be identified by the word
AIRBAG .
The side airbag system is triggered in the event of an accident of a certain
severity. The ignition must be
switched on.
The inflated airbags cushion the
impact, thereby reducing the risk of
injury to the upper body and pelvis in
the event of a side-on collision
considerably.
9 Warning
Keep the area in which the airbag
inflates clear of obstructions.
Note
Only use protective seat covers that have been approved for the vehicle.Be careful not to cover the airbags.
Airbag deactivation
Front airbag and side airbag systems for the front passenger seat must be
deactivated if a child restraint system
is to be fitted on this seat, in
accordance with the instructions in
the child restraint installation location
tables 3 67.
The belt pretensioners and all driver
airbag systems will remain active.
The front passenger airbag system
can be deactivated via a switch on the
side of the instrument panel.
Page 75 of 353
Storage73StorageStorage compartments................73
Instrument panel storage ...........73
Glovebox ................................... 74
Cupholders ................................ 74
Front storage ............................. 74
Overhead console .....................75
Underseat storage .....................75
Overcab storage ........................76
Load compartment .......................76
Lashing eyes ............................. 77
Cargo management system ......78
Safety net .................................. 80
Load compartment grille ............80
Warning triangle ........................81
First aid kit ................................. 81
Fire extinguisher ........................81
Roof rack system .........................82
Roof rack ................................... 82
Loading information .....................82Storage compartments9Warning
Do not store heavy or sharp
objects in the storage
compartments. Otherwise vehicle
occupants could be injured by
objects being thrown around in the
event of hard braking, a sudden
change in direction or an accident.
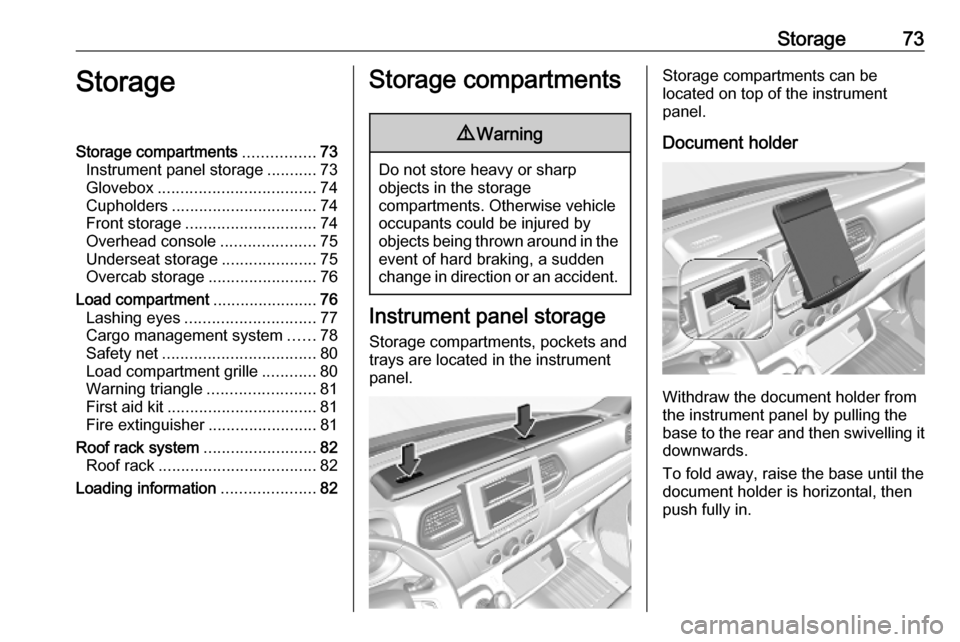
Instrument panel storage
Storage compartments, pockets and
trays are located in the instrument
panel.
Storage compartments can be
located on top of the instrument
panel.
Document holder
Withdraw the document holder from
the instrument panel by pulling the
base to the rear and then swivelling it downwards.
To fold away, raise the base until the
document holder is horizontal, then
push fully in.
Page 76 of 353
74StorageTray
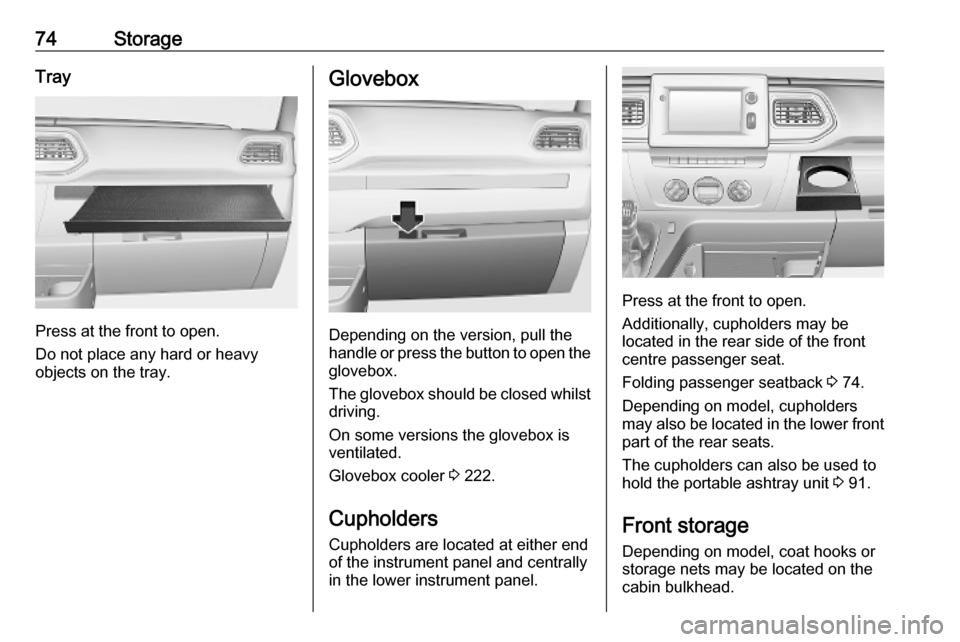
Press at the front to open.
Do not place any hard or heavy
objects on the tray.
Glovebox
Depending on the version, pull the
handle or press the button to open the
glovebox.
The glovebox should be closed whilst driving.
On some versions the glovebox is
ventilated.
Glovebox cooler 3 222.
Cupholders Cupholders are located at either end
of the instrument panel and centrally
in the lower instrument panel.
Press at the front to open.
Additionally, cupholders may be
located in the rear side of the front
centre passenger seat.
Folding passenger seatback 3 74.
Depending on model, cupholders
may also be located in the lower front
part of the rear seats.
The cupholders can also be used to
hold the portable ashtray unit 3 91.
Front storage
Depending on model, coat hooks or
storage nets may be located on the
cabin bulkhead.
Page 90 of 353
88Instruments and controls9Warning
The road surface may already be
icy even though the display
indicates a few degrees above
0 °C.
Clock
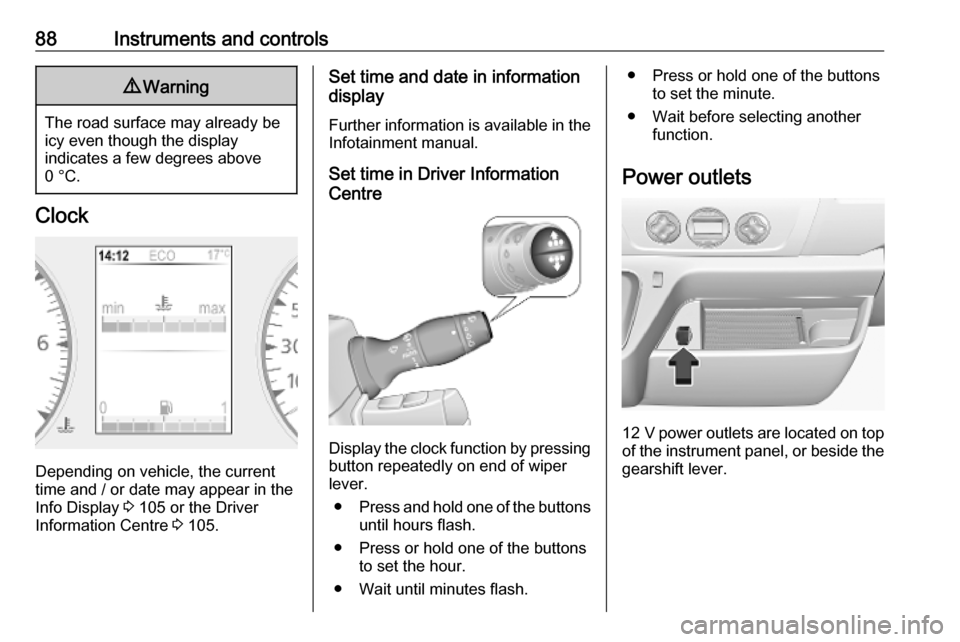
Depending on vehicle, the current
time and / or date may appear in the
Info Display 3 105 or the Driver
Information Centre 3 105.
Set time and date in information
display
Further information is available in the
Infotainment manual.
Set time in Driver Information
Centre
Display the clock function by pressing button repeatedly on end of wiper
lever.
● Press and hold one of the buttons
until hours flash.
● Press or hold one of the buttons to set the hour.
● Wait until minutes flash.
● Press or hold one of the buttons to set the minute.
● Wait before selecting another function.
Power outlets
12 V power outlets are located on top
of the instrument panel, or beside the gearshift lever.