infotainment OPEL VIVARO B 2017 Infotainment system
[x] Cancel search | Manufacturer: OPEL, Model Year: 2017, Model line: VIVARO B, Model: OPEL VIVARO B 2017Pages: 129, PDF Size: 1.96 MB
Page 45 of 129

Introduction45●Status & Information
● Remove SD-card
● Restore factory settings
After system settings are changed,
touch Done to confirm.Language
To change Infotainment system
language then voice type (depending
on version).Display
The following settings are displayed:
● Daytime brightness : Change
screen brightness to suit external
light levels (daylight).
During low external light levels,
the display screen is easier to view when the display is not too
bright.
● Nighttime brightness /Night
brightness : Change screen
brightness to suit external light
levels (night light).
During low external light levels,
the display screen is easier to
view when the display is not too
bright.● Automatic day/night mode /
Switch to night mode at night : To
activate automatic switching
between daytime/night
brightness.
Night mode is activated during
low external light levels and when the headlights are switched on.
● Force night mode /Use night
mode : To activate night mode.Sound
The following settings submenus are
displayed:
● Sound levels : To change volume
and sounds for traffic information, handsfree phone system, phone
ringtone, system/computer
voice, navigation instructions and
park assist (depending on
version).
● Alerts : To adjust alert volume,
and switch on/off alerts when
display screen is switched off.
● Speed sensitivity : To set volume
adjustment based on vehicle
speed.● Computer voice : Adjust types of
information to be given by the
Infotainment system voice (e.g.
"Read aloud motorway lane
instructions").
● Voice : Change the voice used by
the Infotainment system (if
available).Clock
To set the system clock and the time display format.
Keeping the automatic time
adjustment setting switched on is recommended.Safety warnings
To switch on/off various alerts
provided by the Infotainment system
(e.g. "Warn when driving faster than
allowed"). Check appropriate boxes
to switch on.Home screen
To change the home page
configuration.
Select from list of options to see a
preview of each home page layout.
Page 46 of 129

46IntroductionKeyboards
To change first the alphabet type (e.g. Latin, Greek) then the keyboard type
(e.g. Qwerty, ABCD).Set units
To change the units of measurement,
for e.g. distance (km/miles), co-
ordinates (degrees, minutes,
seconds), temperature (℃, ℉) and
barometric units (if available).Status & Information
To display system information, e.g.
version, GPS status, network status,
licences and copyright information.Remove SD-card
To eject the SD card safely.Restore factory settings
To delete all Infotainment system
information. Follow the instructions
on the display.
Note
Afterwards, the Infotainment system
will restart in English by default. If
necessary, select Language in the
System menu to change language.Multimedia settings
To access the Multimedia settings
menu from the Home page, touch
MENU then Multimedia , followed by
Settings .
The following settings submenus are
displayed:
● Sound
● Radio
● Media
● Pictures
● Video
After settings have been changed, touch Done to confirm.Sound
The following sound settings can be
updated:
● 'Spatialisation': Set the sound distribution in the
vehicle.
● 'Bass Treble'/'Ambience': Set the sound option, e.g.
'Neutral' or 'Pop-rock', 'Classical', 'Jazz' (if available). Select
'Manual' to manually set the
treble and bass levels.Press Done to save changes.
● 'Demo arkamys' (if available): Select to trial Arkamys mode.
● 'Bass Boost Arkamys': Switch bass amplification on/off.Radio
The following radio settings can be
updated:
● switch searching for Alternative Frequencies (AF) on/off
● switch i-traffic (Traffic program information) on/off
● switch programme type (PtY) on/
off
● switch Simulcast on/off
● display i-announcement information (e.g. Area weather
information, Event information)
● update list of saved radio stations
For further information, refer to
(NAVI 80 IntelliLink) "Radio" 3 48.
Page 52 of 129

52RadioRecalling a stored station
To recall a station, select the desired
waveband then touch Preset to
display the stored favourites, then
select the desired favourite radio station.Search radio station name (FM only)
Select the FM waveband then touch
List to display an alphabetical list of
available radio stations.
Touch ↑/ 4 or ↓/ 1 to manually search
for the required station name. The
frequency may be displayed instead
if the station name is unavailable.
The alphabetical list contains up to
50 radio stations with the best
reception. This list can be updated at
any time, refer to "Autostore lists"
3 52.
Autostore lists
The stations with the best reception in
a waveband can be searched for and
stored automatically via the autostore
function.
Automatic station storing
R15 BT USB, R16 BT USB,
CD16 BT USB, CD18 BT USB -
Automatic station storing
The FM waveband has an autostore
list (AST), on which six stations can
be stored.
While listening to the radio, press and hold RADIO : The six stations with the
strongest reception will be
automatically stored on AST.
Note
Due to signal strength, it is possible
that less than six stations will be
stored.
Recalling a station
R15 BT USB, R16 BT USB,
CD16 BT USB, CD18 BT USB -
Recalling a station
Select the desired waveband, then
briefly press station button 1...6 to
recall a stored station.
To recall a station on the autostore list
(AST), while listening to the radio
briefly press SETUP to activate AST
mode. The station previously
selected will be received. Brieflypress station button 1...6 to recall
another stored station on the
autostore list.
Updating stations list manually
Stations can also be stored manually
in the autostore list.
Note
Only available with
NAVI 50 IntelliLink,
NAVI 80 IntelliLink.
To update the list of stations and
obtain the most recent ones, activate
the system update manually.
Depending on Infotainment system, the sound may be muted during a
manual update.
NAVI 50 IntelliLink - Updating stations list manually
Touch Options , scroll down to
Update List then select Start;
Updating ... appears on the display
until the update is complete.
Note
If DAB is available, it is
recommended to update the DAB
stations list manually when the
system is switched on.
Page 53 of 129

Radio53NAVI 80 IntelliLink - Updating stations
list manually
From the Home page, touch MENU
then Multimedia , followed by
Settings . Select Radio and scroll
down to Update radio list .
Alternatively (depending on version),
select Multimedia followed by Radio,
and choose any the following modes:
● Preset
● List
● Frequency
Then touch < to open a pop-up menu,
and select Update radio list .
Radio data system (RDS)
RDS is an FM station service that
helps you find the desired station and ensures its fault-free reception.Advantages of RDS
● The programme name of the chosen station appears on the
display screen instead of its
frequency.
● During an automatic station search, the Infotainment system
tunes into RDS stations only.
● The Infotainment system always tunes into the best receivable
broadcasting frequency of the
chosen station, by means of AF
(Alternative Frequency).
R15 BT USB, R16 BT USB, CD16 BT USB, CD18 BT USB -
RDS functions
Configuring RDS
Press SETUP and turn OK to access
the RDS menu. Press knob to select.
Turn the rotary knob to select RDS
SETUP .
Switching RDS on and off
Press Options on the display screen.
The following settings can be
changed:Switch on/off RDS-AF by pressing
OK . AF is shown on the display
screen when RDS is active.
Text information (Radio text)
Certain FM radio stations issue text
information relating to the broadcast
program (e.g. song name).
Press SETUP and turn OK to access
the Radio texts menu.
Turn the rotary knob to select Radio
and press the knob to see this
information.
NAVI 50 IntelliLink - RDS
functions
Configuring RDS
Select Options . The following settings
can be changed:
● RDS (On/Off)
Switch off if not required.
● TA (On/Off)
See below.
● Region /AF (On/Off)
See below.
Page 56 of 129

56RadioIf the DAB signal is too weak to
be picked up by the receiver, the
system switches over to the
same programme on another
DAB or FM station.
● If the DAB signal is reflected by natural obstacles or buildings,
the reception quality of DAB is
improved, whereas AM or FM
reception is considerably
impaired in such cases.
● When DAB reception is enabled, the FM tuner of the Infotainmentsystem remains active in the
background and continually
searches for the best receivable FM stations.
Page 57 of 129

CD Player57CD PlayerGeneral information.....................57
Usage .......................................... 58General information
The Infotainment system's CD player
can playback audio CDs, MP3 CDs
and also WMA CDs (depending on
version).
CD16 BT, CD18 BT: AAC and WAV
formats can also be played.
Important information about audio CDs and MP3/WMA CDsCaution
Under no circumstances place
DVDs, single-CDs with a diameter
of 8 cm or shaped CDs in the audio
player.
You must not put any stickers on
CDs. These discs can get jammed
in the CD drive and ruin the drive.
An expensive replacement of the
device will then be necessary.
● Audio CDs with copy protection, which are not in compliance with
the audio CD standard, may not
play correctly or not at all.
● Self-recorded CD-Rs and CD- RWs and WMA files with Digital
Rights Management (DRM) from
online music shops may not play
correctly or not at all.
● On mixed mode CDs (combinations of audio and data,
e.g. MP3), only the audio tracks
will be detected and played.
● Self-recorded CD-Rs and CD- RWs are more vulnerable to
mishandling than prerecorded
CDs. Correct handling,
especially in the case of self-
recorded CD-Rs and CD-RWs,
must be ensured; see below.
● Avoid leaving fingerprints when you change CDs.
● Put CDs back in their sleeves immediately after removing themfrom the CD player, in order to
protect them from dirt and
damage.
● Dirt and liquids on CDs can smear the lens of the audio
player inside the device and
cause faults.
Page 58 of 129

58CD Player●Protect CDs from heat and direct
sunlight.
● The following restrictions apply for MP3/WMA CDs:
Only MP3 files and WMA files
can be read.
Maximum folder structure depth:
11 levels.
Maximum number of MP3 and/or WMA files that can be saved:
1000 files.
Applicable playlist
extensions: .m3u, .pls.
Playlist entries must be in the
form of relative paths.
● The operation of MP3 and WMA files is identical. When a CD with
WMA files is loaded, MP3-related
menus are displayed.Usage
CD16 BT USB, CD18 BT USB -
CD player usage
Starting CD playback
Switch on the Infotainment system (by pressing m) and push the CD with
the printed side up into the CD slot
until it is pulled in: CD playback starts
automatically.
If there is already a CD in the unit,
press MEDIA repeatedly to select the
desired audio source: CD playback is started.
Note
Depending on the data stored on the audio CD or MP3 CD, differing
information about the CD and the
current music track will be shown on the display.
Selecting an album or track
Turn BROWSE to select an album or
track from the list.
Press the knob to select.Skipping to the next track or previous
track
Briefly press 2 or 3 once or
several times.
Fast forward or rewind
Press and hold 2 or 3 to fast
forward or rewind the current track.
Repeat
During CD playback, press and hold
the numbered button 1 (from the
Station buttons 1...6) to repeat the
current track.
RPT appears on the display when
repeat is active.
Press and hold the numbered button 1 again to deactivate.
RPT disappears from the display.
Random playback
During CD playback, press and hold
the numbered button 2 (from the
Station buttons 1...6) to activate
random playback.
MIX appears on the display when
random playback is active.
Page 60 of 129

60CD Player7.New selection : Choose another
track from the connected audio
source.
8. r : Return to previous screen.
Starting CD playback
Switch on the Infotainment system (by pressing m) and push the CD with
the printed side up into the CD slot
until it is pulled in: CD playback starts automatically.
If there is already a CD in the unit,
touch S in top left corner and select
CD , or press MEDIA or AUDIO
repeatedly to select the desired audio
source: CD playback is started.
Note
Depending on the data stored on the audio CD or MP3 CD, differing
information about the CD and the current music track will be shown on
the display.
Selecting an album or track
Touch New selection or
Current playlist , or turn the central
rotary knob to select an album or track from the list.Skipping to the next track or previous track
Briefly touch 2 or 3 once or
several times.
Fast forward or rewind
Touch and hold 2 or 3 to fast
forward or rewind the current track.
Repeat
Touch <, or press Options on the
central control unit to access the settings menu, then select Repeat to
activate.
Random playback
Touch <, or press Options on the
central control unit to access the
settings menu, then select Shuffle to
activate.
Note
On a CD MP3/WMA, the random
playback function applies to the
current album, then moves on to the
next album.Pause
Briefly touch =, or press the volume
rotary knob, @ or both ! and #
simultaneously to interrupt CD/MP3
CD playback. Press again to resume
playback.
The pause function is deactivated
automatically when the volume is
adjusted, the audio source is
changed or automatic information
messages are issued.
Displaying additional text information
(CD-Text or ID3 tag)
Touch < and then select
Track details to access the text
information available on the CD (e.g. artist name, album name or song
name).
Removing a CD
Touch < and then select Eject, or
press d: The CD is pushed out of the
CD slot.
If the CD is not removed after
ejection, it will be drawn back in again
automatically after a few seconds.
Page 61 of 129

AUX input61AUX inputGeneral information.....................61
Usage .......................................... 61General information
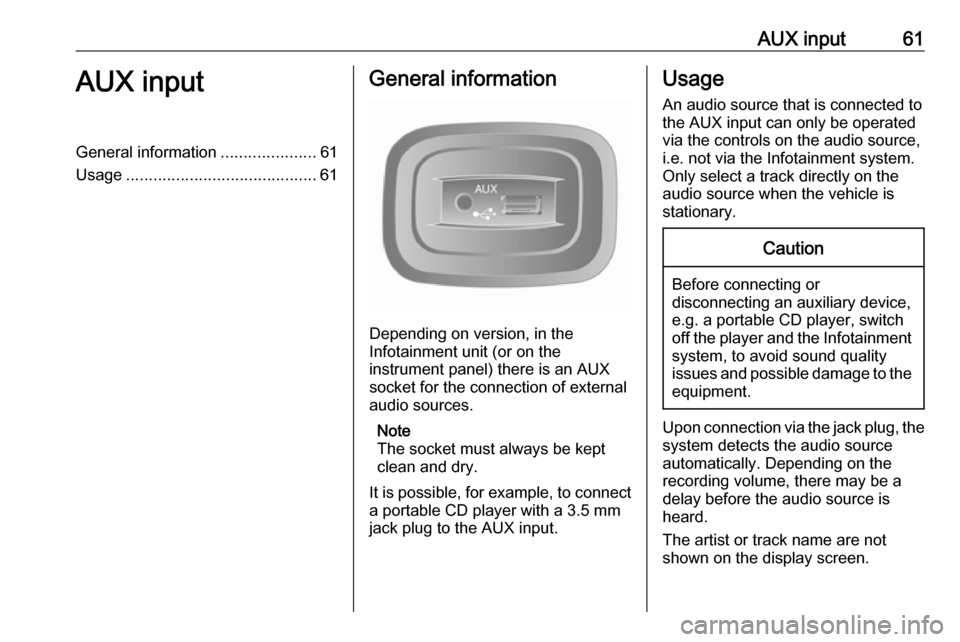
Depending on version, in the
Infotainment unit (or on the
instrument panel) there is an AUX
socket for the connection of external audio sources.
Note
The socket must always be kept
clean and dry.
It is possible, for example, to connect a portable CD player with a 3.5 mm
jack plug to the AUX input.
Usage
An audio source that is connected to
the AUX input can only be operated
via the controls on the audio source, i.e. not via the Infotainment system.
Only select a track directly on the
audio source when the vehicle is
stationary.Caution
Before connecting or
disconnecting an auxiliary device,
e.g. a portable CD player, switch off the player and the Infotainment system, to avoid sound quality
issues and possible damage to the equipment.
Upon connection via the jack plug, thesystem detects the audio source
automatically. Depending on the
recording volume, there may be a
delay before the audio source is
heard.
The artist or track name are not
shown on the display screen.
Page 63 of 129

USB port63USB portGeneral information.....................63
Playing saved audio files .............64General information
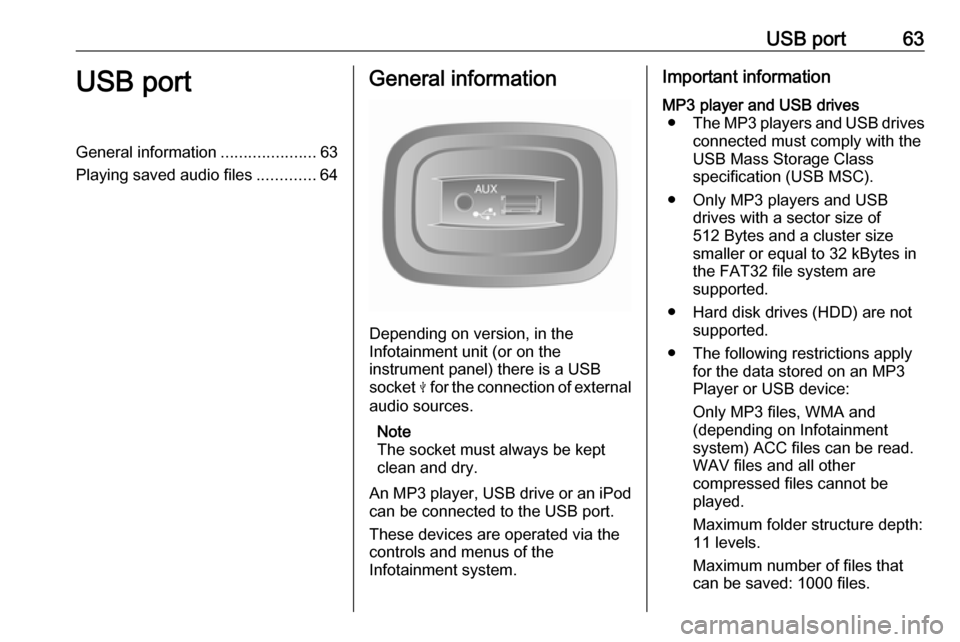
Depending on version, in the
Infotainment unit (or on the
instrument panel) there is a USB
socket M for the connection of external
audio sources.
Note
The socket must always be kept
clean and dry.
An MP3 player, USB drive or an iPod
can be connected to the USB port.
These devices are operated via the
controls and menus of the
Infotainment system.
Important informationMP3 player and USB drives ● The MP3 players and USB drives
connected must comply with the
USB Mass Storage Class
specification (USB MSC).
● Only MP3 players and USB drives with a sector size of
512 Bytes and a cluster size
smaller or equal to 32 kBytes in
the FAT32 file system are
supported.
● Hard disk drives (HDD) are not supported.
● The following restrictions apply for the data stored on an MP3
Player or USB device:
Only MP3 files, WMA and
(depending on Infotainment
system) ACC files can be read.
WAV files and all other
compressed files cannot be
played.
Maximum folder structure depth:
11 levels.
Maximum number of files that
can be saved: 1000 files.