weight OPEL VIVARO B 2018 Manual user
[x] Cancel search | Manufacturer: OPEL, Model Year: 2018, Model line: VIVARO B, Model: OPEL VIVARO B 2018Pages: 237, PDF Size: 5.57 MB
Page 35 of 237

Keys, doors and windows339Warning
Take care when operating the
sliding side door. Risk of injury.
Ensure that nothing becomes
trapped during operation and no-
one is standing within the moving
area.
If the vehicle is parked on a slope,
open sliding doors may move
accidentally on account of their
weight.
Close the sliding doors before
driving off.
Rear doors
The rear doors can only be opened if
the vehicle is unlocked.
Central locking system, manual key
operation 3 26.
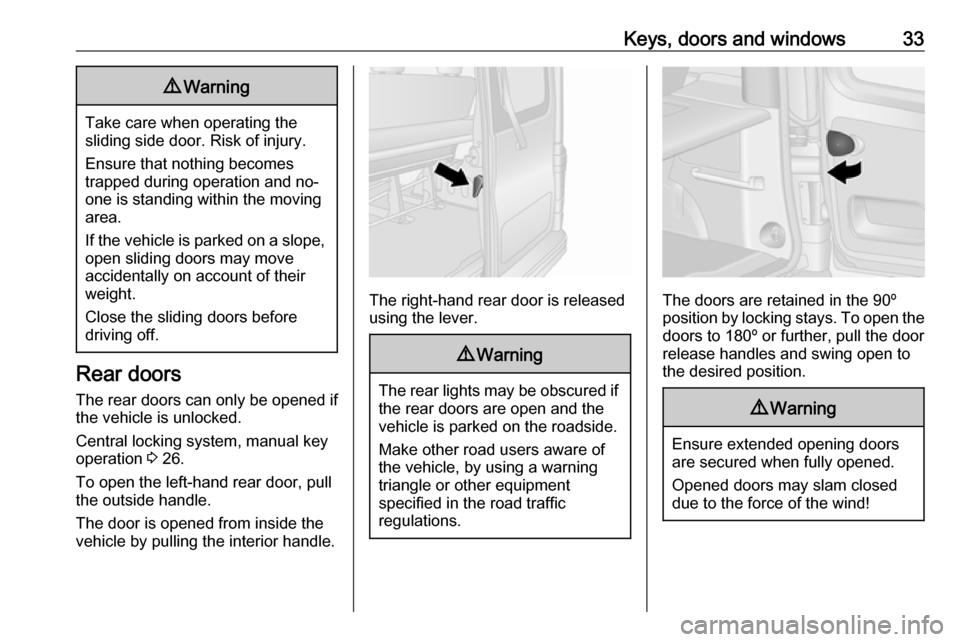
To open the left-hand rear door, pull
the outside handle.
The door is opened from inside the
vehicle by pulling the interior handle.
The right-hand rear door is released
using the lever.
9 Warning
The rear lights may be obscured if
the rear doors are open and the
vehicle is parked on the roadside.
Make other road users aware of the vehicle, by using a warning
triangle or other equipment
specified in the road traffic
regulations.
The doors are retained in the 90º
position by locking stays. To open the
doors to 180º or further, pull the door
release handles and swing open to
the desired position.
9 Warning
Ensure extended opening doors
are secured when fully opened.
Opened doors may slam closed due to the force of the wind!
Page 70 of 237

68Seats, restraintsChild restraint installation locations
Permissible options for fitting a child restraint system Front seats - Van
Weight and age class
Single front passenger seat 1Double front passenger seat
activated airbag
deactivated
or without airbag
activated airbag
deactivated
or without airbagcentreouterGroup 0: up to 10 kg
Group 0+: up to 13 kgXUXXUGroup I: 9 to 18 kgXUXXUGroup II: 15 to 25 kg
Group III: 22 to 36 kgXUXXU1:Forward-facing child restraints: Remove head restraint 3 46. Slide seat as far back as possible. Set seat height to
highest position. Maximum backrest rake is 25°. Seat adjustment 3 48.
Page 71 of 237

Seats, restraints69Front seats - Combi, Double cab
Weight and age class
Single front passenger seat1Double front passenger seat
activated airbag
deactivated
or without airbag
activated airbag
deactivated
or without airbagcentreouterGroup 0: up to 10 kg
Group 0+: up to 13 kgXUXXUGroup I: 9 to 18 kgXU 2XXU2Group II: 15 to 25 kg
Group III: 22 to 36 kgXXXXX1:If adjustable, slide seat as far back as possible and set seat height to highest position. Maximum backrest rake is
25°. Seat adjustment 3 48.2:Rear-facing child restraints only for this weight and age class.
Page 72 of 237

70Seats, restraintsRear seats - Combi, Double cabWeight and age class2nd row seats13rd row seatsGroup 0: up to 10 kg
Group 0+: up to 13 kgUUGroup I: 9 to 18 kgU 2U2Group II: 15 to 25 kg
Group III: 22 to 36 kgU 2U21:If necessary, slide adjustable front seat forwards to install a child restraint system on these seats. There may not be
enough clearance to install particular child restraint systems on vehicles fitted with fixed front seats.2:Forward-facing child restraints: Remove head restraint 3 46 before installing child restraint. The seat in front of this
installation position must not be more than halfway back on its runners. Maximum backrest rake is 25°. Seat adjustment
3 48.U:Suitable for universal category restraint systems for use in this weight and age class, in conjunction with three-point
seat belt.X:Seat position not suitable for children in this weight and age class.
Page 73 of 237

Seats, restraints71Permissible options for fitting an ISOFIX child restraint systemWeight classSize
classFixtureFront seats2nd row seats 13rd row seatsCentreOutervehicles with single
passenger seatvehicles with double
passenger seatGroup 0: up to 10 kgEISO/R1XXILILXGroup 0+: up to 13 kgEISO/R1XXILILXDISO/R2XXILXXCISO/R3XXILXXGroup I: 9 to 18 kgDISO/R2XXILXXCISO/R3XXILXXBISO/F2XXIL, IUF 2IL, IUF2XB1ISO/F2XXXIL, IUF2IL, IUF2XAISO/F3XXIL, IUF2IL, IUF 2XGroup II: 15 to 25 kgXXIL, IUF2IL, IUF2XGroup III: 22 to 36 kgXXIL, IUF2IL, IUF 2X
Page 74 of 237

72Seats, restraints1:If necessary, slide adjustable front seat forwards to install a child restraint system on these seats. There may not be
enough clearance to install a child restraint system on vehicles fitted with fixed front seats.2:Forward-facing child restraints: Remove head restraint 3 46 before installing child restraint. The seat in front of this
installation position must not be more than halfway back on its runners. Maximum backrest rake is 25°. Seat adjustment
3 48.IUF:Suitable for ISOFIX forward-facing child restraint systems of universal category approved for use in this weight class.X:No ISOFIX child restraint system approved in this weight class.IL:Suitable for particular ISOFIX restraint systems of the 'specific-vehicle', 'restricted' or 'semi-universal' categories.
The ISOFIX restraint system must be approved for the specific vehicle type.
ISOFIX size class and seat device
A - ISO/F3:Forward-facing child restraint system for children of maximum size in the weight class 9 to 18 kg.B - ISO/F2:Forward-facing child restraint system for smaller children in the weight class 9 to 18 kg.B1 - ISO/F2X:Forward-facing child restraint system for smaller children in the weight class 9 to 18 kg.C - ISO/R3:Rear-facing child restraint system for children of maximum size in the weight class up to 18 kg.D - ISO/R2:Rear-facing child restraint system for smaller children in the weight class up to 18 kg.E - ISO/R1:Rear-facing child restraint system for young children in the weight class up to 13 kg.
Page 80 of 237

78StorageTo enable long items to be stored
under the rear seats (on the front
passenger side of the vehicle only),
the lower trim flaps can be released.
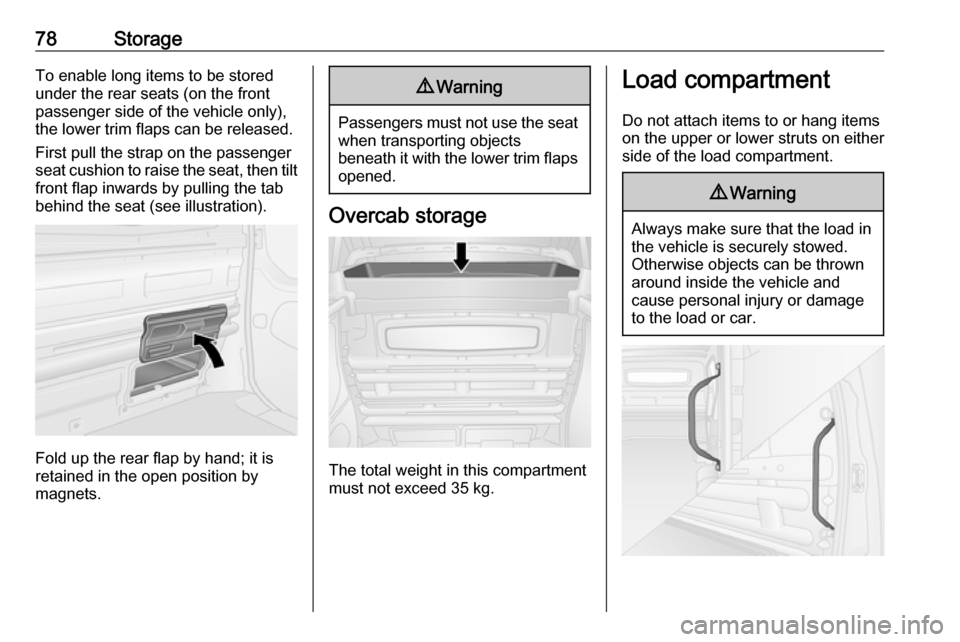
First pull the strap on the passenger
seat cushion to raise the seat, then tilt
front flap inwards by pulling the tab
behind the seat (see illustration).
Fold up the rear flap by hand; it is
retained in the open position by
magnets.
9 Warning
Passengers must not use the seat
when transporting objects
beneath it with the lower trim flaps
opened.
Overcab storage
The total weight in this compartment
must not exceed 35 kg.
Load compartment
Do not attach items to or hang items
on the upper or lower struts on either
side of the load compartment.9 Warning
Always make sure that the load in
the vehicle is securely stowed.
Otherwise objects can be thrown
around inside the vehicle and
cause personal injury or damage
to the load or car.
Page 85 of 237

Storage83hinder the freedom of movement
of the driver. Do not place any
unsecured objects in the interior.
● Do not drive with an open load compartment. In addition, the
number plate is only
distinguishable and illuminated correctly if the doors are closed.9 Warning
Always make sure that the load in
the vehicle is securely stowed.
Otherwise objects can be thrown
around inside the vehicle and
cause personal injury or damage
to the load or car.
● The payload is the difference between the permitted gross
vehicle weight (see identification
plate 3 208) and the EC kerb
weight.
To calculate the payload, enter
the data for your vehicle in the
Weights table at the front of this
manual.
The EC kerb weight includes
weights for the driver (68 kg),
luggage (7 kg) and all fluids (fuel
tank 90% full).
Optional equipment and
accessories increase the kerb
weight.
● Driving with a roof load increases
the sensitivity of the vehicle to
cross-winds and has a
detrimental effect on vehicle
handling due to the vehicle's
higher centre of gravity.
Distribute the load evenly and
secure it properly with retaining
straps. Adjust the tyre pressure
and vehicle speed according to
the load conditions. Check and
retighten the straps frequently.
Do not drive faster than
120 km/h.
The permissible roof load is
200 kg for H1 Roof height
variants and 150 kg for H2 Roof
height variants (excludes
Platform cab conversions). The
roof load is the combined weight
of the roof rack and the load.
Page 112 of 237

110LightingTurn thumb wheel ? to required
position:0:No load4:Loaded up to permissible
maximum weight
Headlights when driving
abroad
The asymmetrical headlight beam
extends visibility at the edge of the
road at the passenger side.
However, when driving in countries
where traffic drives on the opposite
side of the road, adjust the headlights to prevent dazzling of oncoming
traffic.
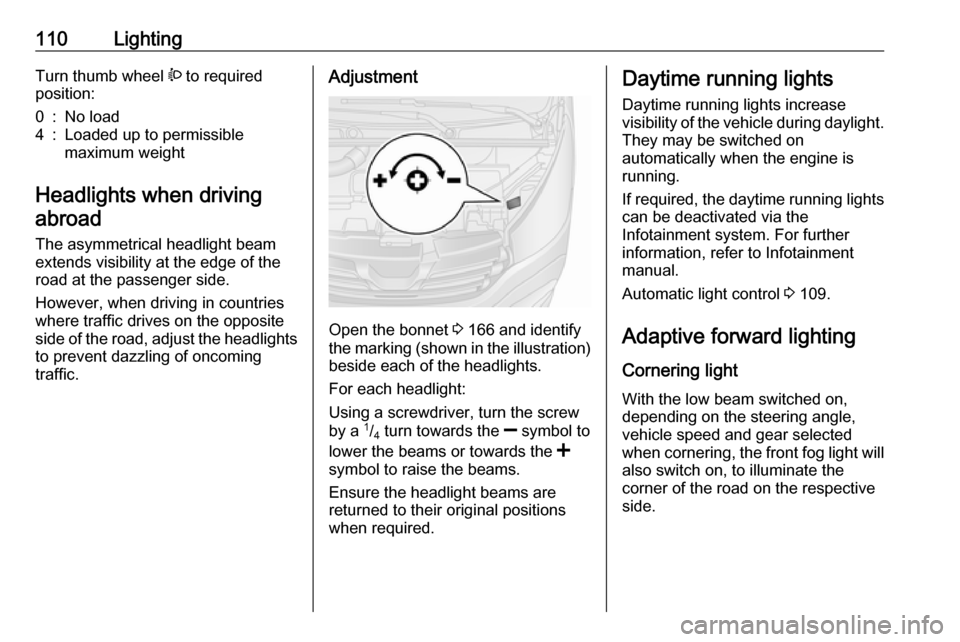
Adjustment
Open the bonnet 3 166 and identify
the marking (shown in the illustration)
beside each of the headlights.
For each headlight:
Using a screwdriver, turn the screw
by a 1
/4 turn towards the
] symbol to
lower the beams or towards the <
symbol to raise the beams.
Ensure the headlight beams are
returned to their original positions
when required.
Daytime running lights
Daytime running lights increase
visibility of the vehicle during daylight.
They may be switched on
automatically when the engine is
running.
If required, the daytime running lights can be deactivated via the
Infotainment system. For further
information, refer to Infotainment
manual.
Automatic light control 3 109.
Adaptive forward lighting Cornering light
With the low beam switched on,
depending on the steering angle,
vehicle speed and gear selected
when cornering, the front fog light will also switch on, to illuminate the
corner of the road on the respective
side.
Page 163 of 237

Driving and operating161Caution
In vehicles with AdBlue, the
AdBlue protective cap is the blue
lower cap 3 141 , and the fuel filler
cap is the black upper cap
(arrowed in illustration).
In case of misfuelling, do not
switch on ignition. Seek the
assistance of a workshop
immediately.
To open the fuel filler cap, turn
anticlockwise.
The fuel filler cap can be retained in
the bracket on the fuel filler flap.
For refuelling, fully insert the pump
nozzle and switch it on.
After automatic cut-off, it can be
topped up by operating the pump
nozzle a maximum of two more times.Caution
Wipe off any overflowing fuel
immediately.
When refuelling is complete, replace
the fuel filler cap and turn clockwise
as far as it will go.
Close the fuel filler flap.
Fuel filler cap Only use genuine fuel filler caps.Diesel-engined vehicles have special
fuel filler caps.
Fuel consumption - CO 2-
Emissions
The values for fuel consumption
(combined) of the model Opel Vivaro
is within a range of 7.4 to
5.7 l/100 km.
Depending on country, the fuel
consumption is displayed in km/l. In
this case, the fuel consumption
(combined) of the model Opel Vivaro
is within a range of approx. 13.5 to
17.5 km/l.
The CO 2 emission (combined) is
within a range of 195 to 149 g/km.
For the values specific to your
vehicle, refer to the EEC Certificate of Conformity provided with your vehicle
or other national registration
documents.
General information
The official fuel consumption and
specific CO 2 emission figures quoted
relate to the EU base model with
standard equipment.
Fuel consumption data and CO 2
emission data are determined
according to regulation
R (EC) No. 715/2007 (in the latest
applicable version), taking into
consideration the vehicle weight in
running order, as specified by the
regulation.