clock setting OPEL ZAFIRA C 2017 Manual user
[x] Cancel search | Manufacturer: OPEL, Model Year: 2017, Model line: ZAFIRA C, Model: OPEL ZAFIRA C 2017Pages: 289, PDF Size: 9.02 MB
Page 103 of 289

Instruments and controls101
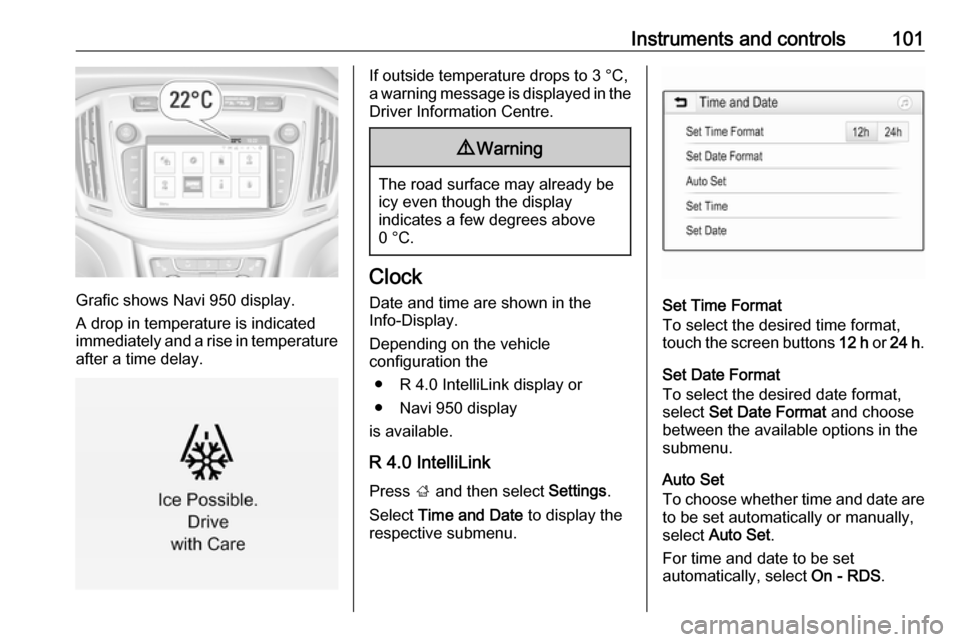
Grafic shows Navi 950 display.
A drop in temperature is indicated immediately and a rise in temperature
after a time delay.
If outside temperature drops to 3 °C,
a warning message is displayed in the Driver Information Centre.9 Warning
The road surface may already be
icy even though the display
indicates a few degrees above
0 °C.
Clock
Date and time are shown in the
Info-Display.
Depending on the vehicle
configuration the
● R 4.0 IntelliLink display or
● Navi 950 display
is available.
R 4.0 IntelliLink Press ; and then select Settings.
Select Time and Date to display the
respective submenu.
Set Time Format
To select the desired time format,
touch the screen buttons 12 h or 24 h .
Set Date Format To select the desired date format,
select Set Date Format and choose
between the available options in the
submenu.
Auto Set
To choose whether time and date are
to be set automatically or manually,
select Auto Set .
For time and date to be set
automatically, select On - RDS.
Page 137 of 289

Lighting135Headlights when driving
abroad
The asymmetrical headlight beam
extends visibility at the edge of the
road at the passenger side.
However, when driving in countries
where traffic drives on the opposite
side of the road, adjust the headlights to prevent dazzling of oncoming
traffic.
Vehicles with halogen headlight
There is a white adjuster element on
the rear of each headlight housing.
Turn adjuster element on each
headlight housing 1
/2 turn with a
size six hexagon key anticlockwise to set to right-hand traffic mode. To
adjust, insert the key in the guide as
shown in the illustration. Alternatively,
a Phillips head screwdriver
size three can be used for setting.
To reset to left-hand traffic mode, turn
adjuster elements on both headlight
housings 1
/2 turn clockwise.
Vehicles with LED headlight
1. Key in ignition switch.
2. Pull turn signal lever and hold (headlight flash).
3. Switch on ignition.
4. After approx. five seconds the control indicator f starts flashing
and an acoustic signal sounds.
Control indicator f 3 116.
Every time the ignition is switched on,
f flashes as a reminder for approx.
four seconds.
For deactivation, operate the same
procedure as described above. f will
not flash when function is
deactivated.
Daytime running lights Daytime running light increases
visibility of the vehicle during daylight.
They are switched on automatically
when the engine is running.
The system switches between
daytime running lights and headlights automatically, depending on the
lighting conditions. Automatic light
control 3 133.
Page 225 of 289

Vehicle care2232. Rotate the bulb holderanticlockwise to disengage.
Withdraw the bulb holder from the reflector housing.
3. Remove the bulb from the plug connector by pulling.
4. Replace the bulb and connect it to
the plug connector.
5. Insert the bulb holder, engaging the lugs into the reflector housing
and rotate clockwise to secure.
6. Fit the cap and rotate clockwise.
High beam (2)
1. Rotate cap anticlockwise and remove it.
2.Withdraw the bulb holder from the
reflector housing.
3. Remove the bulb from the plug connector by pulling.
4. Replace the bulb and connect it to
the plug connector.
5. Insert and push the bulb holder into the reflector housing by
setting the lug into position.
6. Fit the cap and rotate clockwise.