height Peugeot 206 SW Dag 2002 Owner's Manual
[x] Cancel search | Manufacturer: PEUGEOT, Model Year: 2002, Model line: 206 SW Dag, Model: Peugeot 206 SW Dag 2002Pages: 155, PDF Size: 2.09 MB
Page 2 of 155

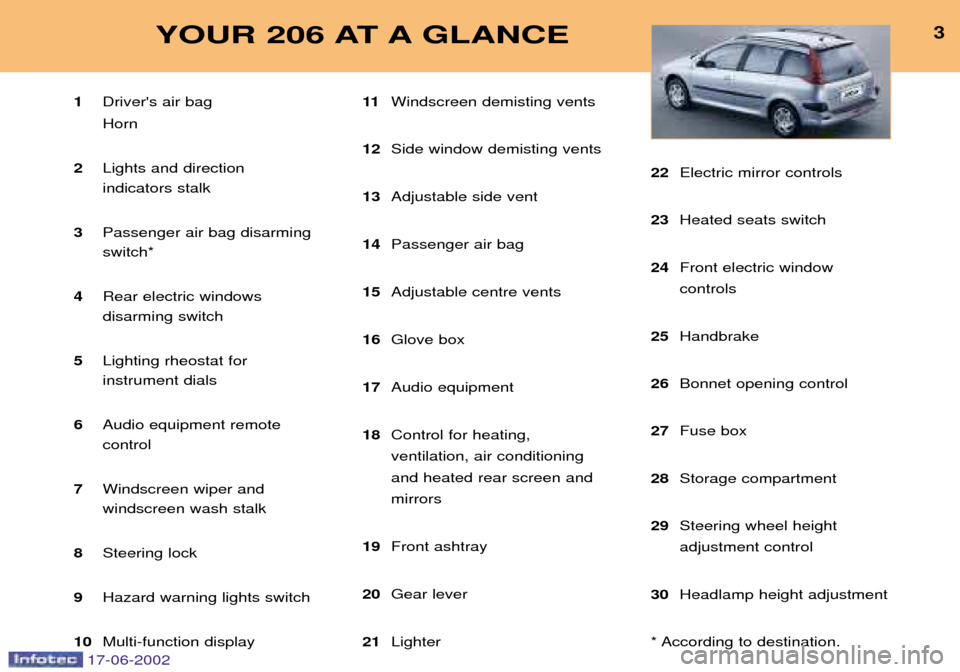
3YOUR 206 AT A GLANCE
1Driver's air bag Horn
2 Lights and direction indicators stalk
3 Passenger air bag disarmingswitch*
4 Rear electric windows disarming switch
5 Lighting rheostat for instrument dials
6 Audio equipment remotecontrol
7 Windscreen wiper and windscreen wash stalk
8 Steering lock
9 Hazard warning lights switch
10 Multi-function display 11
Windscreen demisting vents
12 Side window demisting vents
13 Adjustable side vent
14 Passenger air bag
15 Adjustable centre vents
16 Glove box
17 Audio equipment
18 Control for heating, ventilation, air conditioningand heated rear screen andmirrors
19 Front ashtray
20 Gear lever
21 Lighter 22
Electric mirror controls
23 Heated seats switch
24 Front electric window controls
25 Handbrake
26 Bonnet opening control
27 Fuse box
28 Storage compartment
29 Steering wheel height adjustment control
30 Headlamp height adjustment
* According to destination.
17-06-2002
Page 13 of 155

13VOTRE 307 EN UN COUP DÕÎIL
9788
13YOUR 206 AT A GLANCE
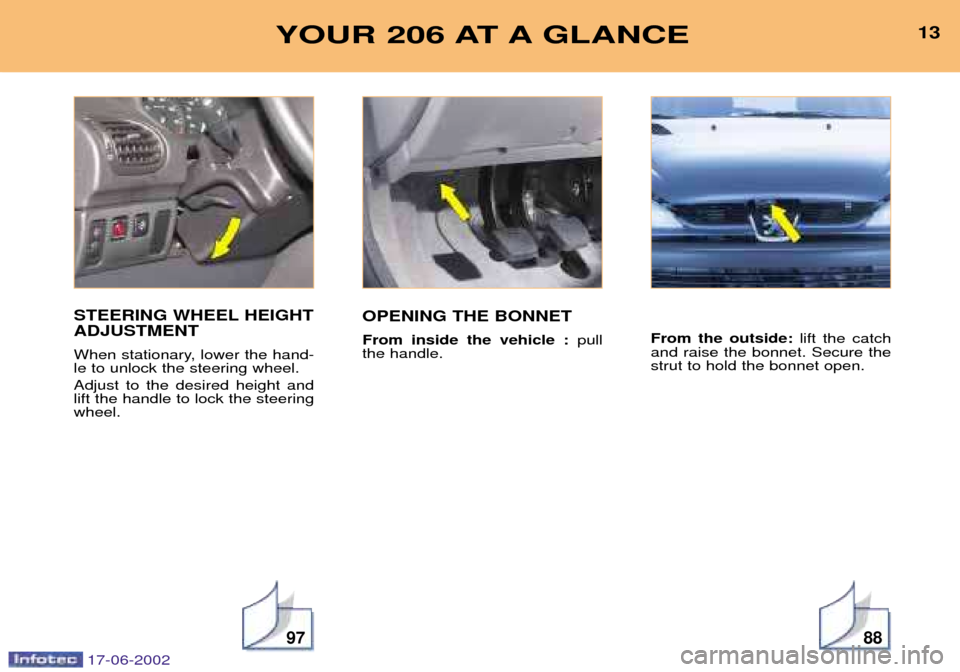
STEERING WHEEL HEIGHT ADJUSTMENT
When stationary, lower the hand- le to unlock the steering wheel. Adjust to the desired height and lift the handle to lock the steeringwheel.OPENING THE BONNET From inside the vehicle :
pull
the handle. From the outside:
lift the catch
and raise the bonnet. Secure the strut to hold the bonnet open.
17-06-2002
Page 74 of 155

17-06-2002
YOUR 206 IN DETAIL73
6. Head restraint height adjust-
ment
To raise the restraint, pull it upwards.
The adjustment is correctwhen the upper edge of thehead restraint is level withthe top of the head.
The head restraint has a framewith notches, which prevent thehead restraint dropping down(this is a safety device in theevent of an impact).
To lower the head restraint, it is necessary to push simultaneously:
Ð the button located on the left guide at the base of the head restraint,
Ð the head restraint downwards.
To remove the head restraint, press the lug.
Never drive with thehead restraints removed;they must be in placeand correctly adjusted. Rear head restraints These have a high position for when they are in use and a lowposition for when they are stored.They are removable.
To lower the head restraints, press the lug.
To remove them, pull upwards as far as the stop then press therelease control.FRONT SEATS
1. Forwards-backwards
adjustment Lift the control and slide the seat forwards or backwards.
2. Access to rear seats (3 door) Place your fingers in one of the two handles and push forwards tofold the seat back and move theseat forwards. On repositioning,the seat returns to its initial posi-tion. It is impossible to access the rear seats if the front seat is in thereclining position.
3. Seat back angle adjustment Push one of the two handles
towards the rear.
4. Seat height adjustment Pull the handle upwards. Remove your weight from the seat to raise, or press on the seat
to lower.
5. Heated seats switch Press the switch. The temperatu-
re is controlled automatically. Press the switch again to stop operation.
Page 77 of 155

17-06-2002
YOUR 206 IN DETAIL73
6. Head restraint height adjust-
ment
To raise the restraint, pull it upwards.
The adjustment is correctwhen the upper edge of thehead restraint is level withthe top of the head.
The head restraint has a framewith notches, which prevent thehead restraint dropping down(this is a safety device in theevent of an impact).
To lower the head restraint, it is necessary to push simultaneously:
Ð the button located on the left guide at the base of the head restraint,
Ð the head restraint downwards.
To remove the head restraint, press the lug.
Never drive with thehead restraints removed;they must be in placeand correctly adjusted. Rear head restraints These have a high position for when they are in use and a lowposition for when they are stored.They are removable.
To lower the head restraints, press the lug.
To remove them, pull upwards as far as the stop then press therelease control.FRONT SEATS
1. Forwards-backwards
adjustment Lift the control and slide the seat forwards or backwards.
2. Access to rear seats (3 door) Place your fingers in one of the two handles and push forwards tofold the seat back and move theseat forwards. On repositioning,the seat returns to its initial posi-tion. It is impossible to access the rear seats if the front seat is in thereclining position.
3. Seat back angle adjustment Push one of the two handles
towards the rear.
4. Seat height adjustment Pull the handle upwards. Remove your weight from the seat to raise, or press on the seat
to lower.
5. Heated seats switch Press the switch. The temperatu-
re is controlled automatically. Press the switch again to stop operation.
Page 82 of 155

17-06-2002
YOUR 206 IN DETAIL
80
From 3 to 10 years (15 to 36 kg)"Recaro start'': installed in the rear with a three-point seat belt. The height, width and length of the seat must be adjusted according to the age and build of your child. "Klippan Optima": installed in the rear with a three-point seat belt. From the age of 6 years (approximately 22 kg), the booster is used on its own.
Remember, even for short journeys, to fasten the three-point seat belts or thechild seat straps, keeping the slack in relation to the child's body to a minimum.
To prevent the doors from opening accidentally, use the child-lock.Also, do not open the rear windows more than a third.
* According to current legislation in the country of destination.
** Unless the rear seats are already occupied by other children or the rear seats cannot be used (because they are missing or folded down). In this case, move the front passenger seat as far back as possible and leave the air bag active.
Never leave a child or an animal in a vehicle whichis exposed to the sunand has the windows clo-
sed. Never leave the keys within
reach of children inside the car. Disarm the passenger air bag when installing a '"earwardsfacing" child seat on the frontpassenger seat. Observe strictly the recommen- dations for assembling the childseat as shown in the child seatinstructions.4
5
Page 84 of 155

17-06-2002
YOUR 206 IN DETAIL
82
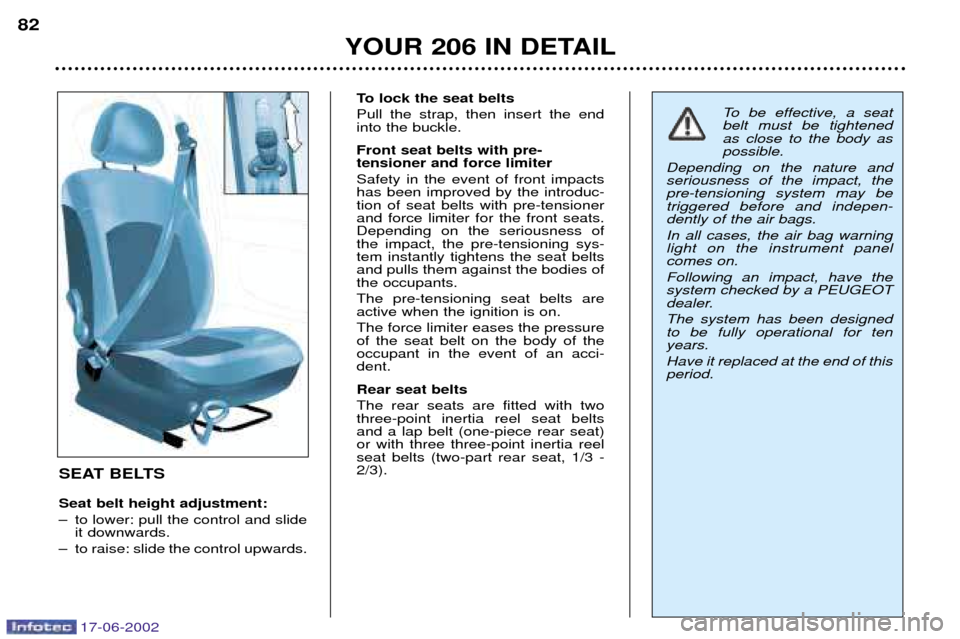
SEAT BELTS Seat belt height adjustment:
Ð to lower: pull the control and slideit downwards.
Ð to raise: slide the control upwards. To lock the seat beltsPull the strap, then insert the end into the buckle. Front seat belts with pre- tensioner and force limiter Safety in the event of front impacts has been improved by the introduc-tion of seat belts with pre-tensionerand force limiter for the front seats.Depending on the seriousness ofthe impact, the pre-tensioning sys-tem instantly tightens the seat beltsand pulls them against the bodies ofthe occupants. The pre-tensioning seat belts are active when the ignition is on. The force limiter eases the pressure of the seat belt on the body of theoccupant in the event of an acci-dent. Rear seat belts The rear seats are fitted with two three-point inertia reel seat beltsand a lap belt (one-piece rear seat)or with three three-point inertia reelseat belts (two-part rear seat, 1/3 -2/3).
To be effective, a seat belt must be tightenedas close to the body aspossible.
Depending on the nature andseriousness of the impact, thepre-tensioning system may betriggered before and indepen-dently of the air bags. In all cases, the air bag warning light on the instrument panelcomes on. Following an impact, have the system checked by a PEUGEOT
dealer. The system has been designed to be fully operational for tenyears. Have it replaced at the end of this period.
Page 102 of 155

17-06-2002
YOUR 206 IN DETAIL97
HEADLAMP ADJUSTMENT Depending on the load in your vehicle, it is recommended that theheadlamp beam is adjusted. 0. 1 or 2 people in the front seats.
Ð. 3 people.
1. 5 people.
2. 5 people + maximum authorised load.
3. Driver + maximum authorisedload.
Initial setting is position 0.
STEERING WHEEL HEIGHT ADJUSTMENT
When stationary, lower the handle to unlock the steering wheel. Adjust to the desired height and lift the handle to lock the steeringwheel. HORN
Press one of the spokes orthe centre of the steeringwheel.